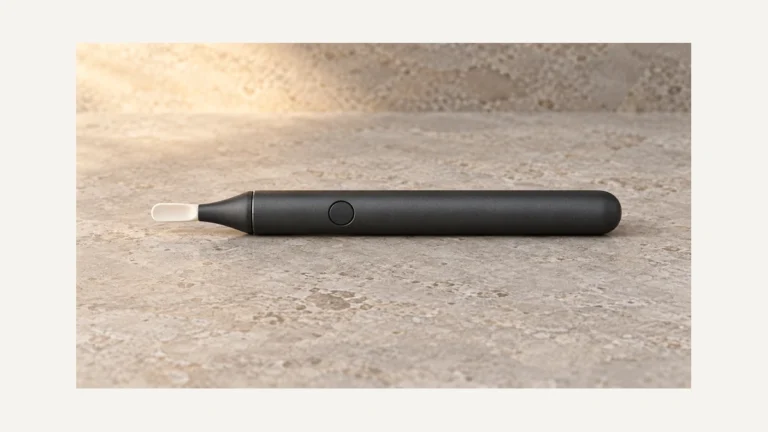
The 510 thread is one of the most widely used connector standards in vaping hardware, appearing on batteries, cartridges, and charging accessories across countless brands. Because the thread pattern is so common, many people assume that any 510-compatible charger will work with any 510-compatible battery. That assumption is only partly true. The thread determines whether two parts screw together, not whether they communicate electrically in a way that produces a charge. Understanding the difference between mechanical fit and electrical compatibility is the first step in diagnosing charging issues correctly instead of guessing.
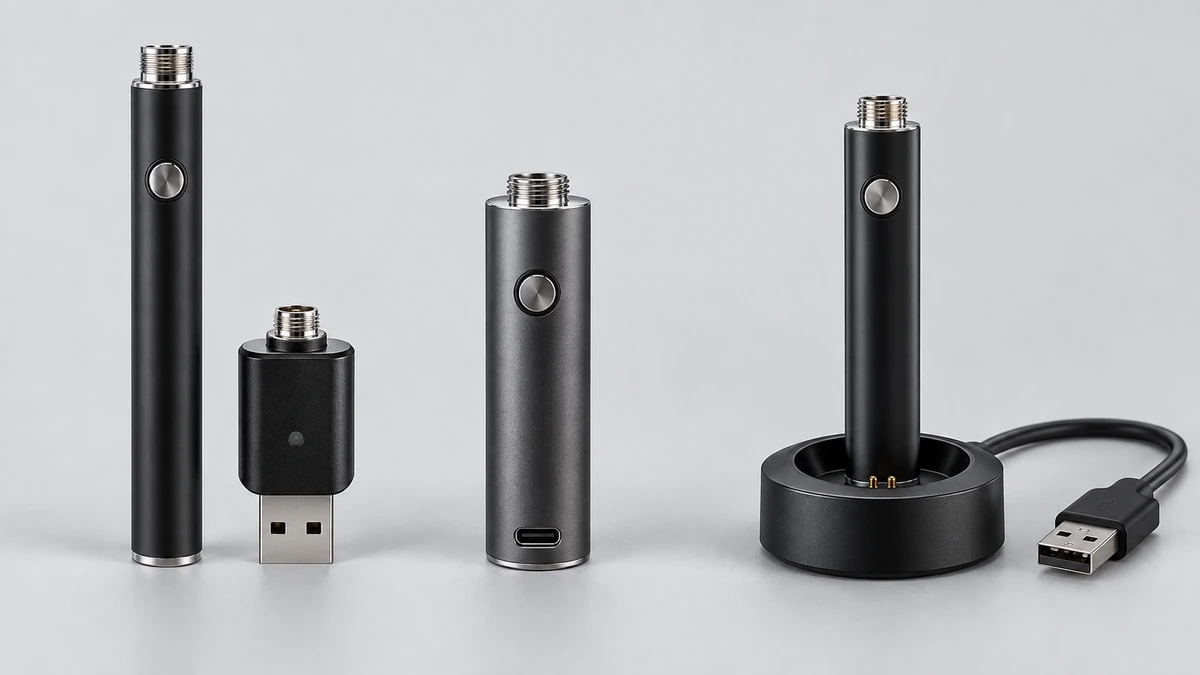
🔌 1. Two Ways a 510 Battery Meets USB
510 thread batteries generally reach USB power through one of two physical arrangements. Knowing which one a device uses changes what you should inspect when charging behavior looks wrong.
🧵 1.1 Screw-On USB Charging Dongles
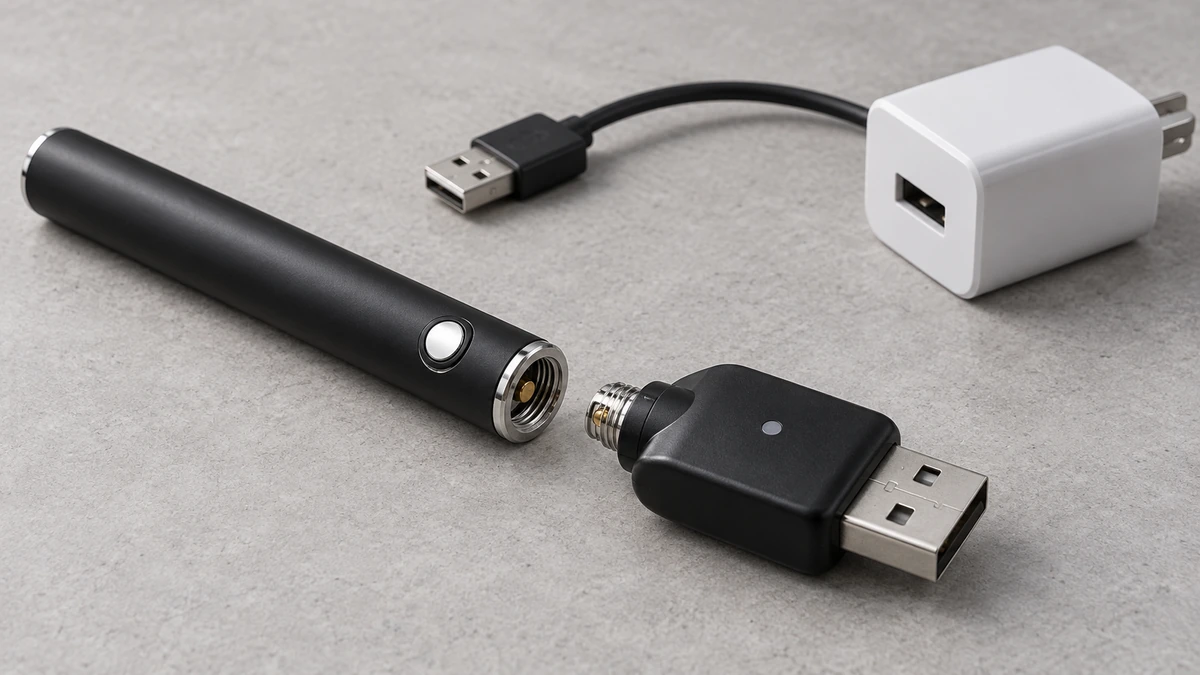
Some batteries do not have a USB port built into the body at all. Instead, the battery has a 510-threaded receptacle where a cartridge would normally attach, and a separate small accessory — often called a charging dongle or charging adapter — screws into that same threading. The dongle itself contains the USB port, usually Micro-USB or USB-C, along with the internal wiring needed to route power from a cable into the battery’s contacts.
This arrangement means the dongle is doing electrical work, not just providing a physical bridge. A dongle designed for one battery’s contact layout will not necessarily deliver current correctly to a different battery, even if the threading matches perfectly. If a dongle is lost, swapped between devices, or replaced with an unbranded equivalent, charging problems can appear that have nothing to do with the battery, the cable, or the wall adapter.
🔋 1.2 Batteries with Integrated USB Ports
Other batteries have a USB port built directly into the housing, most often positioned opposite the 510 thread or along the side of the device. In this design, the 510 thread is used exclusively for attaching a cartridge or tank, and charging happens through a completely separate port and circuit path.
Because the two functions are physically separated, a battery with an integrated port is less likely to suffer from thread-related charging confusion. However, this design does not eliminate compatibility questions — it simply moves them to the cable and the port itself, which are discussed later in this article.
⚙️ 2. Why the 510 Thread Alone Doesn’t Guarantee Charging
It’s tempting to treat “510 thread” as a single unified specification, similar to how a standard screw size fits a standard nut. In reality, the 510 designation mostly describes the physical thread pitch and diameter, not a complete electrical contract between parts.
📏 2.1 Thread Standard vs Electrical Standard
Two components can share identical 510 threading and still differ in contact placement, pin protrusion, spring tension, or internal circuitry. This is why a cartridge can screw smoothly onto a battery yet fail to fire, or why a charging dongle can thread on without issue yet fail to initiate a charge. The thread guarantees a mechanical connection; it says nothing about voltage handling, current limits, or whether the two parts were engineered to work together. For a broader look at how this same distinction plays out with cartridges rather than chargers, the 510 box mod cartridge guide covers fit versus function in more detail.
🧩 2.2 Center Pin and Contact Depth
At the center of most 510 connections is a small pin or contact point, and its exact height, spring travel, and shape can vary between manufacturers. If the center pin has insufficient contact depth for the mating component — either recessed too far or not extending far enough — the physical connection can look correct while the actual electrical contact is weak or absent. This is one of the more overlooked reasons a battery that “screws on fine” still won’t charge or fire properly. Contact depth mismatches are also more likely with mixed-brand components, since there is no universal rule dictating exact pin height across every 510 product.
💡 2.3 Indicator Light Ambiguity
Many 510 batteries use a simple LED to signal charging status, but the meaning of that light is not standardized across brands. A steady light on one device might mean “charging,” while on another it might mean “fully charged” or “connected but not receiving power.” Blinking patterns are similarly inconsistent — some devices blink to indicate a fault, others blink normally during the first moments of a charge cycle.
This ambiguity makes indicator lights an unreliable single source of truth. A light that appears to behave normally does not confirm that current is actually flowing into the cell, and a light that looks unusual does not necessarily indicate a defective battery. For a more detailed breakdown of what different indicator behaviors tend to represent across common device types, see the 510 thread battery display guide.
🔌 3. Cable and Power Source Distinctions
When a 510 device isn’t charging as expected, the battery itself is often blamed first, but the cable and the power source are two separate variables that deserve equal attention before any conclusion is drawn.
🔋 3.1 Cable Quality and Type
Not all USB cables are built the same, even when they use the same connector shape. Some cables are designed primarily for data transfer and include only lightweight wiring, which can limit how effectively they deliver power. Others may have inconsistent internal connections due to wear, bending, or manufacturing defects that aren’t visible from the outside. A cable can appear physically intact — no fraying, no bent pins — and still fail to reliably pass power, especially after repeated use or exposure to heat and moisture.
Swapping a questionable cable for a different, known-working one is one of the simplest ways to isolate whether the cable is the source of a charging issue, before assuming the battery or dongle is at fault.
🔌 3.2 Power Source Considerations
The device supplying power — a wall adapter, a computer’s USB port, or a power bank — also affects charging behavior. Different power sources output different amounts of current, and some ports on laptops or hubs are configured for data use only, with minimal or no charging output. A battery connected to a low-output or data-only port may appear to be “charging” based on an indicator light while actually receiving negligible power.
Because cables, power sources, dongles, and batteries all sit in the same chain, isolating each variable individually is far more productive than assuming any single component is responsible without testing.
🔍 4. Visual Inspection Before Troubleshooting
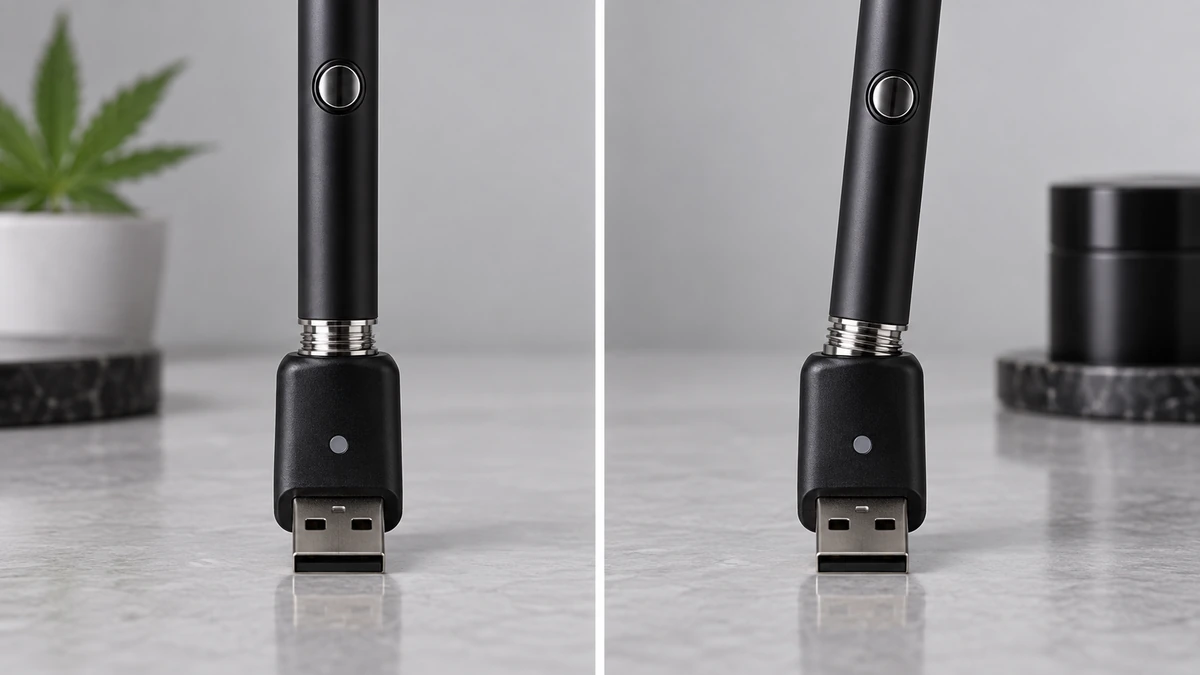
Before assuming an internal fault, a simple visual check of all the physical components in the charging chain can reveal a lot. Look at the 510 threading on the battery for signs of corrosion, discoloration, or debris buildup, which can prevent solid metal-to-metal contact. Check the center pin for visible bending, sticking, or an unusual resting position compared to when the device was new.
Examine the USB port or dongle connector for lint, dust, or oxidation, all of which are common in devices that are carried in pockets or bags. Inspect the cable connector ends for bent pins, loose-fitting connections, or visible wear at the strain relief points near the connector. None of these checks require disassembly or modification of the device — they simply involve looking closely at parts that are already externally accessible.
📄 5. Documented Compatibility Over Guesswork
Because 510 threading spans so many manufacturers and product generations, relying on assumptions about interchangeability is a common source of confusion. Whenever possible, checking documentation from the battery or dongle manufacturer regarding recommended cables, charging accessories, and expected indicator behavior is more reliable than trial and error with mismatched parts.
This is especially relevant for devices that use a separate screw-on charging dongle, since dongles are small, easy to misplace, and easy to replace with a generic substitute that may not match the original contact geometry or wiring. When documentation is unavailable, comparing the suspected replacement part closely against the original — in terms of pin shape, thread depth, and connector type — is a reasonable substitute for a manufacturer’s specification sheet.
🛑 6. When to Stop Troubleshooting
Basic troubleshooting has a reasonable stopping point. Once the cable has been swapped for a known-working alternative, the power source has been changed, the threading and contacts have been visually inspected and found clean, and the charging accessory has been confirmed to match the battery’s documented specifications, further troubleshooting starts to move outside the scope of simple checks.
At that point, attempting to open the battery housing, modify internal contacts, or bypass built-in charging circuitry is not a reasonable next step for most users, since 510 batteries contain lithium cells and charging circuitry that are not designed for field-level repair. If all external variables have been ruled out and the issue persists, the most appropriate next step is consulting the manufacturer or a qualified service source rather than continuing to test the device through improvised methods. A structured walkthrough of this same escalation logic, applied specifically to non-charging scenarios, is available in the vape not charging guide.
Ultimately, the 510 thread’s popularity is also the source of most confusion surrounding it. Because so many components share the same physical connector, it’s easy to overlook that fit and function are two different things. Separating mechanical compatibility from electrical compatibility — and checking cables, power sources, and contacts individually — turns a vague “it won’t charge” problem into a specific, testable question with a clear answer.
🧭 7. Diagnose the Charging Chain in a Fixed Order
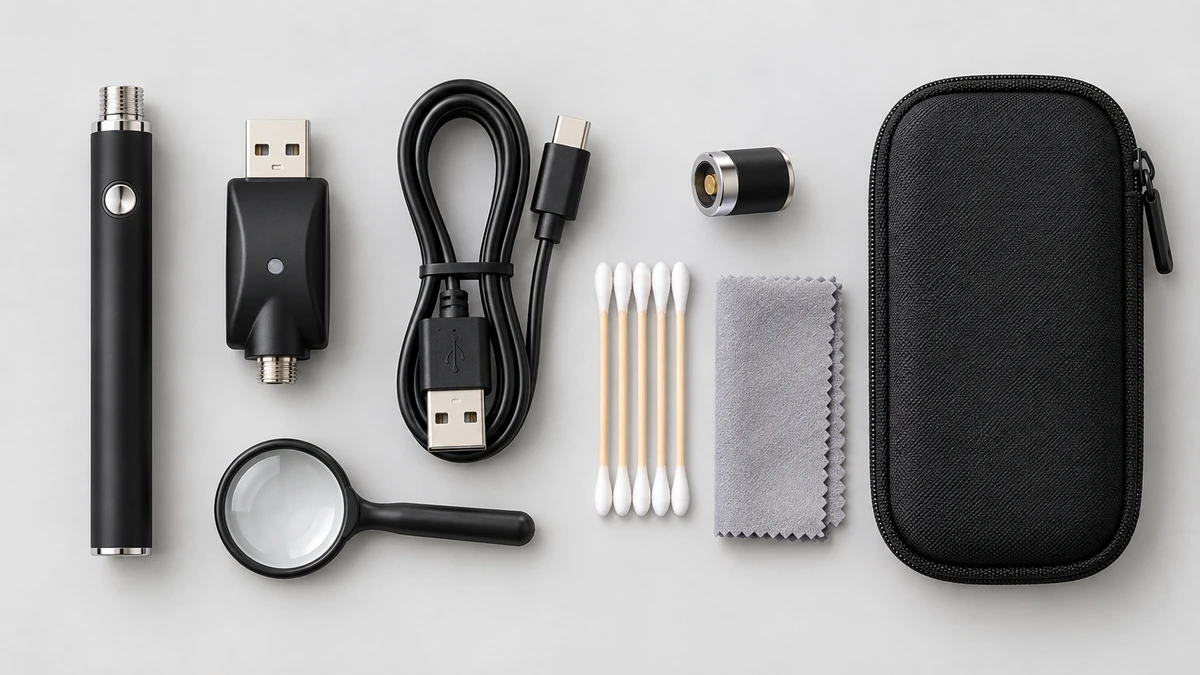
A 510 thread charger sits in a chain that includes the wall source, cable, charger head, threaded connector, center contact, and battery electronics. Changing several pieces at once hides the useful clue. Start by reading the labels and connector shapes, then inspect for debris, a tilted contact, or damaged insulation. A charger that physically screws on is not automatically an electrical match.
🔌 7.1 Separate Source Behavior From Connector Fit
A dark indicator can mean the source is inactive, the charger is not seated, the battery is already full, or the indicator logic simply differs. Test only with documented, compatible equipment and compare behavior with the manufacturer’s instructions. Do not bridge contacts, pry at a battery, or improvise adapters; those actions replace a fit question with an electrical risk.
📦 7.2 Store the Small Parts as a Set
Label the charger for the battery family it came with and keep the cable beside it. Thread caps and a small divided case keep metal objects away from contacts. That simple habit also prevents a visually similar charger from drifting into the wrong kit months later.
✅ 8. Treat “510” as a Starting Point
The name describes a common thread convention, not a promise that every charger, voltage profile, contact depth, and battery control circuit is identical. The reliable comparison combines the mechanical interface with the documented input and output information. If those details are missing or contradictory, the correct conclusion is that compatibility remains unconfirmed.
🔍 8.1 Record the Evidence Before Replacing Parts
Write down the battery model, charger markings, cable type, power-source rating, indicator sequence, and how long each light state lasts. Note whether the connector reaches the threads smoothly and stops without force. These observations turn “it will not charge” into a useful description that a seller or manufacturer can evaluate. They also reduce the chance of buying another accessory with the same unresolved mismatch.
Visual inspection should stay external. Look for residue on accessible contacts, cracked insulation, bent housings, looseness, unusual odor, swelling, or heat. If the battery or charger becomes unusually hot, appears damaged, or behaves unpredictably, disconnect it and follow the maker’s service or disposal guidance. Opening a sealed battery body is not part of normal troubleshooting.
For a multi-device drawer, attach a small tag to each charger and photograph the original pairing. Common-looking threads are easy to mix up after packaging is discarded. A labeled record preserves the electrical context that the connector’s appearance cannot communicate.