You plug the pen into the same cable you used last night, set it on the counter, and go do something else. Ten minutes later you glance over and the little light at the base is still dark. No pulse, no color, nothing. You try a different outlet. Still nothing. At that point most people jump straight to “the battery is dead,” but a vape not charging is rarely a single-cause problem — it’s usually one link in a short chain of possibilities, and most of that chain can be checked safely with your eyes and hands before you assume the worst.
This is a walkthrough of that chain in the order it actually makes sense to check it: the light itself, the power source and cable, the port, the threaded contacts, temperature and lock states, battery age, and finally the handful of signs that mean you should stop charging entirely rather than keep troubleshooting.
🔦 1. What the Charging Light Is Actually Telling You
Before assuming a fault, it helps to know what the indicator light is even designed to do, because behavior varies a lot between devices. Some pens use a single LED that simply stays lit while current is flowing and turns off when charging completes. Others cycle through colors, blink to indicate a fault state, or pulse slowly to show trickle charging near the end of a cycle. A light that never comes on at all is a different problem than a light that comes on and then shuts off within a few seconds, and both are different from a light that stays on indefinitely without ever indicating a full charge. If you’ve never confirmed what your specific device’s light pattern is supposed to look like, our guide to vape pen charging light behavior walks through the common patterns and what each one usually signals. Knowing the baseline for your device turns a vague “it’s not working” into a specific symptom you can actually troubleshoot.
🔌 2. Start With the Power Source and Cable
🔌 2.1 Wall Adapter vs. Laptop or Power Bank
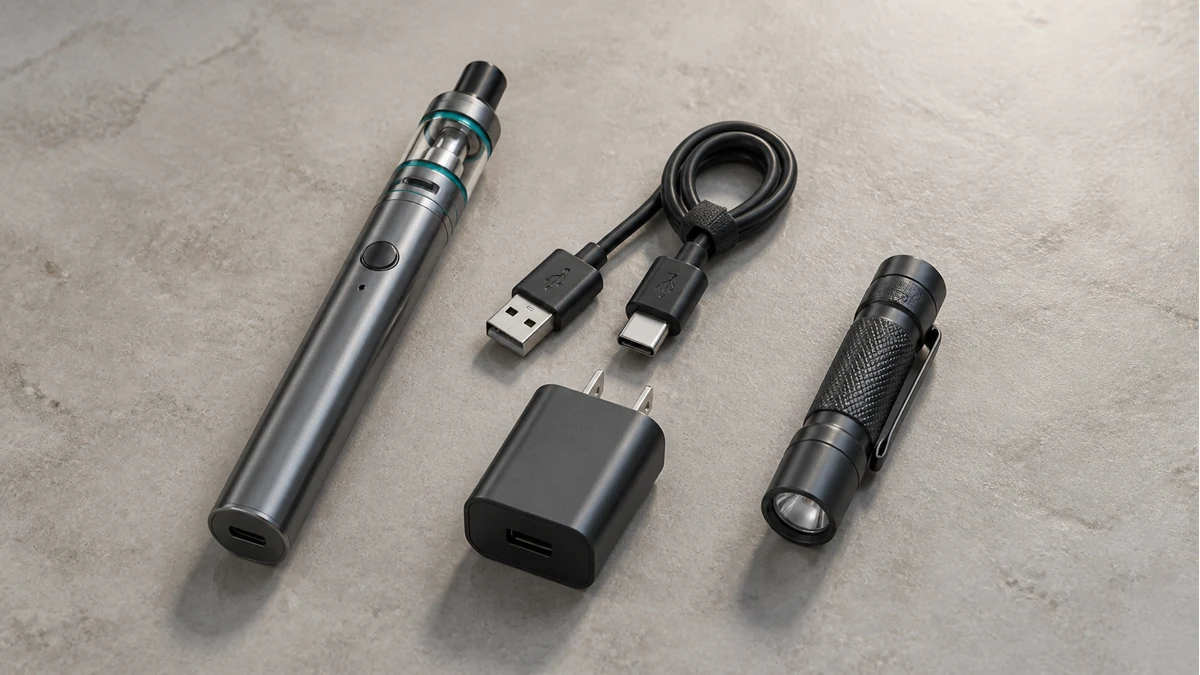
The most overlooked variable in charging trouble is the thing supplying the power, not the vape itself. USB ports on laptops, older power strips, car chargers, and some power banks output less current than a dedicated wall adapter, and a handful of them cut power to idle ports after a period of inactivity to save energy. If your device has been charging fine on a wall adapter but suddenly won’t on a laptop port, that’s not a device fault — that’s the port. The safe check here is simple: swap to a different power source you know is reliable, ideally a wall adapter rated for USB charging, and see if the behavior changes. If the light comes on with a different source, the mystery is solved and it had nothing to do with the vape’s internals.
🔌 2.2 Cable and Connector Wear
Cables fail more often than people expect, and the failure is frequently invisible from the outside. Repeated bending near the connector head is the usual culprit — the copper strands inside can fracture from flexing long before the outer jacket shows any damage. A cable that works if you hold it at a certain angle, or that charges intermittently when you wiggle it, is telling you plainly that the wire itself is the point of failure. Try a second cable you know works with another device. If that resolves the issue, replace the cable rather than continuing to nurse a marginal connection, since a partially broken cable can also deliver inconsistent current that stresses the charging circuit over time.
| Symptom | Likely Cause | Safe Check |
|---|---|---|
| No light at all, on any outlet | Dead cable, faulty adapter, or fully discharged battery | Swap cable and power source individually |
| Light flickers or requires cable angle to stay lit | Damaged cable or worn port | Test with a second cable; inspect port visually |
| Light comes on, shuts off within seconds | Contact interruption or protection circuit rejecting the charge | Clean contacts, check for lockout state |
| Light stays on but never signals full | Aging battery holding less capacity | Time a full charge cycle and compare to past behavior |
🧽 3. Port and Connector Contamination
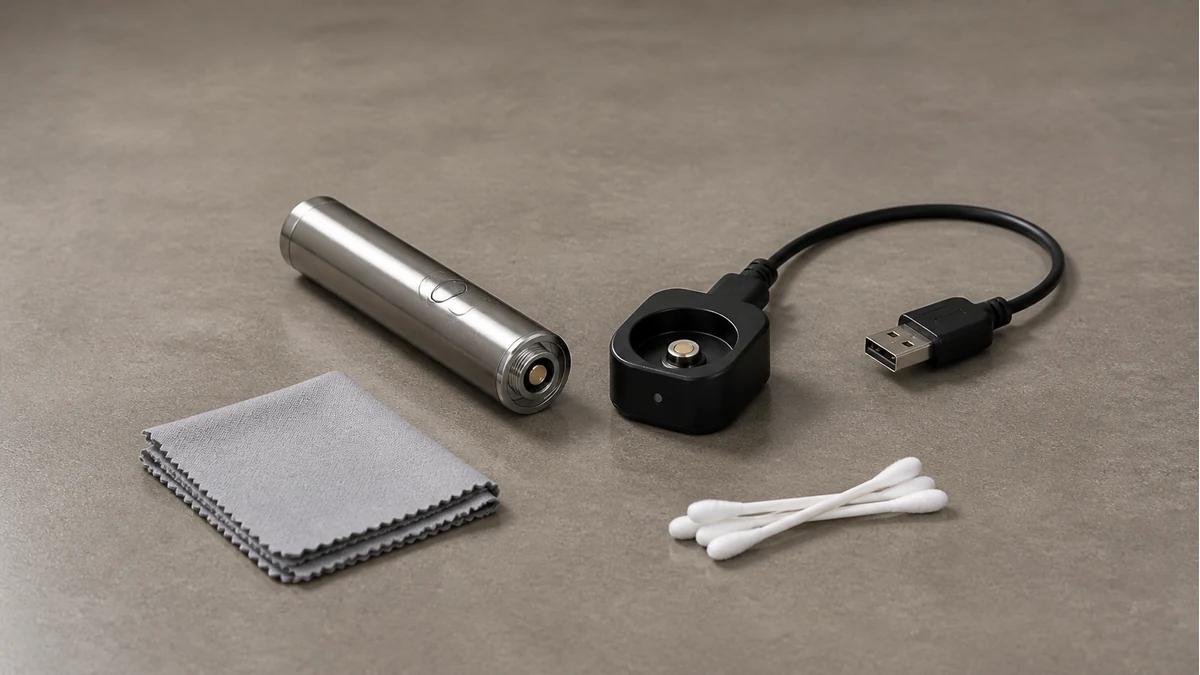
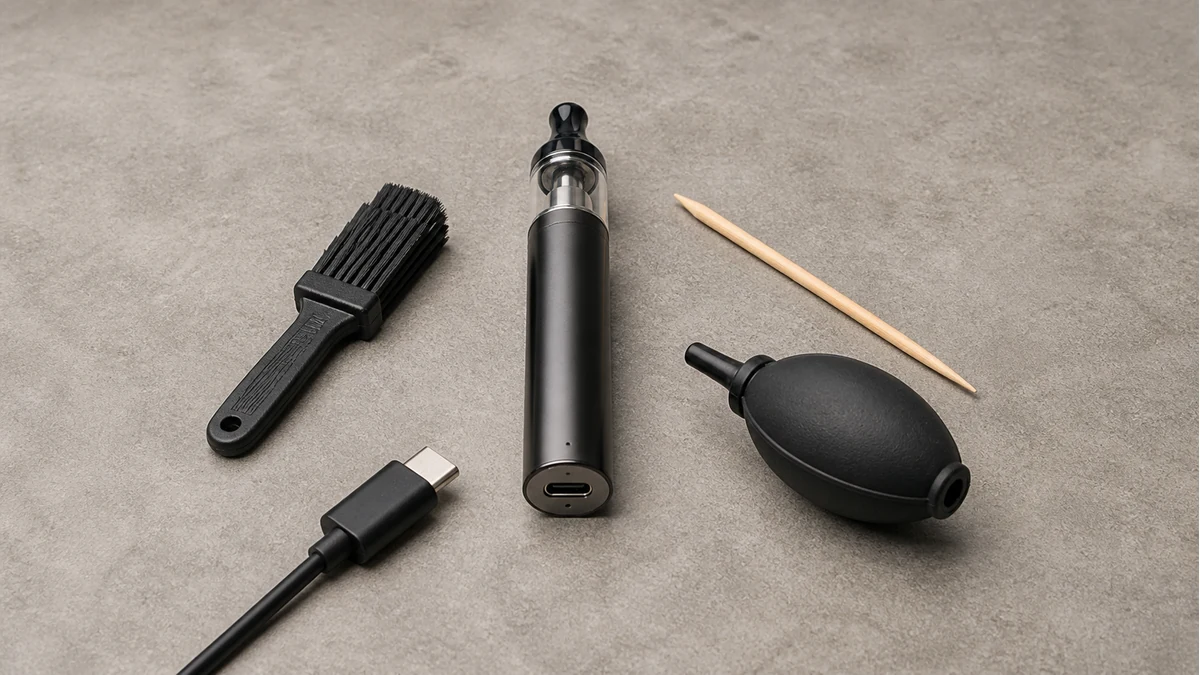
Charging ports collect lint, condensed vapor residue, and pocket debris more than most people realize, especially on devices that ride around in a bag or jacket pocket without a cover. That buildup sits right where the pins need clean metal-to-metal contact, and even a thin film can be enough to interrupt charging without blocking the port so completely that you’d notice by looking. A dry, soft brush — the kind sold for cleaning small electronics, or even a clean, dry toothbrush — worked gently around the port opening is usually enough to dislodge loose debris. Compressed air in short bursts can help clear a port too. Avoid inserting anything metal or sharp to scrape at residue, since that risks bending a pin or scratching a contact surface, which turns a cleaning problem into a hardware problem.
If the device uses a magnetic charging dock rather than a USB port, check the dock’s contact points the same way. Magnetic connectors are convenient, but the exposed metal pads are just as prone to collecting film and oxidation as a covered port, sometimes more so because they’re not shielded by a plug.
🔗 4. Threaded Contacts and 510 Connections
For devices built around a 510-threaded battery and a separate charger cradle or 510 USB adapter, the threading itself is a common point of failure that gets overlooked because people focus on the port instead. The center pin at the top of a 510 battery can develop a thin oxidation layer over time, particularly with regular use, and that layer is enough to prevent reliable contact with a charging adapter even when everything else is functioning correctly. A dry cotton swab, or a swab lightly dampened with isopropyl alcohol and then fully dried before reconnecting, run gently across the pin and the surrounding threads can restore a clean connection. Never charge a device with any moisture still present on the contacts. If you’re working with a 510 USB charger specifically, our 510 USB charger guide covers how these adapters are meant to seat and what a proper connection should look and feel like, which is useful for confirming you’re not just dealing with a battery that was never fully threaded into the charger in the first place.
🌡️ 5. Temperature, Lock States and Battery Protection
🌡️ 5.1 Cold and Hot Temperature Cutoffs
Lithium-based batteries are protected against charging outside a safe temperature range, and that protection is deliberate, not a malfunction. A device that’s been sitting in a cold car, near an air conditioning vent, or outdoors in winter may refuse to charge, or the light may behave erratically, until it warms closer to room temperature. The same is true in reverse — a device that’s been in direct sun or a hot glovebox may need to cool down before the protection circuit allows current to flow again. The fix here isn’t a repair at all; it’s patience. Bring the device to a stable, moderate indoor temperature and try again once it’s had time to equalize.
🌡️ 5.2 Button Locks and Standby Modes
Many devices with multi-function buttons include a lock feature, often triggered by a specific click pattern, that’s meant to prevent accidental firing in a pocket or bag. Depending on the device, an active lock state can also interfere with how the charging light responds, or make the device appear unresponsive when it’s actually just waiting for the unlock sequence. If your device uses a button at all, check the manual or the printed instructions that came with it for the lock and unlock combination before assuming a charging fault. This is an easy step to skip and an easy one to be embarrassed about later.
🔋 6. Battery Age and Charging Behavior
Rechargeable batteries lose capacity gradually with normal use, and that decline shows up in charging behavior before it shows up anywhere else. A battery that used to reach a full charge in a predictable amount of time and now takes noticeably longer, or one that shows a full light within minutes but doesn’t hold a charge through the day, is exhibiting normal aging rather than a sudden defect. This is worth distinguishing from a true no-charge fault, because the troubleshooting steps are different — cleaning contacts and swapping cables won’t restore capacity that’s genuinely been lost over time. If you want a clearer sense of how charging cycles, adapter compatibility, and battery lifespan interact, the vape battery charger guide goes into more detail on what realistic charging behavior looks like as a battery ages.
⚠️ 7. When to Stop Charging Altogether
Most charging problems are mechanical and boring — a worn cable, a dirty port, a cold room. But there’s a short list of signs that mean you should stop trying to charge the device and set it aside instead of continuing to troubleshoot:
- Visible swelling or a puffed, distorted battery casing
- A sharp or chemical smell coming from the device, especially during charging
- The device or cable becoming uncomfortably hot to the touch while charging
- Cracks, dents, or visible damage to the outer casing near the battery compartment
- Any leaking or residue around the seams of the device
None of these are situations to work around with a different cable or a firmer connection. If you see any of them, disconnect the device from power, don’t attempt to open the casing or force a charge, and stop using that unit. This isn’t a case where patience or cleaning helps — it’s a signal that the safe troubleshooting window has closed.
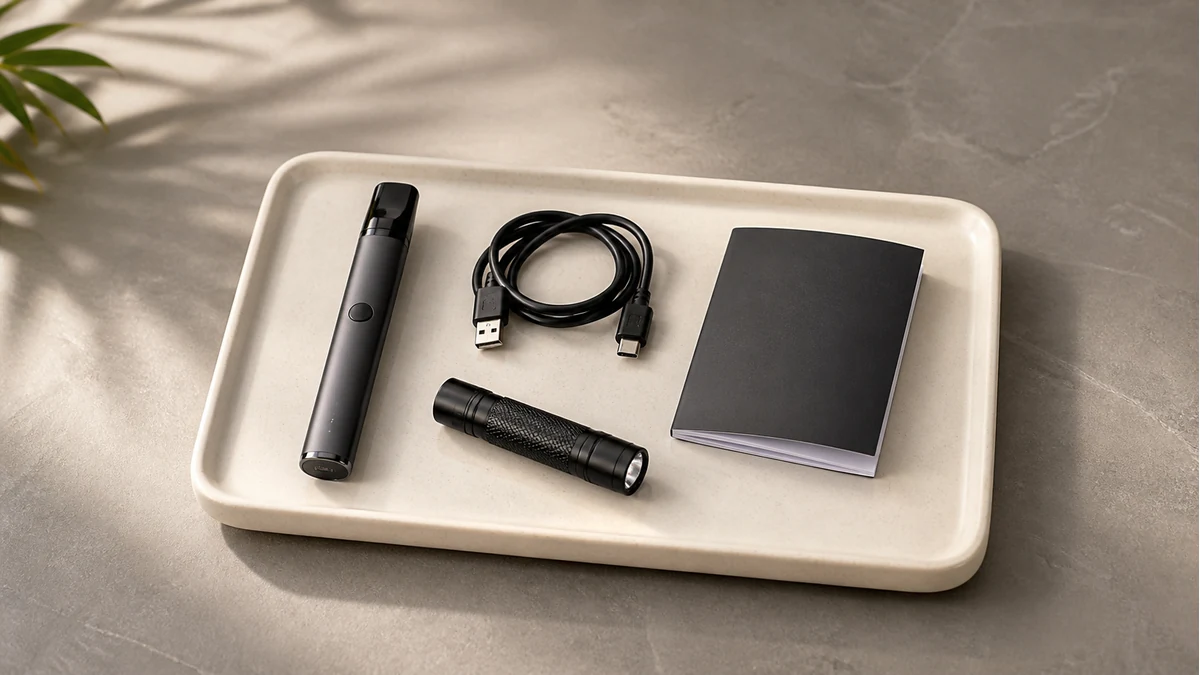
A useful way to keep the diagnosis honest is to change only one variable at a time. Start with the charging setup named in the manual, note the indicator behavior, and then test one known-compatible cable or source if the instructions allow it. If three things change at once, a successful charge does not reveal which connection was at fault. Stop the process when the device becomes unusually warm, the case changes shape, the port is loose, or the manual’s expected indicator never appears. At that point, the safe next step is the manufacturer or qualified service channel, not a improvised repair. That boundary matters because the charging circuit and cell are not user-cleanable parts simply because the exterior port is visible.
❓ 8. Quick Answers
The light never comes on at all — where do I start? Swap the cable and the power source first, since those two variables are sensible external checks before the device itself is blamed before the device itself is even involved.
The light comes on but the device won’t fire afterward. Check for an active button lock or standby mode before assuming the charge failed — some devices simply need to be unlocked to respond.
Is it normal for charging to take longer than it used to? Gradual increases in charging time are typical as a battery ages and usually aren’t a sign of a defect on their own.
Work through the checks in order — power source, cable, port, contacts, temperature and lock states, then battery age — and most charging problems resolve well before you need to consider the battery a lost cause. The exceptions are the physical warning signs above, and those call for setting the device aside rather than pushing through with another cable.
📚 9. Sources and Reader Questions Reviewed
Technical statements were checked against the sources below. Reddit discussions were used only to identify reader questions and language, not as proof of technical, health, safety or legal claims.
- FDA battery charging and handling guidance
- Vaporesso device troubleshooting FAQ
- Reddit discussion sp9q1l (reader-question research only)
- Reddit discussion 5vgz7q (reader-question research only)
- Reddit discussion 1m0k7bd (reader-question research only)
For external connector maintenance, see how to clean a 510 battery.