You set a live resin cart to the same voltage that worked perfectly last week, take a short pull, and get almost nothing. So you bump it up. The vapor improves—but the flavor suddenly feels flatter.
That frustrating little loop is why “What is the best voltage for live resin carts?” never has one honest universal answer. The useful answer is a starting range, followed by a quick way to read what your particular cartridge is telling you.
Why one voltage cannot fit every live resin cart
A voltage number describes the electrical potential supplied by the battery. It does not, by itself, tell you the coil temperature or the amount of heat reaching the oil. Cartridge resistance, heating-element design, airflow, oil formulation, saturation and draw length all change the result.
The basic electrical relationship helps explain why small adjustments can feel surprisingly large. For a mainly resistive load, power can be expressed as P = V²/R. If resistance stays the same, raising voltage increases power by the square of that change—not in a simple one-to-one line. That is why moving from 2.4V to 2.8V can be more noticeable than the display suggests. The relationship is explained in OpenStax’s electrical power reference.
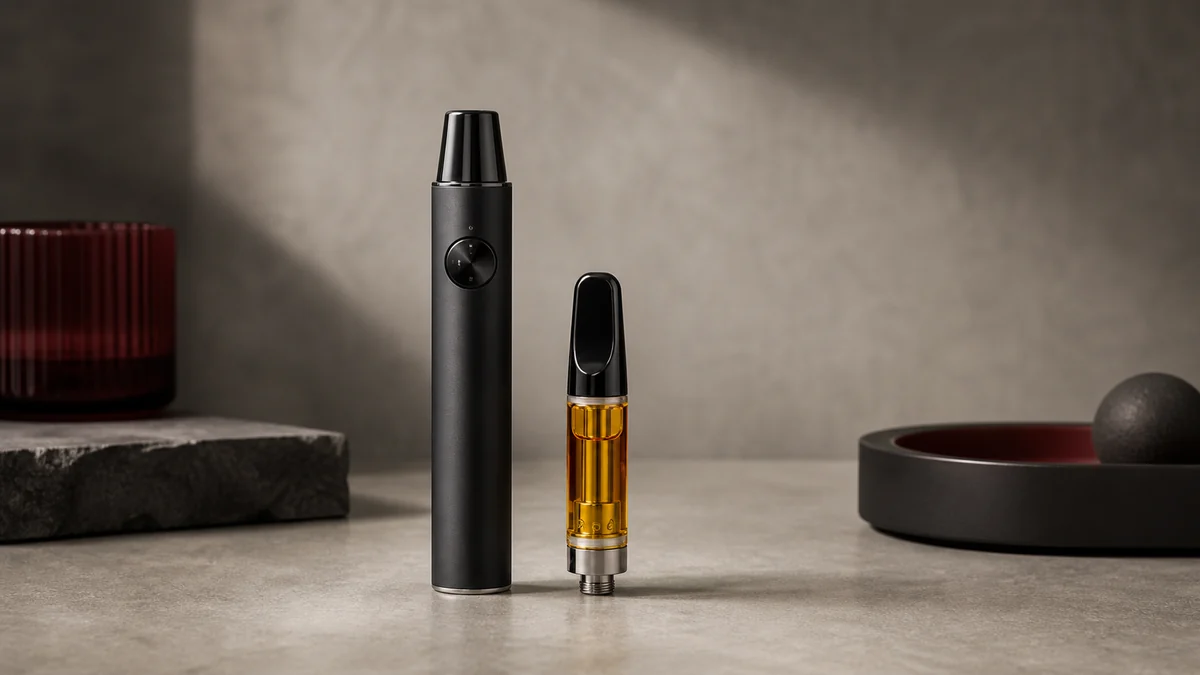
It also explains a common purchasing mistake: evaluating a battery only by its voltage labels. A cartridge and battery have to work as a pair. A buyer comparing 510 thread batteries should look at the usable adjustment range, step size, preheat behavior and compatible resistance—not just the maximum voltage.
What verified guidance actually says
CCELL’s published guide gives 2.5–3.3V as a general range for its live resin cartridge discussion and recommends starting low, then increasing gradually. That is useful manufacturer guidance, but it is not an industry-wide rule for every cartridge. Different hardware suppliers may specify different operating windows. When a cartridge maker provides a range, that range should take priority.
Reddit conversations often cluster lower. In one discussion about Trulieve live resin carts, several users mentioned roughly 2.0–2.3V. A much larger Yocan discussion ranged from about 1.8V into the upper 2V range, with people trading flavor for vapor density. Those comments are valuable as real-world listening, not as laboratory evidence or a product specification.
The most defensible practical answer is therefore:
Start at the low end of the cartridge maker’s recommended range. If no range is available, begin with the lowest stable setting your compatible battery offers, take a short controlled draw, and move up in small steps only when vapor is too light and the taste remains clean.
A five-pull method for finding the right setting
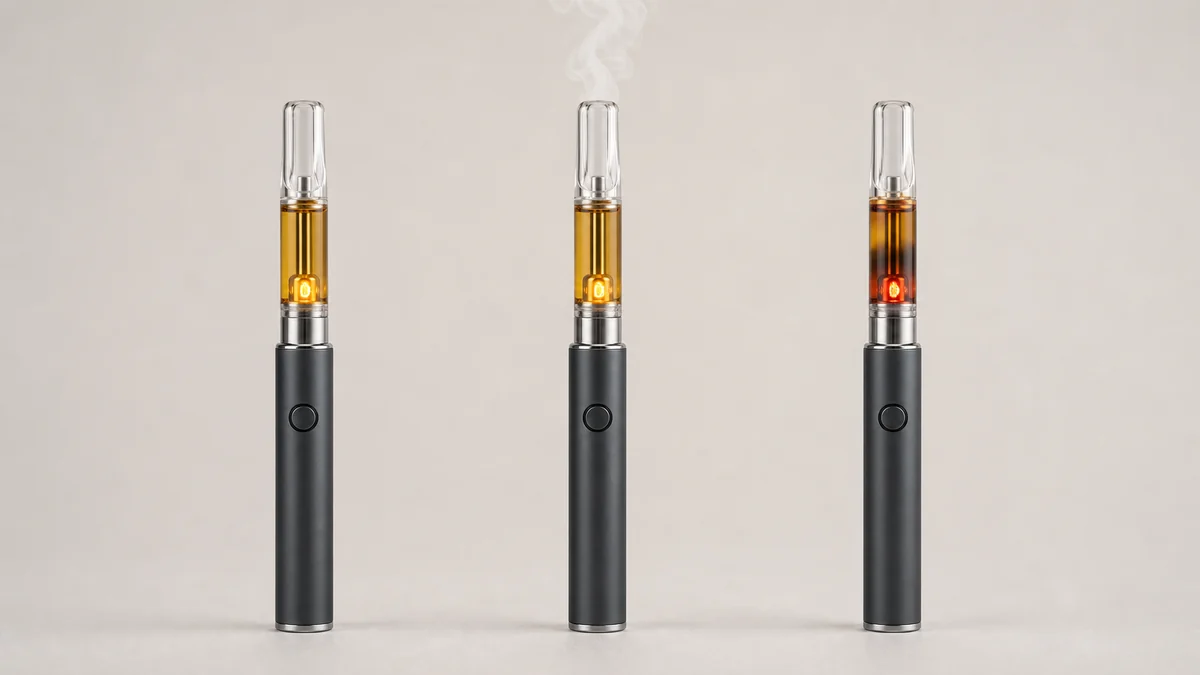
You do not need to chase the number for half a session. Use the same cartridge, similar draw length and enough rest time between pulls so that each change means something.
- Check the hardware first. Confirm that the cartridge is compatible with the battery and seated correctly. Do not force the connection.
- Start low. Use the manufacturer’s minimum when available. Otherwise, select the battery’s lowest stable setting.
- Take a short, gentle draw. A hard or very long pull changes airflow and heating, making the comparison less useful.
- Wait and inspect. Give the cartridge time to resaturate. Notice vapor density, taste, draw resistance and whether the oil around the intake ports looks normal.
- Increase one step only if needed. Stop when vapor becomes satisfying. If taste turns harsh or burnt, return to the last clean setting and allow the cart to rest.
The best setting is not the highest one the cartridge survives. It is the lowest setting that produces consistent vapor without sacrificing the experience or repeatedly pushing the cartridge beyond its intended range.
Read the cart, not just the screen
| What you notice | What it may mean | Reasonable next check |
|---|---|---|
| Very light vapor, clean taste | Power may be low, but airflow or contact can also be involved | Check the connection, then raise one small step |
| Harsh or burnt taste | Too much power, a dry wick, poor saturation or damaged hardware | Stop, lower the setting and let the cart rest; do not keep firing it |
| Good first pull, weak next pull | The cartridge may need more time to resaturate | Space out draws rather than immediately raising voltage |
| Gurgling or oil in the mouthpiece | Flooding, temperature change or airflow pressure—not necessarily low voltage | Keep the cart upright and follow the maker’s clearing instructions |
| No response at any setting | Contact, battery charge, resistance mismatch or cartridge failure | Stop voltage testing and isolate the hardware problem |
A Reddit post about a first live resin cart illustrates this well: the user found the lowest preset weak, but the replies disagreed about whether more voltage or preheat was the answer. That disagreement is the point. A symptom can have several causes, and turning the voltage up is only one possible test.
When voltage is not the problem
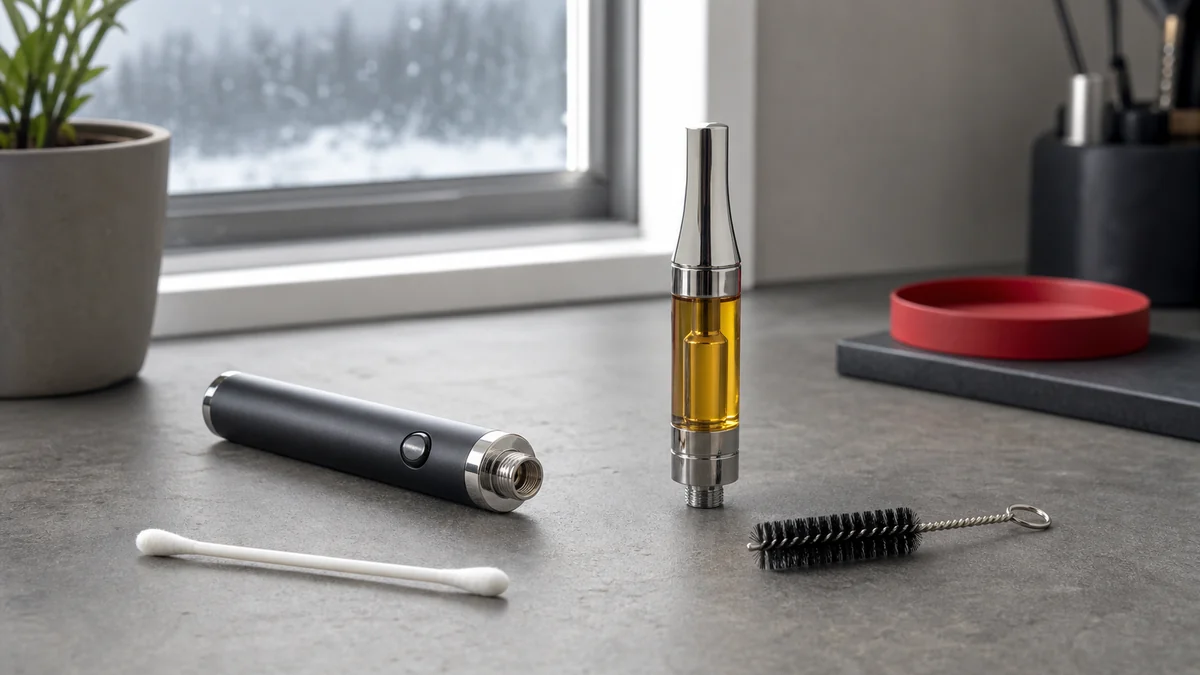
If a cart tastes burnt even at a very low setting, stop treating voltage as the only variable. The heating element may not be fully saturated, the oil may not be reaching the intake ports consistently, or the cartridge may already be damaged. Repeatedly firing a dry or failing cart rarely improves it.
Weak output can also come from a dirty contact, a nearly empty battery, blocked airflow or a resistance mismatch. A clogged airway needs a different diagnosis; our guide to why carts clog and how to clear them covers that process without pretending extra heat fixes every blockage.
Room temperature matters, too. A cart moved from a cold environment may flow and saturate differently from one that has been stored normally. Let it return naturally to the operating conditions allowed by its manufacturer. Avoid improvised external heating.
Preheat is a tool, not a default ritual
Preheat can help some compatible cartridges when oil is cold or the airway is beginning to resist, but preheat implementations are not identical. Some batteries use a brief low-power cycle; others behave differently. Running preheat before every draw may add unnecessary heat and can worsen flooding or leakage in the wrong setup.
Use it only when the battery and cartridge instructions support it and the symptom actually calls for it. For procurement teams, this is worth testing directly: a “preheat” label on a specification sheet tells you less than the cycle duration, output behavior and repeatability.
Match the battery range to the cartridge
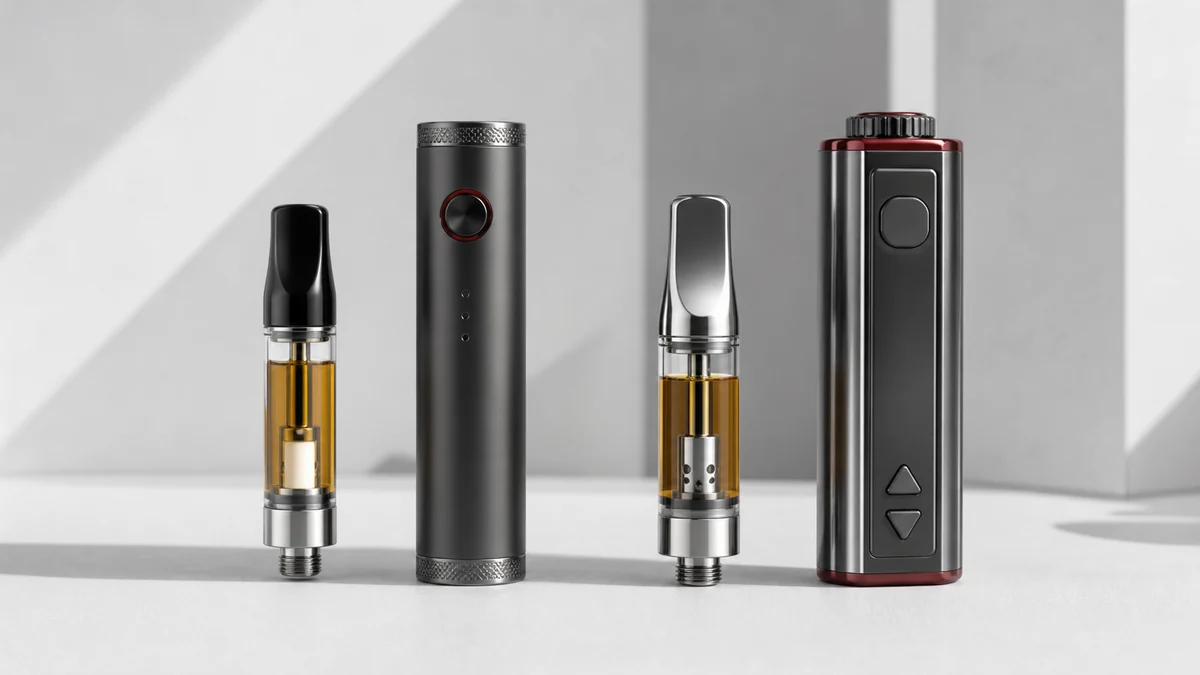
For a consumer choosing one battery—or a brand sourcing thousands—the first question should be whether the adjustment range overlaps the cartridge’s intended range. Fine control at the low end is often more useful for live resin evaluation than a high maximum setting.
AOVAPE’s Y200 variable-voltage battery, for example, has verified presets of 3.2V, 3.4V and 3.6V plus a five-second low-output preheat cycle. Those settings may suit cartridges specified for that window, but the device should not be presented as a universal match for carts whose suppliers call for operation below 3.2V. That distinction is exactly why OEM buyers should define the cartridge first and the battery range second.
Hardware teams should record the cartridge resistance range, oil formulation, intake design, airflow, battery step size and tested draw protocol. Then sample more than one production unit. The goal is not to discover a magical voltage; it is to build a repeatable operating window that the actual vape cartridge and battery can share.
The useful answer
If you need a starting point, use the cartridge manufacturer’s lowest recommended setting. Published CCELL guidance discusses 2.5–3.3V for live resin, while many community users report preferring lower settings on particular hardware. Neither number should override the specification for the cartridge in your hand.
Start low, change one variable at a time and stop increasing voltage when the result is already clean and consistent. When a cart still performs badly at the low end, investigate saturation, airflow, contact and compatibility before blaming the number on the battery screen.