A common customization request sounds almost trivial: replace a stock black shell on a 510-threaded box mod with a thicker matte finish. The electronics have not changed, yet coating buildup on the inside face of a battery door can still alter how the door closes against its contacts. That is the useful lesson behind custom vape mods: appearance, enclosure tolerance and electrical fit stop being separate topics as soon as the finish changes a mating surface.
That’s the real story behind custom vape mods: most requests start as cosmetic conversations and end up as small mechanical engineering problems, whether anyone planned for that or not. The visual brief and the mechanical reality usually agree, but the cases where they don’t are rarely obvious from a rendering. Understanding where the line sits — and who needs to sign off on which side of it — is the difference between a smooth custom run and a batch of returns.
🔎 1. What can actually change without touching the electronics
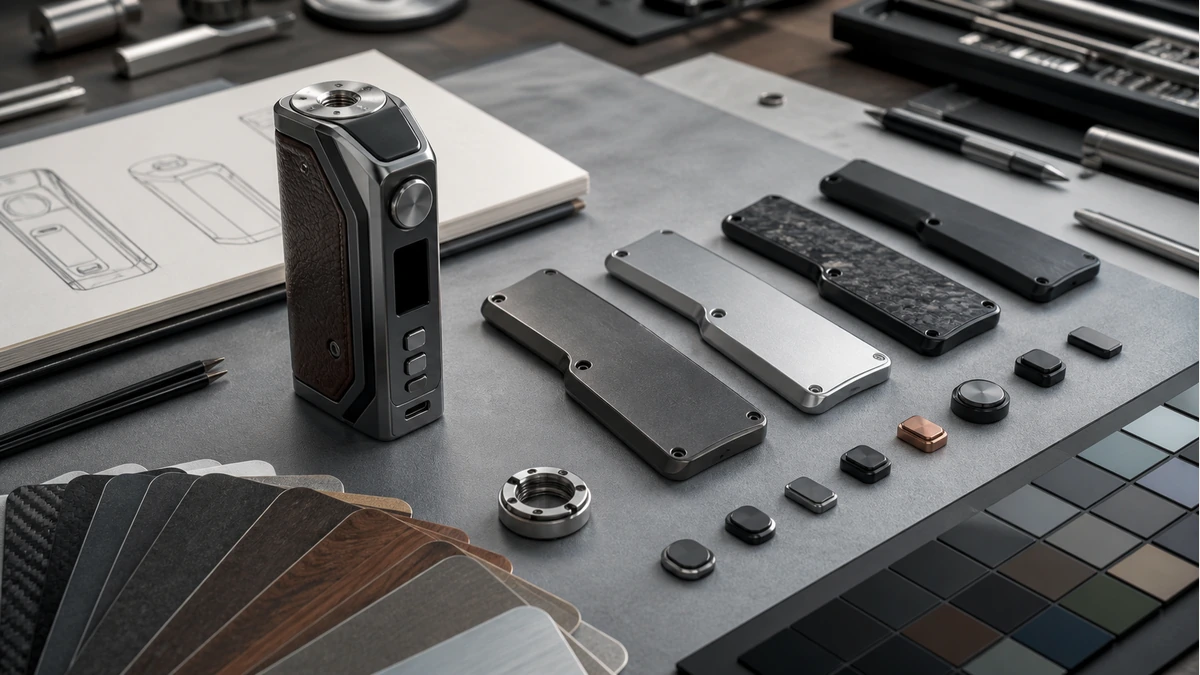
A regulated box mod is built around a fixed core: a control board, a battery bay sized for specific cell dimensions, a 510 connector, and in most cases a screen and a set of buttons. Around that core sits a shell, and the shell is where genuine cosmetic freedom lives.
Common cosmetic customizations that don’t require rethinking the internal layout include:
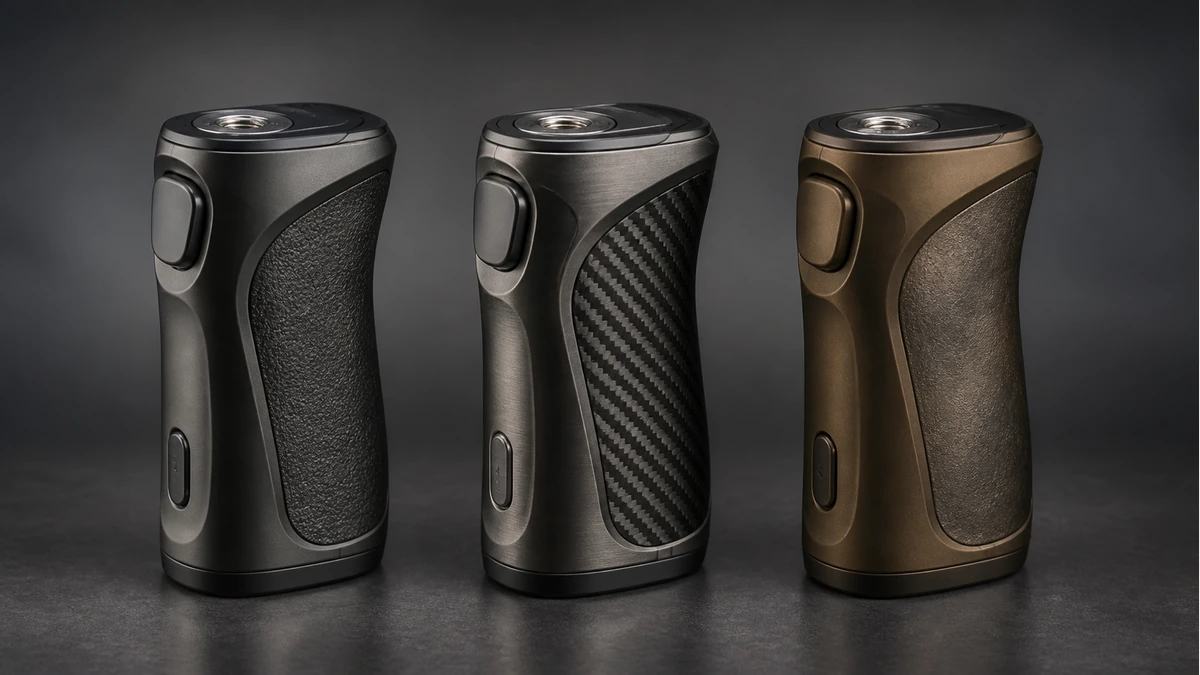
- Shell color, coating, and texture — anodized finishes, powder coats, soft-touch rubberized paints
- Surface treatments and inlays — carbon fiber laminate, wood veneer, stabilized resin panels
- Printed or engraved branding — logos, wordmarks, serial or batch markings
- Button caps and accent trim, provided the underlying switch travel and feel stay the same
- Packaging-matched color programs across a product line
These changes are cosmetic because they sit on the outside of a chassis whose internal geometry — the space the board occupies, the position of the battery contacts, the depth of the 510 connector bore — stays untouched. If you’re starting from an existing platform, our overview of what goes into a modern box mod is a useful reference for seeing which components are considered fixed versus adjustable in a typical build.
The trap is assuming that because a change looks purely visual, it behaves that way mechanically. Finish thickness, panel rigidity, and even the grain direction of a wood inlay can shift how a shell seats against internal brackets by a small but real margin. On a device where the battery door has to compress spring contacts to a specific depth, that margin matters. A coating that adds a fraction of a millimeter across every interior surface doesn’t sound like much until it’s stacked against the tolerance already built into the molded shell, the door hinge, and the contact spring itself.
🧩 2. Where personalization starts requiring engineering sign-off
The moment a request moves from “different look” to “different fit, different clearance, or different thermal path,” it stops being a finishing decision and becomes a hardware decision. A few areas come up again and again.
🧩 2.1 Battery bay geometry and door mechanics
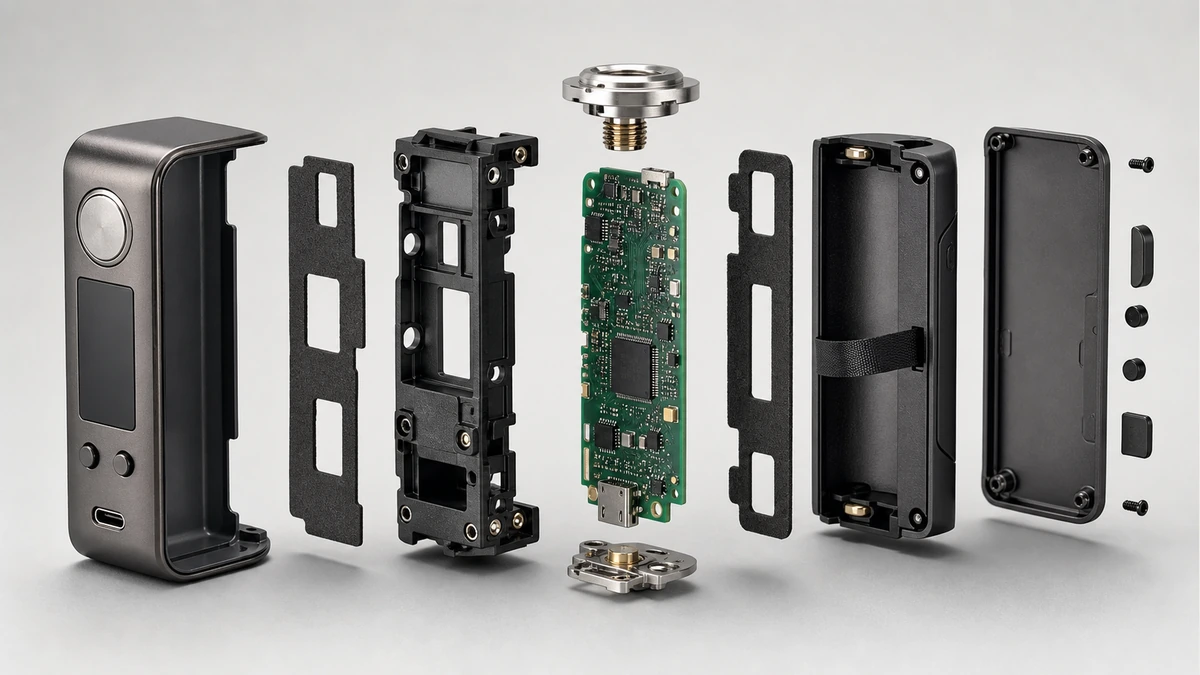
Battery doors aren’t just covers — they’re part of the circuit. They hold the cell in contact with the board’s power path, and the pressure they apply has to be consistent across every unit in a run. A shell redesign that changes wall thickness, door hinge geometry, or the depth of the battery bay can change how firmly that contact is made. Too loose, and contact becomes intermittent under vibration or handling. Too tight, and the door either won’t close or puts uneven stress on the contact springs over repeated cycles. Because cell dimensions vary slightly between battery suppliers even within the same nominal size, a well-designed battery bay also needs enough margin to accommodate that variation without relying on the door to compensate for it.
🧩 2.2 510 connector alignment and pin travel
The 510 connector has to align on two axes at once: the threading has to seat correctly, and the center pin has to have enough travel to make solid contact with whatever atomizer is threaded on, without bottoming out or floating loose. If a shell redesign changes the depth of the connector bore, or the mount plate the connector sits on, pin travel changes with it — even when the connector part itself is unchanged. This is one of the most common places where a purely cosmetic-looking shell revision quietly turns into a fitment problem. It’s also one of the least forgiving, since atomizers from different manufacturers vary slightly in base height and pin protrusion, and a tight-tolerance connector will only compound whatever variation already exists on the atomizer side.
🧩 2.3 Thermal and vent clearance around the board
Regulated mods manage heat by giving the board and battery some room to breathe — vent slots, internal air gaps, and clearance around components that run warm under load. A shell that’s been thickened for a premium feel, or reshaped for a slimmer silhouette, can reduce that clearance without anyone intending it to. This is a case where the visual brief and the thermal reality can pull in opposite directions, and it’s exactly the kind of trade-off that needs an engineering read rather than a design-only decision. A vent pattern that looks purely decorative on a rendering is usually doing real work, and moving or shrinking it for aesthetic reasons is one of the easier ways to turn a cosmetic brief into a thermal one.
🧩 2.4 Buttons, screens, and firmware-adjacent hardware
Fire buttons, adjustment buttons, and screens are mechanically simple but electrically connected to the board through ribbon cables or direct solder points. Repositioning them for a new layout, or changing their travel distance for a different tactile feel, means re-routing those connections and re-validating that the new position doesn’t stress the cable runs during normal use or disassembly for maintenance. Screens in particular tend to sit close to the shell’s outer wall for visibility, which leaves little room to absorb a wall-thickness change without also revisiting how the display window is sealed and supported.
⚙️ 3. Why tolerances and alignment carry more weight than they look
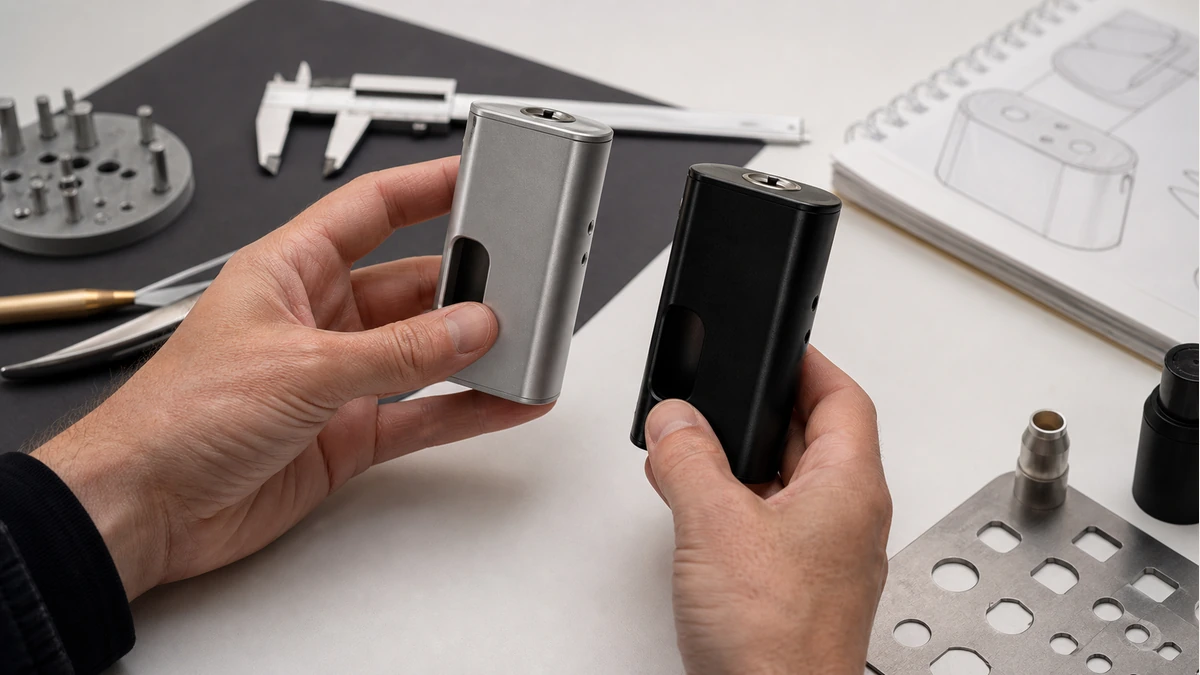
None of these issues come from one dramatic design mistake. They come from tolerance stacking — small, individually acceptable deviations in wall thickness, molding shrinkage, coating buildup, and assembly variance that add up across a chassis. A shell that’s a fraction of a millimeter off in isolation is rarely a problem. The same shell combined with a battery door that’s also slightly off, and a connector plate that’s also slightly off, can produce a unit where nothing individually fails inspection but the assembled device still doesn’t perform consistently.
This is also why alignment problems tend to show up late, after tooling is already cut, rather than early in a design review. A 3D render or even a single hand-finished prototype can look perfect and still not represent what comes out of a production mold run to run. Multi-cavity molds, in particular, can produce parts that are individually within spec but not identical to each other, which means a fit that works perfectly on the first sample off the tool can still fail on parts pulled from a different cavity later in the run. Reviewing how a manufacturer actually manages that variation — not just what their catalog looks like — is worth doing before committing to tooling, and it’s the kind of thing covered in our guide to evaluating a vape hardware manufacturer’s engineering and quality process.
🧰 4. Cosmetic change or engineering change — a quick reference
Not every request falls neatly into one category, but most fall closer to one side than the other. This is a general guide meant to speed up early conversations with a manufacturer, not a substitute for testing a specific design.
| Change requested | Usually cosmetic only | Needs engineering review |
|---|---|---|
| Shell color, coating, or texture | Yes | Only if coating thickness affects internal clearance |
| Printed or engraved branding | Yes | No, unless engraving depth breaches the shell wall |
| Panel material (wood, resin, carbon fiber inlay) | Often | Yes, if it changes wall thickness or rigidity |
| Battery door redesign | Rarely | Yes — affects contact pressure |
| 510 connector mount or bore depth | No | Yes — affects pin travel and threading |
| Vent layout or internal clearance | No | Yes — affects thermal path |
| Button or screen repositioning | No | Yes — affects wiring and assembly |
🔋 5. What should be prototyped and tested before a production run
The way to keep a custom shell or feature change from becoming a production surprise is to treat it as a sequence, not a single sign-off:
- Dimensional check against the existing platform. Compare the new shell or component design directly against the board, battery, and connector it has to house — not against a spec sheet, but against the physical parts.
- Dry-fit assembly with no power connected. Confirm the shell closes properly, the battery door seats correctly, and nothing binds or flexes unexpectedly, before any cell is installed.
- Powered functional testing. Install a battery and confirm the connector makes consistent contact, the buttons and screen respond normally, and the device fires as expected across repeated cycles.
- Extended use and handling testing. Run the prototype through normal daily handling — pocket carry, repeated battery swaps, connector threading and unthreading — to see whether contact quality or fit degrades with use rather than just on day one.
- Small pilot batch before full production. Build a limited run using the actual production tooling and process, not hand-finished samples, since molding and coating variance only shows up at that stage.
Each step is worth documenting, even briefly, so that a fit issue caught in step two doesn’t get rediscovered from scratch in step five. A short written record of what was checked and what changed between prototypes is often the difference between a pilot batch that confirms a design and one that just repeats the same undiscovered problem at a larger scale.
Brands that already work with a manufacturer on established platforms often fold this sequence into an existing OEM or ODM development process rather than starting from scratch each time. If that’s the direction you’re considering, it’s worth looking at how OEM and ODM development programs typically structure this kind of prototype-and-validate cycle before a design goes to tooling.
🧪 6. Frequently asked questions
Can I change the outer finish of a mod without affecting anything else?
In most cases, yes — color, coating, and surface texture are the areas with the most freedom. The exception is when a coating or laminate is thick enough to change internal clearance, which is worth checking rather than assuming.
Does a shell redesign ever affect how the device performs?
It can, indirectly. Changes to wall thickness, vent placement, or battery door geometry can affect contact quality or internal clearance even when no electronic component has been altered.
Why does connector alignment come up so often in custom builds?
Because the 510 connector depends on precise pin travel and thread engagement, and both are sensitive to even small shifts in the surrounding mount geometry — shifts that are easy to introduce unintentionally during a shell redesign.
How many prototypes are typically needed before a custom design is ready for production?
It varies by how much the design departs from an existing platform, but a single hand-finished prototype is rarely enough on its own — pilot-batch testing on real production tooling is what tends to surface issues that early samples don’t.
What’s the fastest way to tell whether a request is purely cosmetic?
Ask whether the change touches anything the shell has to hold in place under pressure — the battery door, the connector mount, or a vent path. If it doesn’t, it’s usually safe to treat as a finish decision. If it does, it’s worth a quick engineering pass before committing to tooling.
Custom vape mods reward exactly the kind of personalization brands want — until the request quietly crosses into territory that only a physical prototype and a proper test cycle can validate. Treat the shell as design space and the board, battery, and connector as engineering space, and most projects stay on schedule. Blur that line, and even a simple color change can turn into a redesign no one budgeted for.