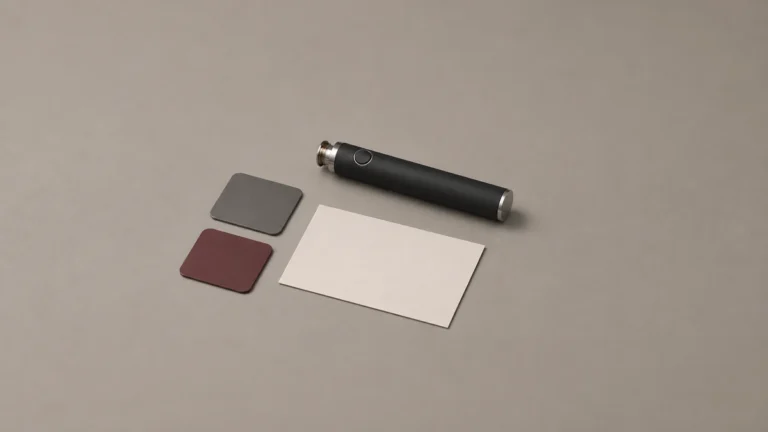
🔎 1. Named-Model Documentation and Variant Caveats
The CCELL Palm Pro and Yocan UNI Pro both use a magnetic adapter arrangement around a 510 connection. The visible controls around that connection serve different purposes. CCELL identifies an airflow collar on the Palm Pro. Yocan describes separate width and height controls on the UNI Pro. The manufacturer pages are the starting point for identifying which part belongs to each housing.
Start with the exact model name on the body or its packaging. Product family names can appear across more than one version, and a photo of a similar housing may belong to a different revision. The comparison here follows the CCELL Palm Pro specification and Yocan UNI Pro documentation.
The model pages describe particular configurations. If a unit has a different model or revision label, locate the corresponding documentation before using this comparison to identify a part.
📐 2. Three Physical Boundaries in the 510 Interface
Both devices use a standard 510 thread, which is the industry-common connection pattern for small vape batteries and cartridges, but “510 thread” only describes the screw pattern itself. The parts around that thread — what holds the cartridge steady, what receives it, and what adjusts for cartridges of different widths or heights — are where the two devices diverge. Breaking the housing into three boundaries makes that divergence easier to see than trying to describe the whole assembly at once.
🔗 2.1 The Connection Ring
The connection ring is the part that physically threads onto, or magnetically mates with, the cartridge’s own 510 pin. On the Palm Pro, CCELL documents this as a magnetic connection built around what the manufacturer calls a magnetic cartridge nut, described on the manufacturer’s own page in the Palm Pro specification as a drop-in magnetic attachment. On the UNI Pro, Yocan’s UNI Pro page describes a magnetic 510 adapter that performs a comparable connecting role but is built and labeled as a distinct component from the battery body. For readers who want a broader primer on how magnetic 510 connections work across different battery families before comparing these two specifically, the AOVAPE guide at magnetic adapter and contact guide covers that general mechanism in more depth.
🕳️ 2.2 The Receiving Bay
The receiving bay is the cavity in the battery body that the cartridge sits inside once the connection ring has made contact. This is the part most directly responsible for how a cartridge is held upright and centered, independent of the electrical connection itself. Readers who are used to thinking about this in box-mod terms, where a chamber or bay performs a similar centering role for larger cartridges, may find the general explanation at 510 box mod interface guide useful context for why manufacturers separate “the thing that connects” from “the thing that holds.”
🎛️ 2.3 Side and Height Hardware
The third boundary consists of any controls and supports around the receiving bay. CCELL names an airflow collar. Yocan identifies separate controls for lateral and vertical position. Check the names of those parts on the diagrams before comparing their shape.
🧲 3. Palm Pro: Magnetic Cartridge Nut and Separate Airflow Collar
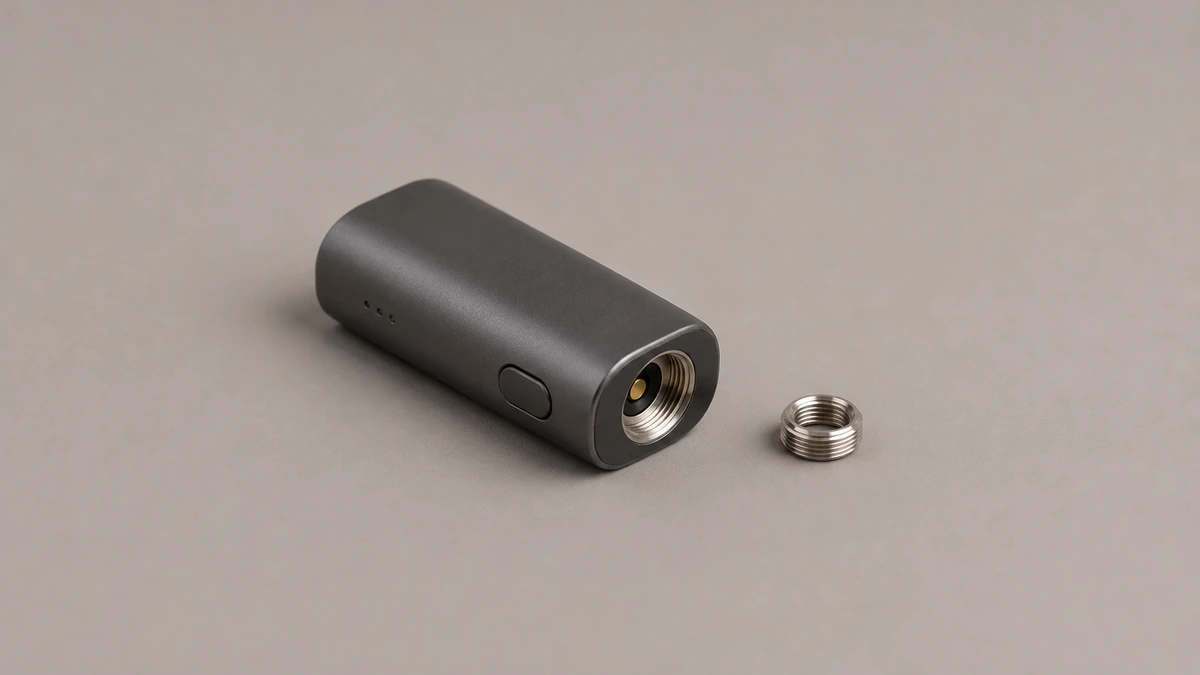
According to CCELL’s own page in the Palm Pro specification, the Palm Pro’s connection is built around a magnetic cartridge nut paired with a drop-in magnetic attachment method, and the housing includes a separate collar that the manufacturer labels specifically for airflow control rather than for fit adjustment. That distinction matters for anyone trying to identify a loose or missing part: the collar on this device is documented as an airflow component, not a sizing or support component, so a reader comparing a Palm Pro to a device with adjustable side hardware should not assume the Palm Pro’s collar serves the same purpose.
CCELL lists airflow control and the magnetic connection separately. Record the name of each feature in a support request. The two names refer to different parts of the device, even if a photo shows both near the top of the housing.
It is also worth noting that CCELL’s product page functions as its own competitive documentation — it describes the Palm Pro’s parts and their purpose, but it was not written to compare those parts against a different manufacturer’s adjustment hardware, and it makes no claims one way or the other about how its collar design relates to adjustable designs elsewhere in the market. Any comparison of purpose between the two collars is being made in this article, not in either manufacturer’s source material.
🛠️ 4. UNI Pro: Width Dial and Vertical Height Slider
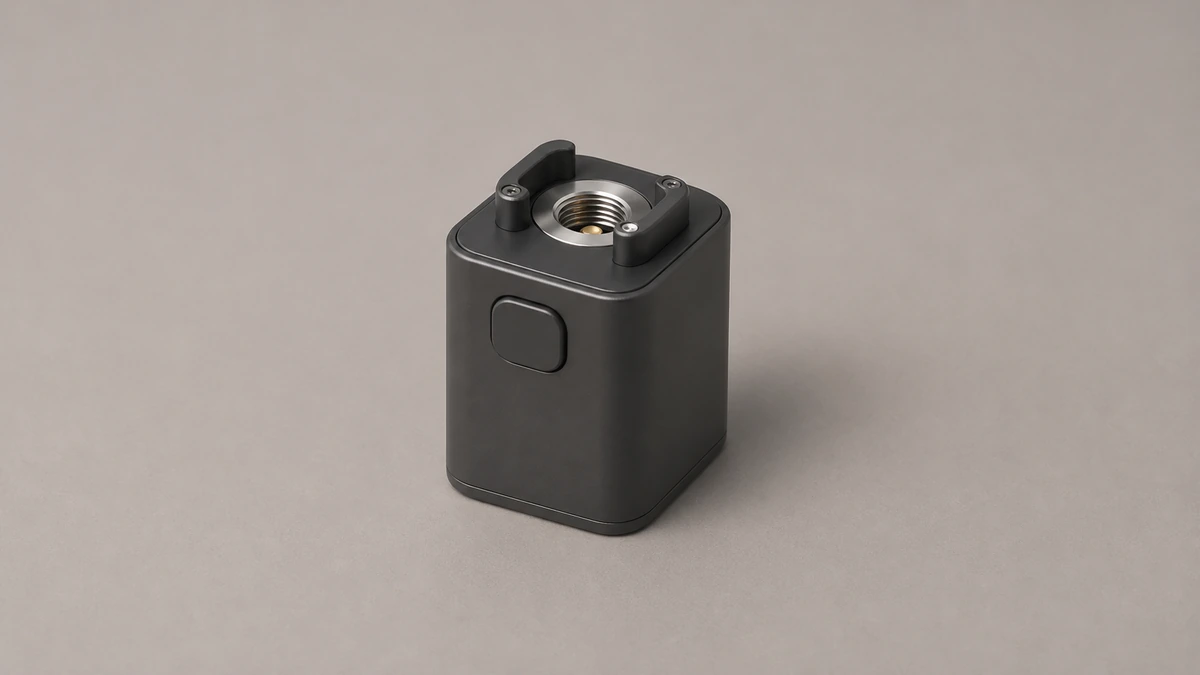
Yocan’s UNI Pro page describes the UNI Pro’s connection as a magnetic 510 adapter, similar in basic function to the Palm Pro’s magnetic nut in that both makers describe magnetic retention at the receiving housing. The threaded cartridge interface and the electrical contact surfaces remain separate parts of the assembly. Where the UNI Pro’s documented hardware differs is in what sits around that adapter: Yocan’s page describes a separate width dial and a separate vertical height slider as two distinct physical controls on the housing, each performing a different adjustment role — one described as governing lateral support and the other as governing vertical position of the seated cartridge.
The width dial and height slider have separately named roles in Yocan’s documentation. Those controls belong to the housing. An adapter is a different part. For another layout example, AOVAPE’s side-by-side 510 battery guide explains why the position of a receiving bay is a separate design choice.
As with the Palm Pro, the UNI Pro’s own manufacturer page describes its hardware for its own purposes and was not written as a comparison document. Readers should also keep in mind that Yocan, like most manufacturers, has produced model variants over time, and current page wording describes the current listing rather than every unit sold under the UNI Pro name historically.
🖼️ 5. Inactive Parts Photo Comparison
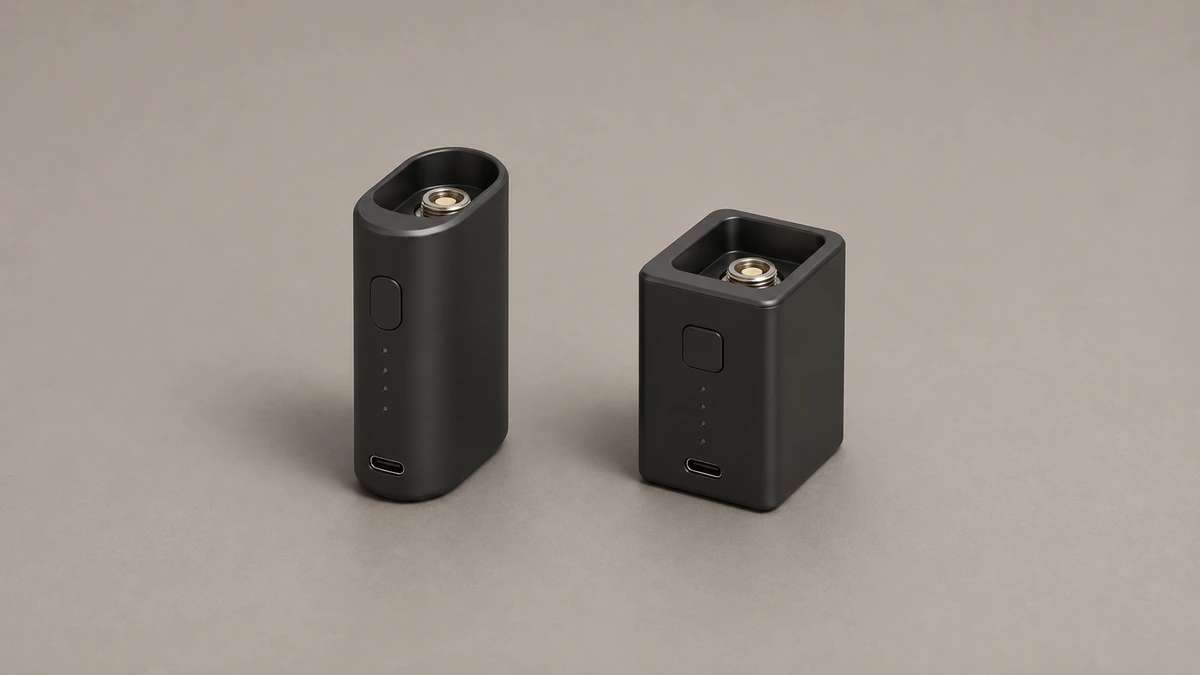
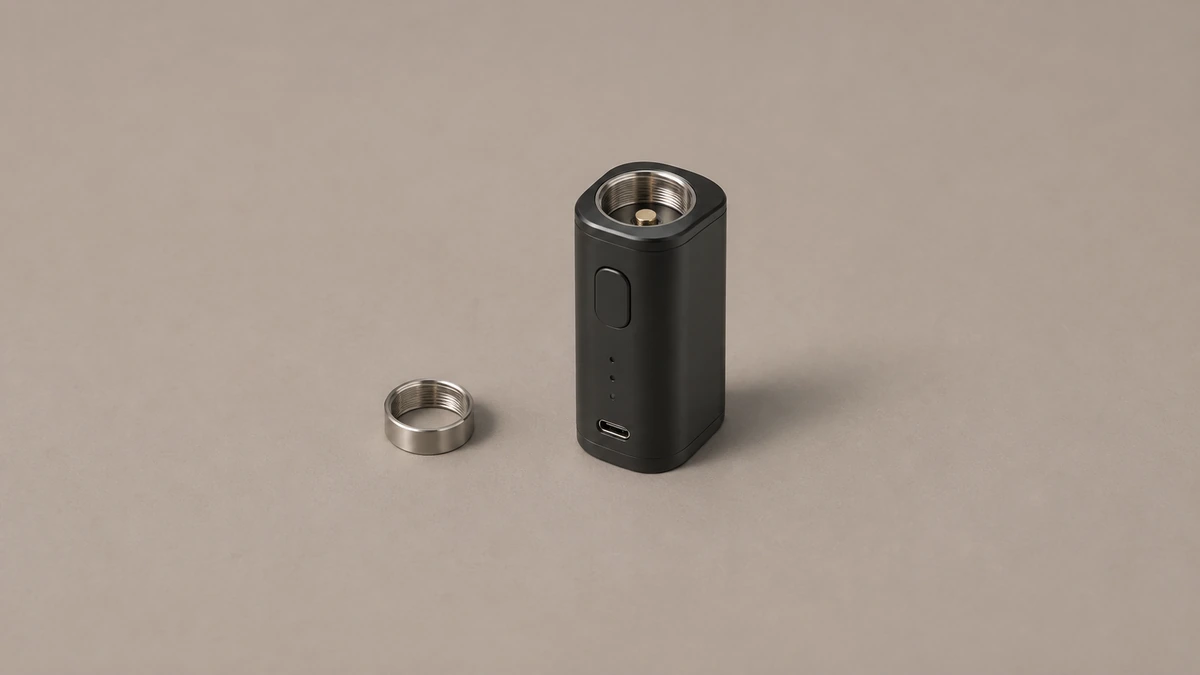
The images in this article show inactive, generic mockups. Look for three features in a full view: the threaded component, the opening it approaches, and the separate structures around that opening. When the ring is shown by itself, the edge profile is easier to see than in a view from directly above the bay.
A generic photo with two empty housings can help identify where to look for the bay and the loose ring. It cannot confirm the geometry of either named model. Use the manufacturer’s own diagram for the location and name of a collar, dial or slider. Match the diagram to the housing before drawing any conclusion about a loose part.
🔍 6. Identifying a Spare Part: Ring, Collar, or Dial
Buyers and service teams handling loose spare parts sometimes need to identify which housing a given ring, collar, or dial belongs to without having the full device on hand. The three boundaries described in Section 2 give a useful checklist for that identification task, even though neither manufacturer publishes a dedicated spare-parts identification guide.
🧷 6.1 Visual Cues for the Connection Ring or Nut
A loose ring can be photographed separately from the housing. Note which maker supplied it, which model it came with and whether the relevant diagram gives a part number. Its appearance gives useful context for support, especially when the housing and ring have been stored separately.
🎚️ 6.2 Visual Cues for Adjustment Hardware
A single fixed ring with slotted openings, consistent with CCELL’s airflow-collar description, points toward the Palm Pro’s documented design. Two separate controls — one oriented for side-to-side movement and one for vertical movement — point toward the UNI Pro’s documented width-dial-and-height-slider design. Readers trying to confirm readers’ own identification should still cross-check against each manufacturer’s current page, since this article describes general documented shapes rather than part numbers or interchangeability.
💬 7. Community Questions Behind the Diagram Labels
Three publicly visible community discussions help explain why clear part labeling matters for this comparison, though none of them should be read as evidence of how common any issue is or as proof that any fix works. A June 26, 2025 discussion in r/MedicalCannabisOz described one reader’s concern about a connection issue in a Palm Pro, and the surrounding comments included anecdotal comparisons to the UNI Pro. Those comments reflect individual experience shared in a forum, not a documented defect rate or a verified comparison of reliability between the two devices.
An April 19, 2025 post in r/YocanUniGang asked whether a 510 connector that looked visually similar to the UNI Pro’s own adapter would physically fit the UNI Pro. No reply in that thread constitutes proof of interchangeability, and this article does not draw any interchangeability conclusion from it either. The question itself simply illustrates that visually similar connection rings invite exactly the kind of identification confusion Section 6 is meant to address. A December 27, 2024 post in the same community described a reader mistaking a missing ring for a missing atomizer component, which is a direct, concrete example of why labeling the connection ring, the receiving bay, and the adjustment hardware separately — rather than referring to “the attachment part” generically — helps readers describe what they actually have in hand.
None of these community threads are being used here as evidence of prevalence, as confirmation of a fix, or as a basis for recommending any modification. Suggestions in forum comments involving makeshift physical alterations to either device are not reflected in this article in any form.
🧾 7.1 Put Two Identifiers in the Same Support Note
Suppose a support photograph shows an empty housing and two small rings. One ring was included with the original device. The other came in a separate packet with an unreadable label. Record the model on the housing and the origin of each ring separately. A photograph of the underside and edge of each ring can help the maker identify them. Treat the packet with an unreadable label as unresolved until the maker names the corresponding part.
If the question instead concerns a control around the bay, show the side of the housing in the photograph. A top-down image can make a collar look like a removable ring. The side view can show which feature is part of the housing, while the drawing gives the manufacturer’s own label. AOVAPE’s 510 box mod interface guide separates enclosure dimensions from the threaded connection for this reason.
📋 8. Open Documentation Questions
The source pages give a starting vocabulary for describing the housings. For a replacement part, ask for the maker’s parts list for the exact revision. If the part is a ring, specify its documented name. If it belongs to the housing, include a side view that shows the collar or control near the bay. The maker can then confirm the applicable part or service assembly.
For readers working from a physical unit rather than from these two manufacturer pages: does your housing show a single continuous collar around the bay, or two separate controls positioned at different points around it — and does that match the connection method (threaded nut versus magnetic adapter) documented for the model you believe you have?
When asking about a spare, name the complete housing model and quote the part label from its diagram. If that drawing has no part number, attach a clear photo of the loose component and ask which version it depicts.
A catalog image can also show a part beside a model without stating whether it ships separately. Keep the image and the named part together in the note. Ask whether the drawing applies to the unit in front of you and whether the assembly has an orderable part reference. This makes the question answerable even when a loose ring is difficult to identify by sight alone.
📋 8.1 Read the Photo and Diagram From the Same Side
Take a common documentation problem. The top view shows a round opening, but the side view shows an external control beside it. A parts diagram separates the opening from that control. In your notes, point to the exterior control and record the label used in the diagram. Then make a second entry for the part sitting inside the receiving bay. This gives the support team two well-defined observations instead of a request about an unnamed ring.
On a Palm Pro, the published airflow label helps explain which collar the diagram is referring to. On the UNI Pro, the separate labels for width and height describe two axes of the housing. Use the applicable names when comparing an image of a used device with an official model page. If the image is cropped and hides the side, record the missing view rather than inferring whether a particular control is present.
For a loose component, keep the photos of the top face, edge and underside together. Pair them with a separate photo of the housing and its model label. These views can show what the part resembles and where it was found. Model documentation or the maker’s confirmation is still needed to identify a replacement.