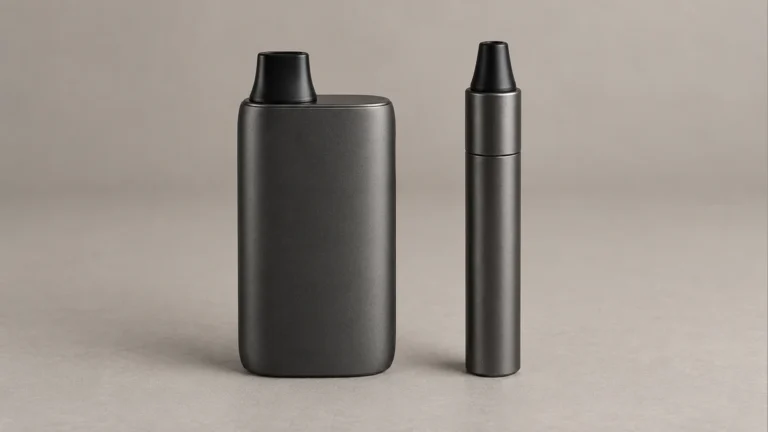
📐 1. Case Geometry and Interior Layout
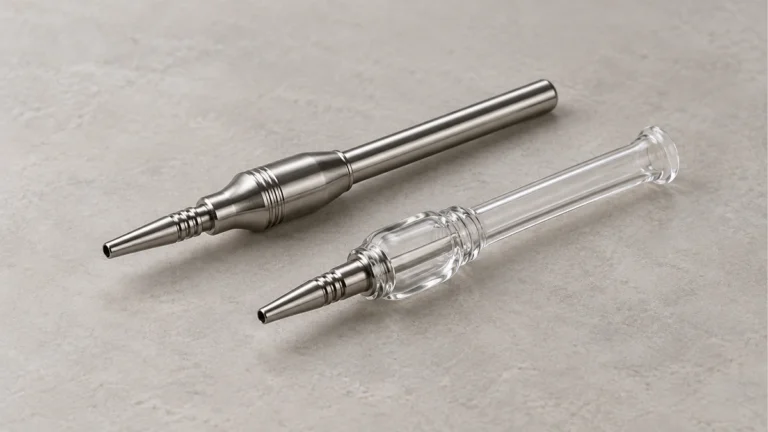
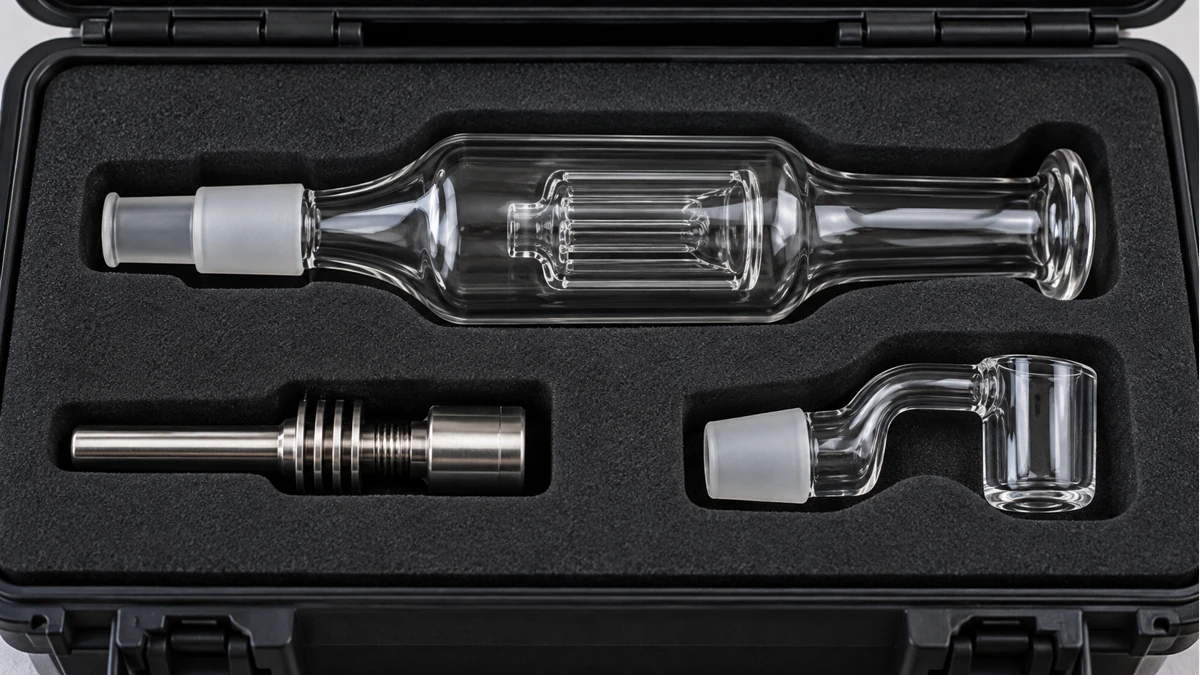
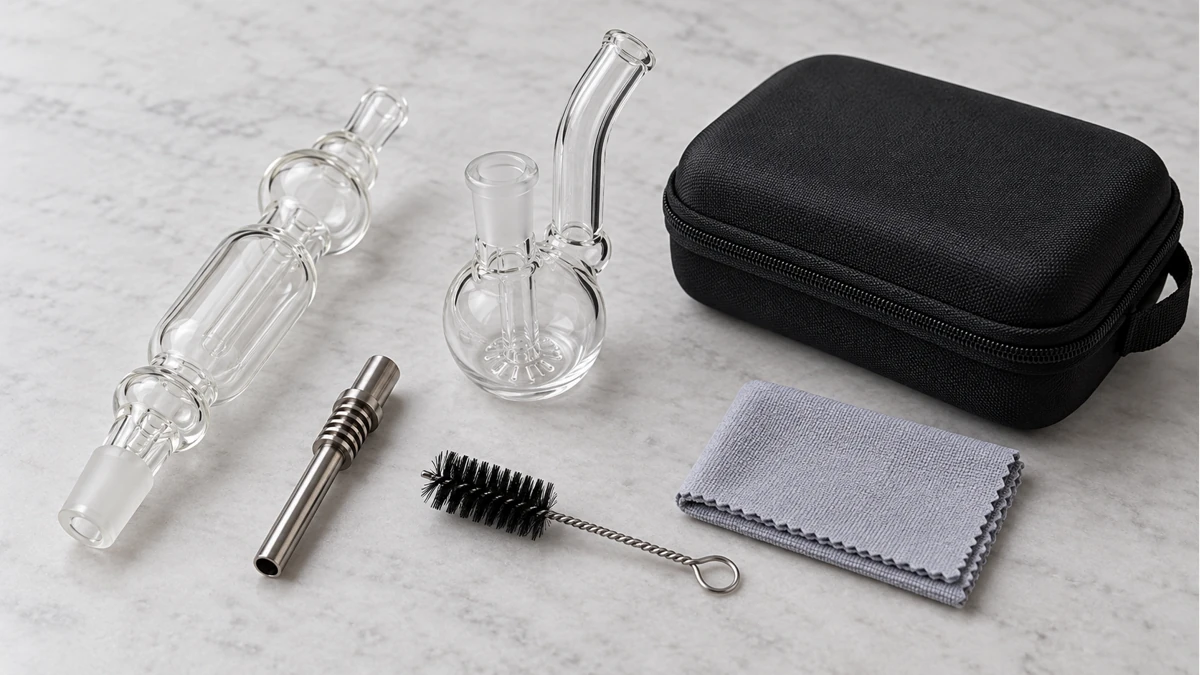
A nectar collector is not one object but several: a tip, a body tube, and often a glass water attachment or bubbler base, plus small tools like a dab pick or cleaning brush. A case built for this device has to account for that shape instead of treating the whole thing as a single wand. Interior geometry usually starts with a long, narrow channel sized to the body tube, since that piece sets the overall length of the case. Around that channel, designers add shorter, wider pockets for the tip and any glass pieces, which are shaped differently and would rattle loose if forced into the same slot as the body.
The relationship between these compartments matters more than the case’s outer dimensions. A pouch that looks compact from the outside can still fail in use if its internal walls do not match the taper of the tip or the curve of a glass joint. Buyers comparing options often look for a layout diagram or a photo of the open interior before purchase, since a folded exterior view rarely shows whether cavities are actually separated or just loosely divided by a single flap.
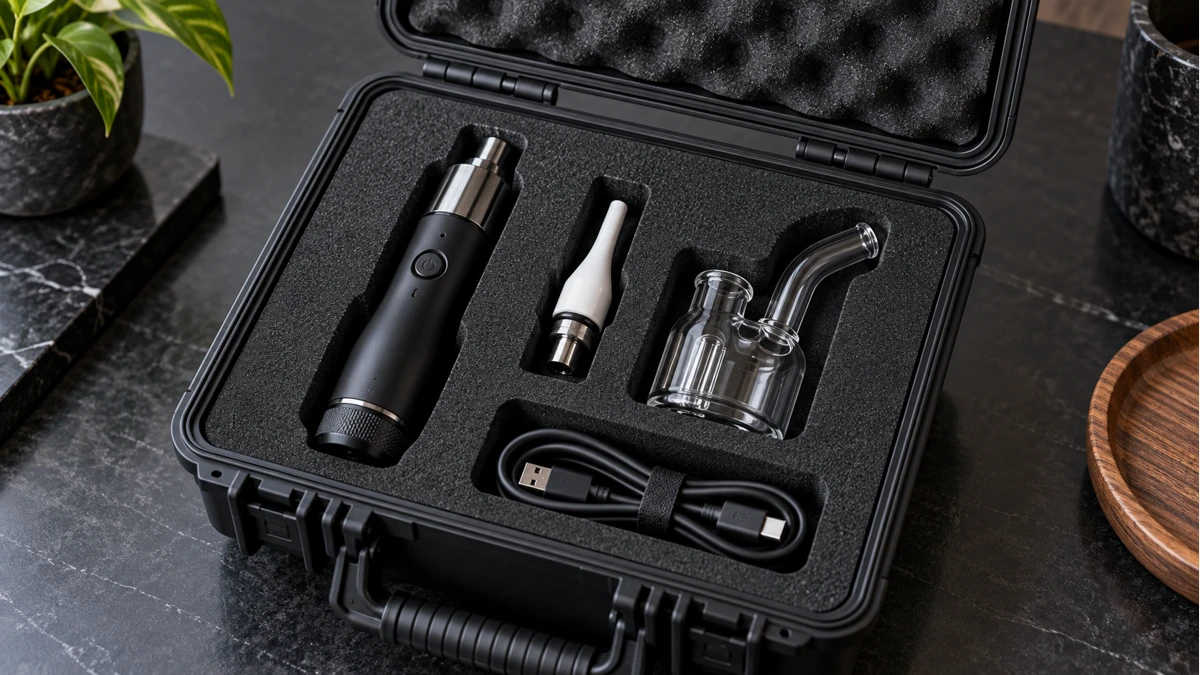
📏 1.1 Matching Contours to Component Shapes
Tip cavities are typically the smallest and most contoured, since tips vary in diameter and often taper toward one end. Body cavities are longer and straighter. Glass cavities need the most cushioning because glass has no flex to absorb an impact, so this pocket is often padded on all sides rather than lined on just the bottom. When a case description mentions “form-fitted” or “contoured” storage, it is referring to this shaping rather than to the outer shell of the case itself.
🛡️ 2. Hard-Shell vs Soft-Shell Construction
Cases generally fall into two structural categories: rigid shells built around a hard outer layer, and soft-sided pouches made from flexible fabric with little or no internal frame. Neither is universally better; the choice depends on how the case will be carried and what it needs to protect against.
🎒 2.1 When a Soft Pouch Is Enough
Soft-sided cases are lighter, fold flatter, and take up less room in a bag. They rely on internal padding, dividers, or foam inserts rather than a rigid exterior to keep components from touching each other. This works reasonably well for short trips or storage in a stable spot, such as a drawer or a backpack pocket that is not likely to be crushed or dropped. The tradeoff is that a soft case offers less resistance to a hard knock or something heavy being set on top of it, since the fabric itself can compress or deform under pressure.
🧱 2.2 When a Hard Shell Is Worth the Bulk
Hard-shell cases add a rigid outer layer, often over a foam interior, so the shape holds even if something is stacked on top or the case is set down harder than intended. This matters most for the glass components, which are the least tolerant of pressure or impact. The cost is size and weight: a hard shell cannot compress to fit into a smaller space, so it is a less practical choice for someone who only has a small bag pocket available. People weighing frequent travel against occasional storage are effectively choosing between these two priorities rather than one case being objectively superior.
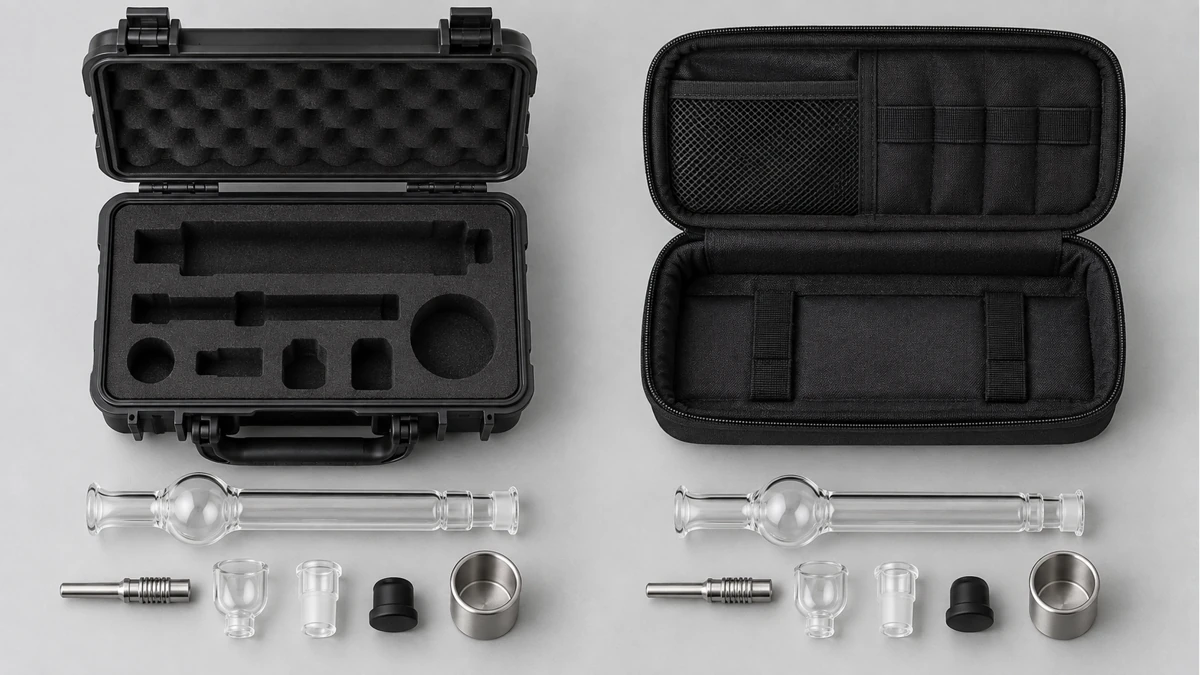
🧰 3. Separate Cavities for Tip, Body, Glass, and Tools
The core function of a purpose-built case is separation. Without dividers, a tip, a body, and a glass piece placed loosely in the same compartment will shift against each other during transport, and glass in particular does not tolerate repeated contact with a metal tip. This is one of the more common questions people ask when comparing storage options: whether a single zippered pouch can really keep a warm metal piece away from a glass attachment, or whether that separation only exists on paper. In practice, it depends entirely on whether the case has physical dividers or padded walls between compartments, not just multiple zippers on the outside.
🔥 3.1 Isolating the Heated Tip
The tip compartment is usually the smallest and often lined with a more heat-tolerant material than the rest of the case, since this piece is the last part of the device to lose residual warmth after use. Isolating it in its own cavity, rather than letting it touch the body tube or glass directly, reduces the chance that leftover heat marks or discolors an adjacent surface during the time it takes to cool.
🧪 3.2 Protecting Glass Attachments
Glass cavities benefit from padding on every side, not just the base, because glass can crack from a sideways knock as easily as from being dropped. Some cases add a soft sleeve inside the glass cavity itself, giving the piece a layer of cushioning in addition to the case’s outer padding. This double layer is particularly relevant for people who travel with the device regularly, since repeated small impacts over many trips can be more damaging than a single larger one.
🛠️ 3.3 A Dedicated Slot for Tools
Small tools, such as a dab pick or a brush, are easy to overlook when evaluating a case, but a loose tool rattling around inside a bag can scratch glass or work its way into a zipper track. A narrow elastic loop or a small mesh pocket set apart from the main compartments keeps these tools from migrating into the space reserved for larger, more fragile pieces.
For readers comparing full accessory sets, a closer look at related AOVAPE hardware guide“>how these tools are typically used and cleaned can clarify why a dedicated slot matters beyond simple tidiness.
🌡️ 4. Storing Only Once Fully Cool
One of the most frequently repeated pieces of advice among people who carry these devices is to let every heated component return to room temperature before placing it into a case. This is a practical concern rather than a safety instruction: foam and fabric linings are chosen for cushioning, not for heat resistance, and a piece that still holds warmth can leave an imprint in foam or, in some pouches, soften the lining material over repeated exposure.
There is no fixed cooling time that applies to every case or every device, since material thickness and how the piece was used both affect how quickly it loses heat. A reasonable general practice is to wait until the piece feels no different in temperature from the surrounding air before sealing it into its cavity. Cases that get packed away while still warm are also more likely to trap residual moisture, which ties directly into the odor and interior wear discussed further down.
🧽 5. Foam Density and Pressure Considerations
Foam inserts do two jobs at once: they cushion components against shock, and they hold each piece in place so it does not shift during transport. Denser foam resists compression better and holds its shape over years of use, while softer foam is quieter and easier to fold but can flatten out in high-contact spots after repeated use, leaving less cushioning where it is needed most.
Pressure also matters in the other direction. A cavity cut too tightly around a glass piece can put constant low-level pressure on the glass every time the case is closed, especially if the case is stuffed into a bag alongside other items. Over time, that persistent pressure is arguably more concerning than a single accidental impact, because it is continuous and easy to overlook. A cavity that holds a piece snugly without requiring force to insert or remove it is generally a better sign than one that grips so tightly the piece has to be pried out.
🔒 6. Zipper Travel and Closure Clearance
Zippers are a common weak point in soft-sided cases, particularly around corners where the pull has to travel around a curve rather than a straight seam. A zipper that binds or requires extra force to close is often a sign that the interior is overstuffed relative to the case’s actual capacity, which puts strain on the teeth and the surrounding fabric every time the case is used.
Clearance around the zipper track also protects the contents themselves. If a cavity is positioned too close to the zipper line, a piece can shift toward the seam and get caught between the teeth when the case is closed, particularly with thin fabric dividers that have some give. Reviewing how far the zipper sits from the nearest hard component, rather than just checking that the case closes at all, gives a better sense of long-term durability. This is one of the details people frequently mention comparing storage solutions in online discussions, generally asking whether a case’s zippers hold up to repeated daily use rather than just an initial test close.
👃 7. Odor Containment Limits
Many cases advertise some form of odor resistance, usually through a lining material or an added layer inside the fabric shell. It is worth understanding what this actually does: it can reduce how much odor passes through the case walls to the outside, but it does not eliminate residue that has already built up on the components themselves. A case’s lining manages what escapes the bag; it does not clean or neutralize what is inside the compartments.
Odor control also has practical limits tied to airflow and seal quality. A case with a tight closure and a lining designed to limit odor transfer will generally perform better than a similar case left partly open or with a stretched, worn zipper seal. Neither hard-shell nor soft-shell construction inherently performs better here; the lining material and how well the case seals shut matter more than the rigidity of the outer shell. For anyone weighing this feature specifically, related AOVAPE hardware guide“>a more detailed comparison of lining materials is a useful next step rather than relying on marketing language alone.
🧭 9. Confirm the Case Layout With Cold, Clean Hardware
Before cutting foam or trusting a fitted insert, assemble every component cold and place it in the proposed layout. Nothing should touch a fragile glass edge, and the lid should close without pressing down on the tip or bubbler. Shake the empty closed case gently beside a padded surface; movement indicates a cavity that needs support, not tighter pressure on the part.
📋 9.1 Record the Modular Parts
Keep a simple parts list with tip type, glass attachment and cable. That makes missing pieces visible before the case is moved and prevents a warm or residue-bearing component from being packed merely because an empty slot remains.
🔍 8. Routine Inspection Before Reuse
A short inspection each time a case comes out of storage catches small problems before they become bigger ones. This means checking that foam cavities have not compressed or torn near the edges, that zippers move freely along their full length, and that no residue has transferred from one compartment to an adjacent one through a worn divider. Glass pieces in particular are worth checking for pressure marks left by tightly fitted foam, since a mark on the foam itself can indicate the glass has been under sustained pressure rather than sitting loosely as intended.
It is also worth periodically checking the case’s exterior seams and any external pockets, since these areas take the most wear from being set down, stacked, or brushed against other items in a bag. A seam that has started to separate is far easier to address, or to justify replacing the case over, when caught early rather than after it fails completely during a trip. People researching replacement options often start from this kind of wear checklist, and related AOVAPE hardware guide“>a broader guide to accessory maintenance covers similar inspection habits for related glass and tool storage.
Taken together, case geometry, shell rigidity, cavity separation, cooling before storage, foam fit, zipper clearance, and odor containment are interconnected rather than independent features. A case that excels in one area but ignores another, such as tightly fitted foam paired with a weak zipper, will still fall short in daily use. Evaluating a case as a full system, rather than by a single standout feature, gives a more accurate picture of how well it will hold up over repeated trips.