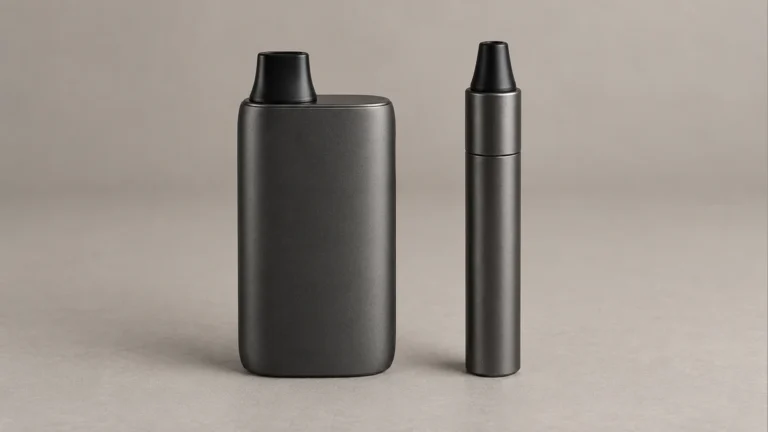
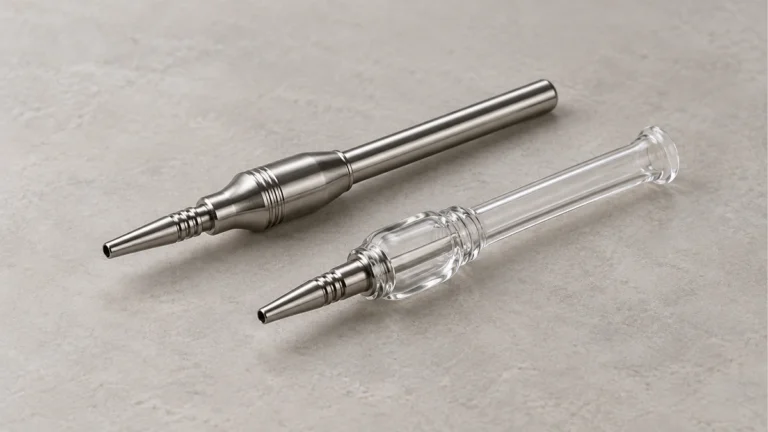
A dab rig adapter is a small glass or quartz fitting that changes how a device’s joint meets a rig’s joint. It doesn’t just look different — the size, gender, and angle of that fitting determine airflow, vapor path length, and how much stress the joint takes on. When someone connects a portable vaporizer to a full-size rig, or swaps a proprietary mouthpiece for standard glass, the adapter is the part doing the actual translation work between two pieces of hardware that were never designed together.
🧭 1. What a Dab Rig Adapter Actually Does
Every glass-on-glass connection depends on two things matching: the joint’s diameter and its gender. An adapter exists specifically to correct a mismatch in one or both. Without it, a device with a 10mm male joint simply cannot seat into a rig built for an 18mm female joint — the ground glass surfaces won’t contact each other, and no amount of force fixes that.
🔎 1.1 Joint Size Mismatch: The Core Failure Point
Standard glass joints in this category come in three common diameters: 10mm, 14mm, and 18mm. These numbers refer to the outer diameter of the male ground-glass section, not the bore or the airflow path. A joint that’s off by even one size class won’t create a seal, no matter how well-fitted the rest of the piece is. This is the most frequent reason people reach for an adapter in the first place — their portable unit uses one size, and their rig uses another.
📏 1.2 Male vs Female (Gender) Confusion
Gender describes which piece is the “insert” (male) and which is the “receiver” (female). A male joint tapers inward and slides into a female joint that tapers outward to accept it. Adapters frequently need to solve for gender as well as size — a male-to-male or female-to-female adapter reverses which side does the inserting, letting two pieces that would otherwise face off incorrectly connect in the right orientation.
📐 2. Reducers vs Expanders
Adapters that change size fall into two functional categories, and the direction matters for both fit and airflow behavior.
🔎 2.1 Stepping Down: 18mm to 14mm
A reducer takes a larger joint and narrows it to accept a smaller one — commonly 18mm down to 14mm, or 14mm down to 10mm. This is the more forgiving direction mechanically, since the adapter’s male end simply needs to be sized correctly for the smaller joint while its female end matches the larger rig opening. The tradeoff is a narrower bore at the connection point, which can slightly constrict airflow compared to the rig’s native joint size.
📏 2.2 Stepping Up: 10mm to 14mm or 18mm
An expander does the opposite, letting a small device joint connect to a larger rig. This is the scenario behind pairing a compact portable unit — the kind with a proprietary or small-diameter joint — with a full-size water piece. The expander’s own bore becomes the bottleneck in the airflow path, so the vapor is moving through a narrower channel than the rig itself was built for, even though the outer connection looks like a normal fit.
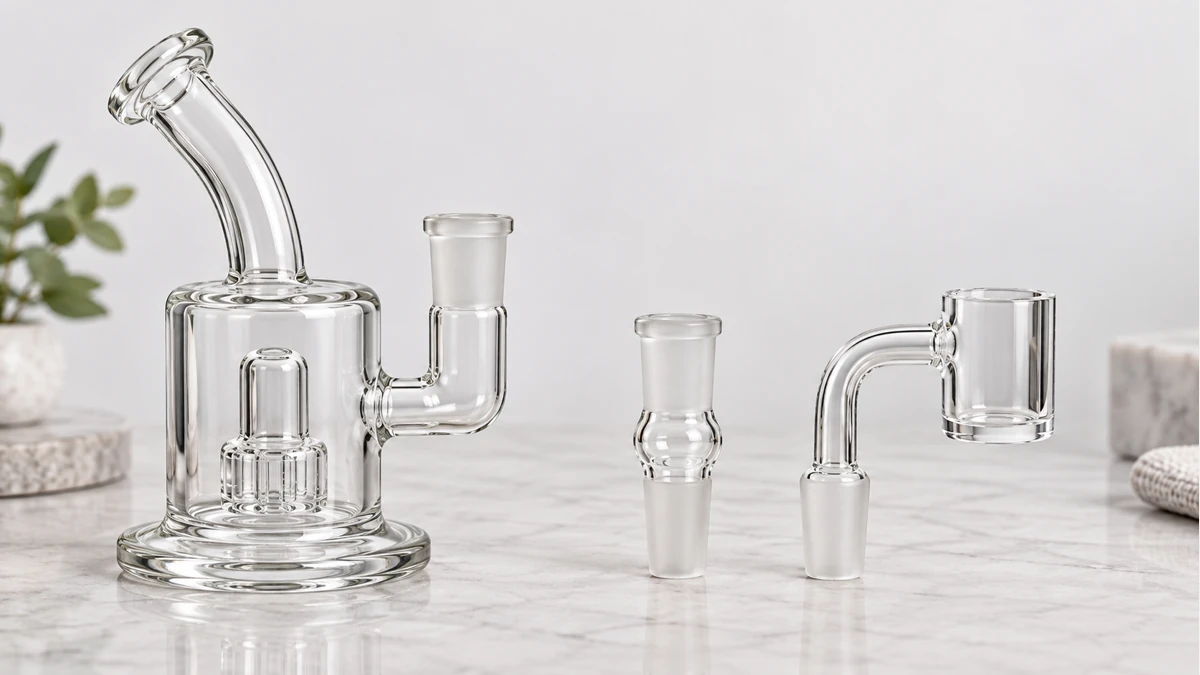
identifying each dab rig component
🌬️ 3. Angle, Leverage, and Stress on the Joint
Not every adapter is straight. Angled adapters change the geometry of the connection itself, and that geometry has real mechanical consequences beyond just looks.
🔎 3.1 Straight vs 90-Degree Adapters
A straight adapter extends the joint in a single line, mainly solving for size or gender. A 90-degree (or other angled) adapter redirects the connection sideways or downward, which is often used to change how a device sits relative to the rig — for example, letting a horizontally-oriented device meet a vertically-oriented rig joint without the whole assembly leaning at an awkward angle.
📏 3.2 Why Longer Adapters Add Torque
Every inch an adapter extends the connection point away from the rig’s joint acts as a lever arm. The longer that arm, the more torque even light contact — bumping a table, adjusting a hose, shifting a device — transmits to the ground-glass seal. This is a mechanical reality of glass-on-glass joints generally, not a flaw specific to any one adapter: longer and heavier attachments concentrate more stress at a single glass-to-glass contact point, which is why unconventional combinations — pairing a compact device through an adapter into a large gravity-style vessel, for instance — put more leverage on that joint than a same-size, same-brand setup would.
🧩 4. Seals, Grip, and Airflow
Fit isn’t only about whether the glass slides together. What happens at and around that contact point determines whether air moves cleanly or leaks around the connection.
🔎 4.1 Keck Clips, O-Rings, and Ground Glass
A correctly matched ground-glass joint can hold together on friction alone, but a keck clip (a small plastic clamp) or a rubber grommet is often added to keep the connection secure and airtight, especially on adapters that introduce an angle or extra length. Some adapters use an O-ring instead of ground glass entirely — this is common on adapters built to bridge a proprietary device connector to a standard glass joint, since the device side often isn’t ground glass at all.
📏 4.2 Low Vapor Production and Airflow Restriction
When vapor output drops noticeably after introducing an adapter, the cause is usually airflow-related rather than a problem with the device itself. A few mechanical factors commonly explain it: the adapter’s internal bore is narrower than either the device’s native path or the rig’s chamber, an imperfect seal is letting outside air get pulled in around the joint instead of through the intended path, or the added chamber volume of the rig itself is diluting the vapor before it reaches the mouthpiece. Because adapters sit right at the point where these paths meet, they’re the first place to check when draw suddenly feels thinner or weaker than expected after a hardware change.
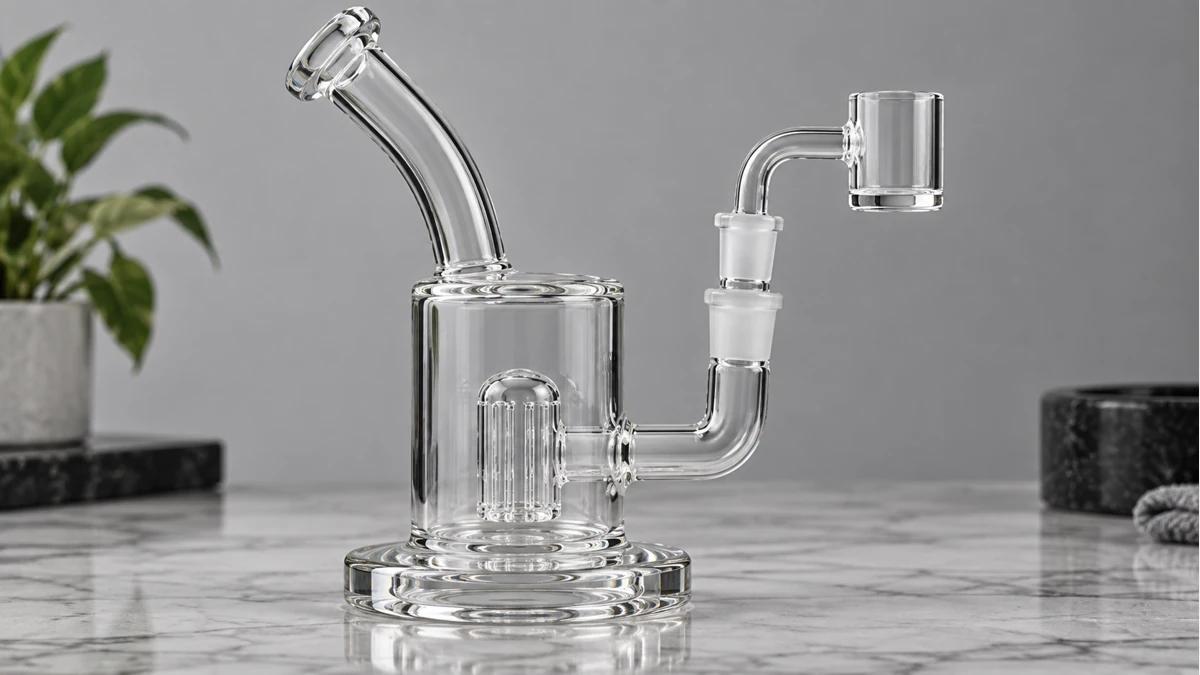
🧼 5. Dry-Fit a Dab Rig Adapter Before Adding Heat or Water
An adapter should be evaluated as a glass interface first. With every part clean, cool, and empty, identify the rig joint, the attachment joint, and the adapter’s two ends. Confirm nominal size, male or female orientation, and the direction in which the adapter changes the connection. A reducer describes one direction and an expander the other; the physical ends matter more than the product label.
🔎 5.1 Measure Both Ends and the Insertion Depth
Nominal joint size does not describe the full geometry. Compare taper condition, insertion depth, wall clearance, and whether a retaining clip or seal is part of the original design. The adapter should seat along the ground surface without bottoming out on a shoulder. If only the edge contacts or the piece rocks, stop. Forcing a nominally correct adapter can chip the joint.
📏 5.2 Calculate Leverage With Position, Not Just Weight
A light attachment can create a large bending load when an adapter moves it farther from the rig. Angled adapters also shift the center of mass sideways. Support the base, assemble the cool parts, and check whether the rig returns to a stable resting position after a gentle touch. If the joint is carrying obvious side load, use a different geometry or independent support rather than tightening the glass.
🧪 5.3 Trace the Bore Through Every Transition
Look through the clean adapter and compare its narrowest internal point with the parts on either side. A sudden step, deep insertion, misaligned seal, or accumulated residue can create turbulence and restriction. More adapters add more surfaces where residue can collect. An airtight connection is necessary, but it does not guarantee an unrestricted path.
🧷 5.4 Clean the Adapter as Its Own Component
Remove the adapter only after the assembly has cooled. Support both sides close to the joint and avoid twisting through a long attachment. Clean it using the method appropriate to its confirmed material, inspect the ground surfaces for chips, and let it dry fully before reassembly. A cracked adapter is replaceable; continuing to use it transfers uncertainty to the more expensive rig and attachment.
🌬️ 5.5 Minimize the Stack
Every extra reducer, angle changer, seal, or extension adds tolerance and leverage. Use the smallest number of verified interfaces that solves the fit problem. If two adapters are required to reverse gender and change size, a single purpose-built adapter is usually easier to inspect and support. Compatibility is the complete mechanical path, not merely the ability to connect the first thread or joint.
🧰 5.6 Label Adapters by Both Interfaces
Store a clean adapter in a padded compartment with a label naming both ends: the rig-side size and gender followed by the attachment-side size and gender. Photographs help when several clear glass pieces look alike. Keep chipped adapters out of the usable-parts container so a damaged piece cannot return to the setup by mistake.
Before the next assembly, repeat the cool dry-fit instead of relying on memory. Ground joints can collect a nearly invisible film that changes how deeply they seat, and a different attachment can move the load farther outward. A quick inspection of bore, taper, edge condition, and balance is more reliable than assuming that an adapter that worked once will fit every future configuration.
🔍 6. Compatibility Checks Before You Buy or Use One
Most adapter problems are avoidable with a few measurements taken before the hardware is combined, rather than after.
🔎 6.1 Measuring Your Existing Joint
The two numbers that matter are diameter (10mm, 14mm, or 18mm) and gender (male or female). Diameter is usually stamped or listed in the product’s original documentation; when it isn’t, a caliper measurement at the widest point of the ground-glass section gives an accurate reading. It’s worth checking both ends of a rig, since some pieces have different joint sizes at the bowl connection versus the mouthpiece.
A short checklist before combining two pieces of hardware:
- Confirm the diameter of both joints being connected (10mm, 14mm, or 18mm)
- Confirm which side is male and which is female on each piece
- Check whether either joint is ground glass or a proprietary connector requiring an O-ring adapter
- Note the adapter’s internal bore size relative to both connected pieces, since a narrow bore restricts airflow regardless of outer fit
📏 6.2 Proprietary Attachments and Device-Specific Adapters
Some devices use a connector that isn’t a standard ground-glass joint at all — it’s shaped specifically for that manufacturer’s ecosystem. Adapters built for these devices typically have one end molded to match the proprietary connector and the other end cut as a standard 10mm, 14mm, or 18mm joint. Because the proprietary side isn’t a universal size, these adapters are model-specific rather than interchangeable across brands, and confirming the exact device generation matters more here than it does with two standard glass joints.
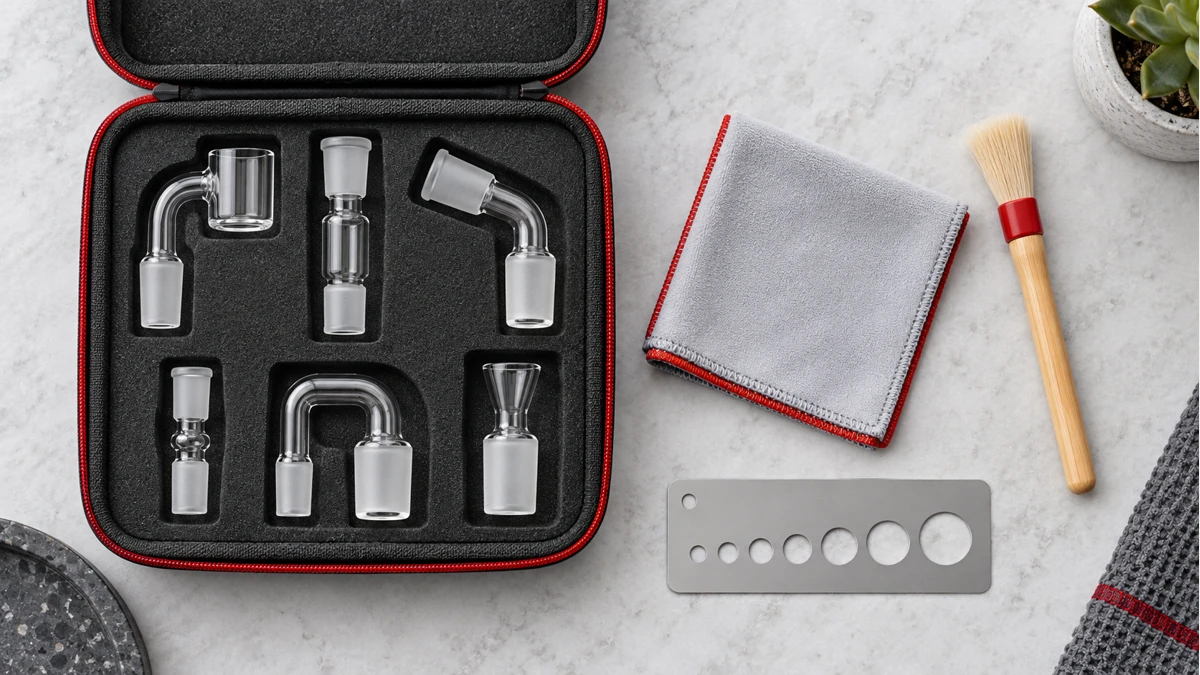
Cleaning also affects fit over time. Residue buildup inside a joint — on either the device side or the rig side — effectively narrows the bore and can make a previously secure connection feel loose or start leaking air around the edges. A joint that seated cleanly when new but now wobbles or won’t hold a seal is often a buildup issue rather than a sign the adapter itself is the wrong size. Isopropyl alcohol and a cotton swab or pipe cleaner, applied directly to the ground-glass surface, typically restores the original fit without needing to replace the part.
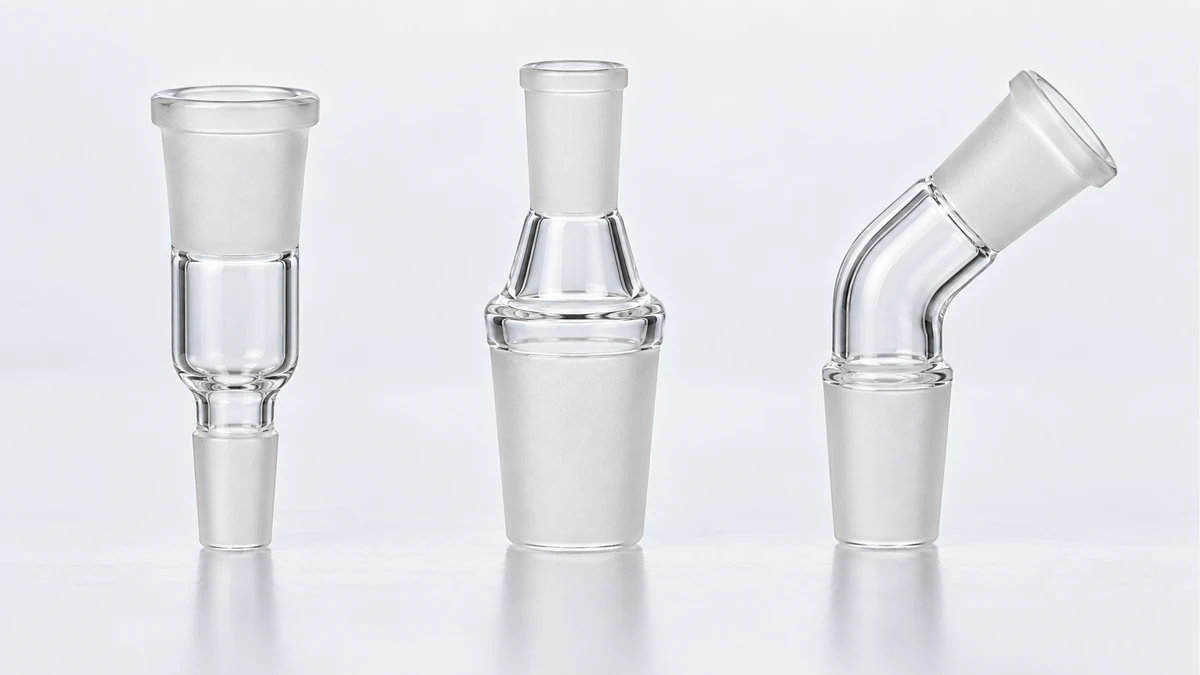
how an adapter changes a water-piece air path
Taken together, the physical path through an adapter runs from size, to gender, to angle, to seal, and finally to airflow — each step depending on the one before it. Before connecting any two pieces of dab rig hardware, identify the diameter and gender of both joints, note whether either side uses a proprietary connector instead of ground glass, and check the adapter’s internal bore against both ends. That sequence — size, gender, seal, bore — is the practical way to identify whether a given adapter is actually the right piece for the hardware on both sides of it.