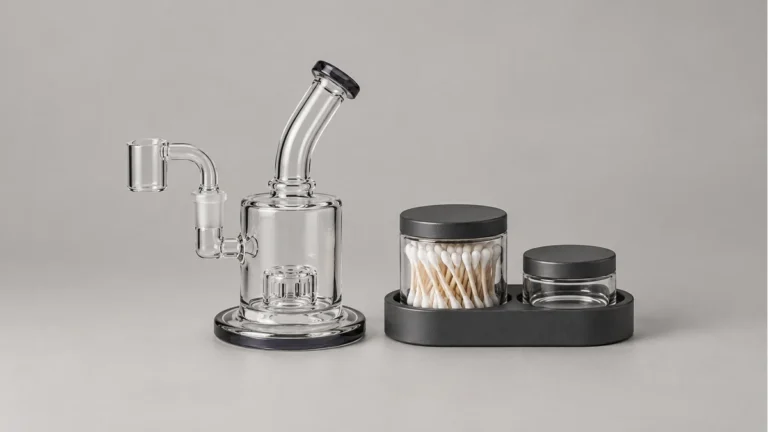
Imagine approving a custom dab tool from a catalog silhouette and a logo mockup alone. The branding can look exactly right while the functional end is too wide for the intended joint, the angle misses the chamber wall, or the handle rolls across a work surface. That is not a customer case or a test result; it is the predictable design risk created when appearance is approved before the job is defined. A useful custom program therefore starts with the motion, mating hardware and cleaning method the tool must support, then works backward to shape, material and branding.
That gap between “looks right in a render” and “works right in a hand” is where most custom dab tool programs go sideways. Getting it right isn’t about adding more decoration options. It’s about treating the tool as a small piece of precision hardware first and a branding surface second.
🔧 1. Why Branding Alone Doesn’t Make a Working Tool
A dab tool has exactly one physical job: move, scrape, load, or clear material without damaging the surface it’s touching or the hand holding it. Everything else — the finish, the color, the logo, the packaging — sits on top of that job. When a buyer starts the design process with the logo file instead of the handling task, the tool ends up optimized for a photo instead of for use.
This matters more in custom programs than in stock ones, because a stock tool has usually already been shaped by trial and error across thousands of anonymous users. A custom order skips that feedback loop unless the buyer deliberately rebuilds it into the spec sheet. That means writing down, in plain language, what the tool needs to do before anyone talks about engraving depth or matte versus polished finish.
🎯 2. Matching Tip Geometry to the Actual Job
🎯 2.1 Reading the Handling Task Before the Shape
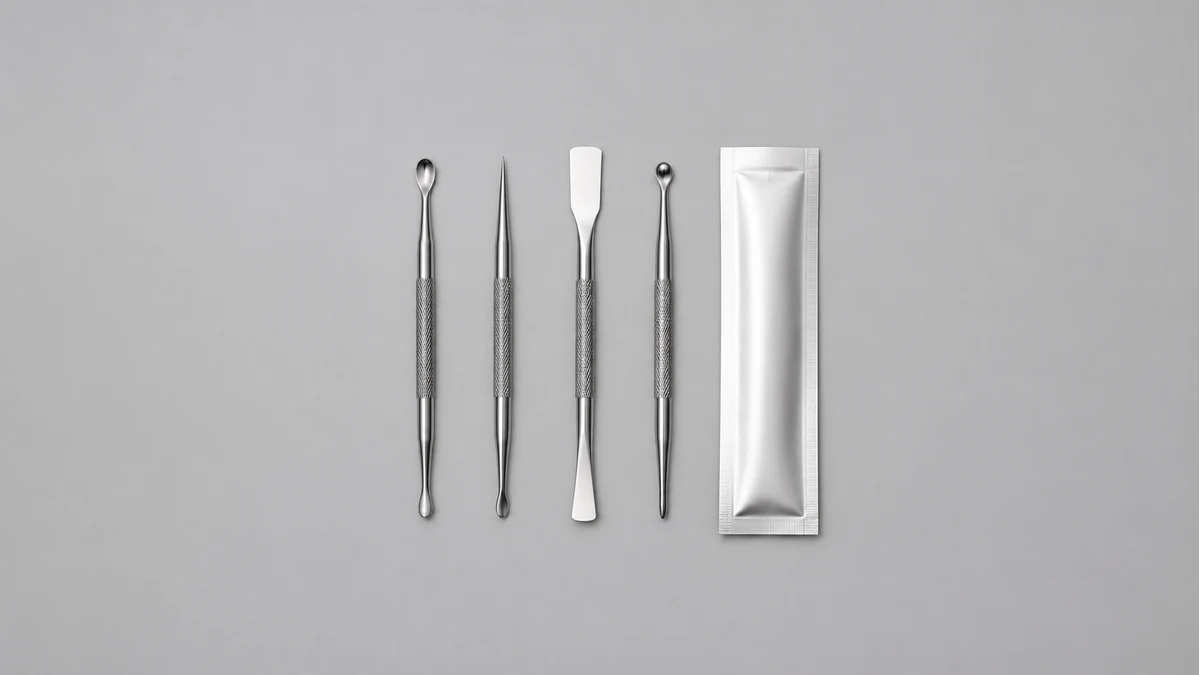
Tip geometry is the single spec that determines whether a custom dab tool feels purpose-built or feels like a stick with a logo on it. A flat paddle behaves differently from a pointed probe, which behaves differently from a scoop, which behaves differently from a specialty profile built for one narrow task. None of these shapes is universally “better.” Each one trades off precision against reach, or scraping ability against clearance in a tight chamber.
Before choosing a tip, it helps to separate the tool’s job into distinct actions: loading, scraping residue, clearing a joint, or handling a specific accessory shape. A general-purpose retailer program might want one dual-ended tool that covers two or three of these reasonably well. A brand building a more specialized accessory line might want a single-purpose tip that does one job precisely and skips the rest. Our own dab tools guide walks through this kind of task-first thinking in more depth, and it’s worth reviewing before a spec sheet gets locked, not after.
Specialty formats deserve their own conversation entirely. A hot knife tool, for example, is built around a completely different handling task than a standard dabber, and pairing the wrong geometry with that use case creates real functional problems rather than cosmetic ones. If a program includes anything in that category, it’s worth reading through the hot knife dab tool guide so the geometry decision is grounded in how the tool is actually meant to work.
🎯 2.2 A Quick Comparison of Common Tip Profiles
| Tip Profile | Typical Strength | Typical Trade-off |
|---|---|---|
| Flat paddle | Even scraping across a wider surface | Less precise for narrow openings |
| Pointed probe | Precise placement, good reach into tight spaces | Less efficient for scraping larger residue areas |
| Scoop or spoon end | Controlled loading and portioning by feel | Limited usefulness for clearing or scraping |
| Dual-ended combination | Covers two handling tasks in one tool | Neither end is optimized as tightly as a single-purpose tip |
This isn’t an exhaustive catalog, and it isn’t a substitute for confirming actual dimensions against the accessories a program is designed to pair with. It’s a starting framework for the conversation buyers should be having with a manufacturing partner before any tooling gets committed.
🧱 3. Material and Finish Claims That Need Confirmation, Not Assumption
Material choice on a dab tool isn’t just an aesthetic decision — it affects how the tool feels in use, how it holds up to repeated contact with hot surfaces, and how safe it is to clean. The part of the tip that actually touches material or glass should be uncoated in most programs, because coatings can degrade with heat exposure over time, and buyers shouldn’t assume a coating is heat-stable unless that’s been explicitly confirmed by the manufacturer for the specific finish in question.
Decorative plating or coloring on the handle is a separate question from the functional surface at the tip, and the two shouldn’t be treated as one blanket spec. A buyer should ask directly: what is the tip surface, is it coated or uncoated, and what portion of the tool does that finish actually cover? Vague answers like “premium metal” or “medical grade” aren’t specifications — they’re marketing language standing in for one, and they should be pushed back on until a real answer is on paper.
The same discipline applies to anything that sounds like a safety or performance claim. If a supplier volunteers language about heat resistance, impact resistance, or a specific certification, that claim needs a source, not a shrug. A custom program built on unverified claims creates liability that lands on the brand’s name, not the factory’s.
✋ 4. Grip, Balance, and the Feel of Daily Use
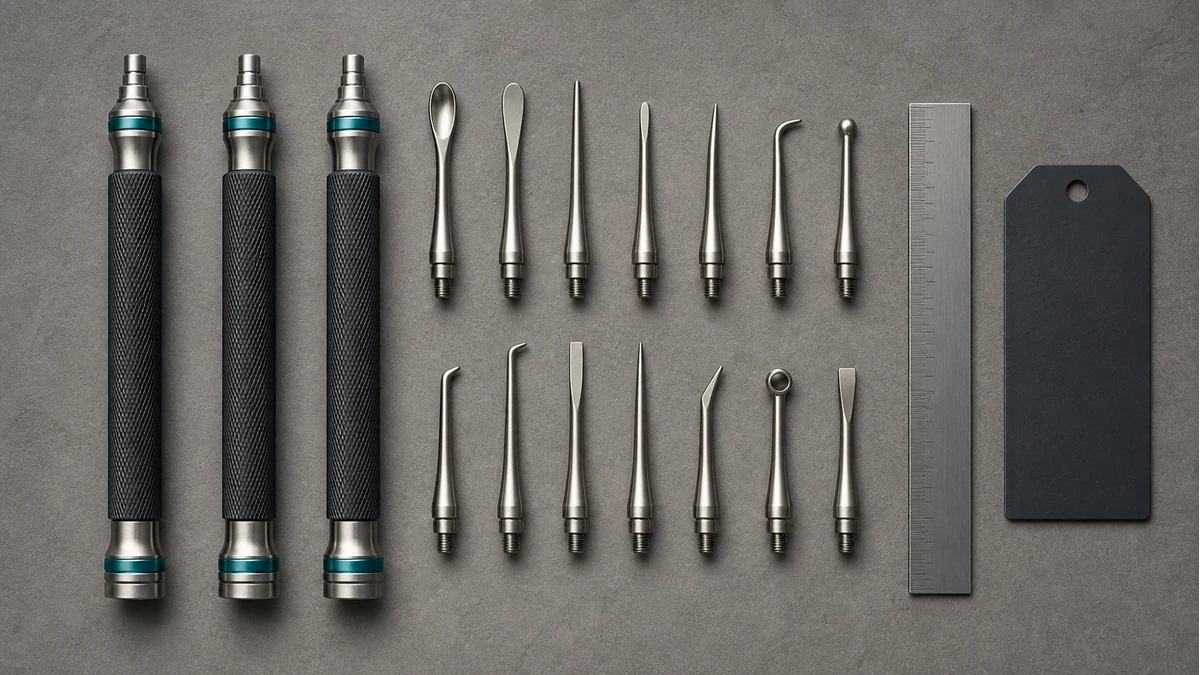
A dab tool gets picked up, set down, and repositioned constantly, often one-handed and often without looking at it directly. That makes weight distribution and grip texture more important than they might seem on a spec sheet. A tool that’s tip-heavy will feel unstable resting against glass. One that’s handle-heavy can feel clumsy during precise scraping motions. Neither extreme is wrong for every use case, but it should be a deliberate choice rather than whatever came out of the mold by default.
Grip texture matters just as much, especially for a tool that’s frequently handled near heat. A completely smooth cylindrical handle looks clean in a product photo, but it’s harder to control securely than a handle with light knurling, flat facets, or a slight taper. If a brand is choosing between a few handle options, it’s worth asking for a physical sample of each rather than judging shape from a rendering. Renderings don’t communicate balance, and balance is felt, not seen.
🧼 5. Cleaning, Storage, and the Parts of the Design People Forget
Cleanability tends to get left out of the early design conversation, and then it becomes the thing customers complain about most. A tool with tight seams, engraved detail that traps residue, or a finish that discolors after routine cleaning creates an ongoing maintenance problem instead of a one-time purchase. Simple design choices — smooth transitions between handle and tip, engraving that’s shallow enough to stay clean, a finish confirmed to hold up to the cleaning method it’ll actually see — prevent most of this before it starts.
Storage is the other overlooked half of the design. A dab tool rarely lives alone; it usually travels with a dab rig, a torch, a container, or a small kit of related accessories. A tool that’s designed without any thought to how it gets stored — whether it rolls off a table, whether it fits a common holder, whether the tip is exposed and prone to getting knocked around — creates friction that has nothing to do with the tool’s actual function but still shapes how customers feel about the product.
📦 6. Packaging as Part of the Tool’s First Impression
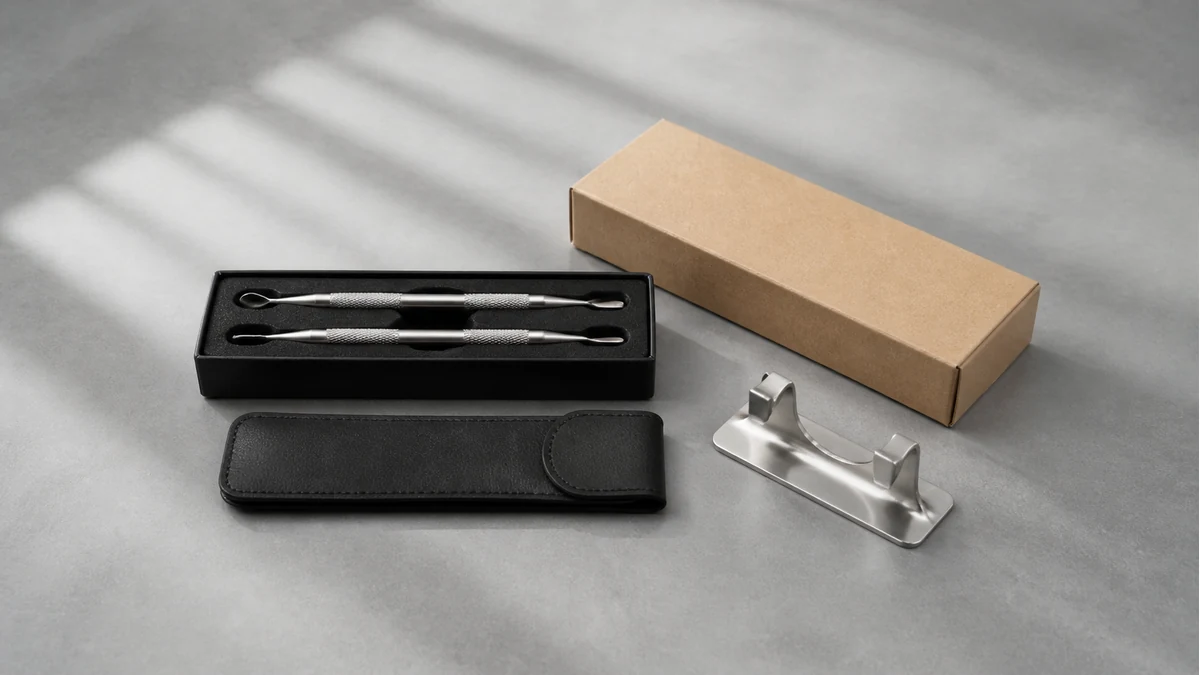
Packaging for a custom dab tool program does two jobs: it protects a small, often sharp-tipped piece of metal during shipping and handling, and it delivers the brand’s first physical impression before the tool is even touched. Both jobs deserve real attention rather than a generic box pulled from a supplier’s default catalog.
On the protection side, the packaging should account for the tool’s actual shape. A pointed tip against a soft interior with no structure invites punctures or shifting in transit. A flat paddle tip is more forgiving but still benefits from a snug fit rather than loose rattling inside a box. On the brand side, packaging is where buyers should confirm print quality, color accuracy against the brand’s actual palette, and structural durability under normal handling — not just check that a logo appears somewhere on the box.
✅ 7. Golden Samples and the Discipline of Controlled Revisions
A golden sample is the single physical unit that both sides agree represents production quality. It should be treated as the reference point for every unit that ships afterward, and it should be approved in hand, not from a photo. Photos flatten out exactly the things that matter most on a small metal tool: weight, edge finish, balance, and how the engraving actually feels under a fingertip.
✅ 7.1 What a Golden Sample Should Lock Before Production
Before signing off, a buyer should confirm the sample matches agreed specifications on each of these points:
- Tip geometry and dimensions match the approved drawing, checked against the accessories the tool is meant to pair with.
- The functional surface material and finish are confirmed and documented, not assumed from a general description.
- Weight and balance feel consistent with the intended handling task, not just visually similar to the concept.
- Engraving or print depth is shallow enough to stay easy to clean, and color matches the approved brand reference.
- Packaging fits the tool securely and reflects the approved brand presentation.
Once the golden sample is locked, any change — even a small one, like a slight adjustment to tip angle or a different plating supplier — should trigger a new review rather than a quiet substitution mid-production run. Uncontrolled revisions are how a program that started with a good sample ends up with a first shipment that doesn’t match what was approved. Locking the sample only works if both sides treat it as binding, not aspirational.
🏭 8. Working With a Manufacturing Partner Instead of a Print Shop
The distinction that matters most in a custom dab tool program is between a partner who manufactures the tool and one who simply prints on a tool someone else already made. The first can talk through tip geometry trade-offs, confirm material specifics in writing, and troubleshoot a sample that doesn’t feel right in hand. The second can usually only change the artwork.
For brands building a real accessory line rather than a one-off branded giveaway, that distinction shapes everything downstream — sample turnaround, revision control, and whether problems get solved with an actual engineering answer or a shrug. It’s worth reviewing how an OEM/ODM program is structured before committing to a supplier, since the depth of that relationship determines whether future adjustments are even possible without starting the whole design process over.
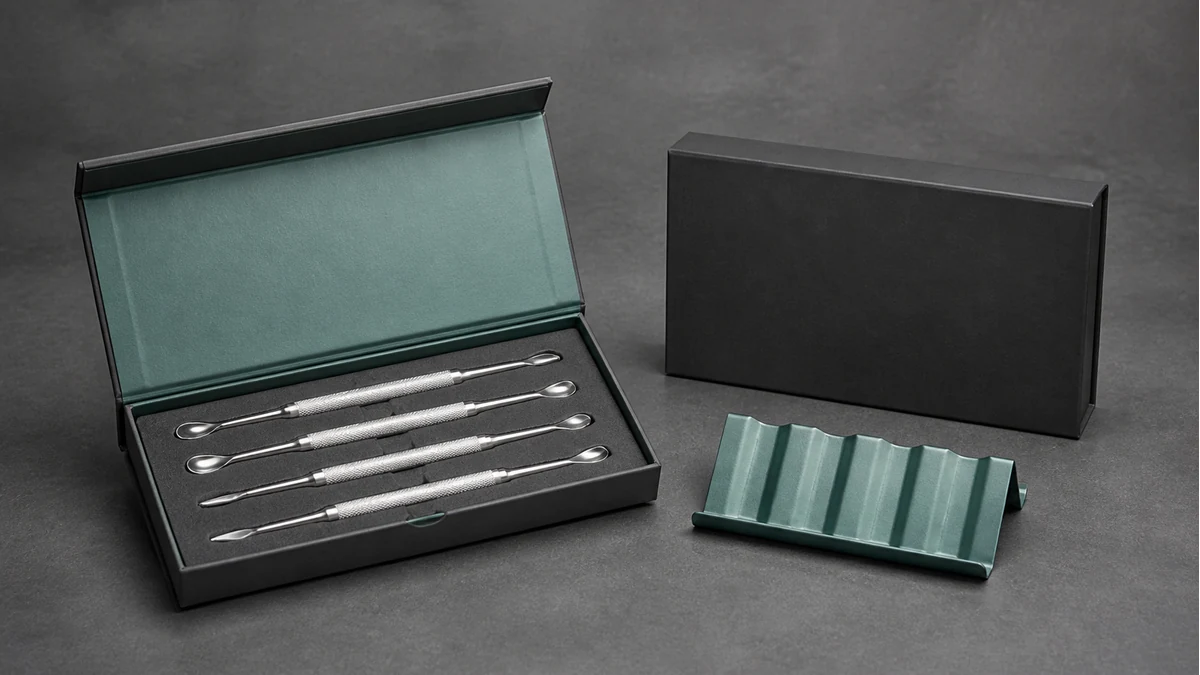
A custom dab tool that works is the result of a handful of unglamorous decisions made early and checked in hand: the right tip for the job, a confirmed material at the point that matters, a balance that feels natural, a finish that stays clean, and a golden sample that actually governs production. Get those right, and the branding on top of it does exactly what it’s supposed to do.
📚 9. Sources and Reader Questions Reviewed
Technical statements were checked against the sources below. Reddit discussions were used only to identify reader questions and language, not as proof of technical, health, safety or legal claims.