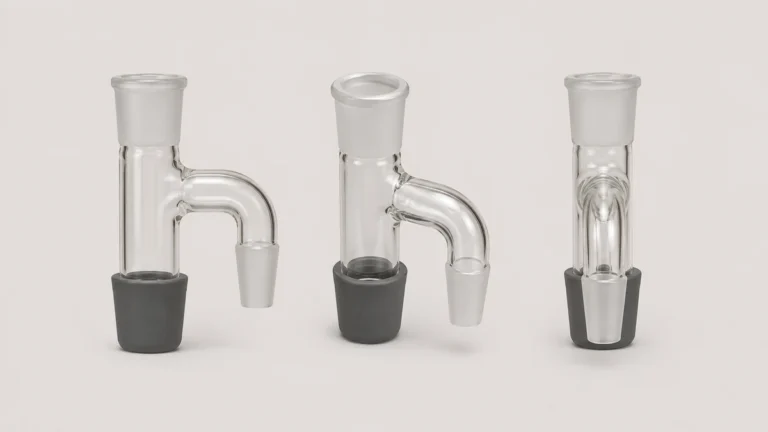
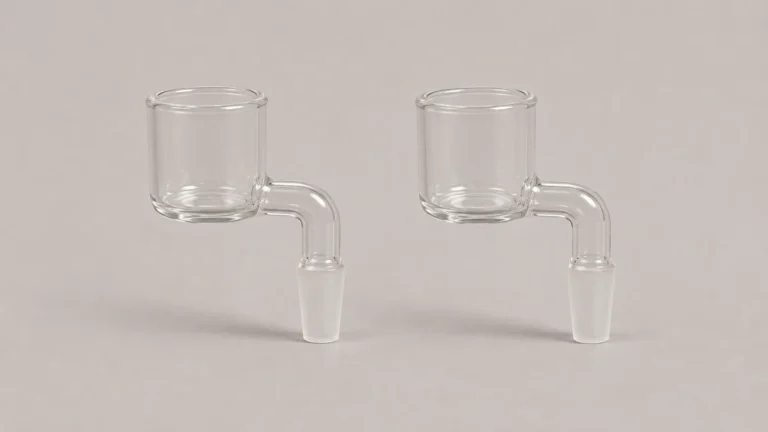
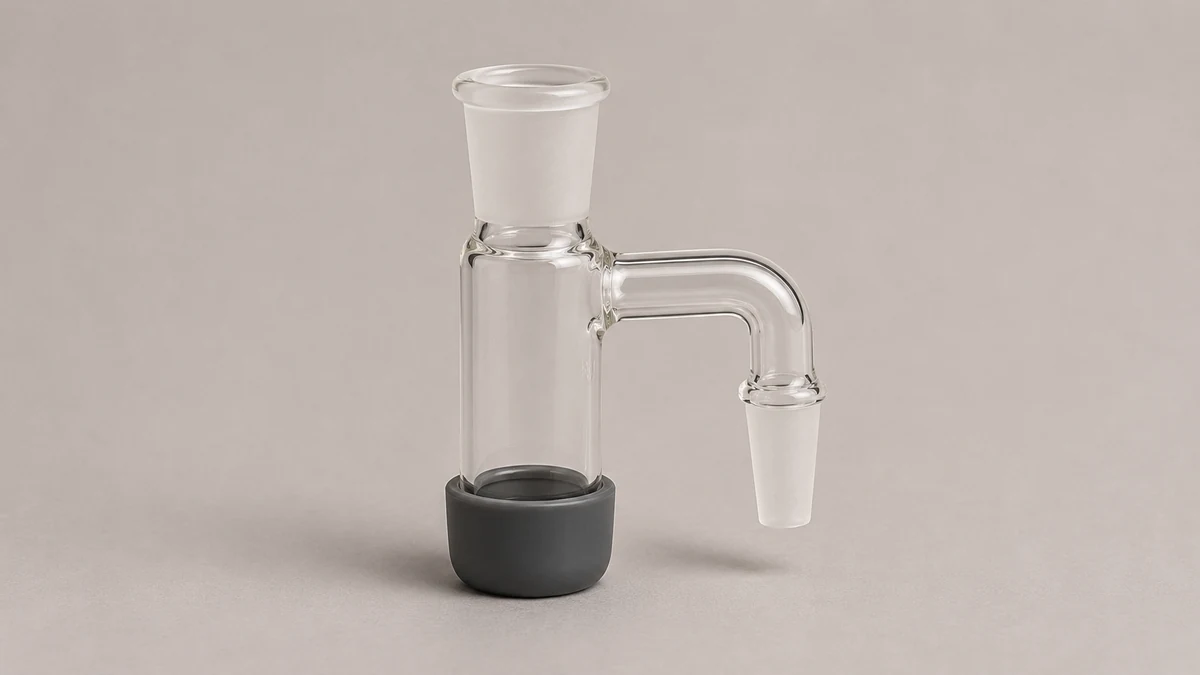
A dab rig reclaim catcher can look like an extra bowl with a hole underneath it when its lower cup is missing. The upper opening and the end of the side arm are usually the two connections in the glass path. On a removable-cup version, the lower opening belongs to the separate receptacle. Start by identifying those three places on the cool, empty accessory. The job of the missing part becomes easier to explain once you know which opening is really uncovered.
Other accessories have a similar outline while doing something different. A plain drop-down can shift the position of a connection without any separate reservoir. A closed glass trap can have a bulb-shaped lower region built into the glass. A water-containing accessory has its own design and documentation. The connection path and the lower boundary tell you more than the name a seller or previous owner used.
🔍 1. Follow the Two Main Connections First
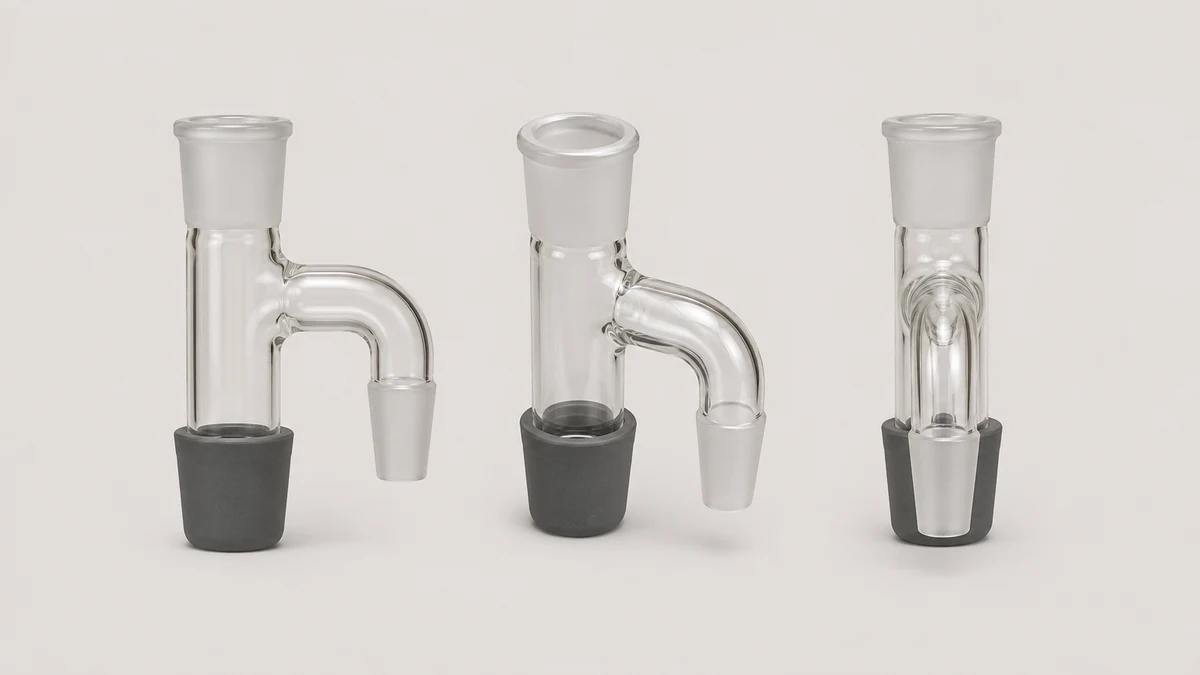
A catcher can occupy the space between a removable banger and the rig’s socket. Look at a profile of the empty piece. On a common layout, the upper receiver accepts the matching attachment and the side arm leads to the other joint. A third opening, if present on the bottom of that main shape, can belong to the removable collecting cup. Keep those three roles separate even though all three can appear in the same photograph. In an unclear image the side arm can be hidden behind the upper receiver.
🧭 1.1 Name the Endpoints Without Assuming Direction From Shape
A photograph may show the fitting on its side. The location nearest the bottom edge of that image isn’t necessarily the lowest point when correctly oriented. Identify the two ends described as the rig side and the attachment side in the maker’s drawing. Then use their position to work out how the lower part hangs in the documented configuration. If the view allows more than one interpretation, record the joint descriptions and leave the orientation open pending a diagram for that part.
Thick Ass Glass names the mating interfaces on its reclaim catcher collection and documents models with a removable glass dish. The catalogue is useful for showing the three roles on that range. Its size options and fit statements belong to particular models. If you’re identifying a different loose piece, write down its actual maker and code rather than using a similar angled photograph as your specification.
🧩 2. Tell a Removable Cup From a Closed Trap
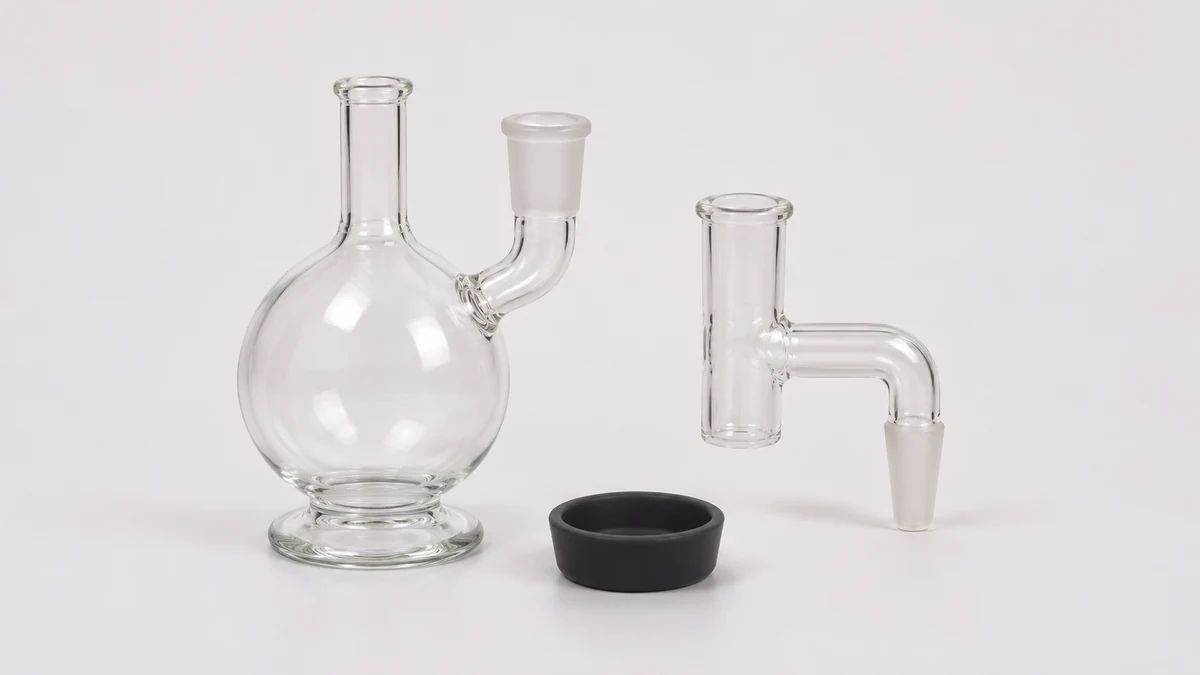
A loose cup that belongs below the fitting is a separate container. An enclosed glass bulb is an area of the fitting itself. In a side picture both may appear as a small rounded shape beneath the arm. A view of the underside can show an open edge that accepts a separate part, a closed wall, or a seam that the maker documents as a detachable interface. A strong reflection can hide the difference, which is why a photograph looking only across the front is often inconclusive.
🫙 2.1 Look at the Rim and the Surface Directly Above It
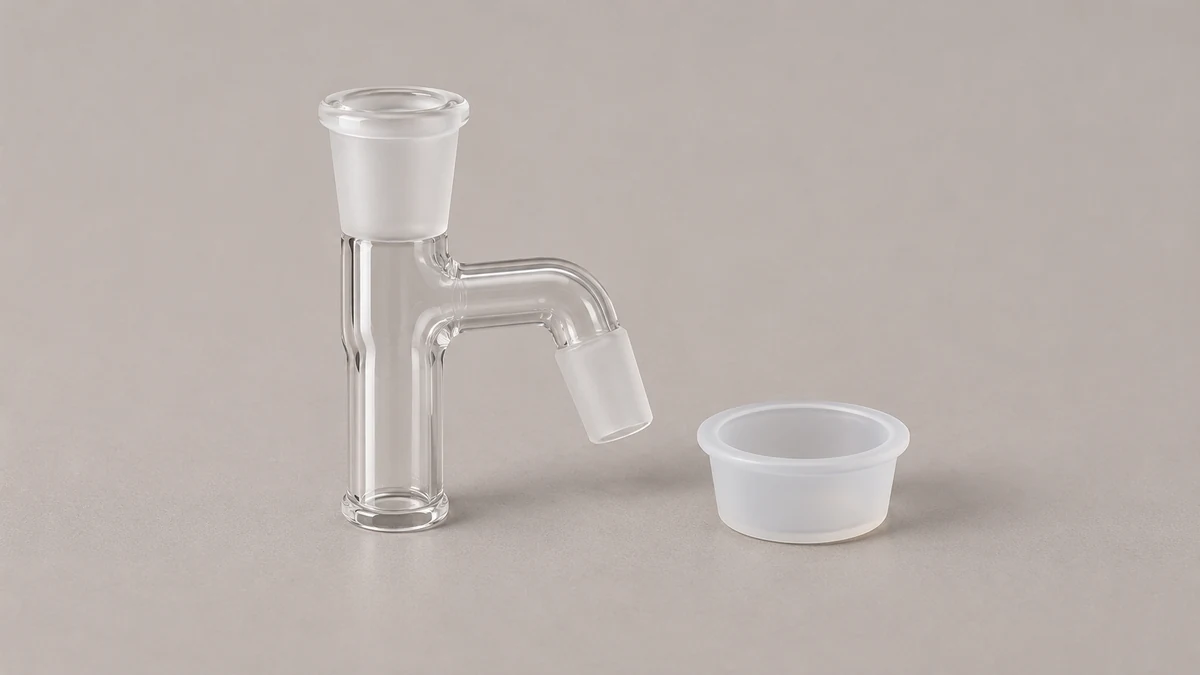
In a removable-cup design, look for the documented seat and the edge of the separate cup. The two features can be visible together in a parts drawing. White Rhino’s Reclaim-It documentation identifies a removable silicone jar in an all-silicone design, while Thick Ass Glass documents other models with removable dishes. These are distinct layouts. A photograph of one does not establish what bottom piece another fitting accepts.
If you have only the glass body, keep a photograph of the exposed lower opening and an overview of the entire shape. A small flange or lip can be meaningful when the maker describes how a cup sits around it. A short straight section may be a seat rather than the cup itself. If the lower section is closed, look for an original product diagram showing whether there are any separately supplied parts before reporting a missing receptacle.
When the underside is hard to see, put the loose cool fitting on a plain surface and photograph it from two directions. The useful detail is where its wall ends. A reflected rim inside the glass body can resemble an opening on a pale background, while a separate cap can hide the actual retaining surface. An overview and a lower view together narrow that question without requiring you to infer how the fitting was originally sold.
↪️ 3. Separate the Drop From the Reservoir
A drop-down changes the position of two connection ends. That shape can be built into a catcher or sold as a plain fitting. An offset arm tells you where the joints sit relative to each other. It doesn’t establish that there is an open lower cup. Trace the two endpoints and see whether a chamber branches below the route. A bend that looks like a pocket in a side profile might simply continue to the other end with no branch at all.
📐 3.1 A Joint Size Only Describes One Interface at a Time
Compatibility needs two descriptions. An upper female receiver can accept a corresponding male end only for the documented fit. The arm that enters the main rig can have a different size, joint type or orientation. The cup below this path may use its own seat or coupling. Even if both glass ends share a nominal size, that number will not describe the lower cup. Our guide to dab rig adapters gives a way to record each end in order.
Write down the attachments in the order shown on the diagram. For example, the rig has a particular socket, an offset fitting has a stated end for that socket, and a detachable cup is identified only by the catcher model. You can then ask which of the two joints a catalog’s size field refers to. If the specification gives sizes for both ends, retain their order. Reversing that order can make two otherwise clear part names misleading.
⚖️ 4. Look at the Whole Glass Outline and the Foot
Adding a rigid fitting outside a compact body increases the number of interfaces and can project more mass beyond the existing foot. A short piece shown on a broad base can stand differently from the same hardware pictured on a narrow base. A still photograph cannot give a load limit or certify stability. It can show where the heaviest visible parts sit relative to the part of the vessel that meets the table. Keep the foot in frame when documenting any concern about the assembled outline.
📷 4.1 Identify the Movement Before Calling the Whole Rig Wobbly
A cup can be loose at its own seat, a glass joint can shift, or the entire vessel can rock. Observe the cool empty components without applying force or trying to establish how much the arm can bear. A flat view of the vessel by itself helps isolate a base problem. A close-up of the uncovered seat is more useful if the concern is a detached cup. For a side arm that appears displaced, show the complete connection and its relation to the foot. Those views make three different symptoms easier to communicate.
Our map of fixed and removable rig components shows which features normally stay with the main body and which meet it at a separate interface. Use those names when describing an accessory that separates at an unexpected place. A fracture in a fused arm and a cup slipping from a manufacturer-designed seat are two different service questions, even if both leave part of the assembly on the table.
A low cup can also be confused with a cap designed to sit above a banger. Its location in the official parts view is more relevant than whether it looks like a rubber dish. One component might close a lower interface and another might cover the accessory above it. Put the piece beside the opening it was documented to fit and keep the other opening in view when possible. If neither relationship is known, label it as a loose component rather than naming it from its appearance.
🧰 5. Describe a Missing Part Without Testing a Substitute
If you see a lower opening but cannot find its cup, look for a matching exploded drawing. A silicone cap or jar might look similar from above while having a different wall thickness, lip or attachment shape. An unapproved closure can make a loose piece look complete without answering what it was designed to accept. Position the available parts on a flat surface for a photo rather than attempting to hold the unknown closure in place. If the glass has a visible defect, leave it out of service and seek the maker’s guidance for that hardware.
Recording where a piece was found also helps. If a small cup was packed separately, note whether its bag or carton actually identified it as part of this model. If the only documentation is a picture of a fitting with the lower section obscured, ask which lower assembly came with the named revision. This question can be answered by a part code even when the material or dimensions are missing from the photo. If the fitting is from a multi-piece set, the item number printed on the box may be for the set and require a separate accessory number.
💧 6. Keep Residue Location Separate From the Accessory Name
The word reclaim describes residue in this context. Its presence in a bend does not tell you that the bend was designed as a collecting cup. The same visual observation can appear in an ordinary connection. Note where the deposit is visible, such as in the arm, lower chamber or around a joint. A product diagram answers the question of whether an identified region is intended to be a detachable reservoir. The location note is useful for inspection but cannot determine condition, compatibility or composition.
Our explainer on where residue forms in a rig covers the maintenance context. When examining the external fitting, concentrate on scope. If the glass carries a separate cup, look for care information for the named accessory and each material in it. If the lower region is sealed into the glass, it belongs to the body rather than to a loose cup that can be serviced separately. There is no need to move, collect or reuse the residue in order to name the hardware correctly.
Three notes are enough to make a useful service inquiry: the fitting model if available, the exact opening involved, and the condition observed. “Lower cup absent” is a different statement from “lower cup present but appears loose at the rim.” Neither tells you anything about the fit of the two main joints. If a support agent identifies an alternate cup, retain the part number with that answer so it stays tied to the same version.
Pictures taken in an assembled configuration are helpful as long as they preserve the base and the position of the side arm. A close crop of glass crossing the wall hides the part of the structure you might need to describe. Pair that crop with an overview so the viewer can locate it. If the item is already detached, show the whole fitting separately and use the published diagram as the reference for how the joints line up.
✅ 7. Build a Description of the Fitting and Its Lower Edge
Consider a piece with an upright frosted opening, a sideways arm ending in a tapered joint and a visible open bottom with a short lip. A useful preliminary report says the body has two glass joints and an exposed lower seat, with the removable part unconfirmed. If a manufacturer diagram shows a cup in that position, add its documented name and part number. Your photo proves the opening is uncovered. The matching drawing establishes which piece belongs there.
Now compare a second piece that looks similar but has a clearly closed bulb below the arm in the manufacturer’s view. It might be sold under a related category name, yet there is no reason to report a missing cup from the exterior outline alone. Keep the part identity in the same note as the two documented joint descriptions. If an adapter has no lower region at all, describe the change in joint position and leave the collecting role out of the record.
End with one question that the photograph and label can help resolve. Asking whether an open lower seat was designed for a separate model-specific cup is clearer than asking which part makes the catcher work. If the problem was a loose component, say exactly which interface moved. This lets someone match the actual revision and give an answer about that part without making assumptions about the rest of the setup.