There’s a specific moment every dab rig owner eventually hits. The glass still looks fine sitting on the shelf — maybe a little cloudy, but nothing alarming. Then you take a hit and the flavor is off, flat, almost chemical in a way that has nothing to do with the concentrate. The airflow drags a little too. You tilt the rig toward the light and notice the percolator has gone from clear to amber, and somewhere down in that lower chamber there’s a shape that used to be a slit but now looks more like a clog. That’s usually the point where people start typing “how to clean dab rig” into a search bar at eleven at night, half-frustrated and half-convinced they need to just buy a new one.
You don’t. Almost every rig in that state is salvageable, and the fix is more about method than muscle. What trips people up isn’t a lack of effort — plenty of owners scrub hard and still end up with a hazy piece — it’s that they’re solving the wrong problem, using the wrong sequence, or trying to force a solution into a percolator that was never designed to be reached by a hand or a brush. Let’s walk through this properly, from the everyday habits that keep a rig from getting to that point, to the deep clean that rescues one that already has.
🔍 1. Why a rig can look clean and still smoke terribly
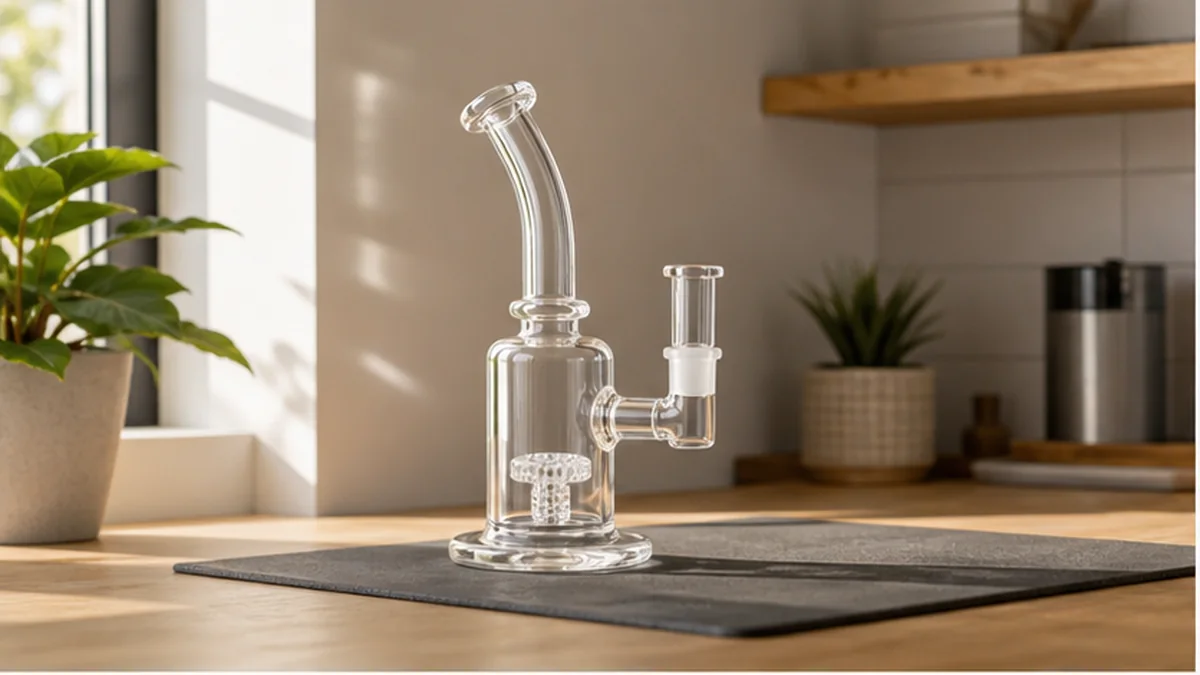
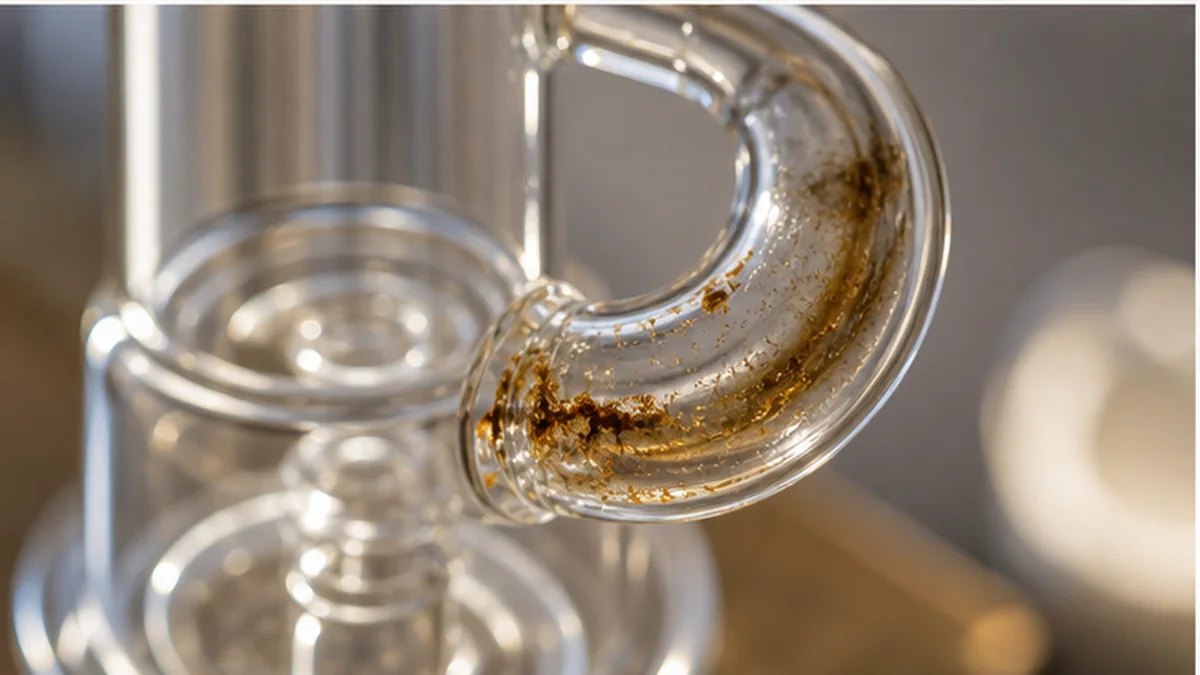
Residue doesn’t build up evenly, and that’s the root of most confusion. Reclaim and resin cling to the parts of the glass that see the most heat and turbulence — the underside of the joint, the inner walls of a percolator, the little slots vapor gets forced through. The outside of the chamber, the part you actually look at when you’re deciding whether something needs cleaning, is often the last place residue accumulates. So you get a rig that passes the eye test while the internal pathways are quietly narrowing.
This is also why a rig that’s “been cleaned” can still taste burnt. Wiping the joint and swapping the banger quartz handles the surface, but the vapor path itself — the arm, the perc, the downstem — is where old oils actually sit and oxidize. A quick pass with a cotton swab feels like progress because you can see the swab come away dirty, but that’s often just the accessible few inches doing the talking for a chamber that’s mostly untouched.
🔄 2. Routine wipe-downs versus a real deep clean
There are two different jobs here, and treating them as one is where a lot of rigs get either neglected or over-scrubbed. A quick routine wipe — running a cotton swab or pipe cleaner through the joint and the nearest reachable glass after a session or two — is maintenance. It keeps oils from curing into something harder to remove and takes under a minute. This is the swabbing habit that comes up constantly in owner discussions: some people do it after every single dab, others think that’s excessive and prefer to let a session or two pass first. Both camps have a point. A rig used daily with concentrate that leaves heavy reclaim benefits from more frequent touch-ups; a rig used occasionally doesn’t need to be babied after every pull. What actually matters is consistency, not frequency for its own sake — a rig wiped down loosely every time beats one deep-cleaned once a month after being ignored in between.
A deep clean is a different animal entirely. It’s what you do when residue has actually cured — gone from sticky to stubborn — and it involves breaking the rig down into its removable pieces, soaking them, and working through hard-to-reach geometry deliberately rather than quickly. This is not a weekly task for most people. It’s a response to buildup, not a substitute for the routine wipe-downs that prevent buildup from forming in the first place.
🧰 3. What you’ll actually need
Keep this simple. You don’t need a cabinet full of specialty products, and piling on extra chemicals mostly just adds risk without adding cleaning power.
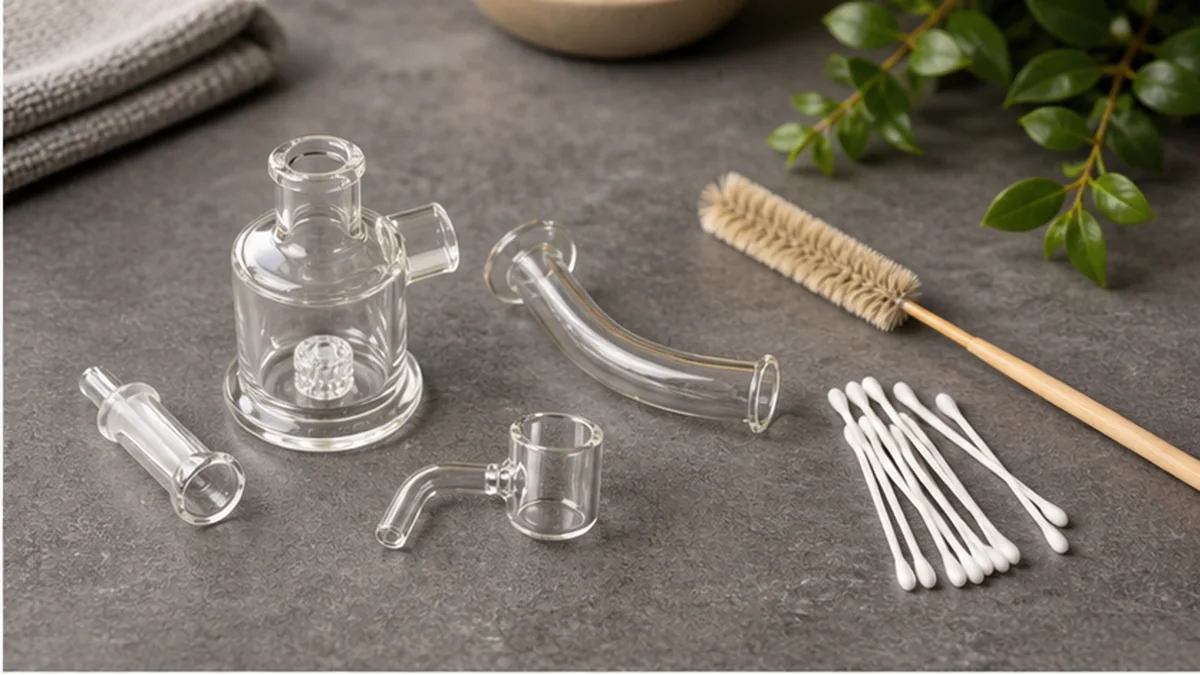
A basic kit covers:
High-proof isopropyl alcohol, unscented, in a container large enough to submerge your percolator or downstem. Coarse salt — kosher or rock salt — to act as an abrasive scrubber inside the alcohol. Pipe cleaners and cotton swabs in a few lengths for joints and narrow arms. A resealable plastic bag or a dedicated soaking container for smaller glass pieces. Rubber bands or tape to seal off joints during a soak. A soft brush, like a bottle brush, for percolators with more open interior space. Warm — not hot — water for rinsing. And a lint-free cloth or paper towel for the final dry-off.
That’s genuinely most of what a deep clean requires. Specialty rig-cleaning solutions exist and plenty of people like them, but alcohol and salt handle the vast majority of resin and reclaim on their own, and simpler is easier to do safely — which matters more than it sounds like it should.
🧼 4. The cleaning sequence, done in the right order
Sequence matters more than force. Going in with a plan avoids the two most common outcomes people report when things go wrong: chipped joints from over-aggressive scrubbing, and — more dramatically — a cracked or shattered piece from handling glass carelessly mid-clean.
🧩 4.1 Step one: break it down
Separate every piece that’s designed to come apart — banger or nail, downstem, removable percolator, any carb caps or adapters. Cleaning a rig as one assembled unit is how people end up missing the exact spots that needed the attention most. If you’re working with a piece where the percolator is fixed or fused to the main chamber, note that now, because it changes your approach later.
🫗 4.2 Step two: soak, don’t scrub first
Plug the openings with rubber-banded tape or your palm, then add alcohol and a spoonful of coarse salt to each piece. Cap it, shake gently, and let it sit. Letting the alcohol do the initial breakdown work for ten or fifteen minutes — longer for pieces with cured, heavy buildup — softens residue so the salt can knock it loose with a gentle agitation rather than a hard scrub. Shake periodically rather than continuously.
🖐️ 4.3 Step three: work the stubborn spots by hand
Once the bulk of the grime has loosened, use pipe cleaners and swabs on joints, slits, and narrow arms that the shake-and-salt method can’t fully reach. This is where patience pays off more than pressure.
🚿 4.4 Step four: rinse thoroughly with warm water
Rinse every piece until the water runs clear and there’s no alcohol smell left. Warm water, not hot, and never straight from a near-boiling tap onto cold glass.
🌡️ 5. A word on abrupt temperature changes
This deserves its own moment because it’s an easy mistake to make without realizing the risk. Borosilicate glass handles heat well, but it doesn’t handle sudden swings well. Rinsing a piece that’s been sitting in cold alcohol under hot tap water, or moving a rig straight from a warm dish rack into a cold room, creates thermal stress that can crack glass that was otherwise completely sound. Let temperatures equalize gradually. Room-temperature rinse water is the safe default.
⚡ 6. Electronics, batteries, and where liquid absolutely does not belong
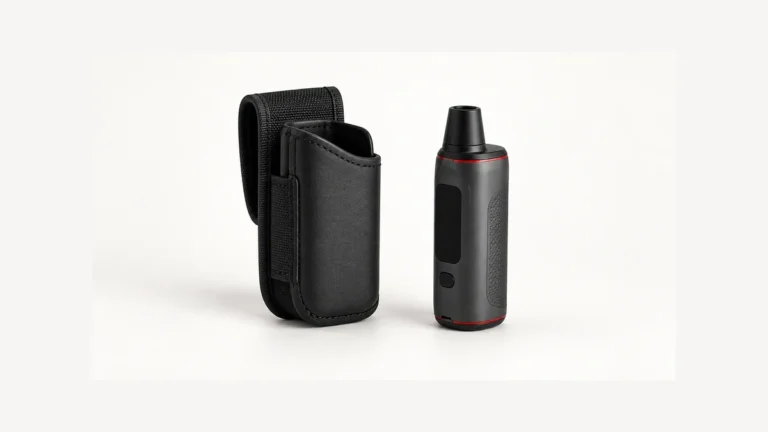
If your setup includes anything battery-powered or electronic — a portable e-rig, a heating unit with a control board, a rechargeable base — the alcohol-soak method above applies only to the removable glass, never to the device itself. Electronics and liquid don’t mix, and that’s not a soft warning; a battery or circuit board exposed to alcohol or water can be damaged in ways that aren’t obvious until the unit fails later or, worse, becomes unsafe to use.
Wipe the exterior of any electronic component with a barely damp cloth if the manufacturer says that’s acceptable, keep liquid away from ports, buttons, and seams, and let it dry fully before reassembly or charging. Beyond that, this is exactly the situation where you follow the maker’s own instructions rather than a generic method — manufacturers vary in how their heating elements, coils, or atomizers should be maintained, and a routine written for all-glass rigs isn’t automatically safe for a hybrid device. If you’re maintaining a separate vaporizer alongside your rig, the same logic applies; our what is a wax pen%ef%bc%9f covers upkeep for that side of things without overlapping the glass-cleaning steps here.
🌀 7. Stubborn bends, fixed percolators, and knowing when to stop
Every rig has a shape that alcohol and a swab can’t fully solve — a recycler arm that curves back on itself, a matrix perc with dozens of tiny holes, a fixed downstem welded into a chamber with no straight-line access. This is consistently the hardest part of rig maintenance, and it’s worth being honest that some designs are simply built without much thought for the person who’ll eventually have to clean them.
For these, extend your soak time rather than reaching for more force. A percolator that needs thirty minutes of gentle shaking instead of ten will usually come clean without any scrubbing at all in the areas you can’t physically touch. A turkey baster or squeeze bottle can help direct alcohol into a bend that gravity alone won’t reach. If a section still won’t clear after a couple of extended soaks, that’s a sign the design itself is the limiting factor, not your technique — some percolators are genuinely harder to maintain long-term regardless of how carefully they’re cleaned, and that’s worth remembering the next time you’re choosing a piece.
One more thing, plainly: don’t force glass. A rig that’s stuck, or a joint that won’t budge, or a percolator you’re tempted to really lean into over a sink — that’s exactly how pieces end up broken during a routine clean rather than during use. Sinks are hard, unforgiving surfaces, and a wet glass piece is a slippery one. Work over a towel-lined counter, keep your grip loose but controlled, and if something isn’t coming apart easily, stop and soak it longer instead of applying more pressure.
💨 8. Drying and storage
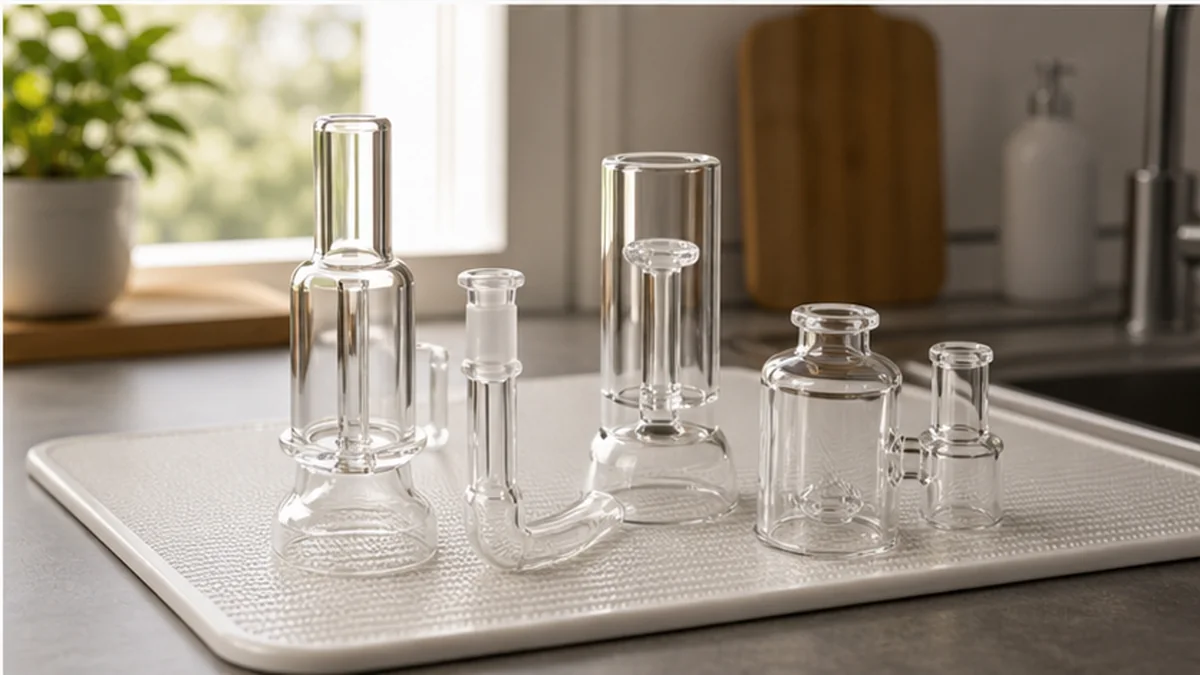
After the rinse, shake off excess water and let every piece air-dry fully before reassembly — a rack, a towel, or simply standing pieces upright works fine. Trapped moisture in a percolator is an easy way to end up with a faint musty smell or water spots that make the piece look dirty again within days. Once everything’s dry, reassemble loosely rather than forcing joints together, and store the rig somewhere it won’t get knocked around. A clean rig that gets chipped in a drawer the next morning hasn’t actually saved you any trouble.
🏗️ 9. How the rig’s design decides how much work this all is
Here’s the part that’s easy to overlook until you’ve cleaned a few different pieces: how much of this routine you’ll be doing regularly depends heavily on what you bought in the first place. A straight-tube rig with a single simple percolator is genuinely easy to maintain — every surface is reachable, soaks work fast, and there’s nowhere for residue to hide. A rig with a dense matrix perc or multiple interlocking chambers looks impressive on a shelf, but it’s signing you up for longer soaks and more frequent maintenance for as long as you own it.
If you’re shopping for a new piece, or thinking about customize dab rigs options, cleaning access is worth weighing as seriously as looks or airflow. Removable percolators, wide joints, and straight or gently curved arms all make future cleanings faster and lower-risk. The same logic applies to nails and bangers — quartz coil vs ceramic pieces vary in how they hold up to repeated torching and cleaning cycles, and picking one built for durability now saves a headache later.
❓ 10. Quick FAQ
How often should I deep clean versus just wipe down? Wipe down after most sessions if you’re a regular user; save the full soak-and-rinse process for when flavor noticeably drops or you can see visible buildup, typically every few weeks depending on use.
Can I use one cleaner for everything, glass and electronic parts alike? No — treat them as two separate jobs. Alcohol soaks are for removable glass only; electronic components get wiped per the manufacturer’s instructions, never submerged.
Is it safe to mix cleaning products for a tougher job? Don’t. Combining alcohol with other household cleaners isn’t necessary for resin removal and can create unpredictable, unsafe reactions. Stick to one method at a time.
A rig that’s easy to keep clean gets used more, tastes better, and lasts longer — which is really the whole point of owning good glass. At AOVAPE, that’s the thinking behind how we approach hardware: building pieces where the joints, percolators, and airflow paths are meant to be reached, not just admired, so maintenance stays a small routine instead of a recurring project.