Adjustable voltage is one of the most common features on modern 510 thread batteries, yet it’s also one of the most misunderstood. The control looks simple — a button, a dial, or a small screen — but what it actually changes, and why that matters for a given cartridge, is rarely explained clearly. This guide walks through the mechanics in plain terms: what voltage does, how it interacts with cartridge resistance, the difference between preset and continuous controls, how indicator lights communicate status, and how to work through the handful of problems that show up most often.
For a repeatable comparison, keep one known-compatible cartridge as a reference and note the battery setting before every test. Compare the same battery charge state, clean contacts and unrestricted airflow. If the device uses a dial, mark the documented positions rather than guessing between unlabeled points. If it uses presets, treat each light color as model-specific. This simple record separates a true control change from a different cartridge, weak contact or low battery state.
Adjustability is most useful when it is predictable. A control that moves loosely, skips settings or displays values that change without input is not providing reliable evidence. Stop troubleshooting through higher settings and move to the manufacturer or supplier service path. The goal is to identify the hardware boundary, not to force output from an uncertain circuit.
🧭 1. Why Adjustable Voltage Exists on a 510 Battery
A fixed-voltage battery sends the same electrical output to every cartridge, regardless of what that cartridge is built for. That works fine if every cartridge a person uses shares similar internal resistance, but cartridges vary. Some are built for lower output, others expect more. A single fixed voltage is a compromise that can leave one cartridge underpowered and another overdriven.
Adjustable voltage solves this by letting the user shift the output to match the cartridge in hand, rather than forcing every cartridge to work around one static setting. It’s the same logic found in any adjustable-output device: the control exists because the load isn’t uniform, so the source shouldn’t be either.
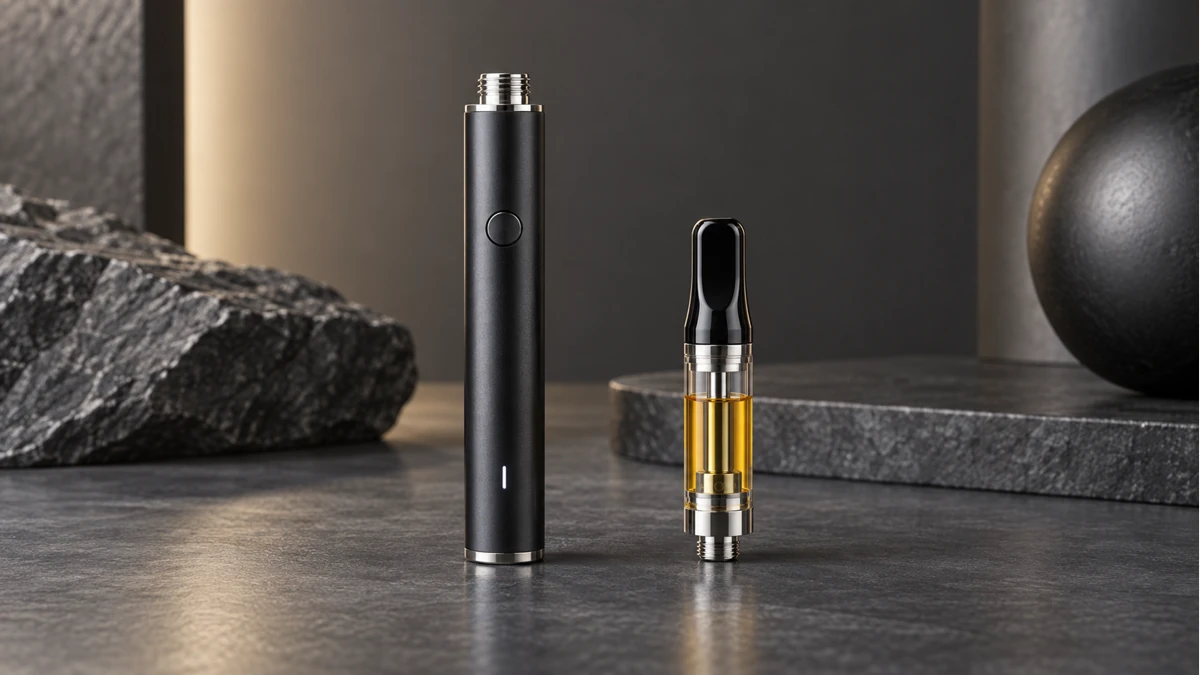
This is also why adjustable batteries tend to have wider compatibility across cartridge types than fixed-voltage models. The tradeoff is that the user now has a setting to think about, which is the source of most confusion people run into.
⚙️ 2. Voltage and Cartridge Resistance: The Relationship That Matters
🔎 2.1 What Resistance Actually Describes
Every cartridge has an internal coil or heating element with a measurable resistance, usually printed somewhere on the cartridge or listed by the maker. Resistance describes how much the coil pushes back against the electrical current passing through it. A lower-resistance coil lets more current flow at a given voltage; a higher-resistance coil restricts it more.
This is why the same voltage setting can feel completely different across two cartridges. It isn’t the battery behaving inconsistently — it’s the coil on the other end responding differently to the same input.
📏 2.2 Matching a Voltage Range to a Cartridge
Because output depends on both voltage and resistance together, the practical approach is to treat the cartridge’s expected range as the starting point, not a fixed target. Most cartridges are designed with a workable range in mind, and manufacturers often print or list that range on the packaging.
- Starting near the low end of a cartridge’s range and adjusting upward avoids overdriving a coil before you know how it performs.
- A cartridge that feels weak at the low end of its range is telling you something about resistance, not necessarily that the battery is faulty.
- A cartridge that tastes burnt near the high end is usually being pushed past what that particular coil is built to handle.
this related AOVAPE hardware guide
The relationship isn’t something a user needs to calculate. It’s enough to understand that voltage and resistance move together, and that “correct” settings are cartridge-specific rather than universal.
🧩 3. Preset Controls vs. Continuous Dials
Adjustable batteries generally implement voltage control one of two ways: stepped presets or a continuous range. Each changes how precisely — and how quickly — a user can find a workable setting.
🔎 3.1 Button-Step Presets
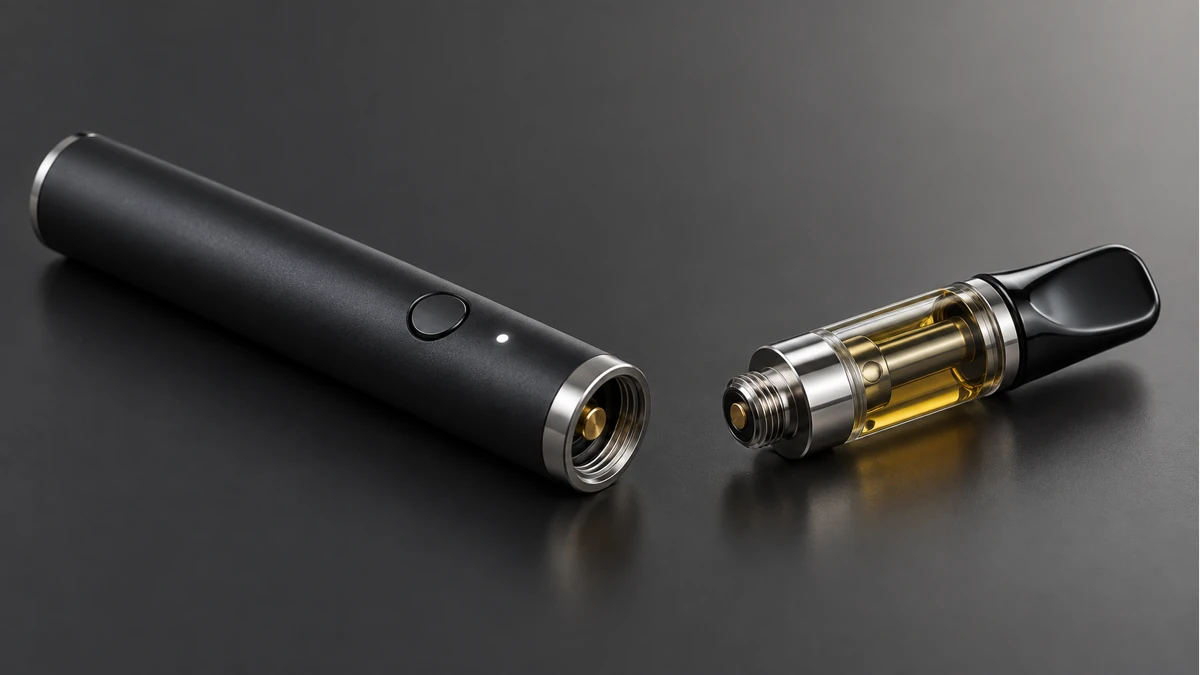
Preset controls move through a fixed number of voltage levels, typically shown as low, medium, and high, or sometimes numbered steps. Pressing a button cycles between them, and an indicator light usually confirms which level is active.
The advantage of presets is predictability. Because there are only a few fixed points, it’s easy to remember which setting worked for a given cartridge and return to it later without guesswork. The tradeoff is precision — if a cartridge performs best somewhere between two presets, the control can’t land exactly there.
📏 3.2 Continuous Twist or Slide Controls
Continuous controls, often a rotating dial or a slider, allow voltage to be set anywhere across the device’s full range rather than jumping between fixed points. This gives finer control, which matters most for cartridges that are sensitive to small changes in output.
The tradeoff is that continuous controls are easier to bump or drift out of position, especially on devices without a lock or a numeric display. A dial with no visible reading also makes it harder to return to a previous setting precisely, since the user is relying on position rather than a labeled value.
🔬 4. Reading the Indicator Light
🔎 4.1 Color as a Voltage Map
On preset devices, the indicator light color typically maps to the voltage level currently selected — for example, one color for the lowest setting and a different color for the highest. This mapping is device-specific, so the same color can mean different things on different batteries. Checking what a given battery’s colors correspond to, rather than assuming based on another device, avoids a common source of confusion when switching between batteries from different makers.
📏 4.2 Blink Patterns and What They're Warning About
Beyond steady colors, most batteries use blinking patterns to flag conditions that need attention rather than just showing the active setting. Common patterns include:
- A rapid blink when the button is pressed but no cartridge is making a proper connection, which usually points to a threading or contact issue rather than the voltage setting itself.
- A slow or repeated blink on power-up that signals low charge, distinct from the steady light shown during normal use.
- A specific flash count in some models used to indicate a short-circuit protection trigger, meaning the device detected a connection issue and cut off output as a safeguard.
These patterns exist because a light with only one behavior can’t communicate multiple different problems. Learning what a specific battery’s blink sequence means — usually found in whatever documentation came with the device — removes most of the guesswork when something isn’t working.
this related AOVAPE hardware guide
🧼 5. Troubleshooting Common Adjustable-Voltage Issues
🔎 5.1 No Vapor Despite a Correct-Looking Setting
When a battery shows power but nothing happens at the cartridge, the issue is usually a connection problem rather than a voltage problem. The threading between battery and cartridge needs firm, clean metal-to-metal contact for current to pass through at all. A loose connection, or residue built up on the contact pin, can interrupt the circuit even though the battery is functioning normally on its own.
Before adjusting voltage further, it’s worth removing the cartridge, checking that the contact pin isn’t recessed or corroded, and reseating it firmly. This resolves a large share of “no output” cases that otherwise look like a voltage or battery fault.
📏 5.2 Harsh or Burnt Taste at Higher Settings
A burnt or harsh taste that appears specifically at higher voltage settings is a sign that output is exceeding what the coil is handling well, not evidence that the cartridge is defective. Since higher voltage drives more current through the coil, pushing a cartridge toward the top of its range increases heat output correspondingly. If the same cartridge tastes fine at a lower setting, that’s a direct indication the coil’s comfortable range sits lower than where it was set.
🧪 5.3 Weak Output at Lower Settings
The inverse problem — thin or weak output — often shows up when voltage is set too low for a cartridge’s resistance, meaning the coil isn’t reaching enough heat to work as intended. This is especially common with higher-resistance cartridges, which generally need more voltage to perform comparably to lower-resistance ones. Raising the setting incrementally, rather than jumping straight to the top, makes it easier to identify the point where output становится balanced without overshooting into the harsh range described above.
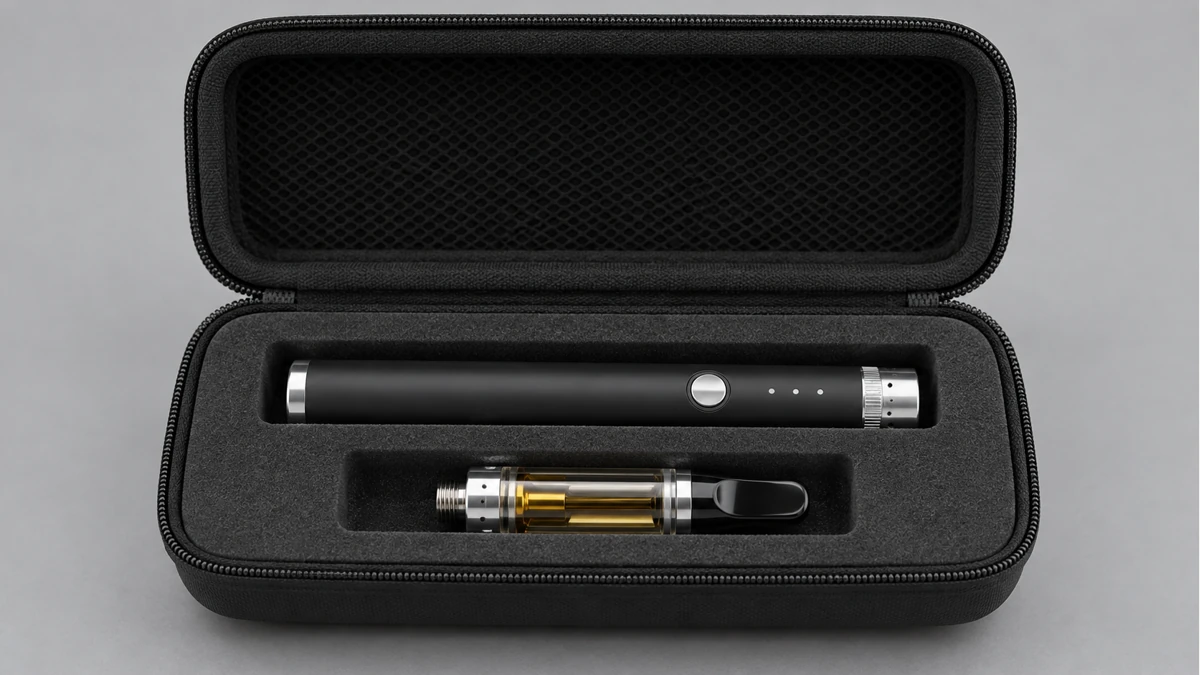
📐 6. Test an Adjustable-Voltage Battery as a System
The voltage control changes the electrical potential applied across the attached load. It does not directly read material temperature, airflow, cartridge condition, or residue. Those variables still shape what the hardware does, which is why a setting that behaves normally with one compatible cartridge can feel different with another.
🔎 6.1 Start With the Documented Range
Identify whether the control uses fixed presets, plus-and-minus steps, a dial, or a small display. Then confirm the supported range in the exact model documentation. Do not infer the setting from indicator color alone because manufacturers reuse colors differently. Begin at the maker’s recommended starting point for the attached hardware and change only one step at a time.
📏 6.2 Cartridge Resistance Is Part of the Circuit
Two cartridges with the same thread can present different electrical loads. A battery may respond with a warning, refuse to activate, or deliver a different power level even when the voltage display looks identical. Thread fit proves mechanical attachment. It does not prove that the battery, cartridge resistance, airflow and control range form a compatible system.
🧪 6.3 Record the Symptom Before Changing Settings
Note the displayed setting, indicator pattern, cartridge identity and whether airflow is free. If output is inconsistent, inspect contacts and try a known-compatible cartridge before raising voltage. Increasing the setting can hide a weak contact temporarily while adding stress elsewhere. A one-variable sequence produces more useful evidence than cycling through every mode.
🔋 6.4 Keep Controls and Contacts Clean
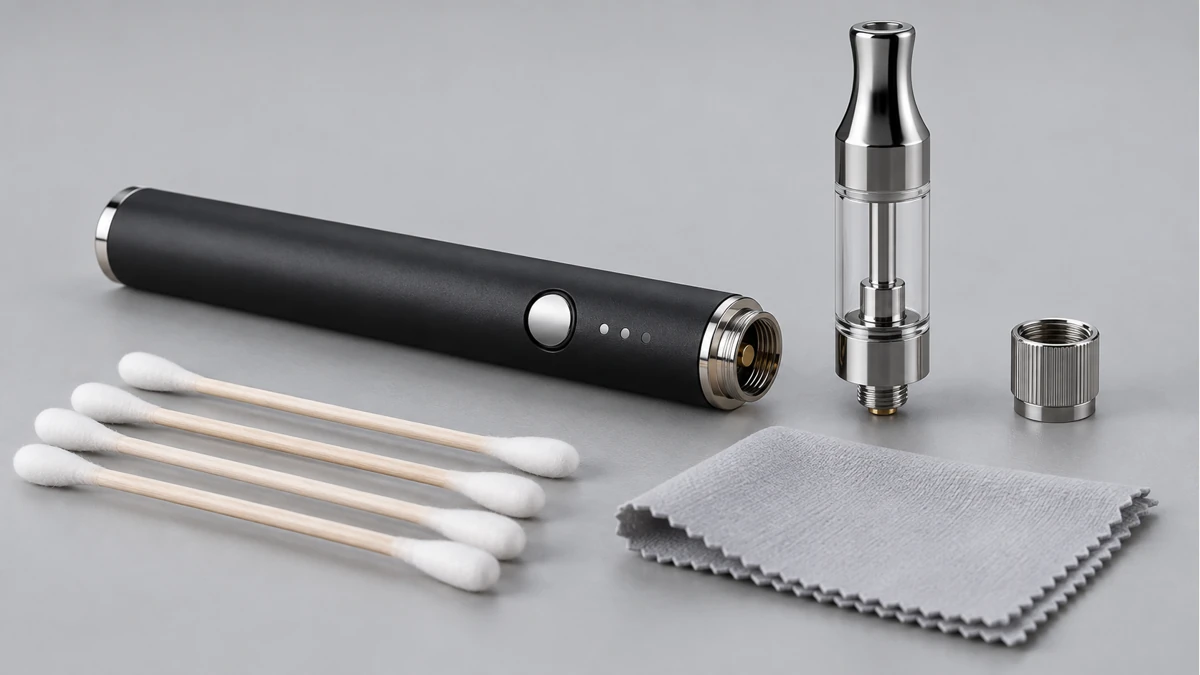
Power the battery off, remove the cartridge and wipe accessible contacts with a dry lint-free swab. Keep liquid away from buttons, displays and charging ports. Reattach finger-tight. If the control changes by itself or buttons feel stuck, stop using the device until the control surface and internal electronics can be evaluated through the supplier’s service path.
🔍 7. Practical Habits for Using the Control Well
A few habits make adjustable voltage far less confusing in daily use:
- Start low with any new cartridge and move up gradually, rather than defaulting to the last setting used with a different cartridge.
- Note which setting works for which cartridge type, since resistance — not brand or appearance — is what actually determines the right range.
- Treat indicator light changes as information, not noise. A shift in blink pattern almost always means something specific changed, whether that’s charge level, connection status, or a protection trigger.
- Reseat the cartridge before assuming a voltage change is needed, since connection issues mimic voltage problems far more often than people expect.
Adjustable voltage adds a layer of control that fixed-output devices don’t offer, but it only helps if the underlying logic is understood. Once the relationship between voltage, resistance, and the indicator light is clear, most of what looks like inconsistent or unpredictable behavior turns out to be a straightforward cause-and-effect result of the setting relative to the cartridge in use.
this related AOVAPE hardware guide
A final comparison should also hold the charging state constant. A nearly depleted cell can change indicator behavior and output even when the selected voltage has not moved. Recharge only through the documented input, let the device return to normal operating temperature, and repeat the same known-compatible setup before treating a symptom as a failed voltage control.