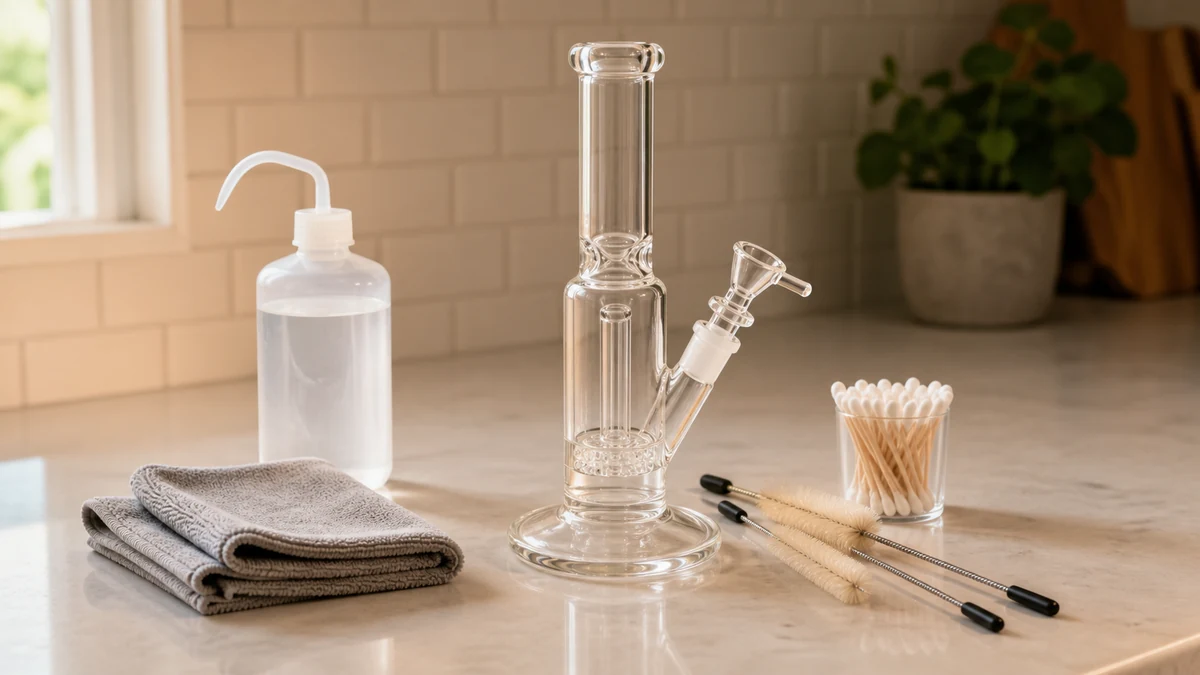
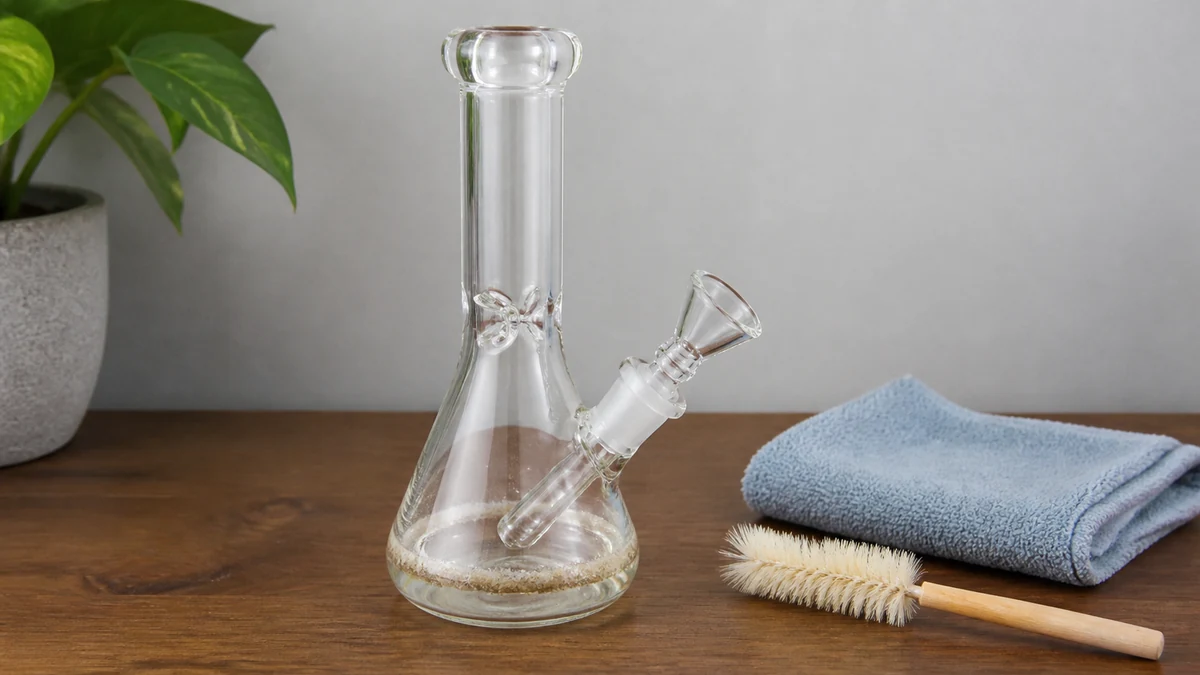
A glass water pipe that’s just come off the drying rack still shows it: a brownish-gold ring sitting right at the old waterline, stubborn against a rinse that cleared everything else. Shake it under the tap, tip it, run more water through the downstem — the ring stays put, sometimes even picking up a faint sheen as it dries again. That ring isn’t dirt in the ordinary sense. It’s resin that has bonded to glass, silicone or acrylic over repeated sessions, and water alone was never going to move it. Understanding why it sticks — and where it sits inside the piece — is what actually determines which cleaning method is worth reaching for next.
💡 1. Why That Ring Won’t Rinse Out
Resin residue is oily and slightly tacky by nature, which is exactly why plain water slides past it instead of lifting it. Water is polar; resin is not, so the two don’t mix any more than oil mixes into a glass of tap water. Agitation alone can knock loose material free, but anything that has cured onto a surface — especially at a joint, a percolator slit, or the waterline where evaporation concentrates residue — needs a substance that can actually dissolve or emulsify it before it will let go.
Location matters as much as chemistry. A ring at the waterline sits in open, easily reached glass. Residue packed into a percolator’s slots or a downstem’s narrow bore is harder to reach and easier to damage while trying. Buildup on an electric rig’s heating chamber or near its control board raises an entirely different concern, because moisture and electronics don’t mix regardless of how effective the cleaner is. Before picking a method, it helps to separate the question of “what dissolves this residue” from “what can this specific surface safely tolerate.”
⚙️ 2. Three Approaches to Breaking Down Resin
Most cleaning routines for glass and silicone water tools lean on some combination of three tools: physical agitation, an alcohol-based soak, or a cleaner formulated specifically for cannabis or tobacco residue. None of them is a universal answer on its own — each has a role depending on how much buildup there is and what the piece is made of.
🧩 2.1 Mechanical Agitation
Coarse salt, rice, or small cleaning beads combined with shaking action can physically scrape softened resin off interior glass surfaces. This works best as a companion to a liquid soak rather than a replacement for one — the abrasive dislodges material that the liquid has already loosened, and the shaking motion reaches curves and joints that a brush can’t. Used dry, or against a hardened, un-soaked ring, abrasive media mostly just rattles around without accomplishing much, and can scratch acrylic or painted surfaces that don’t tolerate abrasion the way plain borosilicate glass does.
🧩 2.2 Alcohol-Based Soaking
Isopropyl alcohol is the standard solvent for this job because it’s effective at cutting through resin and it evaporates cleanly, leaving no residue of its own behind once a piece is rinsed and dried. The CDC’s NIOSH pocket guide notes that isopropyl alcohol is flammable and should be used with adequate ventilation and away from open flame or heat sources — a real consideration in a room with lighters or torches nearby. A soak works by giving the alcohol time to break the resin’s bond with the surface; combined with light agitation, it’s usually enough to loosen even a ring that’s survived several rinses. It is not a method to improvise with substitute solvents, and it should never be applied anywhere near an active flame or a piece that’s still warm.
🧩 2.3 Purpose-Made Bong Cleaners
Commercial cleaning solutions formulated for water pipes are built to dissolve resin without the flammability and odor tradeoffs of alcohol, and many are designed for a shorter contact time. They tend to cost more per use than a bottle of alcohol and coarse salt, but for glass with intricate percolators or for anyone who’d rather not store a flammable solvent, they’re a reasonable trade. As with any cleaner, following the manufacturer’s instructions for dilution and contact time matters more than assuming stronger or longer automatically means cleaner.
🔍 3. Matching the Method to the Material
The same resin ring calls for different handling depending on what it’s sitting on. Glass, silicone, acrylic and painted finishes each respond differently to solvents, abrasives and heat, and treating all of them the same way is the most common way a cleaning session turns into a damaged piece.
🧩 3.1 Borosilicate Glass
Plain borosilicate glass is the most forgiving surface here. It tolerates alcohol soaks, purpose-made cleaners, and mechanical agitation with abrasive media without much risk, which is why most cleaning advice defaults to glass-first assumptions. The main precautions are thermal, not chemical: avoid pouring cold cleaning solution into glass that’s just come off a warm session, and rinse thoroughly afterward so no solvent residue lingers before the next use.
🧩 3.2 Silicone and Acrylic
Silicone stands up well to soaking and generally shrugs off alcohol, but it’s porous enough that strong odors and some staining can linger longer than they would on glass. Acrylic is a different case — it scratches more easily than glass and can cloud or craze if left in contact with strong solvents for extended periods, so a shorter soak and a gentler wipe are usually the safer approach. For a closer look at how these material differences play out beyond just cleaning — durability, feel, and maintenance over time — the comparison at silicone versus glass dab rigs is a useful reference point.
🧩 3.3 Painted, Labeled or Coated Surfaces
External paint, printed logos, or decorative coatings are the most fragile element on many pieces, and they’re often overlooked because the resin problem is on the inside. Extended alcohol contact or abrasive shaking can dull or lift a painted finish even when the interior glass comes out perfectly clear. Keeping cleaning solution contained to the interior chamber, and wiping exterior painted surfaces with a damp cloth rather than soaking them, avoids trading a clean interior for a faded exterior.
🧭 4. Percolators, Electronic Parts and Anything With a Circuit
Percolators and diffuser slits complicate cleaning because their whole design — narrow channels meant to break water into bubbles — is also exactly the geometry that traps resin most stubbornly. A soak followed by gentle shaking usually reaches these areas better than a brush, since bristles often can’t get into slots that small without risking a chip.
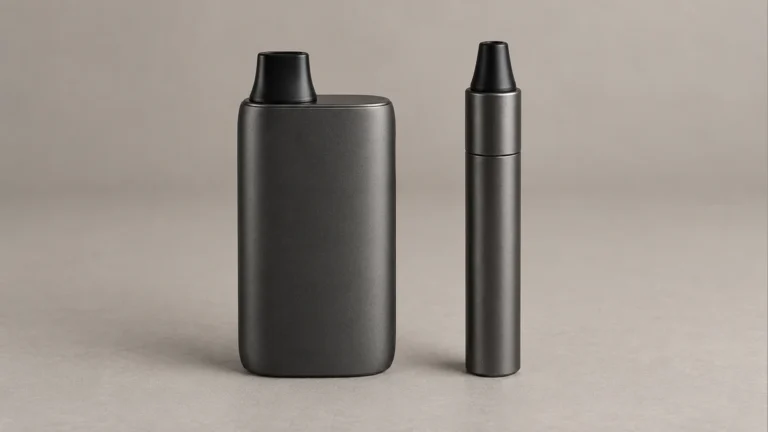
Electronic components are where the rules change completely. Any rig with a battery, a heating element, or a control board needs cleaning solution kept strictly away from ports, buttons and seams — moisture in those areas isn’t a cosmetic problem, it’s a functional one. Detachable glass or silicone attachments on an electric piece can typically be cleaned using the same material-specific methods described above, but the base unit itself calls for a different, more limited approach: wiping down accessible surfaces rather than soaking, and never submerging any part that houses electronics. The detailed walkthrough at cleaning an electric dab rig covers this separation between detachable and electronic components in more depth, and it’s worth reading before a first cleaning session on any electric piece, since exact port locations and disassembly steps vary by manufacturer and should follow the specific manual for that unit.
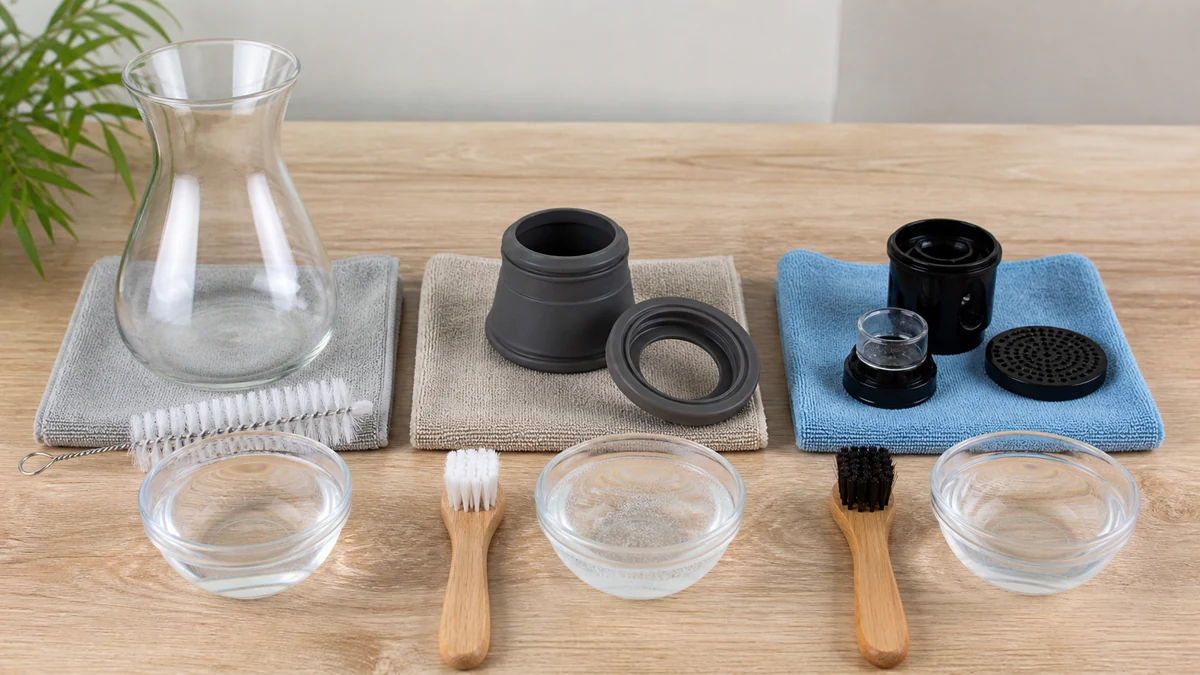
🧩 5. Rinsing, Drying and Stopping the Next Ring Before It Starts
Whatever method loosens the resin, the rinse afterward is not optional. Alcohol and commercial cleaners both need to be flushed out completely with warm water, run through every joint and percolator the same way the cleaning solution was, until no smell or residue remains. Skipping this step just replaces one contaminant with another sitting in the same spot.
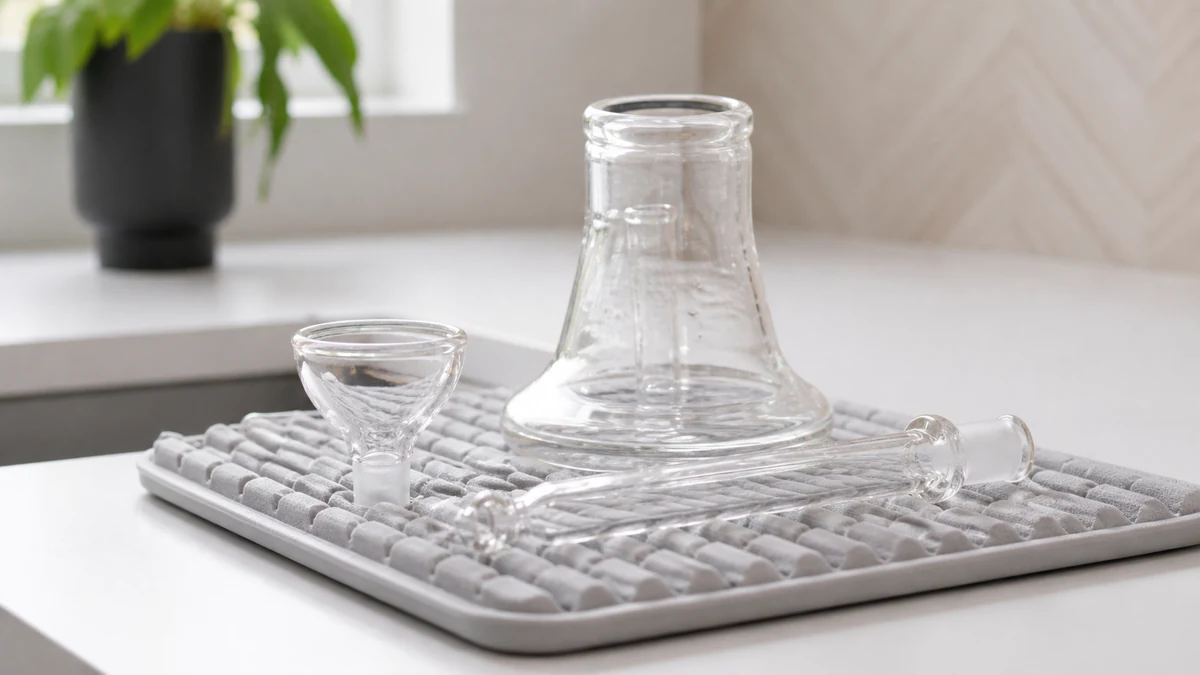
Drying matters just as much as rinsing, particularly for pieces with narrow channels where trapped water can sit for days without anyone noticing. Standing the piece upside down on a rack, or resting it at an angle that lets water drain from every chamber, prevents the kind of standing moisture that leads to cloudiness or mineral spotting once the water evaporates. Silicone pieces in particular can trap water in seams and joints longer than glass does, so a few extra minutes of air-drying time is worth building into the routine rather than assuming it’s ready as soon as it looks dry on the outside.
The habit that prevents the next stubborn ring is simply rinsing after every session rather than waiting for buildup to accumulate. A quick water rinse right after use, before resin has had time to cure and bond to the surface, keeps the next full cleaning far easier — the same principle covered in more general terms in the guide to cleaning a dab rig, where the timing of a rinse matters as much as the method used for a deeper clean.
🛠️ 6. Building a Routine That Matches How Often You Use It
There isn’t a single cleaner or technique that outperforms the others in every situation — the right choice depends on the material in front of you, how long the residue has had to set, and whether electronics are involved. Glass tolerates almost any of the three approaches; silicone and acrylic ask for shorter contact times and gentler handling; percolators reward patience over force; and anything with a circuit board should never be soaked at all. Building a routine around those distinctions, rather than reaching for whatever’s on hand, is what keeps a piece looking and functioning the way it did on day one.
A light rinse after each session and a proper deep clean on a regular interval will handle most of what accumulates, and matching the cleaning method to the specific material in hand is what separates a piece that lasts from one that clouds, scratches or fades well before it should. When in doubt about a specific model’s tolerances — particularly for electric or hybrid pieces — the manufacturer’s manual remains the most reliable source, since finishes, seals and electronic housings vary enough between products that general guidance can only go so far.
Good hardware tells you where its limits are. A timed cutoff, a removable joint, a material-specific cleaning note or a clear compatibility table is useful because it reduces guesswork. Workarounds that defeat a cutoff, suspend weight from a small connector, or expose an unknown material to a strong solvent trade a small convenience for a much larger uncertainty.
🧩 8.2 Prefer Clear Limits to Clever Workarounds
A purchase decision is incomplete until the maintenance path is visible. Count the removable pieces, inspect narrow passages, note whether consumable seals can be replaced, and decide where wet parts can dry without touching electronics. The most comfortable setup is usually the one whose routine remains obvious when the novelty wears off.
🧩 8.1 Make Maintenance Part of the Comparison
Do not force a universal answer where the hardware does not provide one. Material, joint geometry, electronics and cleaning instructions vary. When a manual conflicts with a generic tip, the manual wins. When a connection only works under pressure or at an angle, stop rather than tightening harder. And when a cleaner or replacement part is not explicitly compatible with the material, test nothing on a valuable or powered component.
The last check is deliberately ordinary: picture the complete routine, not the product on an empty catalog background. Where will it sit, which parts will be removed, what has to dry, and which connection will take the load? Those questions expose inconvenient details that a feature list hides. A compact piece may be easier to store but harder to reach inside. A larger piece may be steadier yet awkward at the sink. A more adjustable device may be useful only if its manual and controls remain understandable after the first week.
🧭 8. A Practical Decision Check Before You Buy
🧼 7. 📚 Sources
- CDC/NIOSH Pocket Guide to Chemical Hazards — Isopropyl Alcohol: https://www.cdc.gov/niosh/npg/npgd0359.html