A broken banger needs to come out of use. That includes a chipped bucket rim, a cracked neck or a joint that has snapped away from the rest of the attachment. Heating it again, gluing the pieces together or waiting for a larger break does not resolve the damage. If you have found a suspicious line rather than an obvious break, pause use while you identify what you are seeing.
The frustrating part is that a dirty mark and a fracture can look similar in a photograph. A line may be residue, a reflection or a defect in the part; a short visual check cannot certify its strength. You do not have to settle that question by scraping it or trying another cycle. You can put the piece aside, document the location and ask its maker about the next step. Meanwhile, keep it separate from the intact accessories you still use.
🚫 1. Taking a Broken Banger Out of Rotation
Often the change is easy to overlook: a cap no longer sits level, a small notch appears at the rim or a line becomes visible when you open the case. Treat that as a reason to stop and look, rather than as a challenge to prove the part can still work. There is no useful household test that tells you how many more uses a damaged attachment has left. A piece holding together on the table answers only one question: it has not separated there yet.
The conservative handling principle has support beyond forum anecdotes. In its laboratory glassware guidance, DWK advises against using scratched, chipped or cracked glassware because defects can weaken it. That is guidance for laboratory equipment, not a certification or test of your banger. It supports retiring a visibly damaged part; it does not identify the composition or cause of damage in an unknown attachment.
🔎 2. Naming the Part: Bucket, Rim, Neck, and Joint
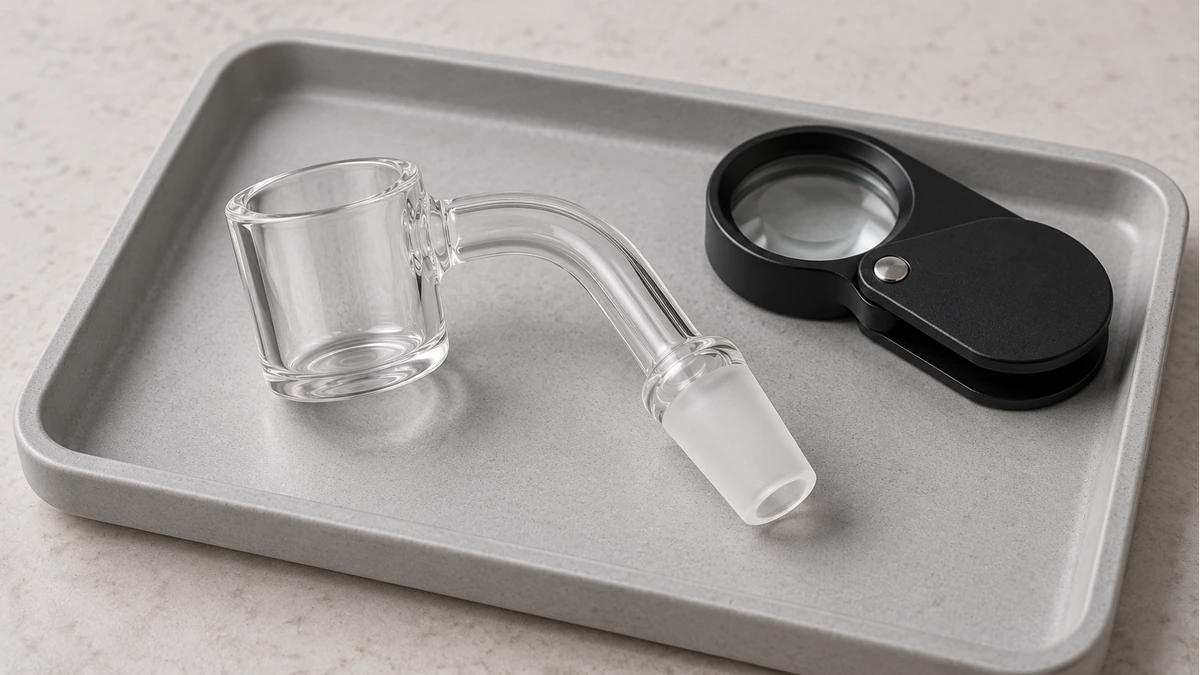
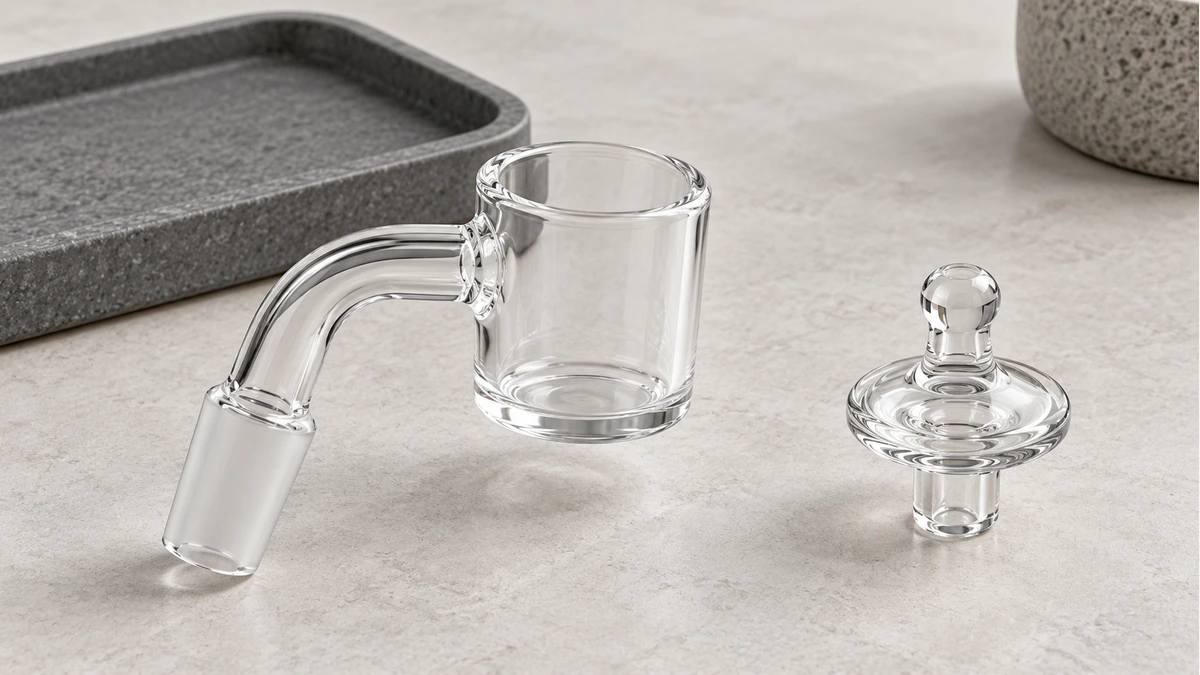
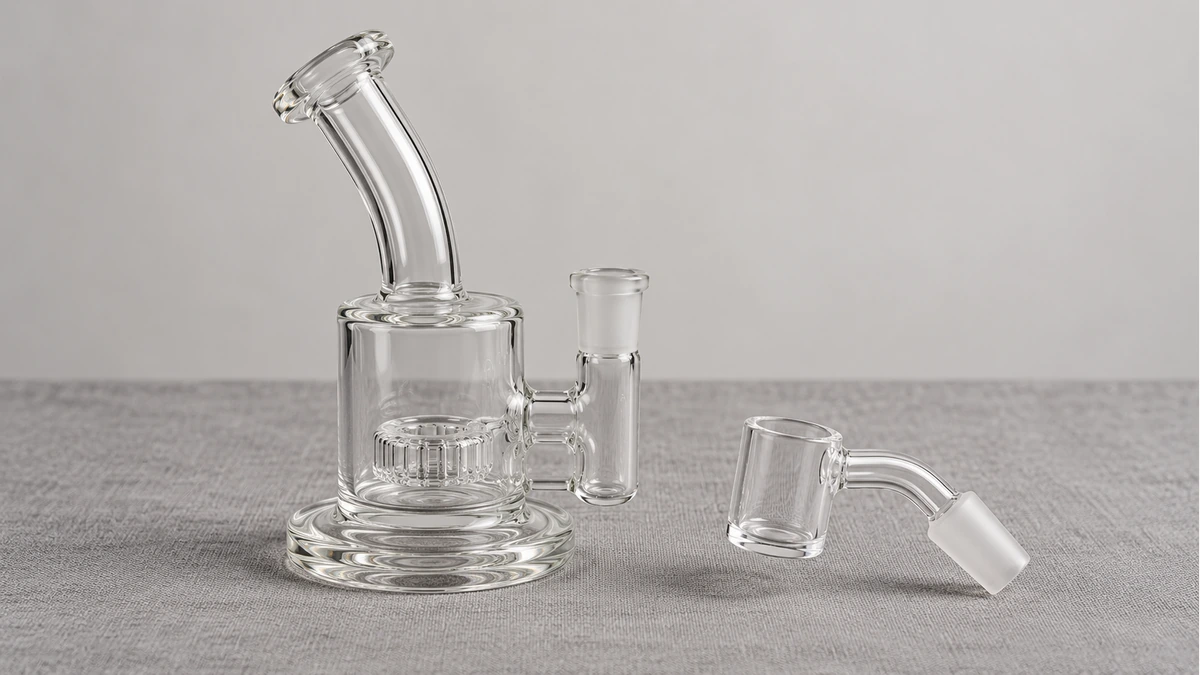
It helps to name the location before contacting support. The bucket is the open cup, the rim is its top edge, the neck connects the cup to the joint, and the joint is the mating section that sits in the rig. An intact tapered joint normally fits into a corresponding socket; it is not a screw thread. A crack around the neck and a notch at the rim are different locations, even though both take the part out of use.
Also distinguish the attachment from the rig itself. If a detached banger has broken in its case, the rig may not have been involved. If the joint broke while attached, the socket and nearby pieces need attention as well. Do not assume that replacing the bucket-shaped component resolves every other part of the incident. Equally, an old stain on the rig is not evidence that its wall has cracked. Keep the observations separate so you can describe each one accurately.
👀 3. A Cold, Unlit Look Before Anything Else
With the equipment switched off where applicable and the part fully cool, look at what is accessible in good light. A side view shows the neck and bucket wall; an overhead view shows the rim and inside of the cup. If the piece is already lying on a stable surface, take the first photographs there. Avoid unnecessary handling of a visibly fractured object. You are recording a condition, not certifying the component for further use.
Do not tap it for a reassuring sound, bend the neck or trace the line with a hard tool. A mark that looks different as the camera moves remains ambiguous; a photograph cannot settle whether a faint feature passes through the wall. If the attachment is stuck in the rig, leave the assembly supported and ask the maker how to proceed. Using a damaged neck as a lever adds a second problem to the first one.
🧩 3.1 Why the Rim Deserves a Second Look
Look at the rim as well as the broad bucket wall. A small missing section may be less obvious than a long line, particularly when a cap normally covers it. The rim is not the joint that seats in the rig: those are separate ends of the component. Photograph the cap separately if it was struck, rather than pressing it back onto the suspect edge to demonstrate that it still fits.
📷 4. What a Photo Can and Can’t Tell You
Keep the background uncluttered so the suspect area is visible without someone mistaking a tray edge or reflection for a line in the attachment. If the photograph does not show what you see, explain that limitation rather than digitally drawing a fracture onto the part. A wider reference frame also keeps an extreme close-up in context. In the message, distinguish “I noticed this after unpacking” from “I watched it break while unpacking.” The first describes when you discovered it; the second describes an observed event. That difference helps avoid turning the timing of discovery into an unsupported claim about the cause.
A useful photo shows the whole attachment and then the particular area of concern. Keep one wider frame that shows the bucket, neck and joint together; follow it with a closer view of the line or missing edge. This lets the recipient locate the defect without guessing which way the piece is facing. Use ordinary lighting and keep the original file. Heavy contrast, filters or annotations drawn over the line can obscure the very feature you are asking someone to assess.
Forum discussions show why photographs so often produce contradictory advice. In a discussion about a cracked banger, the owner described a line that seemed to be growing while replies proposed continued use. Other threads mix stories about drops, cleaning and repeated cracks. Those accounts help explain the question people are trying to answer, but they cannot determine your part’s remaining strength. A commenter getting another use from a damaged piece does not establish a dependable allowance for anyone else. Ask support what they can identify from the photographs, and be prepared for the answer that an image is insufficient.
🧼 5. Protecting the Rig, the Cap, and the Pearls
Keep a cap, loose pearls and other accessories that were involved apart from clean spares until their condition has been addressed. Do not simply move them into a fresh banger and carry on. If fragments are present, routine wiping is not proof that every piece has been removed. Ask the equipment maker how to handle affected removable parts and the rig itself. A guide to glass-cleaning tools can help distinguish soft, accessible cleaning from forceful probing, but it does not turn a damaged component into a cleanable one.
Do not transfer the contents of a broken bucket into another attachment. Keep them out of ordinary storage, and do not try to recover material from between fragments. This is a separation task: intact clean spares, accessories requiring assessment and the damaged component should not all end up together in the same tray. If you cannot account for where loose pieces went, say that when requesting advice. Do not describe the surrounding equipment as checked merely because the obvious broken section has been removed.
💬 6. Contacting Support With the Right Details
A useful support message is short and specific: identify the product and order, attach the overall and close-up photos, and say where you first noticed the change. Include what actually happened, such as a drop or a cap striking the rim, if you observed it. If you found the line later and do not know its cause, say so. There is no need to turn a guess about manufacturing, cleaning or temperature into a confident explanation.
Ask about the damaged part and any connected component separately. For example, you may need to know whether an insert is a replaceable item or whether the whole attachment must be retired. Do not pry a bowl free to find out. Support may request the original packaging, another angle or a return; the seller’s policy determines the available options. A message and photographs preserve useful information, but they do not guarantee a refund, replacement or a particular diagnosis.
📋 7. Keeping Records for the Replacement
Once the damaged piece is out of service, record the specifications you already know from its packaging or original listing. Joint size, male or female connection and the angle of the neck belong in that record. The bucket’s outer diameter is a different measurement, relevant to its cap or other approved accessories. Keep these descriptions separate: a matching joint does not establish that a cap from the old bucket will fit the new one.
The 14mm male banger guide explains the mating connection in more detail. Use the intact product information and the rig’s documentation rather than trial-fitting a cracked piece to recover the measurements. You can also photograph the original arrangement if you already have a clear earlier image. Note space around the bucket and cap, not just the connection label. That makes the replacement question concrete without another round of handling the broken attachment.
📦 8. Packing Good Pieces, Isolating the Damaged One
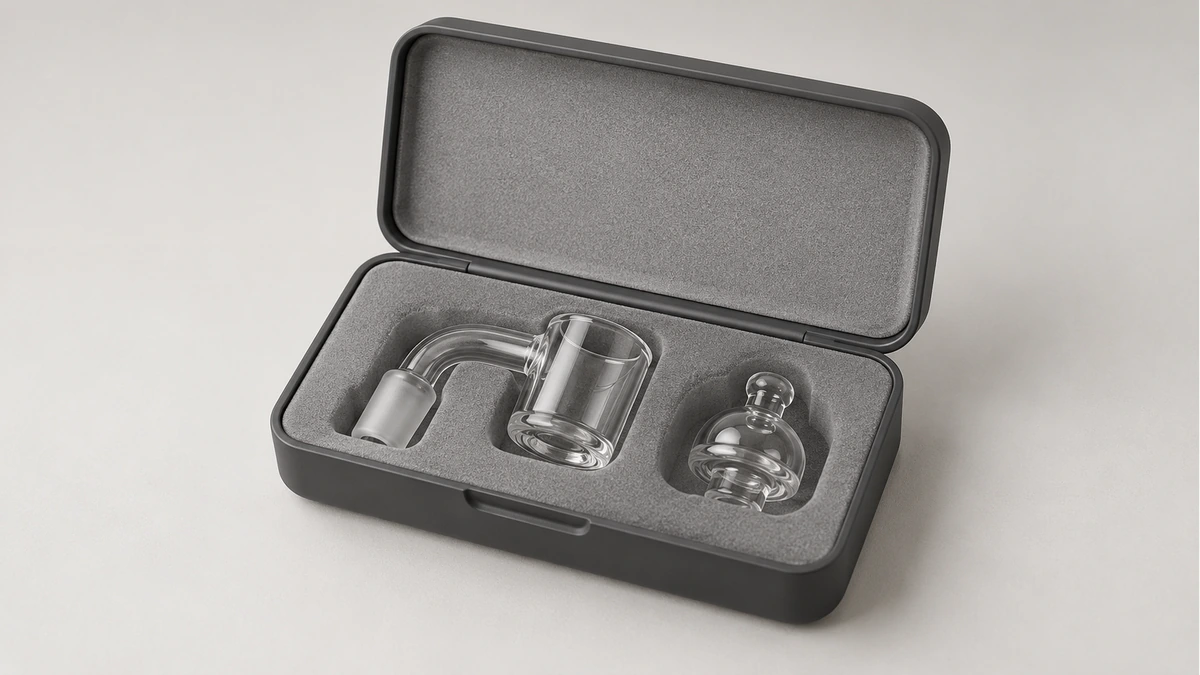
Pack the remaining cool, clean and intact pieces in separate spaces. Do not let an unwrapped cap, banger and tool share one recess simply because the lid closes. The dab rig case guide describes why loose glass needs its own support. A container sitting quietly on a shelf and that same container being lifted or tilted are different situations. Decide how each piece will stay separated before moving the collection, rather than relying on the absence of a rattle.
The damaged attachment should be isolated from those working parts and clearly identified so it cannot be picked up by habit. Follow the maker’s instructions and your local waste service’s guidance for handling and disposing of the actual material. Do not assume a consumer glass recycling stream accepts every heat-resistant accessory. If support needs the piece retained, ask about packaging before sending it. Keep the photographs and order details even after the object is no longer on the desk.
🧭 9. When the Same Part Keeps Breaking
Repeated breakage deserves a record of the whole arrangement rather than a stronger version of the same guess. Is the attachment being carried while still mounted? Is its bucket pressed against a case wall? Does a cap collide with another item on a crowded shelf? These are questions about the way the parts are stored and handled, not a diagnosis of why a particular fracture began. Write down what you can observe without recreating the incident.
For instance, a case recess may support the broad bucket but leave the narrow neck beneath a loose accessory. That is a packing issue you can change without heating anything or testing a crack. A different arrangement might leave the cap on top while a lid presses downward. Keep the replacement and its accessories apart until you have a storage layout that gives each piece room.
Cleaning deserves the same restraint. DWK’s general laboratory cleaning advice calls for inspection inside and out and warns against hard tools that can scratch glass. It does not supply a universal banger-cleaning recipe. Use the actual component maker’s care instructions for an intact replacement, rather than escalating the tools or cleaner to erase every mark.
If you cannot identify the damaged component or its permitted care, that is the useful question to resolve next. Send the overall photo, location of the defect and known part information. Leave the broken banger out of use while the replacement and any affected rig components are sorted out.