Noted — that memory file is garbled/corrupted and doesn’t contain usable instructions, so I’ll disregard it and work directly from the brief you provided. Writing the article now. —
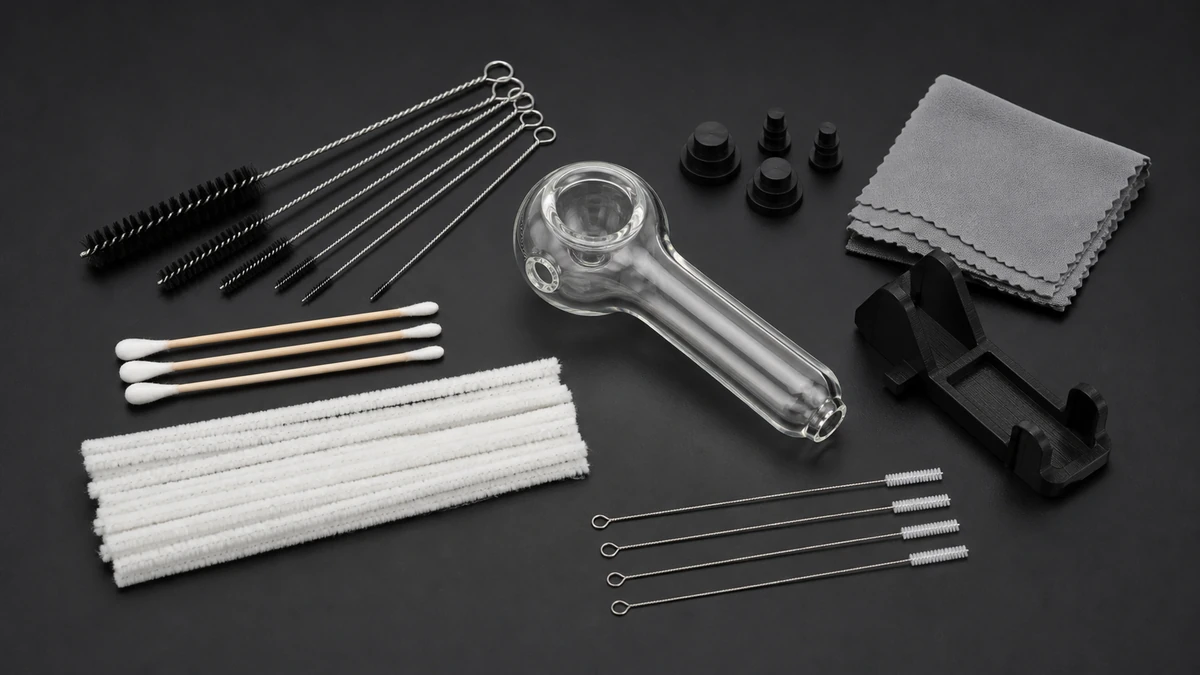
A glass pipe cleaning kit is the set of tools sized to reach every bend a single piece has: a brush thin enough for the airpath, a plug to seal the bowl during a soak, a stable container that won’t tip, and something absorbent for the final wipe. The mismatch that frustrates most owners isn’t a lack of cleaning solution — it’s a brush or swab that’s too wide for the narrowest turn in the piece, so residue builds up just out of reach while the rest looks clean. A kit only works when its tools are chosen against the geometry of the pipe, not against a generic idea of “cleaning supplies.”
That distinction matters because glass pipes vary more in internal shape than they do in size. A straight spoon pipe and a pipe with a sharp carb-to-bowl bend need different reach, even if both fit in the same hand. The sections below walk through how to match tools to that geometry, why brush stiffness and tip shape outrank tool count, and how plugs, containers, soaking, rinsing, and inspection fit together into a routine that doesn’t scratch the glass it’s meant to protect.
🧭 1. A useful cleaning kit matches the narrowest part of the pipe
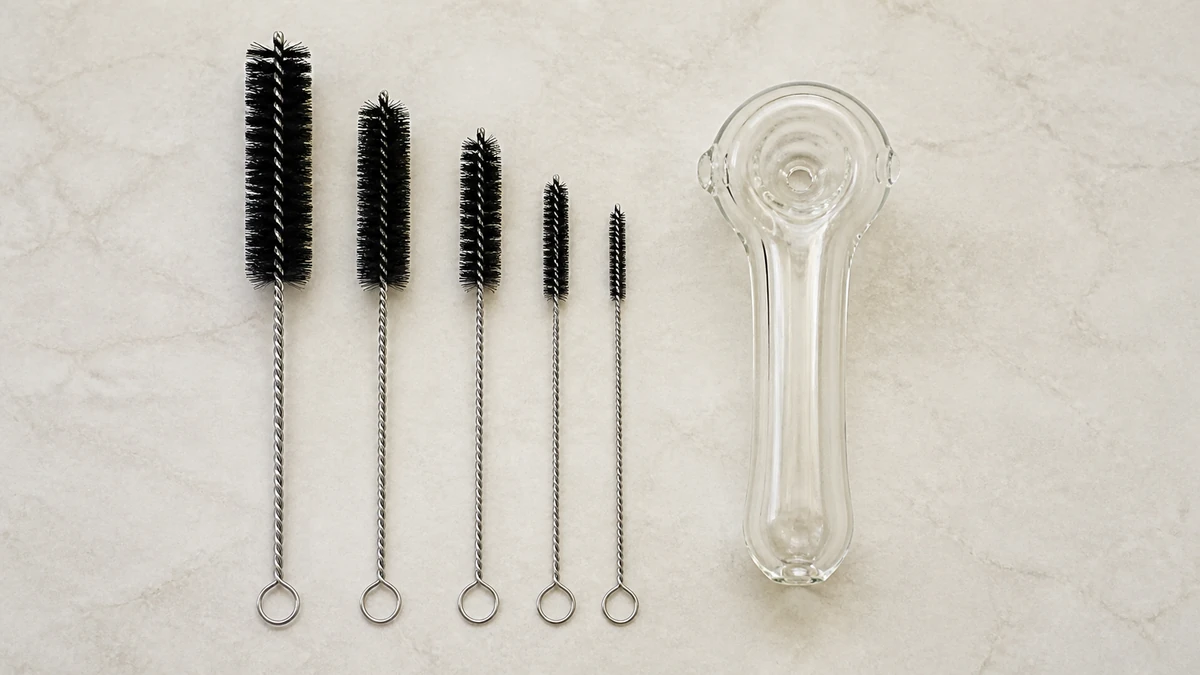
Every glass pipe has a bottleneck — the point where the internal passage is tightest, usually where the bowl meets the stem or where an airpath curves toward the mouthpiece. That bottleneck determines what a brush or swab can physically reach, regardless of how long the tool is. A pipe with a wide, straight bore can be cleaned with a single stiff brush run end to end. A pipe with a tight bend or a percolator-style chamber needs a narrower, more flexible tool to follow that curve, and often a second tool for the sections a straight brush can’t turn into.
Before assembling or buying a kit, it helps to look at the piece itself rather than shopping by category. Hold it up to light and trace the airpath with your eye: where does it narrow, where does it turn, and where does residue visibly collect versus where it’s just staining the outside of clear glass. That visual check tells you more about which brush diameters and lengths you actually need than a generic multi-tool kit description does. Pieces with multiple chambers or joints — closer to what you’d see in dab rig cleaning — usually need a kit built around several different-sized brushes rather than one all-purpose tool.
🧩 2. Brush stiffness and tip shape matter more than tool count
A kit with a dozen brushes isn’t more effective than one with three if none of them have the right stiffness for the residue and the right tip shape for the glass. Stiffer bristles dislodge dried, hardened residue faster, but they’re also more likely to leave fine scratches on the interior surface if pressed hard against a bend. Softer bristles are gentler on the glass but can struggle with buildup that’s been sitting for a while, especially in a narrow airpath where there’s little room to work the brush back and forth. Tip shape matters just as much. A rounded or bulb-tipped brush follows a curve without catching on the glass, while a flat-cut brush tip is more likely to snag at a bend and either miss residue or scrape unevenly. Pipe cleaners and cotton swabs fill a different role than bristle brushes: they’re better suited to wiping a passage clean after a brush has loosened the residue, not to breaking down buildup on their own. A kit that pairs a stiff brush for initial loosening with a soft brush or swab for final wiping tends to cover more of a pipe’s geometry than a kit built around a single brush type repeated in different lengths.
🔍 3. Plugs and a stable container control the mess
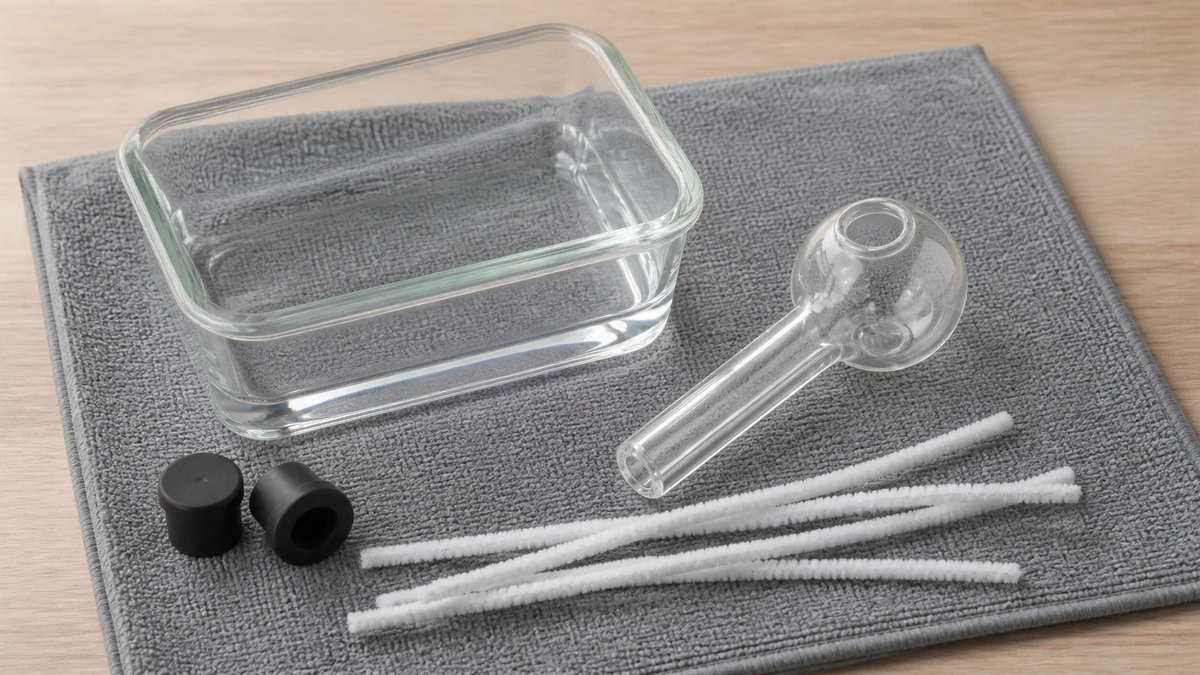
Soaking is the part of cleaning that does the most work with the least scrubbing, but it only functions cleanly if the piece stays upright and sealed while it sits. A plug — typically a rubber or silicone stopper sized to the bowl or mouthpiece opening — keeps liquid contained inside the airpath instead of leaking out through every opening as soon as the piece is tilted. Without one, a soak turns into a slow spill, and the piece spends more time being mopped up than actually soaking. The container matters for the same reason. A tall, narrow jar or a dedicated soak container that the pipe can stand in without tipping keeps the liquid level consistent around the parts that need it, rather than draining away from one side. A wide, shallow dish works against you here, since the pipe is more likely to roll or lean. For pieces with multiple joints, the container question overlaps with what’s already covered in bong cleaning kit guidance — larger glass needs a base or stand that holds it steady through a longer soak, not just a bowl of liquid to dip into.
⚙️ 4. Soaking loosens residue that tools should not scrape
The purpose of a soak is to let a cleaning solution break down residue chemically so a brush only has to dislodge what’s already loosened, rather than scrape hardened buildup off the glass by force. Trying to skip the soak and go straight to scrubbing is where scratching tends to happen — the brush has to press harder and move more aggressively against resistant residue, and that extra pressure is what marks the glass rather than cleaning it. How long a piece needs to soak depends on how much residue has built up and what solution is being used, which is a question best answered by the product’s own instructions rather than a fixed rule applied to every pipe. What stays consistent across pieces is the sequence: seal the openings with a plug, submerge or fill the relevant chambers, let the solution sit, and only then bring in a brush to finish loosening what remains. Shaking a sealed, plugged piece gently partway through a soak can help solution reach corners that don’t stay submerged on their own, but that’s a supplement to soaking time, not a substitute for it.
🧼 5. Rinse and dry every internal path completely
A pipe that looks clean after a soak can still have solution residue sitting in a bend that wasn’t fully rinsed, and that residue doesn’t go away on its own — it just waits to be inhaled the next time the piece is used. Rinsing needs to reach the same narrow passages the brush did, which usually means running water through the piece from multiple angles rather than a single rinse under a faucet. For pieces with more than one chamber, each chamber needs its own rinse pass, since water doesn’t reliably travel between sections on its own. Drying is the step most kits leave out, but it’s what prevents water spots, residual odor, and a damp environment where residue can start to feel sticky again almost as soon as the piece is used. A soft, lint-free cloth handles the outside, while the inside is better served by air-drying with the piece upside down or propped so water can drain out of the bottleneck rather than pooling inside it. Pipe cleaners or cotton swabs can help wick out trapped moisture from a bend that doesn’t drain well on its own. This is the same principle that applies to vape cleaning kit components like cartridge threads or airflow paths — moisture left behind after cleaning causes more problems than the residue it was meant to remove.
🛠️ 6. Inspect for chips and cracks before reuse
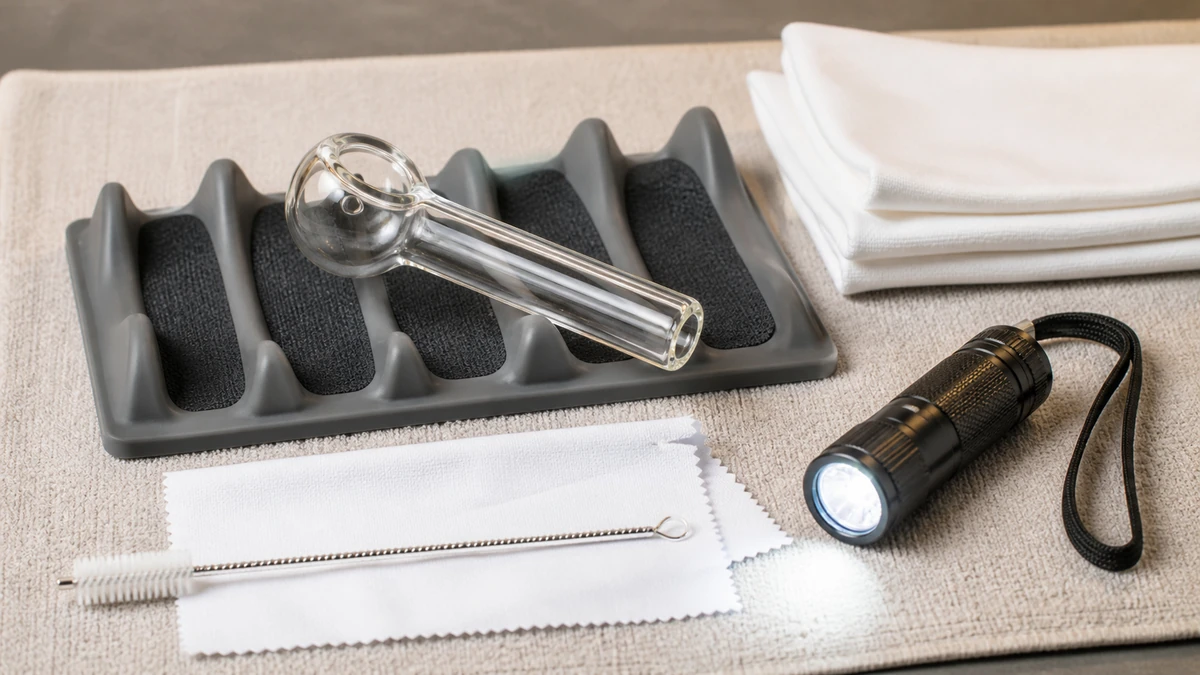
Cleaning is also the point in a pipe’s life when damage is easiest to notice, since the glass is wet, clear of residue, and being handled closely under light. Running a finger gently along the rim of the bowl and the edges of any joint can catch a chip that’s easy to miss by sight alone, especially on colored or worked glass where surface texture can hide a small flaw. A hairline crack often shows up more clearly when the piece is damp than when it’s dry, so the rinse-and-dry stage is a natural moment to check rather than something to do separately afterward. A chip near the bowl or mouthpiece changes how the piece feels against the lips and can catch or shed small glass fragments over time, while a crack anywhere in the body affects the structural integrity of the piece as a whole. Neither is something a cleaning kit fixes — the relevant response is deciding whether the piece is still safe to use, which is a judgment call based on the location and size of the damage rather than a fixed rule. Making inspection a routine part of cleaning, rather than an occasional glance, is what catches damage while it’s still minor enough to matter.
✅ 6.1 Match a brush to the passage, not the package label
A brush should pass through the opening without forcing its wire core against glass. Soft bristles can sweep loosened residue; a stiffer brush may help in a straight durable passage only when the pipe maker permits it. Sharp picks and exposed wire ends can scratch or chip narrow bends.
Keep separate tools for soaking, brushing, rinsing, and drying. A dirty brush returned to a clean storage sleeve simply moves residue into the next session.
📦 6.2 Keep replacement supplies proportionate
A kit needs enough swabs and cleaners for the actual routine, but bulk quantity should not hide poor fit. Test one brush and one plug on the cold pipe before stocking replacements. Store clean tools dry and apart from used items.
Replace a brush whose wire core is exposed, a plug that no longer seals, or a container that has cracked or retained contamination. The reusable parts of the kit need their own inspection and cleaning schedule.
After the kit dries, return each tool to a clean compartment where bent wires, worn bristles, and missing plugs are easy to notice before the next cleaning session begins.
✅ 7. Choose fewer tools that reach cleanly and can be washed themselves
It’s tempting to treat a bigger kit as a better kit, but a smaller set of well-matched tools — a couple of brushes in the right stiffness and diameter, a plug that actually fits the piece’s openings, a stable container, and a supply of pipe cleaners or swabs — covers more real cleaning situations than a large assortment of tools that don’t fit the pipe’s actual geometry. Extra tools also mean more things to store, and more things that need to be cleaned themselves after use, since a brush caked in old residue doesn’t do much for the next cleaning session. That last point is easy to overlook: cleaning tools accumulate residue too, and a brush or swab that’s rinsed and dried after each use lasts longer and works better than one left damp and dirty between sessions. A kit that’s simple enough to maintain — rinse the brushes, air-dry the plug, keep the container clean — ends up getting used more consistently than an elaborate one that becomes a chore to keep in working order. For most owners, the right kit isn’t the largest one available, but the one built around the specific bends, joints, and openings of the pieces actually being cleaned.