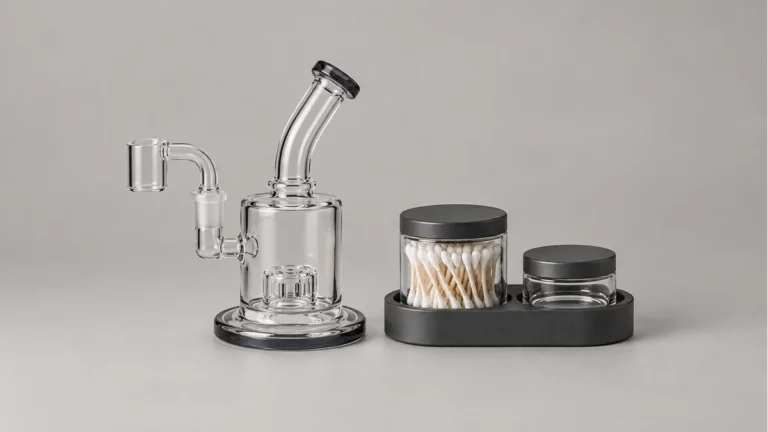
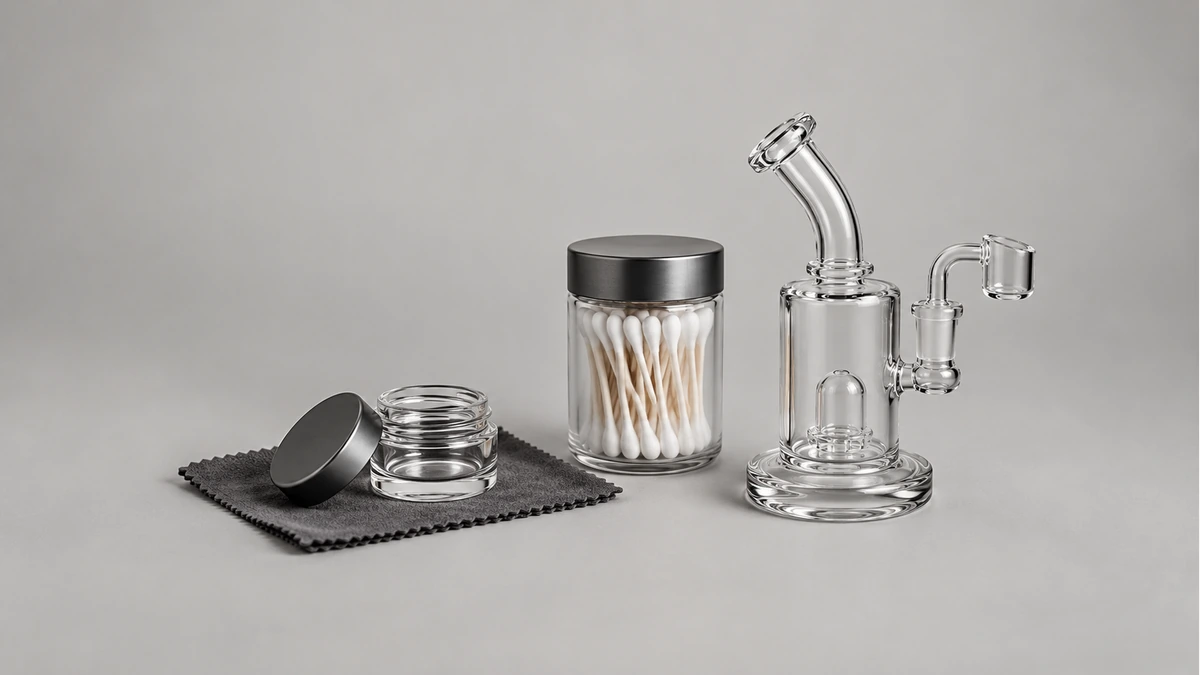
A dab cleaning station may put dry swab storage beside a separate working well. The swabs are not necessarily standing in the liquid, even when a clear-glass photograph makes the compartments look connected. Identify what each section is intended to hold before using it.
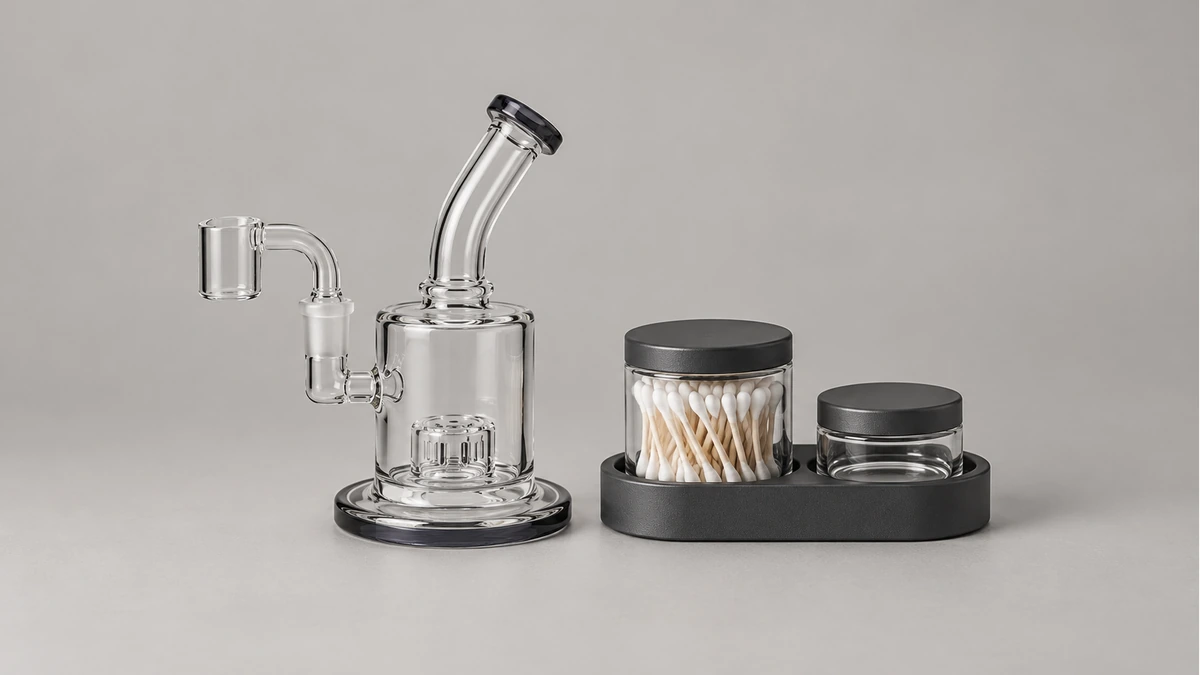
That small distinction was the central confusion in a Reddit discussion about ISO stations. Once another reader explained the separate compartment, the owner understood the photograph differently. The useful lesson is to identify the containers, rather than copying a cleaning routine from the appearance of someone else’s setup.
🔍 1. Which section of the dab cleaning station holds what?
Look at the actual maker’s description and several views of the empty station. Identify the dry-storage compartment, any working well and any separate removable container. Do not assume that two openings share one reservoir or that a visible glass partition fully explains the internal arrangement.
For a narrow documented example, MJ Arsenal describes an ISO station intended for cotton swabs and cleaning solution and lists a separate plug. That describes one accessory’s intended components. It does not establish the purpose or chemical compatibility of an unidentified jar.
Start with the station empty and cool. Compare its complete shape with the documentation, including the underside or back where those views are provided. Keep equipment and cleaning products separate while the compartment identities remain uncertain.
Do not pour liquid into one side to discover where it goes. If the available images leave the partition unclear, ask which compartment is intended for which supply. A direct question is easier to resolve than a station whose dry supplies have already been put in the wrong section.
🧻 2. Dry swab storage has a different job from a working well
The dry compartment holds an unused supply in its intended condition. It is not automatically a soaking container or a place for returning a swab after it has contacted equipment. Keep fresh supplies separate from the objects and materials involved in cleaning.
Honeybee Herb’s swab-holder description, for example, identifies a glass organizer for keeping cleaning swabs together. That storage description does not establish permission to fill the jar with a cleaner. A jar sold for swabs and a container intended for liquid need separate identification.
Check whether the intended swabs fit beneath the actual lid without being compressed against it. A jar that accepts the shafts while open may be too shallow once closed. Compare the complete swab length and the usable storage space rather than relying on the jar’s outside height.
Then consider ordinary retrieval. Can you take one swab as intended without lifting the entire station or gripping a narrow glass neck? Assess the empty container and normal access first. Do not pack it so tightly that every removal pulls several supplies into the surrounding work area.
The choice of swab head is another task. Our dab Q-tips guide discusses that component separately. The station’s storage role is to keep the selected unused supplies identified, rather than changing their intended care or use.
🔓 3. Understand the lid before moving the container
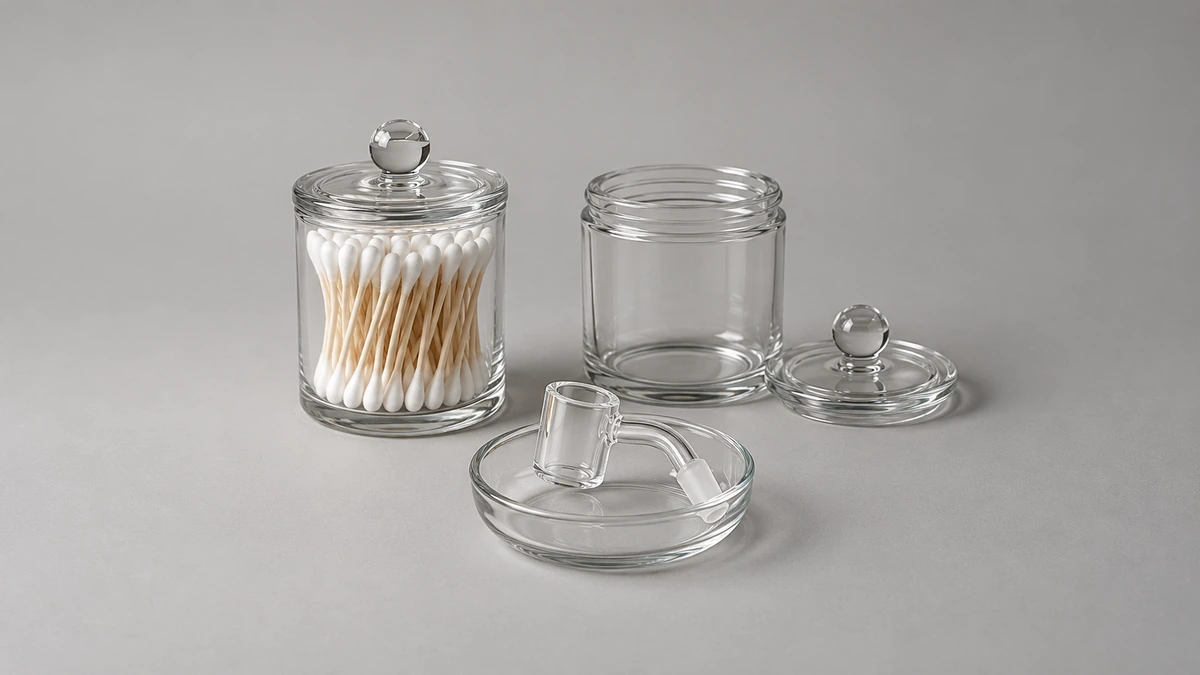
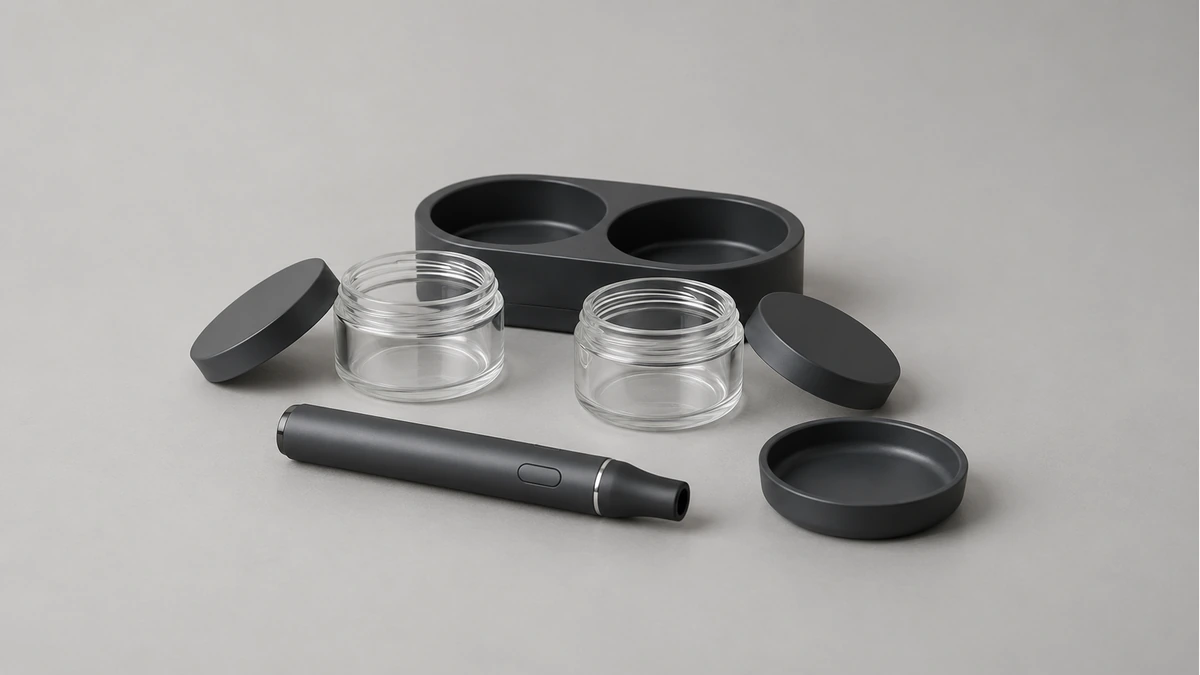
When several removable jars share a base, check that ordinary access to one does not require moving the others. A large lid can occupy more space during removal than the jar body suggests. Assess that motion with empty containers and no cleaning product present. If the layout is awkward, rearrange the permitted components rather than leaving closures off to make access easier.
A screw lid, a push-in stopper and a removable jar are different arrangements. Find the actual opening and closing instructions. Do not pull at a fixed section because the neighboring jar lifts out, or twist a stopper as if it were a threaded cap.
If a jar is designed to lift from an organizer, establish where to hold it and where the detached lid should rest. A lid placed inside a pile of used tools loses the separation you were trying to create. Leave an appropriate clear place for it before beginning the documented task.
A station’s outer holder does not necessarily retain every container during carrying. Do not lift a loaded organizer on the assumption that all jars are locked into it. Follow the actual handling directions and remove parts first where required.
🧩 3.1 A matching-looking lid is not a confirmed replacement
Keep each closure identified with its container. Two lids can look alike while belonging to different jars. If one binds, sits crookedly or no longer closes as described, stop and check the component rather than tightening harder.
Ask for the specified replacement if a closure is damaged or missing. Do not add foam, tape, glue or an extra homemade liner to obtain a tighter feel. Those changes introduce materials and contact surfaces whose intended use remains unknown.
💧 4. A working well is not the original cleaner container
If the station has a liquid well, establish the cleaner and intended use permitted for that exact container. A small glass cavity is not automatically appropriate for every cleaning product. The closure, any liner and the rest of the assembly matter as well as the visible body.
Retain the cleaner’s original labeled container and its instructions. Do not replace the label information with a handwritten nickname on an unverified jar. The station’s convenient position on the desk does not make it a substitute for the product’s required storage arrangement.
Follow the cleaner’s label and safety data sheet, together with the station’s instructions. This article gives no transfer quantity, concentration or solvent recipe. If the two sets of requirements do not align, resolve that before introducing the product.
The U.S. NIOSH chemical reference for isopropyl alcohol identifies it as a flammable liquid. That classification is a reason to take the actual product’s handling and storage directions seriously; it does not approve a particular station or prescribe a cleaning routine.
Keep cleaning products away from active heating equipment and follow their stated precautions. A photograph showing a jar beside a rig is not proof that the pictured placement or use is appropriate. The equipment’s and cleaner’s real requirements take precedence over a compact-looking arrangement.
🗑️ 5. Keep used supplies out of both fresh storage and the working supply
A used swab does not belong back among fresh swabs. Equally, a working-liquid well is not automatically a disposal container. A two-section station should not be assumed to provide every container needed for the actual care method.
Plan the handling of spent supplies according to the cleaning product’s directions and applicable disposal requirements. Keep them identified and separate. This article does not prescribe a waste container, disposal route or period for retaining used cleaning materials.
Consider the ordinary moment after handling a used tool. If the next fresh swab can only be reached across the working well or a pile of spent supplies, reconsider the arrangement. The point is a clear separation of tasks, not adding as many jars as a tray can hold.
Do not turn that separation into an improvised decontamination claim. A closed fresh-supply jar does not certify its contents, and an empty-looking working well is not necessarily ready for reuse. Follow the actual care requirements for each identified object.
The broader workspace is discussed in our tray-organizer guide. Here, the container question comes first: what each compartment is intended to hold and how it remains distinct from the others.
🔒 6. A lid is not a measured evaporation or transport result
Another reader wondered whether liquid would simply disappear from an ISO station. Replies made strong claims about what a lid prevents. A comment cannot establish an evaporation rate, seal performance or storage limit for another container.
Find the maker’s actual closure and storage description. A lid that looks closed does not establish airtightness, spill-proof transport or indefinite retention. Avoid converting a visual impression into a guarantee, even when the jar has a substantial-looking stopper.
If the level or closure behaves unexpectedly, record the observation without diagnosing it from appearance alone. Identify the container, closure and product involved, then ask the relevant maker about the intended arrangement. Do not respond by inventing a tighter seal or transferring the product into a repurposed food container.
Likewise, do not substitute a beverage press, toy container or homemade printed vessel because a forum reply describes one. Those suggestions do not establish compatibility with the cleaner. A familiar household lid does not answer the missing chemical-storage question.
🧼 7. Care for the empty station as separate parts
Remove equipment and deal with any contents according to their own instructions before cleaning the station. Identify which jars, closures or inserts may be removed. Do not assume that an organizer’s visible seams are intended disassembly points.
Use the permitted care method for each component. A procedure for a plain jar may not apply to a lid, finish, bonded section or liner. Do not introduce a stronger cleaner because it was used on nearby glass equipment.
Prepare separate places for parts during the documented cleaning and drying steps. Keep fresh supplies away until the relevant containers are ready under their instructions. A dry-looking exterior does not establish that a closed section or liner has completed its required care process.
Inspect accessible surfaces without probing a suspected crack or forcing a tool into a sealed section. If a container or closure is damaged, set it aside and obtain the specified guidance or replacement. Concealing the problem inside an organizer does not resolve it.
Keep station maintenance separate from care of the rig, banger or powered pen. A permitted container-cleaning method does not authorize putting heated glass into liquid or introducing cleaner into electronic equipment. Follow the actual hardware instructions for those separate tasks.
📦 8. Make the arrangement manageable, then plan empty storage
Keep spare lids identified during storage too, so the next setup does not begin with several visually similar closures and no clear match.
A recent Reddit discussion described a multi-container cleaning routine as tedious. That account does not establish the right number of containers or a sequence to copy. It suggests a useful planning question: does each container have a distinct, documented purpose in your own care method?
Begin with the method actually permitted for the equipment, then identify the supply and receiving needs it creates. Do not add another jar merely to reproduce a display. Keep tool rests separate from containers whose purpose is supply storage; our tool-stand guide covers that different role.
Before moving the station, follow the cleaner’s storage and transport directions and the container’s handling requirements. An empty organizer and a closed liquid-filled jar are different transport questions. A lid suitable on a desktop should not be assumed suitable sideways in a bag.
For empty parts, assess the complete outline in the intended case or cupboard, including lids and any fixed protrusions. Protect separate glass items from contact as their maker directs. Do not force the storage space to close over an oversized arrangement.
If one compartment remains unclear, ask the maker to identify its purpose, closure and permitted contents. Keep that answer with the station’s care information. A straightforward arrangement starts with knowing what each section is for, rather than expecting a clear-glass photograph to supply instructions it cannot show.