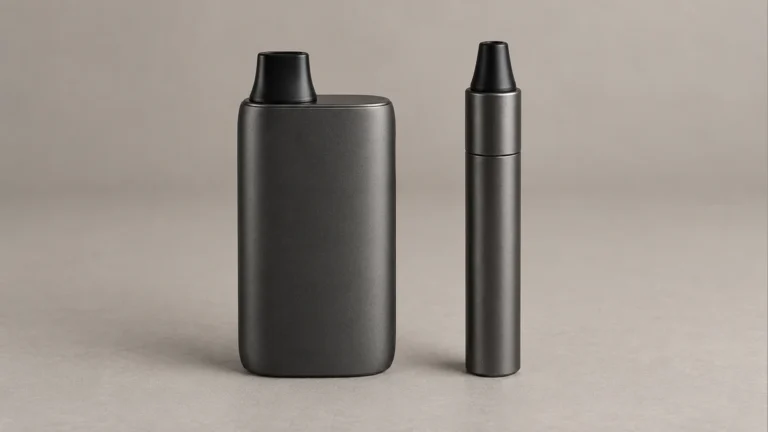
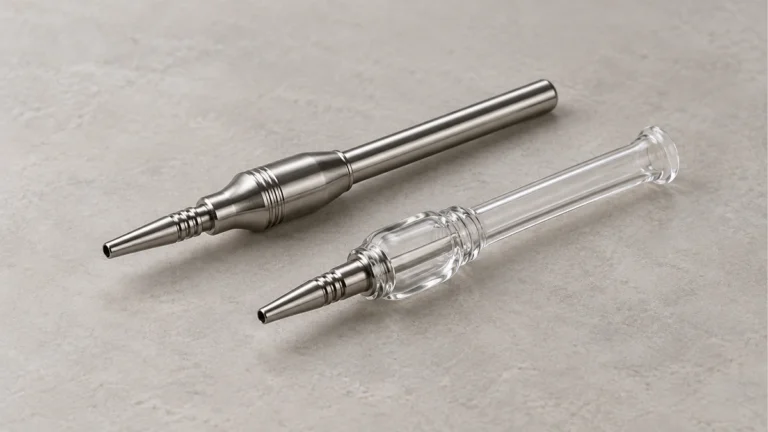
That is a workflow problem, not a display problem. A tray with many decorative slots can perform worse than a plain divided surface if the pockets trap residue, crowd handles, or let a tall tool tip into the hot zone.
A dab tray organizer should make the next safe action obvious. Hot glass needs an open, heat-appropriate landing zone; clean tools need protected storage; used tool ends need a separate washable area; and cables should not cross the path of a hand carrying warm hardware.
🗂️ 1. A tray should control movement, not display clutter
Think about what a tray is actually doing during a session: it’s catching things that are in motion. A dabber gets set down between hits. A cap gets lifted and needs a spot. A swab gets used once and needs to go somewhere that isn’t back in your hand. None of that is static, and none of it benefits from an open, undivided surface.
An organizer that’s just a flat rectangle with a raised lip solves spillage but not chaos. Everything still ends up in one zone, sliding around and touching whatever’s nearest. The tools that actually help are the ones with built-in separation — recessed channels, raised dividers, or distinct compartments — because they force each object into its own lane instead of leaving it to the last person who set something down.
This is the same logic behind a dab mat station setup, where the mat itself defines where hot tools rest versus where clean tools wait. A tray just takes that idea and adds hard walls instead of printed outlines, which matters more once things get slippery or greasy.
🔥 2. Give hot glass its own open zone
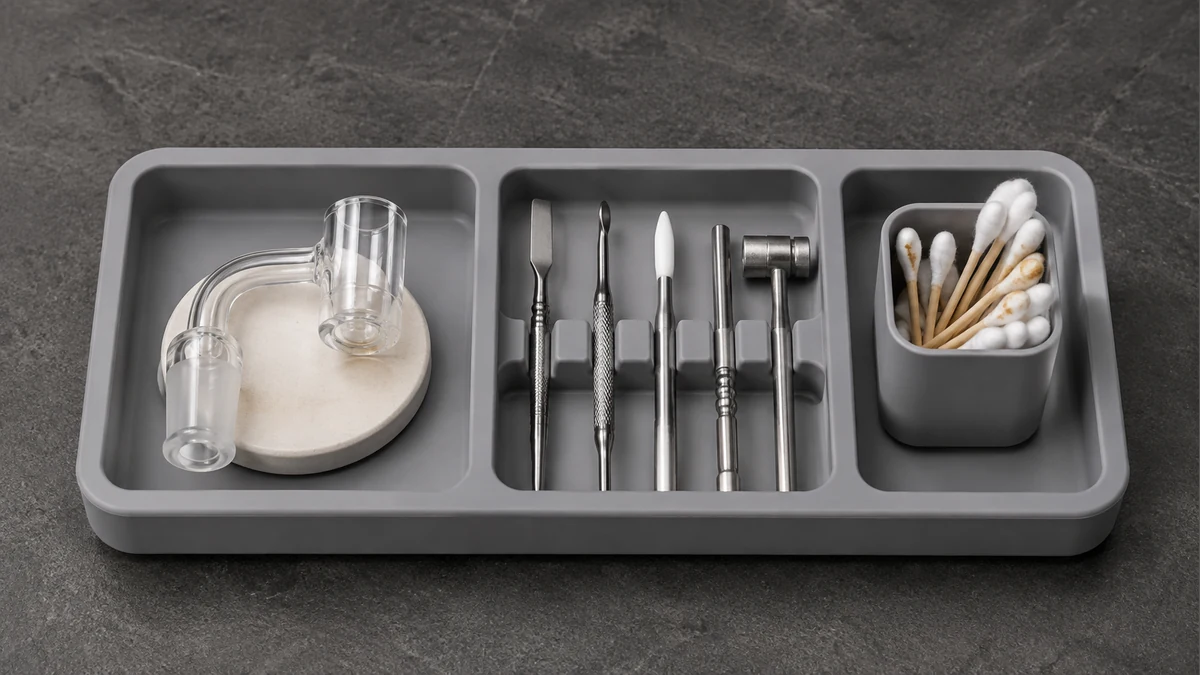
A banger or nail coming off the torch needs a landing spot that isn’t shared with anything temperature-sensitive. Silicone caps, rubber-tipped tools, and plastic dab containers can all warp, discolor, or soften if hot glass rests against them, even briefly. That’s not a performance claim about any specific material — it’s just a reason to keep hot glass physically apart from anything that isn’t glass or metal.
The zone for hot pieces should be open and unobstructed, not tucked into a slot. Glass doesn’t need a groove to sit in; it needs room to be set down quickly, sometimes without perfect aim, right after it comes off the torch. If that zone is surrounded by narrow dividers or close neighbors, you’re more likely to clip something on the way down.
A low, flat section near the center of the tray tends to work better than a raised or narrow one for this reason. It also keeps the heaviest, hottest item closest to the tray’s center of gravity, which matters more than it sounds like once you’re reaching across the tray for something else mid-session.
📐 3. Tool slots need clearance for dirty ends
Dab tools have a working end and a handle end, and a tray that only accounts for length misses the point. A slot sized for a straight dabber will still leave the tip resting against plastic or fabric, which is exactly the part of the tool that’s picked up residue during the session.
Clearance matters more than a tight fit here. A slot that lets the tool angle slightly, or that holds it by the handle while leaving the working end suspended over open space, keeps residue from transferring onto the tray itself. A slot that grips the tool along its full length does the opposite — it presses the dirty end against a surface it then has to be pulled back out of.
This is also where tool variety causes problems. A carb cap, a scoop-style dabber, and a pointed tool don’t share a shape, so a tray with uniform slots sized for one tool type usually fits the others poorly. If you’re building a kit around more than one tool style, it’s worth checking how those tools are meant to be held and stored in the first place — the dab tool holder guide covers this from the tool side, which pairs naturally with tray layout from the surface side.
📐 3.1 What “clearance” should look like in practice
- Slots wide enough that a tool can be lifted straight up without scraping the sides
- A gap under the working end so residue doesn’t rest against the tray surface
- Separate slot sizes if your tools have noticeably different diameters
- No shared slot between a tool and a cap — different shapes wedge together and stick
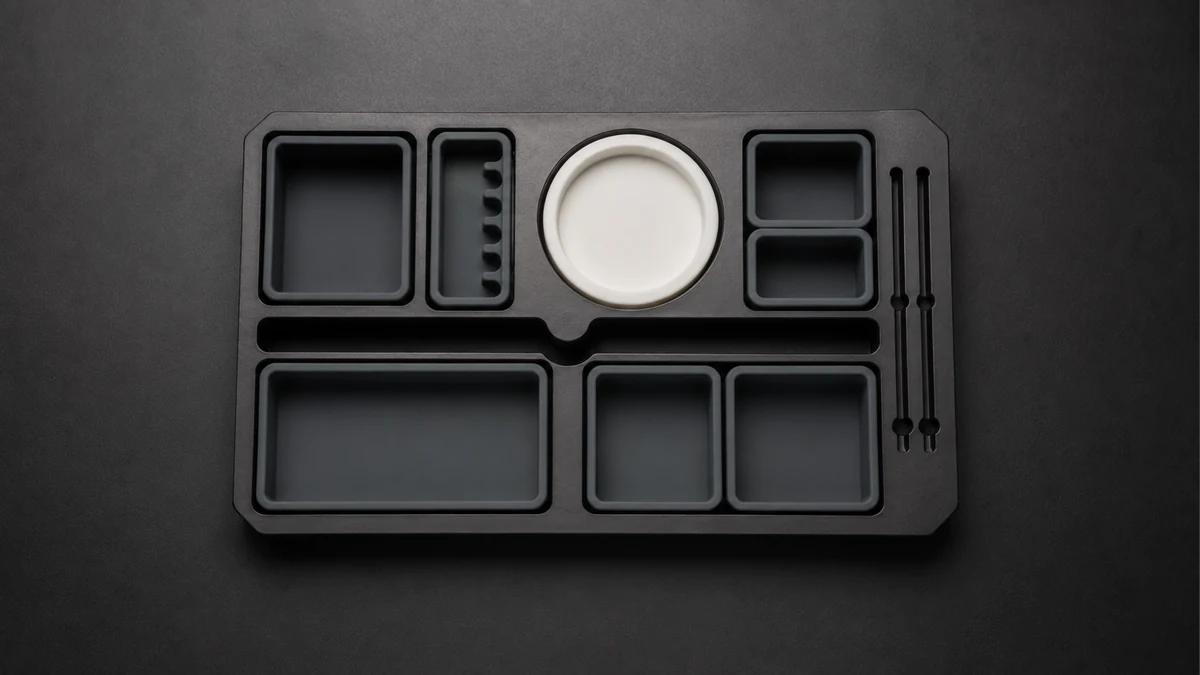
This is the failure that shows up fastest and annoys people the most: a used swab lands in the same compartment as a spare cap, or a dirty dabber ends up next to the next fresh swab in line. It happens because most trays only define “tool storage” as one category, without separating it by condition.
A tray that actually holds up needs at least two categories for small items, not one: a spot for things waiting to be used, and a separate spot for things that have already touched concentrate or residue. These don’t need to be far apart, but they need a physical wall between them, even a low one. Without that wall, the two categories merge within a single session regardless of how careful anyone is being.
The same logic applies to caps. A cap that’s currently covering a hot banger is a “clean, in-use” item. A cap that’s been sitting loose on the tray after multiple sessions is closer to a “used” item, since it’s been picking up whatever’s nearby. Giving caps their own defined spot, separate from tool slots, keeps them from acting as a wildcard that ends up in whichever compartment is closest when someone’s hands are full.
If your setup already includes a box or case for holding tools between sessions, this sorting problem gets easier, because the tray only has to manage what’s active right now rather than everything you own. That division of labor between a tray and a longer-term container is covered in more detail in the dab storage box guide, which is worth a look if your tray is currently doing double duty as both workspace and storage.
🧼 5. Washable surfaces beat intricate seams
A tray with a lot of decorative detail — grooves, textured patterns, tight seams between compartments — looks organized in photos and is harder to clean in practice. Residue and dust settle into seams the same way they settle into any tight crevice, and a rinse or wipe-down doesn’t always reach those spots without extra scrubbing.
Materials that wipe clean in one pass tend to outperform materials that look more refined but trap debris. Smooth silicone, sealed wood with a simple finish, or single-piece molded plastic all resist buildup better than trays with many small separate inserts, because there are fewer joints where residue can collect unnoticed.
This doesn’t mean compartments are the enemy of cleanliness — it means the compartments should be molded as continuous shapes rather than assembled from multiple small pieces that create seams where they meet. A tray built as one solid piece with recessed sections is almost always easier to maintain than a tray built from several separate parts glued or clipped together.
🧱 5.1 Quick surface comparison
| Material | Cleanup approach | Watch for |
|---|---|---|
| Silicone | Wipe or rinse | Textured patterns that trap residue |
| Sealed wood | Wipe only, avoid soaking | Seams where finish meets raw edges |
| Molded plastic | Wipe or rinse | Multi-piece assembly with visible seams |
| Metal insert trays | Wipe, occasional rinse | Edges where metal meets a different base material |
⚡ 6. Cables and tall tools change stability
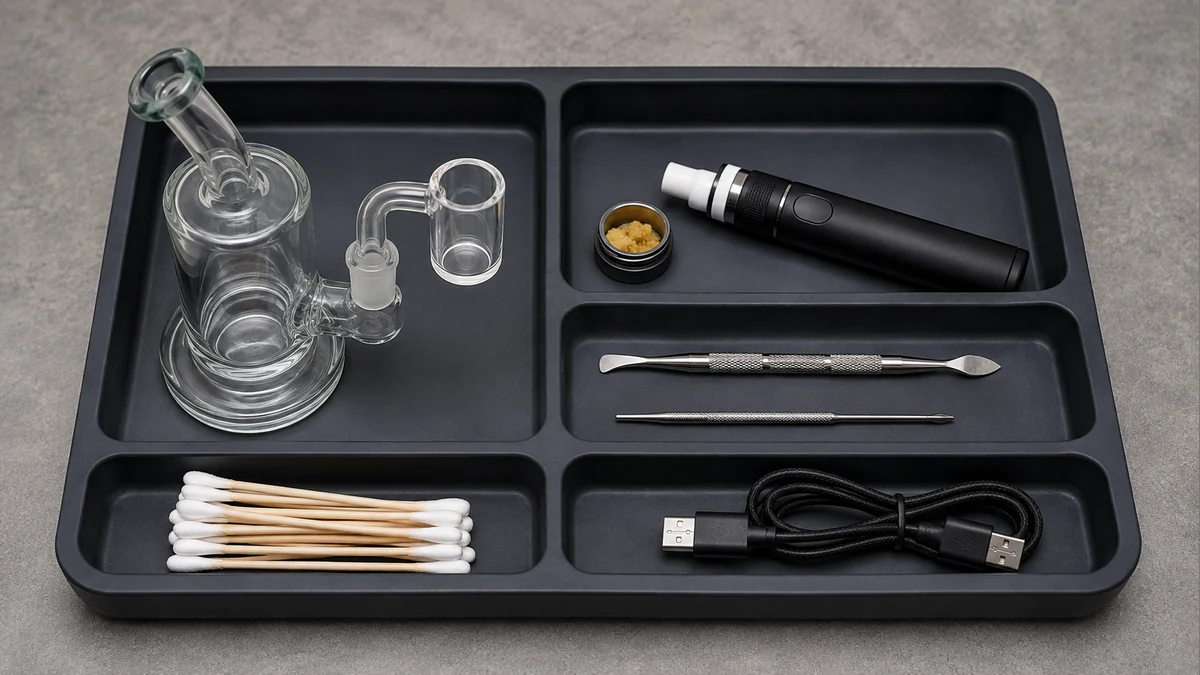
Adding an e-nail controller, a charging cable, or any tool taller than the rest of the kit changes how the tray behaves, even if nothing else about the layout changes. A cable running off the edge can catch on a sleeve and pull the whole tray sideways. A tall tool stored upright shifts the tray’s balance point higher, which makes it more likely to tip if it’s bumped rather than lifted.
Trays without a plan for cable routing usually end up with the cord looped loosely across the surface, right where hands are moving. That’s a tripping and snagging risk more than an organizational one, but it’s also just clutter that didn’t need to exist. A tray with even a single routed channel or clip on one edge keeps the cable pinned in place instead of drifting into the active work area.
For tall tools, the fix is usually about base width rather than height. A tray with a narrow footprint and a tall tool standing in a slot is less stable than a wider, lower tray holding the same tool at an angle or lying flat. If your kit includes an e-nail setup or anything with a cord, it’s worth checking whether the tray’s base is wide enough to keep the whole unit low and steady, rather than assuming a taller organizer automatically holds more.
🧼 7. Build the layout from the cleanup sequence
The most reliable way to judge a tray isn’t by counting compartments — it’s by running through how a session actually ends. Torch goes off, hot glass cools in its open zone, tools get wiped and returned to their slots, used swabs go into their own separate spot, caps go back on or into their spot, and any loose cable gets coiled back into its channel. If a tray supports that sequence without forcing you to double back or improvise a spot for something, the layout is doing its job.
Work backward from that sequence when comparing trays rather than starting from a feature list. A tray with five compartments that don’t match your actual cleanup order isn’t more useful than a tray with three compartments that do. The number of zones matters less than whether each zone corresponds to a real step in how you use and put away your gear.
It also helps to think about how the tray fits into what happens before and after the session, not just during it. A mat defines the immediate workspace, a tool holder manages day-to-day access, and a storage box handles longer breaks between sessions — a tray sits in the middle of that chain, and it works best when its layout doesn’t fight with the other two.
🔍 7.1 A short checklist before buying
- Does the hot-glass zone stay open and away from anything heat-sensitive?
- Do tool slots leave clearance for the dirty end, not just the handle?
- Are clean and used items kept in physically separate spots?
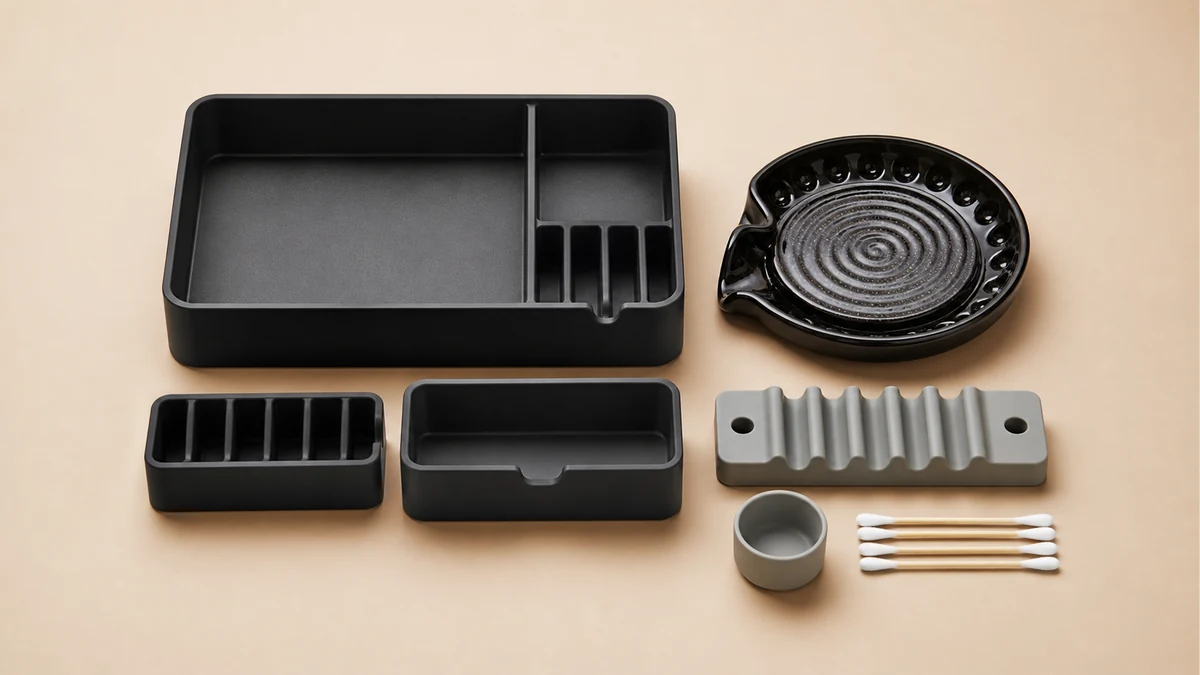
- Is the surface a single molded piece rather than several seamed parts?
- Is there a place for a cable or cord if your setup includes one?
- Does the base stay wide and low enough to resist tipping?
None of these points require an elaborate tray. They just require the layout to match how a session actually unfolds — hot to cool, clean to used, tall items low and centered. A tray that respects that order stays organized on its own, instead of needing you to manage the clutter it was supposed to prevent.
🗂️ 8. Test the layout with cold hardware first
Place every clean, cold component where you expect it to go, then rehearse the sequence with your dominant hand. Nothing should require reaching across the future hot zone. Handles should lift vertically without catching a neighboring slot, and a cable tug should not move the tray or topple a tool.
Remove anything that does not serve the sequence. Open space is functional: it gives a warm component clearance, exposes residue for cleaning, and makes a misplaced cap obvious before the next step begins.