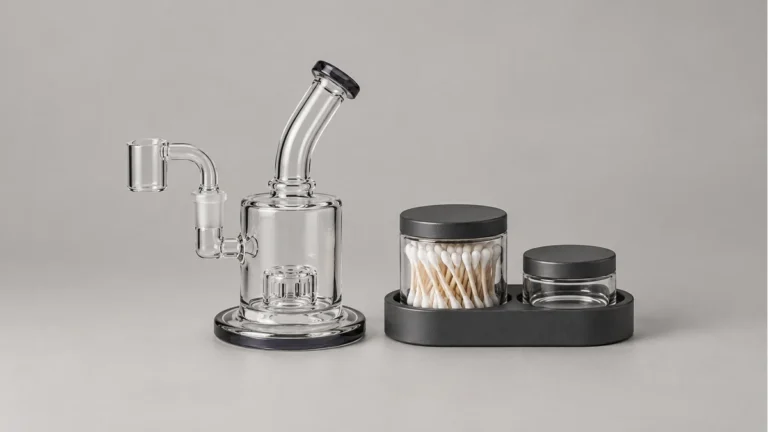
You’re twenty minutes into a cleaning session, band on the joint, banger loosened, and the swab you’ve been twisting into the corner of the joint just folds over on itself. The paper stem bends instead of pushing forward, and now there’s a soft wisp of cotton stuck against the ground glass where the joint seals. You dig it out with a fingernail, grab another swab, and this one leaves the same fuzz behind, just less of it. That moment — a swab that can’t hold its shape, can’t reach the angle, or sheds more than it lifts — is usually what sends people looking for a better answer to something that sounds simple: dab q tips.
It sounds like a small thing because it is a small thing, physically. But a swab is doing precise mechanical work in a tight space, often near warm glass, and the wrong shaft, head, or moisture level turns a two-minute touch-up into a bigger job. The differences between a drugstore cotton swab and one built for concentrate hardware aren’t cosmetic. They come down to reach, stiffness, absorbency, and how much lint gets left behind on a surface you’re trying to make cleaner, not fuzzier.
🧹 1. The Swab That Couldn’t Reach
Most people start with whatever is already in the bathroom cabinet, and for a lot of quick touch-ups, that’s fine. A standard cotton swab on a paper stick can wipe visible residue off a flat mouthpiece or catch a drip on the outside of a rig. Where it struggles is anywhere the geometry gets narrow or angled: down inside a joint, around the base of a downstem, into the corner where a banger’s bucket meets its neck. The paper stick has some give, and give is exactly what you don’t want when you’re trying to apply steady pressure into a tight radius.
The other failure mode is even more common — the swab reaches, but it can’t push through. Cooled concentrate residue can be tacky or semi-hardened depending on how long it’s sat, and a soft, thin cotton head just glides over the surface instead of lifting anything. You end up scrubbing the same spot repeatedly, wearing down the swab head faster than you’re clearing the residue, and eventually switching to a fingernail or a pick, which introduces its own scratching risk on glass.
This is the point where most people start paying attention to swab design instead of grabbing whatever’s closest. The shaft, the head shape, and the material all matter more than they seem to on the label.
🪄 2. Shaft, Head, and the Surface You’re Actually Cleaning
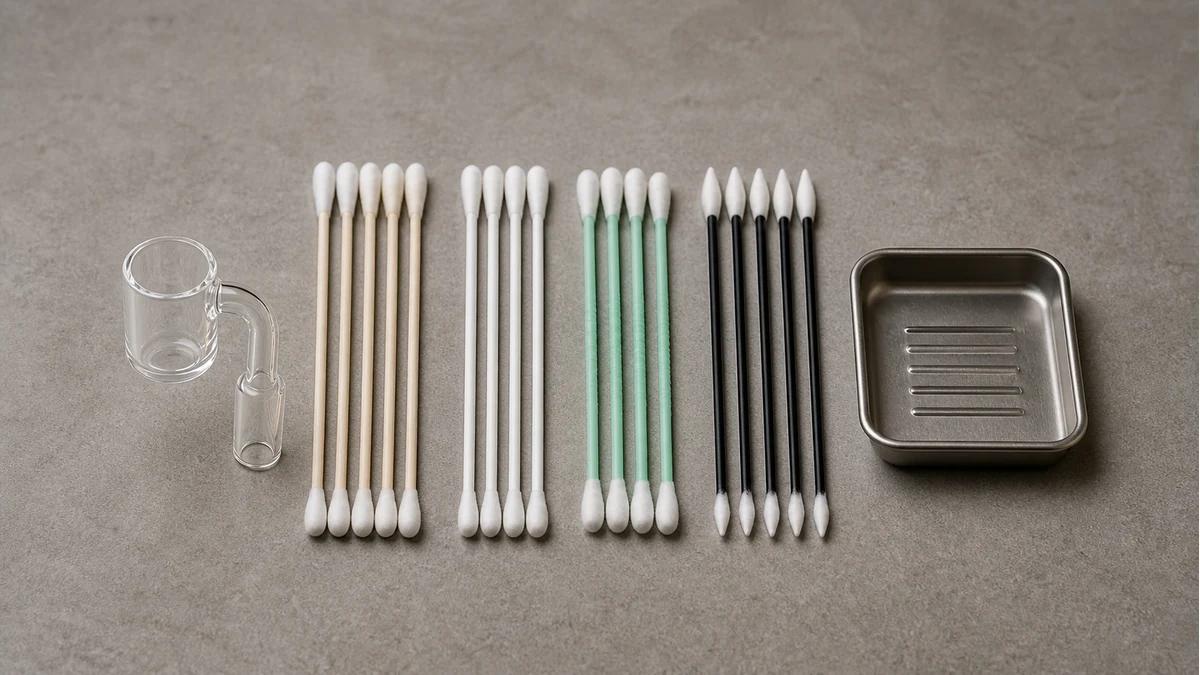
A swab is really two parts doing two different jobs: a shaft that delivers pressure and direction, and a head that makes contact with the surface. Matching both to the job in front of you solves most of the reach and shedding complaints people run into.
🔩 2.1 Stiff Shafts for Joints and Corners
For anything with depth — a joint, the inside of a downstem, the neck of a banger — a rigid shaft holds its line under pressure instead of bowing. Paper-stick swabs tend to flex once you push past a shallow depth, which is exactly the moment you need the most control. A stiffer plastic or wood shaft transmits pressure straight to the tip, so you’re actually scrubbing the corner instead of skating past it. Length matters too: a swab that’s too short forces you to hold the base of the stick at an awkward angle, which reduces control right when precision matters most.
🧵 2.2 Softer Heads for Glass Surfaces and Percs
Once you’re working on an open, visible surface — the inside wall of a chamber, the flat face of a mouthpiece, the space between percolator slits — a softer, denser head does better work than a stiff one. The goal there isn’t punching through stuck residue in a tight corner, it’s spreading contact across a wider area without scratching the glass. A head that’s too firm or abrasive can leave fine marks on polished glass over repeated use, which is a slower problem but a real one if you’re cleaning the same piece for years. Matching head softness to surface exposure — firm and narrow for depth, soft and broader for open glass — is the single biggest factor in whether a swab actually does the job in one pass or three.
💧 3. Absorbency, Lint, and What Gets Left Behind
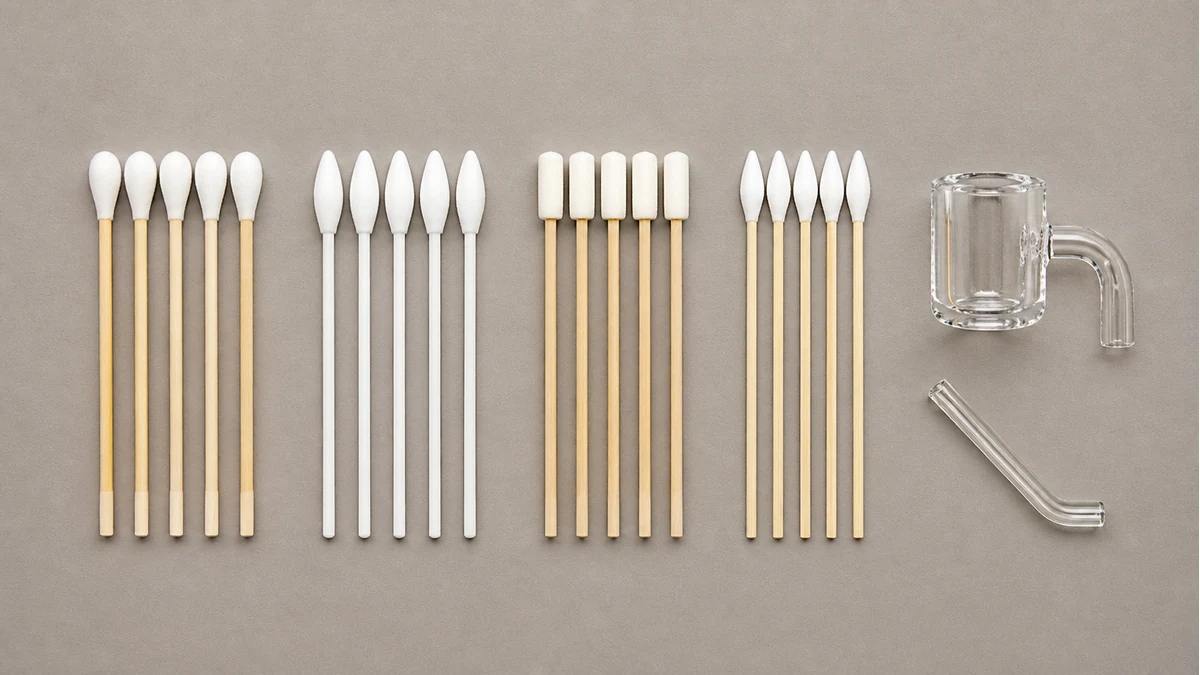
Absorbency is where a lot of swabs quietly fail. A head that’s too dense won’t pick up liquid residue efficiently, so you end up dragging a thin film around instead of lifting it off. A head that’s too loosely wound goes the other way — it soaks up plenty, but sheds fibers as it compresses against glass or metal, and those fibers stick to residue that’s even slightly tacky. That’s the fuzz-on-glass moment from the opening: not a fluke, just a mismatch between the swab’s construction and the surface it met.
Lint isn’t only cosmetic. Fibers left inside a joint or downstem can end up airborne on the next use, and fibers caught in a percolator slit are genuinely hard to fish back out without tools you probably don’t want to introduce to glass. A tightly wound, higher-density cotton head resists shedding much better than a loosely packed one, and it’s worth testing a swab on a low-stakes spot — the outside of a mouthpiece, not the inside of a perc — before trusting it near anything with narrow channels.
Absorbency and lint resistance also interact with how much liquid you’re introducing in the first place, which is really a question about technique more than the swab itself.
🔥 4. Dry Versus Lightly Damp: Heat and Liquid Caution
There’s a reasonable instinct to add isopropyl or another solvent to a swab to cut through residue faster, and for some jobs that’s genuinely the right move. But two things go wrong often enough to be worth calling out. First, a swab that’s too wet doesn’t clean more, it just spreads liquid into places you didn’t intend — around a joint’s ground-glass seal, into a hinge on a carb cap, behind a rubber grommet — where it can sit and cause its own problems later. A lightly damp swab, wrung out until it’s barely leaving a mark on a paper towel, does the actual lifting work without flooding the area.
Second, and this one matters more: follow the hardware maker’s cooling instructions before bringing a damp swab or cleaning liquid near the surface. Thermal shock on glass is a real risk, and it doesn’t take much of a temperature swing to crack a banger or a chamber wall that’s still holding heat. It’s worth letting hardware cool fully before any damp cleaning step, and reserving dry swabs for quick touch-ups on anything that’s still cooling down. This is also where checking a full walkthrough on how to clean a dab rig pays off, since the order of cooling, disassembly, and cleaning affects which tool is safe to use at which stage.
Dry swabs have their own limited but useful role: catching light dust, wiping a mouthpiece before a session, or doing a fast pass on a surface that isn’t heavily coated. They’re not a substitute for damp cleaning on real residue, but they’re the right choice when the goal is quick maintenance rather than a deep clean.
🧼 5. When a Swab Isn’t Enough
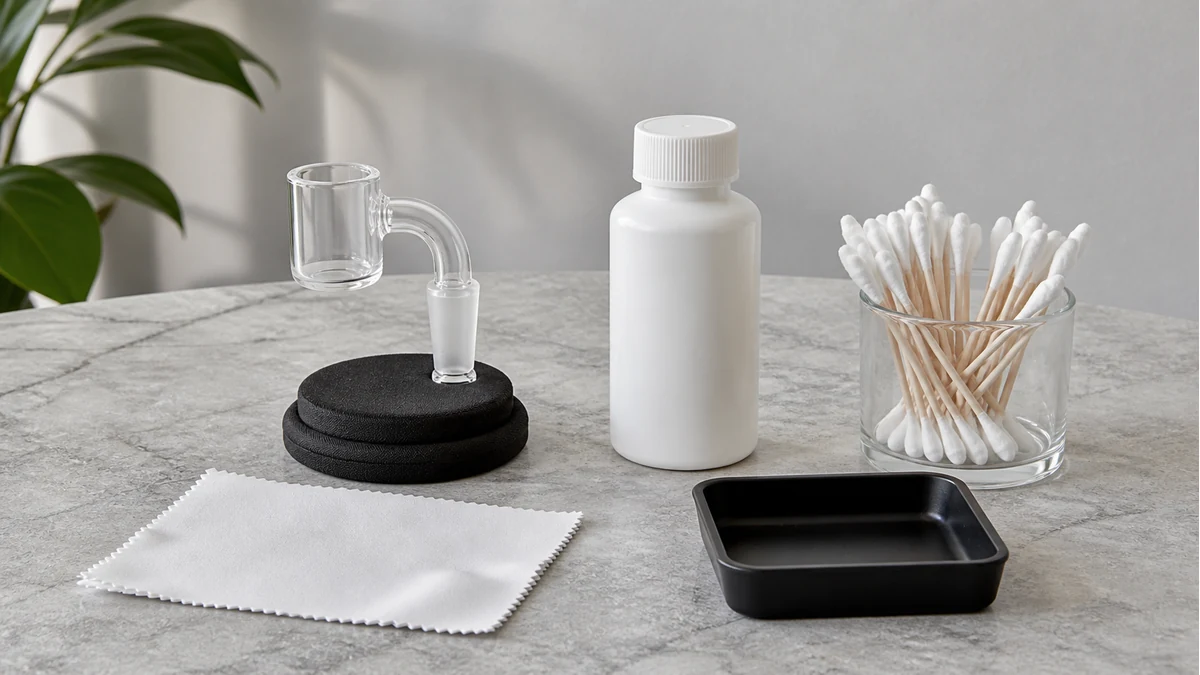
A swab is a precision tool for a specific kind of job — spot residue, narrow corners, quick touch-ups between sessions. It is not a substitute for a real soak-and-rinse clean, and treating it like one is how buildup accumulates in places a swab can’t reach at all: deep inside a percolator, along the full interior of a long downstem, or across a chamber that hasn’t been cleaned in weeks. At that point, no amount of swabbing compensates for the fact that residue has had time to harden and spread across a surface area a cotton tip simply can’t cover.
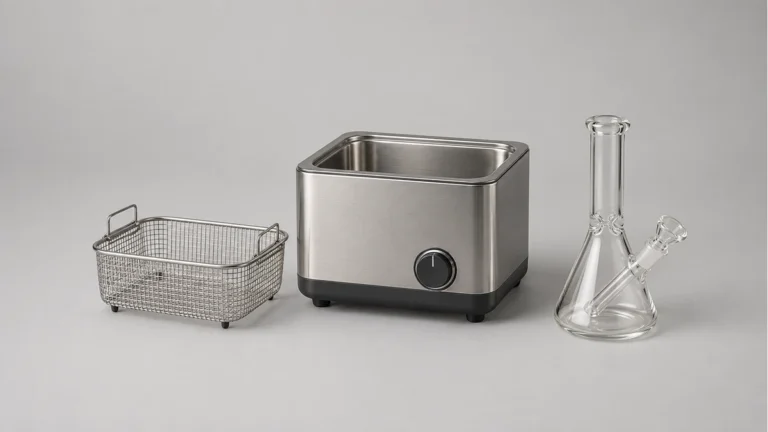
The practical signal is how much resistance you’re feeling. If a swab lifts residue in a pass or two, it’s doing its job. If you’re pressing harder, going through multiple swabs, and still seeing residue after repeated passes, that’s the point to stop and move to a proper soak with the right solvent and enough contact time to actually dissolve what’s built up. A basic bong cleaning kit covers that heavier step well, since it’s built around soaking and rinsing rather than spot contact, and the two approaches work best together rather than as substitutes for each other.
It’s also worth thinking about swabs as one piece of a broader toolkit rather than a standalone fix. Picks, brushes, and swabs each solve a different shape of problem, and knowing when to reach for which one saves time and reduces the risk of scratching glass with the wrong tool. A rundown like the dab tools guide is useful for seeing where swabs fit relative to picks and brushes, especially for anyone building out a cleaning routine rather than buying tools one frustrated afternoon at a time.
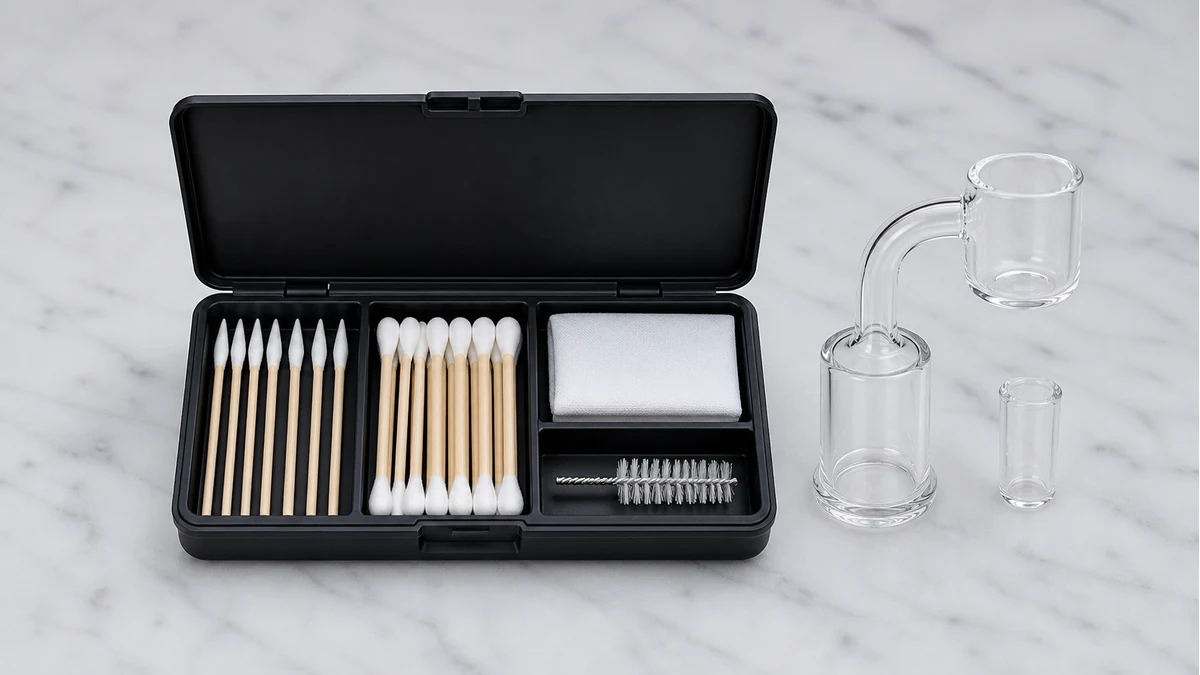
Before buying a large pack, test a few swabs on the narrowest opening and the broadest reachable surface in the setup. A stem that reaches one joint but buckles in another is not a universal choice, and a dense head that cleans flat glass well may be too bulky for a small passage. A short trial prevents a box of otherwise good swabs from becoming the wrong tool for the hardware you actually own.
❓ 6. Common Questions
Are ordinary cotton swabs suitable for dab cleanup?
For light, visible spots on flat or open surfaces, a standard cotton swab can work fine. Where they fall short is depth and tight angles — joints, downstems, and banger necks — where a flexible paper stick can’t hold pressure and a low-density head sheds fibers instead of lifting residue.
Which swab shapes and shafts work for different surfaces?
Stiffer, longer shafts with a narrower head suit deep, angled spaces like joints and downstem interiors, where control matters more than surface coverage. Softer, denser heads suit open glass surfaces like chamber walls and mouthpieces, where the priority is broad contact without scratching.
How can lint, heat, and excess liquid create new problems?
Loosely wound swab heads shed fibers onto tacky residue, and those fibers are difficult to remove from narrow channels like percolator slits. Excess liquid can migrate into seals, hinges, and grommets and sit there. And introducing any liquid to glass or metal that’s still warm risks thermal shock, so full cooling before damp cleaning is worth the wait.
When is a swab insufficient and a full clean required?
When residue resists repeated passes, when buildup has spread across a large interior surface, or when it’s been sitting long enough to harden, a swab is the wrong scale of tool. That’s the point to move to a full soak-and-rinse clean rather than pushing a cotton tip past its actual job.
A good swab earns its place by doing one thing well: precise contact in a spot too small or angled for anything else. Match the shaft to the depth, the head to the surface, keep it dry or lightly damp depending on the job, and let it hand off to a real clean once the buildup is more than a spot problem. That’s the whole difference between a swab that helps and one that just adds lint to your next session.
📚 7. Sources and Reader Questions Reviewed
Technical statements were checked against the sources below. Reddit discussions were used only to identify reader questions and language, not as proof of technical, health, safety or legal claims.
- Corning guidance to inspect glassware for damage before reuse
- Reddit discussion 1taf8ws (reader-question research only)
- Reddit discussion brqskj (reader-question research only)
- Reddit discussion ikmuph (reader-question research only)
For separate dry-swab storage and working wells, see our dab cleaning station container guide.