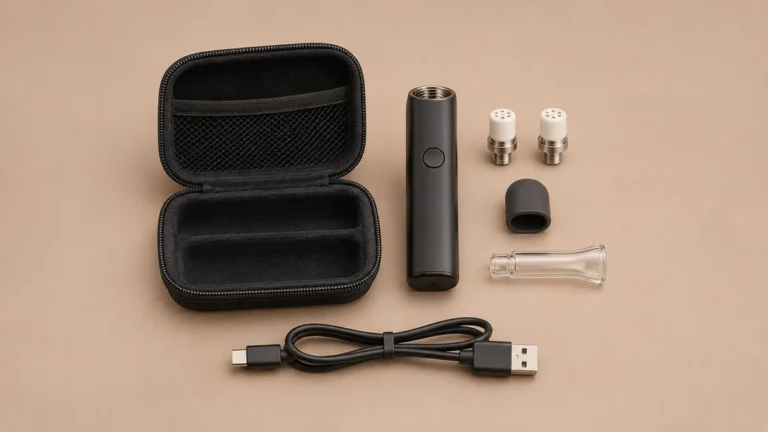
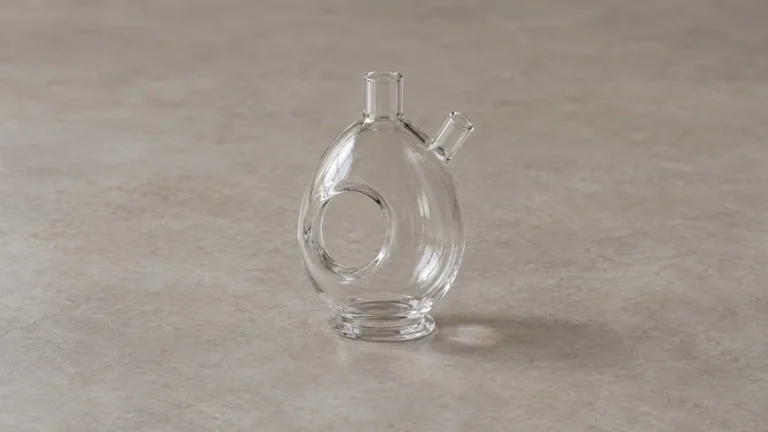
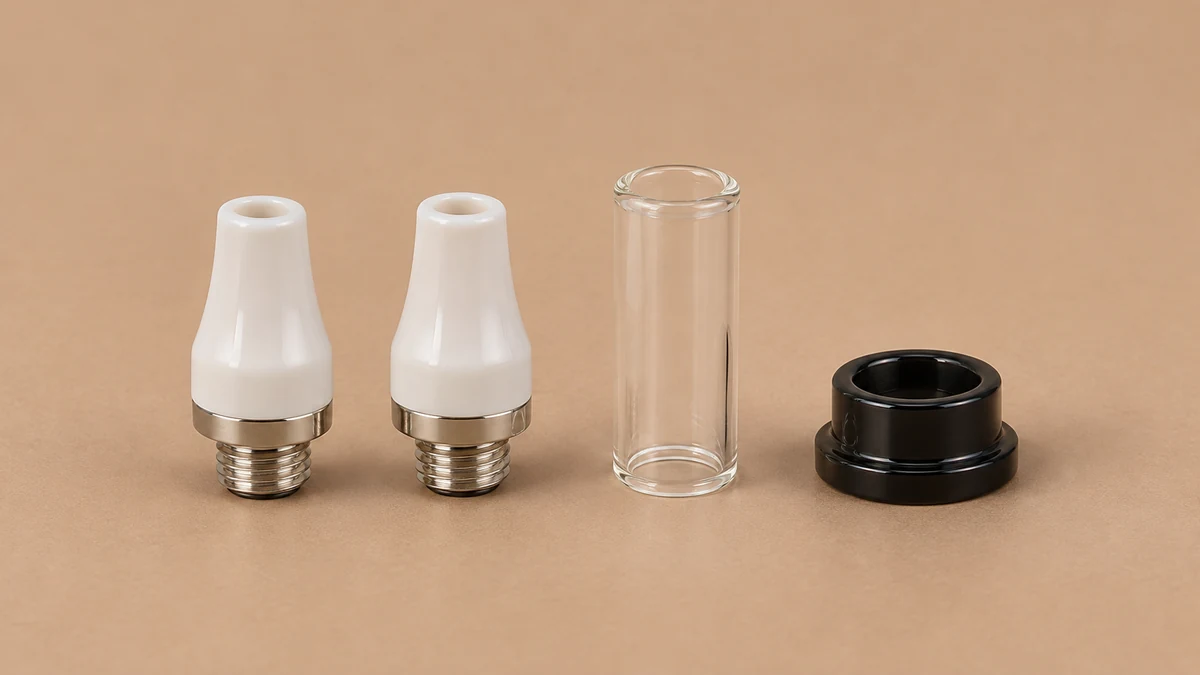
An electric nectar collector kit can show two tips in the manual and have only one loose tip in the tray. That may be exactly right if the other one is already installed. The same box can contain a cap that protects a component and a second piece that connects to glass. A photo may show both without making their jobs clear. Use the packing list for the exact kit to classify what is installed, what is loose and what is shown for illustration only.
This is especially useful if you are matching the contents of an older package to a current product page. A body name can remain familiar through more than one revision, and the contents of retailer bundles can differ. The clearest way to record a discrepancy is to name the exact box, quote its item name in your own notes, and point to the part or empty space you can actually see.
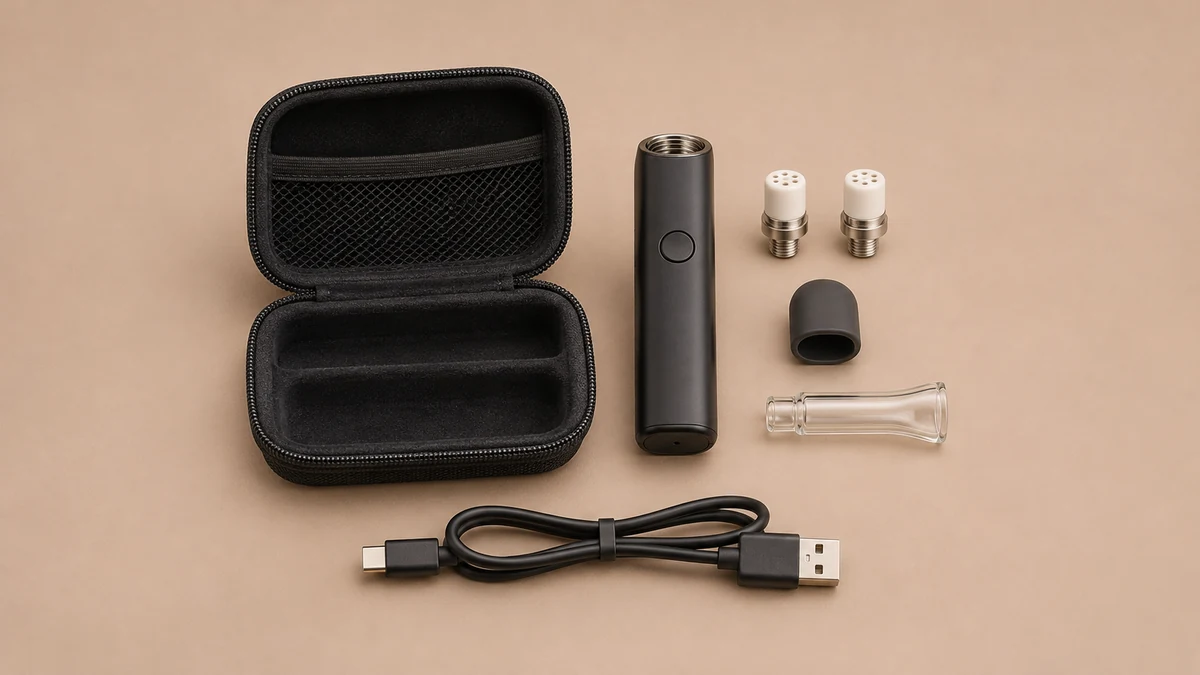
📦 1. Find the Packing List for the Exact Kit
Begin with the identifier on the box or the manufacturer documentation that accompanied it. The name of the collector body can help you find the right family. The kit code, market or revision can be important when two similarly named packages contain different glass, seals or adapters. A current retailer photo may be useful for recognizing a shape. It is a weaker source for what an earlier set was supposed to contain.
🧾 1.1 Keep the Contents Separate From Compatible Extras
An accessory page can display several items compatible with a device without stating that all are included in any single box. A heading like “works with” describes a relationship between parts. A heading like “in the box” describes the contents of a particular package. If the two headings appear on one page, preserve them as separate lists. A sleeve or adapter mentioned in the first list may be entirely absent from the second, and that alone is not a packing error.
Huni Badger’s 2017 kit inventory lists one tip on the device and another as a separate item. It also lists other included hardware and expressly excludes batteries and chargers from the kit it describes. That distinction is useful even if your collector is unrelated. Count the installed part and separate item against their own labels, then check the dated list for the particular package you have.
🧩 2. Count Installed Parts and Loose Parts Separately
An installed tip can be visible at the end of the device or concealed by a protective cap. Follow the maker’s inventory to establish whether the pictured part is installed. There is no need to take apart anything beyond normal documented access simply to fill a row in your worksheet. When a part cannot be identified from the outside, write “installed tip listed, not confirmed visually” until a better source is available. That gives a support agent something concrete to verify.
🔍 2.1 Read the Drawing Before Counting the Tray Slots
Molded packaging can have open wells, spaces cut for a different bundle or cavities that are larger than the contents they hold. An empty slot shows that a slot is empty. It does not identify which component was intended to fill it. Use the contents list as the authority for the expected quantity and the tray photograph as evidence for what you received. If the documentation specifies an installed item, do not count it as a second loose part in an open well.
Conversely, two items drawn next to each other can be an exploded view rather than a quantity illustration. Check whether the drawing numbers or names both. If a cap is drawn on the body in one view and beside it in another, the image may show the same cap twice. A written quantity is stronger information than trying to count silhouettes in combined pictures. This matters especially when the product page mixes photographs of the full set, replacement accessories and optional adapters in one gallery.
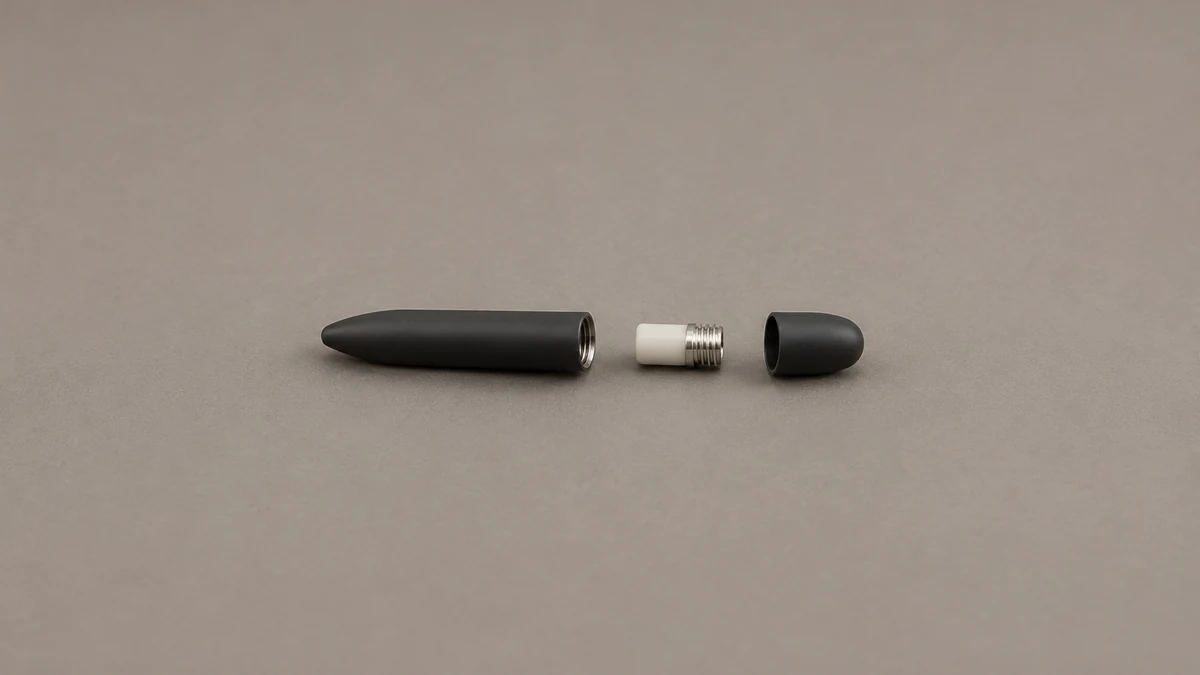
🛡️ 3. Identify a Cap by What It Covers
A tip cover, an end cap and a mouthpiece can all have roughly cylindrical outer profiles. Inspect the visible opening and look for the documented part name. A cover may close off an end for storage, while a mouthpiece has a passage intended to continue the device’s air path. Some assemblies use a cap that stores a second item inside. A Huni Badger part listing documents a magnetic basket cap that can hold certain small components. That storage role belongs to the documented example and is separate from the function of a loose heater tip.
🧭 3.1 Follow the Cover Back to the Correct End
If a drawing shows a cover near the heater end and a second near the mouth end, photograph each next to the end of the cool, unpowered body that it belongs to. Use the maker’s names if they are printed. A short metal part can appear identical at a glance when viewed only from the side. Seen from its opening, it may have a closed base, a central through-hole or a shoulder that meets an adjacent part. Naming that visible shape is more useful than guessing whether it was shipped as a spare or a fitted component.
Our guide to self-heating collector parts distinguishes the main housing, heater, sleeve and mouthpiece. Those names are useful when the box description groups several small pieces as accessories. Translate the vague group into actual parts only where you have an itemized list or diagram to support the translation. Leave the uncertain ones unnamed in the public photo or support note.
🔗 4. Do Not Treat an Adapter as a Spare Heater
Keep electrical heater tips and passive adapters in different rows even when they look alike from the side. One is an electrical replacement that belongs to a documented device interface. Another may belong to a glass path or simply close the outer end of the body. Shape and visible threads are useful photo observations, while a manufacturer part code or manual is the basis for compatibility.
💧 4.1 Label the Glass Tube and Bubbler Separately
A short clear tube inside a starter kit might be a removable air passage for the existing housing. A larger glass bubbler assembly has its own interfaces and may be an optional add-on. A listing that mentions a glass path cannot automatically be read as including a water attachment. Our explainer on electric collectors with a bubbler helps distinguish a water chamber from a simple tube. Use that vocabulary to describe what appears in your photos, and refer to your own box list when you need an inclusion answer.
A flexible hose, a glass adapter and the glass chamber itself can all belong to separate entries. For a kit advertised with a hose, confirm whether the diagram shows end pieces as part of the hose assembly or as separate parts. If one end piece is shown on the hose and another next to the glass, record those two positions rather than saying the box contains two identical adapters. That distinction can save a long exchange about an item that was present but filed under a different name.
🗃️ 5. Reconcile Two Similar Versions Without Guessing
Suppose the old packing card names a spare tip, while a modern gallery shows two loose tips and another cover. The current images can identify possible shapes, but they cannot establish what the older card required. Look for the revision and the itemized quantity before comparing pictures. A vendor’s name for one device family can cover multiple retail packs, so make the question about the kit code as precise as the one about the collector body.
Retain the language of the older card even when today’s catalogue uses a different name. For example, “glass air tube” and “glass mouthpiece” could refer to the same assembly within one manufacturer’s documentation. They could also describe different pieces in two models. Write the two source descriptions beside their corresponding pictures and ask which part number applies. That is more actionable than replacing the older name with the newest one you can find.
A retailer may include a second insert, case or cable separate from the manufacturer’s listed inventory. That does not make one page more accurate than another if each describes a different package. The item promised by the retailer belongs on its own line with the source named. A return or support question can then point to the specific inclusion on the order without claiming that every edition of the device ships the same way.
Document a bundle as a set of individually named line items. If the same description introduces a retailer-added item after the manufacturer’s original list, give it a separate row. For a gift set or a secondhand sale where the original contents list is gone, note the source you actually have. The photographed contents can be described with confidence, but any idea of completeness depends on the archived listing or original documentation.
🧰 6. Record a Missing Part and a Damaged Part Differently
A missing part needs the expected item name, quantity and location. A damaged part calls for a picture of where the visible damage sits. If a heater tip shows a displaced wire or broken surface, leave the device off and let the manufacturer identify the condition. A photograph of one item cannot establish that the condition is ordinary wear, a packing mistake or a defect that started before shipping. Avoid manipulating the protruding part to get a better match with a stock photograph.
In a well-framed photo, keep the printed kit identifier visible separately from private purchase details. For the hardware image, show the expected location on the body and the actual piece in the tray. An empty slot matters more when the packing list clearly gives a loose spare and you can account for the installed tip elsewhere. If the only evidence is a slot and no list, ask what it was designed to hold rather than reporting a confirmed shortage.
✅ 7. Keep a Plain Inventory for the Next Time the Box Opens
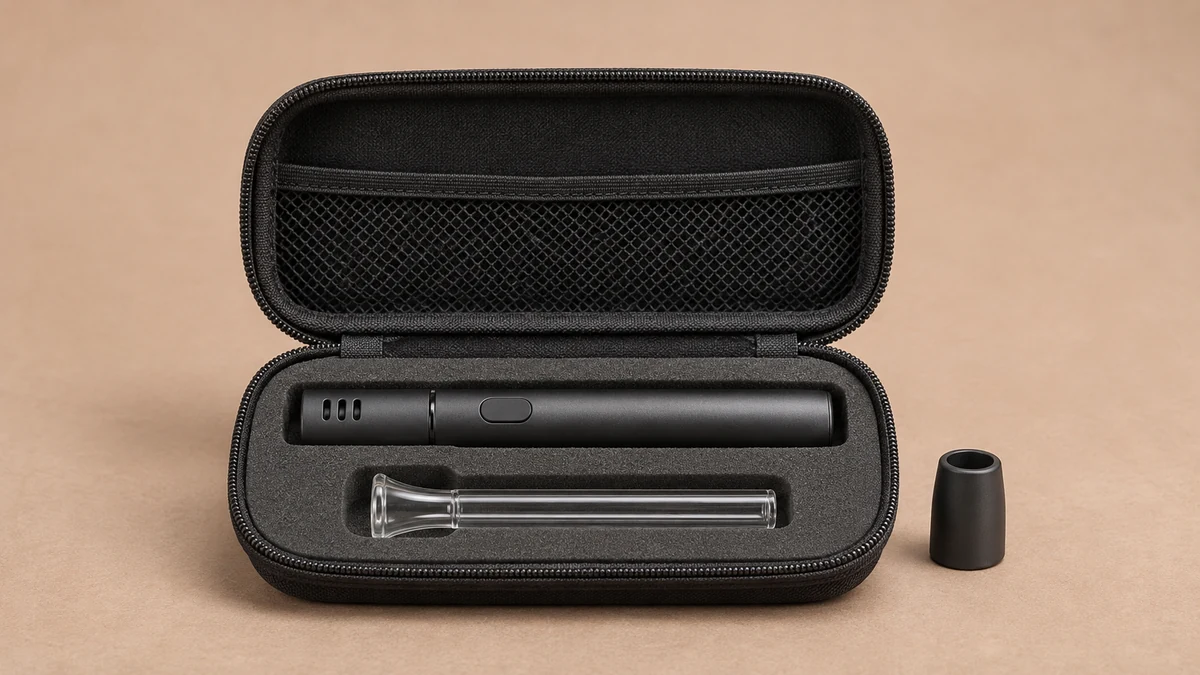
A case is another item on that inventory, even when a cap also offers local storage. The cap may protect a single end or hold a small removable part. The fitted slots in a case address the shape of the body and any parts that need to stay separate. Our nectar collector case guide explains how case compartments relate to the parts themselves. Identify any piece already fitted to the body before describing where each loose part belongs.
For example, a note can record one body with an installed tip documented, one loose tip with its own marking, a cap still on the body, and one glass adapter in a bag. If the manufacturer separately lists a larger glass chamber, omit it from the confirmed contents unless the carton says it is included. A support message can then name the unresolved part and give the actual revision.
If the discrepancy is an absent seal, describe its expected location as shown on the applicable diagram. A small ring pictured near a glass tube could belong in a separately wrapped parts envelope. A ring drawn in place on an adapter is different evidence. Show the bag and the empty place on the adapter in separate photographs, keeping each part in its original condition so that any service decision can be made from the documented assembly.
For an unopened spare, a photo of its part marking is more useful than unpacking it merely to compare two shapes. A small box label might be the only visible distinction between two similarly shaped pieces. When the documentation identifies the spare separately, retain that label with the inventory. Small differences in packaging become relevant to a later question about where a part came from, especially if several accessories from different boxes were stored together.
Try to preserve the source and date with the inventory even after the issue is resolved. A dated packing card, an order description and a photo of the actual tray can explain why two people remember the set differently. The comparison remains useful when you no longer have the outer box or when a current retail gallery shows different contents. Keep any unconfirmed item simply marked as unconfirmed and describe which source would resolve it.
A short inventory can also distinguish an original absence from a part lost after opening. For example, note whether the box was photographed before the small-parts package was opened and whether a thin ring was visible through it. Preserve the packing photo even if the manufacturer later identifies an empty tray slot as intentional. The order in which the photographs were taken helps establish what each photo actually documents.