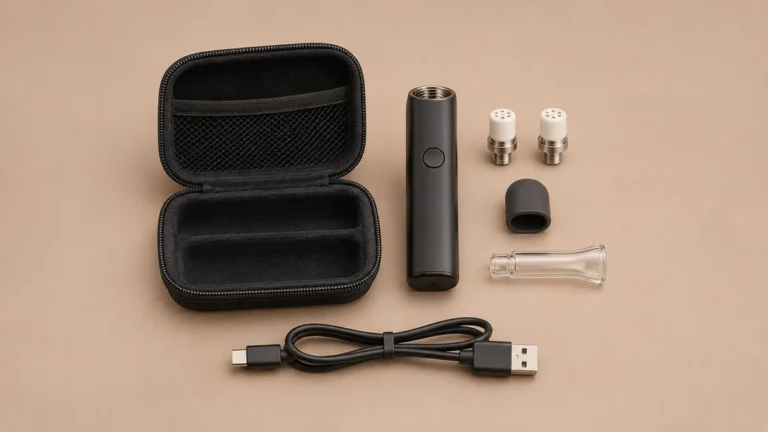
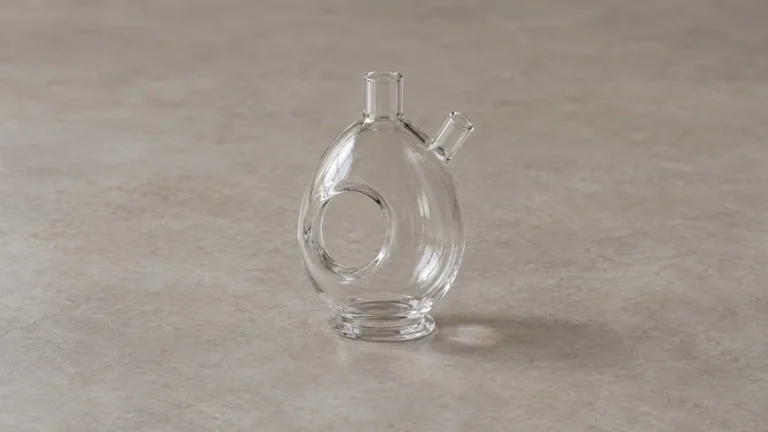
In an egg dab rig, some of the most conspicuous holes may open to the room on both sides. They can pass all the way through the sculpted glass body without opening into the chamber beside them. Openings in an internal percolator do something different. They connect spaces inside the hardware. From the front, both can look like dark circles or ovals, especially when the light catches one edge and hides the glass on the other side.
That distinction makes product photos easier to read. A clear opening through a shell does not establish how many internal chambers there are or whether the rig has a return loop. Start by asking whether you are seeing a route through the outside air, a port between enclosed areas, or simply a dark reflection. Each question has a different answer in an angled photo.
🥚 1. What the Egg Name Describes
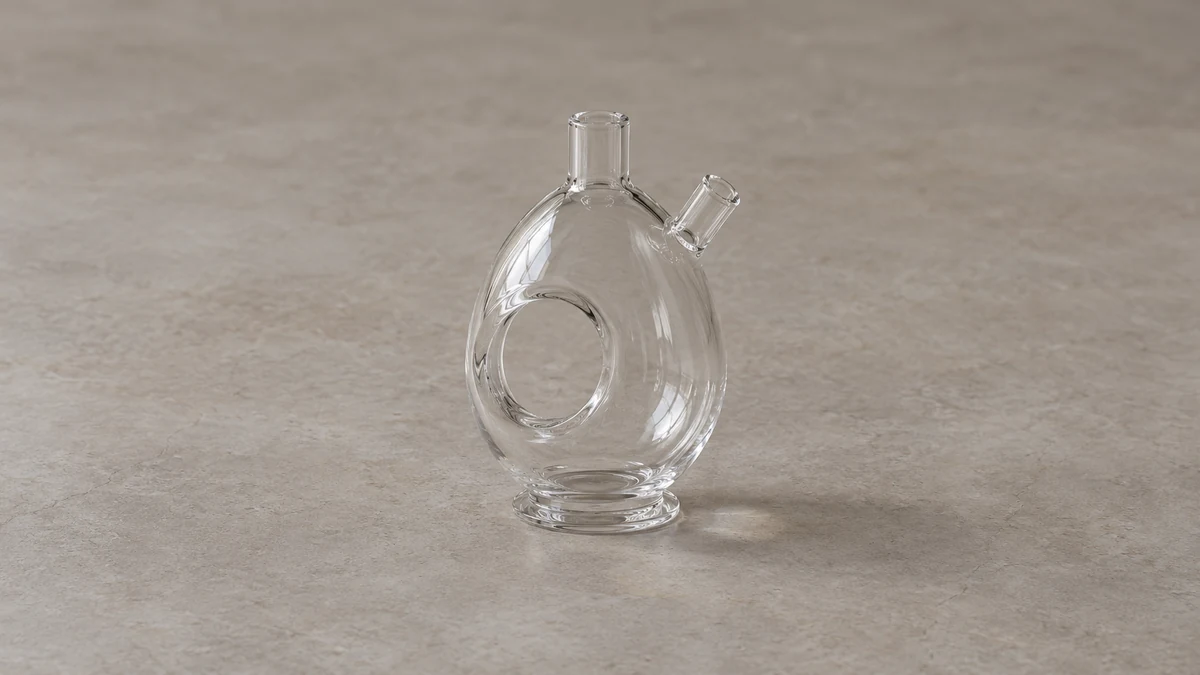
“Egg” can refer to the outline of an object, a through-hole in the bulbous body, or a manufacturer’s name for a variation on that glasswork. The general label does not specify the internal route. One maker might describe a compact rig as a modified Fab Egg and separately identify two chambers. Another seller might apply “egg” to a rounded outer housing with no visible through-opening. Look for actual glass boundaries before relying on the category name.
🧭 1.1 Follow the Three External Landmarks
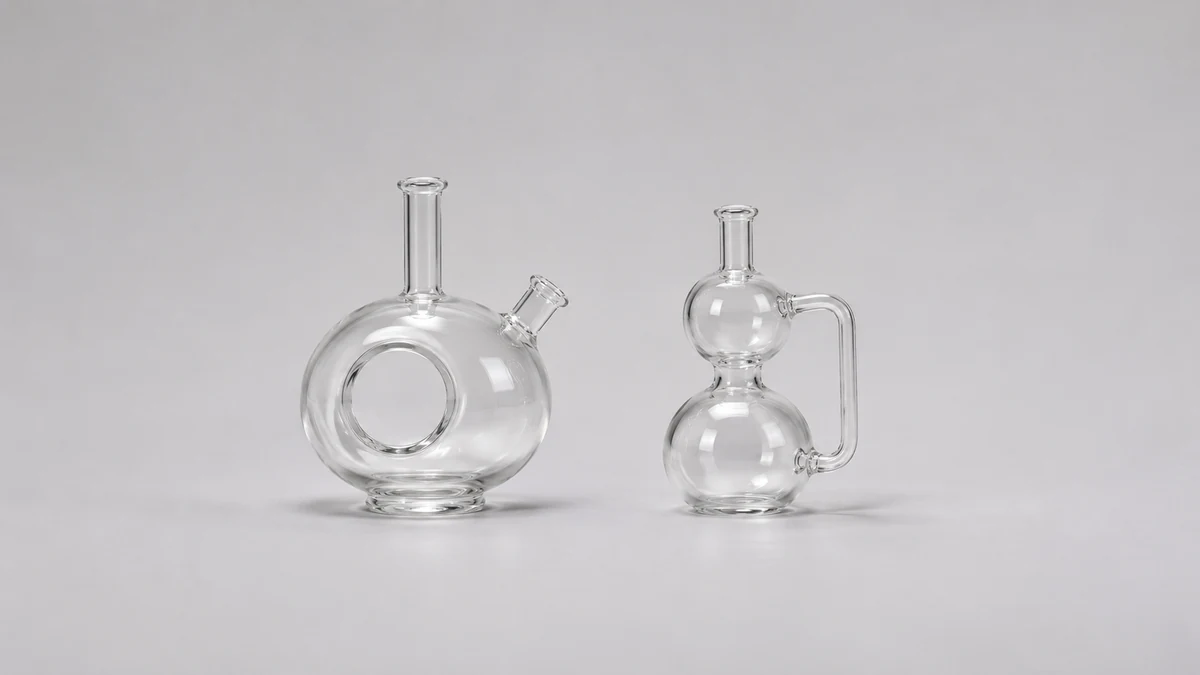
In a clear photograph, find the mouth opening, the side connection and the base. The chamber occupies the glass between those landmarks. The shape described as egg usually refers to the main body, so keep silhouettes of removable accessories out of the description. A curved banger above the side joint can also make an oval in profile. An oval created by two separate objects does not tell you what the chamber walls are doing.
MJ Arsenal describes its Royale as a modified Fab Egg with two integrated chambers. That description supports a statement about the Royale. It does not turn two chambers into a definition of the entire style. Its comparison page labels other models by recycler or percolator arrangement, which is a reminder that these words can name different aspects of the same glass object. A small visible hole can be a useful way to recognize a shape while leaving the path inside it unresolved.
🔎 2. Find the External Through-Hole
Look first for an opening whose edge is surrounded by glass. Then see whether the background appears on its far side. When a through-hole runs directly through an egg-shaped shell, it behaves like the empty space inside the handle of a glass mug. You can see through the handle even though the walls of the mug continue around its contents. The geometry on an egg-bodied rig is more complicated, but the same distinction applies to the empty space and the enclosed chamber.
📷 2.1 Change the Background and Viewpoint
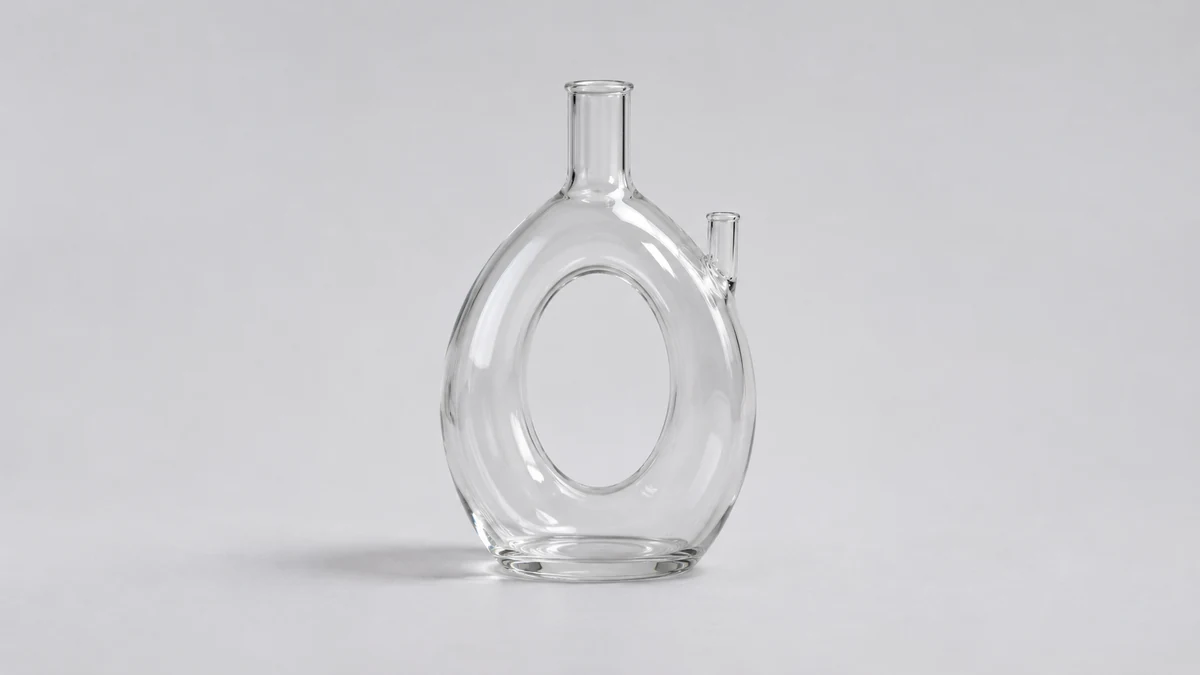
A photograph that appears to show a hole may actually show a dark patch or an overlapping edge. Change the background behind the cool empty glass, and take an angled view as well as a front view. In an opening that exposes the background, the edge of the colored surface can be visible through the opening from an appropriate angle. Glass also transmits and distorts whatever is behind it, so a changing color alone is not enough. The more convincing combination is a consistent rim, an unobstructed view at one angle, and a profile that shows the two sides of the opening.
If a seller shows only a single front photograph, it can be reasonable to write “apparent open area in the egg body.” Don’t assume you know its exact depth or the number of walls around it. A thin bond line can vanish in bright reflections, and a clear tube behind an aperture may appear to cross directly through the middle. An oblique view helps tell which component is in front and which is behind.
💧 3. Identify an Opening Inside the Water Chamber
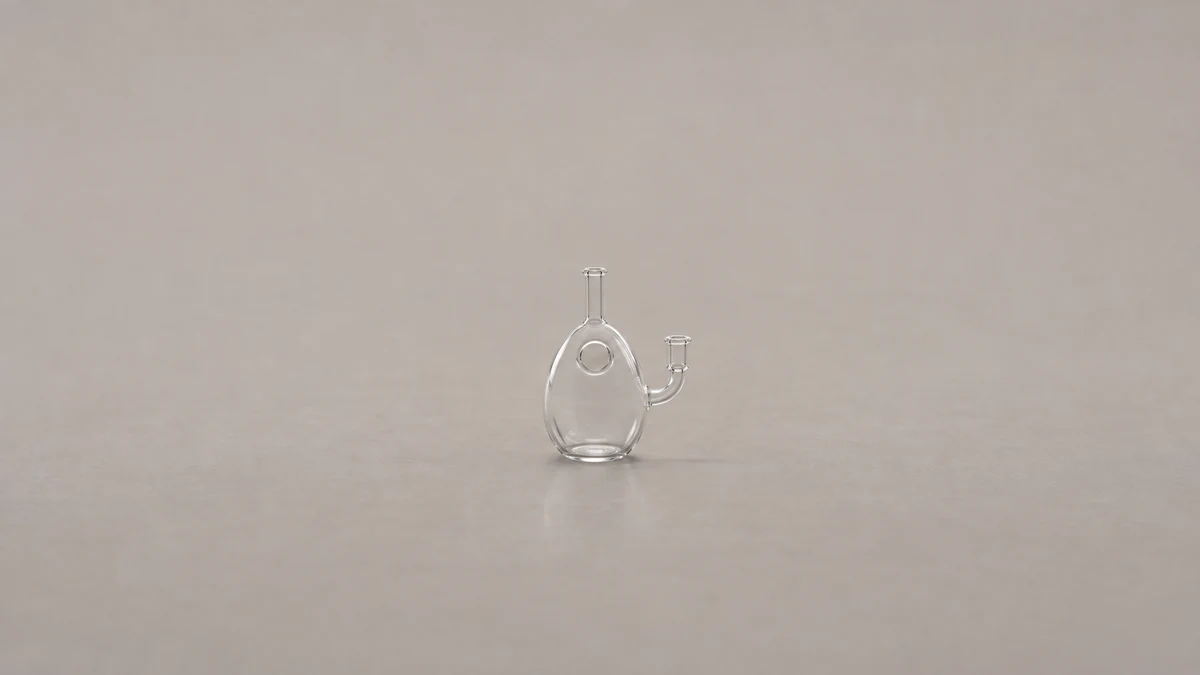
A percolator port belongs to the internal hardware. Look for a small slot or hole in a visible tube or disc enclosed by the chamber wall. The apparent hole has a component around it that continues inside the vessel. Its relationship to the inlet matters more than the brightness of its reflection. A single tiny slot near the bottom may be hard to see through the broad exterior. The empty visual opening in the shell will often be far easier to photograph because it is much larger and faces the camera.
🧩 3.1 Check Which Piece Has the Hole
When you read that a rig has three holes, ask whether the figure describes ports in a diffuser, openings through the body, or something else. The same photograph can show two oval openings in the shell and three small vents on an internal part. The counts are compatible because they describe different objects. If the manufacturer names a base-connected percolator, note that alongside the photo rather than deducing a count from points of light. Our guide to rig components and their names is useful when the words on a listing are imprecise.
Curved glass can create a second image of the same line. A port near a curved wall may appear beside its reflection. If a second view shows just one physical slot, count the one you can locate on the actual disc. Keep appearance and function distinct. A visible mark can suggest that an internal part is present, but documentation or a clearer photo is still necessary to identify what it connects.
🛤️ 4. Distinguish Two Chambers From a Return Loop
Two enclosed spaces establish a chamber count for the documented design. A return loop requires a route leading back toward the lower area, separate from the path leading upward. A tube across the face of the vessel does not show that route by itself. See whether both endpoints are visible or documented. If the maker provides only a front view, keep the return path unconfirmed and use the chamber names the source actually gives.
↪️ 4.1 Look for Both Ends of a Suspected Return Tube
Pick a visible length of tubing and see where it starts and ends. If a connection disappears behind a decorative wall, mark that limit in your notes. A recognizable tube can connect one enclosed volume to another without forming a loop. Conversely, the absence of exterior tubing cannot rule out an internal route. If a product calls itself a recycler but its listing supplies no route diagram, record the label as the maker’s claim and keep your own photo interpretation separate. Our guide to the water paths in mini recycler rigs explains the uptake and return terms.
Start with routes you can see. For a hypothetical piece with one broad egg chamber, a visible percolator and one open hole through the outer form, those are enough to describe it. If a second specimen has the same exterior hole and also a clearly illustrated return path, it can reasonably carry both shape and circulation descriptions. The additional path is the evidence for the second name. Do not reject or assign that name solely because of the shape of the outer shell.
🧱 5. Use the Foot and Side Connection as Orientation Marks
In catalog pictures, the same glass body can look round in one angle and oval in the next. Compare the foot and side joint before deciding the photos depict different designs. The foot is a useful baseline because it ordinarily meets the counter. The chamber can be wider above the foot, and a shadow can make the foot seem wider in a single studio image. The side joint gives you a second landmark for deciding which way the openings face.
📐 5.1 Name Visible Regions in Their Own Right
A large sculpted wall, an inner glass disc and a ground joint can all look as if they form a single structure in a flattened image. Identify each by where it sits rather than what you assume it does. “Disc visible below the oval opening” can be checked against a second photo. “Two-stage filtration” is a functional description that needs more evidence. A similar distinction comes up in our guide to globe chambers, bases and joints, where a broad exterior silhouette can obscure a narrower glass feature behind it.
The body-side connection should also remain distinct from whatever accessory the photo shows attached. A compact joint may be partly hidden behind a banger or its side arm. If the description says the opening is ten millimeters, confirm that the manufacturer is describing the body joint. A vent or through-hole also has an opening size, but that number has no bearing on which joint the body accepts. Recording each measurement with its noun prevents the same size from migrating to unrelated parts.
🗂️ 6. Read Product Copy and Photos as Different Evidence
A manufacturer can provide reliable details about the named model while using promotional language to describe its experience. Keep the component facts you can verify, such as a named chamber or a specified connection. Set aside performance adjectives that don’t include a meaningful comparison or measurement. From a still image you can often see the outward form very well. You cannot use it to compare resistance or identify how a working flow would behave across different formats.
If the product is offered in several colors, an opaque variation may conceal features that are clear in the plain glass photograph. Check whether the same documentation actually applies to both variants. A picture of the clear version can help interpret the shape, but a distributor’s reuse of that picture is not proof of construction for a secondary item. If your own piece resembles one example and differs in the foot or side inlet, annotate that difference instead of forcing the matching name.
✅ 7. Put the Observation Into a Useful Description
Consider two descriptions of the same unlabeled object. The first says “egg recycler with two holes.” The second says “rounded glass body, one visible oval opening through the shell and two small internal slots on a disc near the base; no return route confirmed.” The second gives someone a specific place to look. They may verify that the oval opening is fully open or show that a tube is hidden behind the disc. The description can change when new evidence arrives without needing to rename every part.
Take a wide front view and an angled view that shows the edge of the opening. Include the base, side socket and mouthpiece in one frame. Name the openings that appear in the outer sculpted form and the smaller ports visible on enclosed parts. Compare with the manufacturer image for the same revision if one is available. If the remaining question is about the path from the upper cavity to the lower chamber, ask for a drawing or a view that shows both ends of the route.
A useful exercise is to draw two different kinds of outlines on a copy of your photo. First trace the perimeter of the visible shell and any opening that appears to go through it. Then sketch each visible portion of the smaller tube or disc inside the enclosure. Let your lines stop whenever the view is blocked. A continuous outline drawn from imagination can make two separate features look connected, which is exactly the problem the second view is meant to solve.
Use that same distinction if a description claims that the rig has a certain number of “holes.” Write the quoted number alongside the component it names. If it says two holes and supplies no noun, keep the number tied to the listing until you have a clearer photo. A manufacture note that identifies holes on a base diffuser is more informative than a headline that calls the entire body double hole. Neither tells you whether any part can be taken off.
Finally, separate the held piece from the family photograph. Two shells with the same silhouette can hide different internal glasswork. A sketch of the clear version can make the concept easier to recognize, but you still need a view or a specification for the one in front of you. That is particularly useful for a piece with a tinted shell, where the outer opening is easy to see and the small interior tube can disappear in the color.
A rim that is clear at the top and indistinct at the bottom may hide a glass bridge crossing behind it. Photograph that edge slightly from below if the base allows a clear view without moving the piece off its support. The goal is to establish which surfaces bound the empty opening. This records the physical feature without using the shape to predict how the internal ports behave.