🔎 1. What the Word Finish Means on a Glass Dab Container
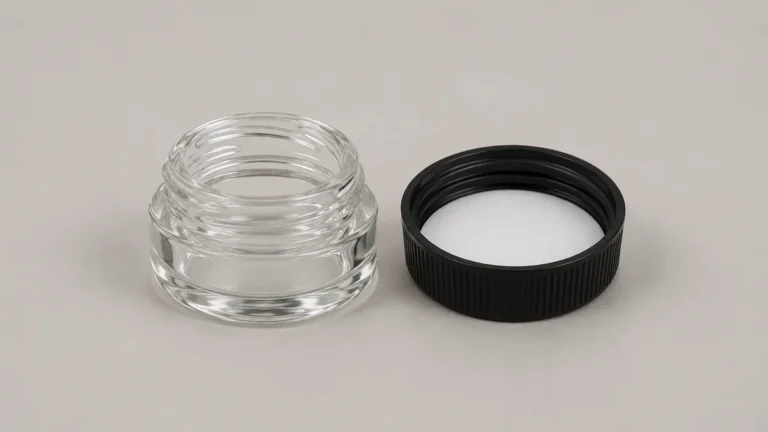
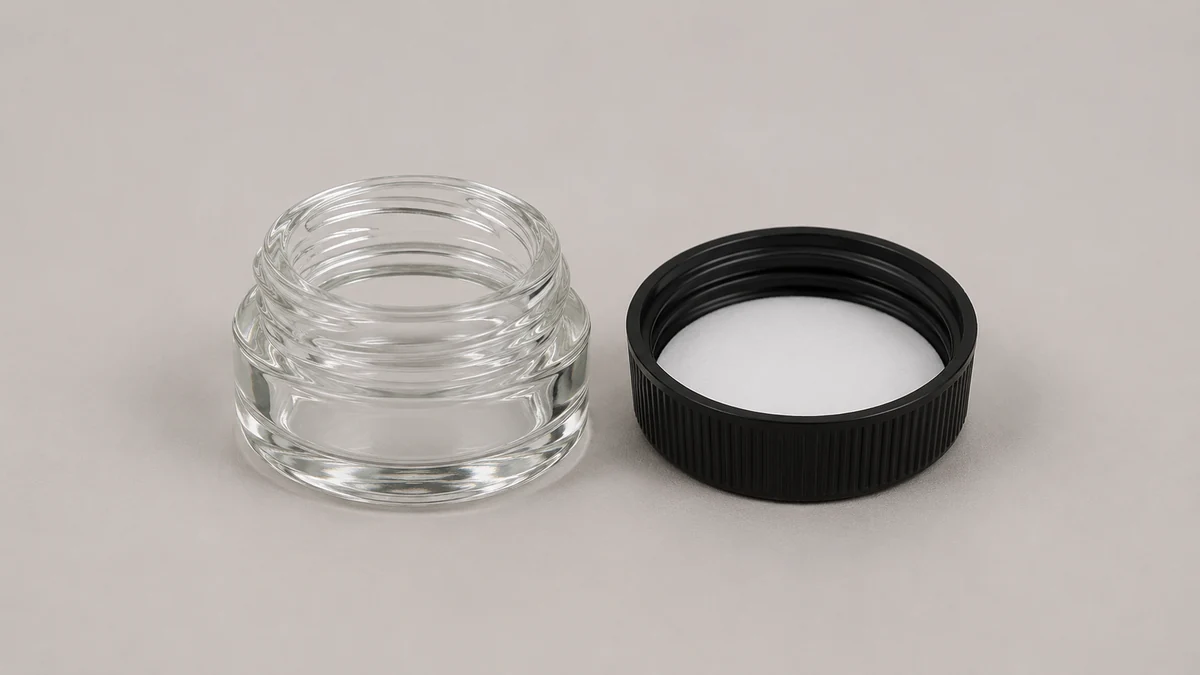
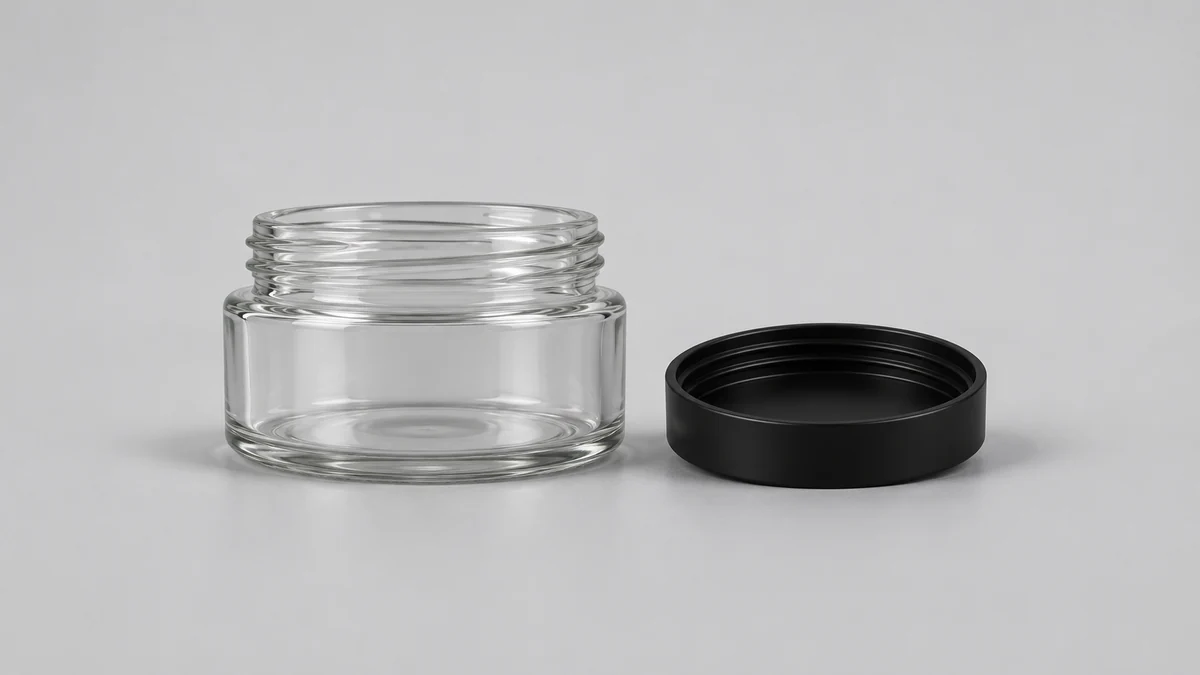
A glass dab container has a glass body, a neck that accepts a closure, and sometimes a liner inside the lid. Packaging drawings call the shaped part of the glass neck the finish. It includes the rim and the threads or other features that engage the closure. The cap can look right from above while the finish under it belongs to a different size or style. A side view of the empty jar and a view inside the cap show which parts you are actually comparing.
Suppose a black lid appears to close the jar. The skirt reaches down over the neck, so the visible silhouette looks right. The rim, the liner, and the inner threads are all hidden in that view. A cap that appears flush tells you how the visible shell sits. It leaves the question of which surfaces meet inside. That distinction matters when a replacement cap and a similar jar came from different sets.
🪟 1.1 The Rim Is a Surface on the Finish
When the empty jar is viewed from above, the opening is bordered by the rim. The thread or lug features are usually easier to see from the side. These views answer different questions. The top view shows the shape of the edge around the opening. The side view shows how far below it the closure engagement features sit. The diagram for a specific glass finish can indicate which surface the closure is designed to meet.
An apparent ring around the neck can also be mistaken for a separate gasket. If it is part of the glass and appears in the finish drawing, describe it as part of the neck. A separate piece already removed from the cap belongs in a different photo. The distinction matters when a manufacturer asks whether the mark is on the jar, on a liner, or under the cap skirt. A photo with each loose piece beside the neck gives the question an unambiguous reference.
🧵 2. Two Ways a Closure Can Engage the Neck
Berlin Packaging’s glass jar documentation gives an example of a continuous-thread finish and explicitly excludes lug caps for that particular jar. Stoelzle’s closure reference also distinguishes continuous-thread screw caps from twist-off styles. Looking at the neck helps explain the difference. A continuous-thread example has a spiral that the closure follows. A lug-style design uses interrupted features that must engage the corresponding elements of its closure. Each term identifies a family of interfaces. It still takes a matching designation or drawing to identify a specific combination.
📐 2.1 Read the Spiral on a Continuous-Thread Neck
On a clean, empty jar, a side photo can show whether the thread runs continuously around the neck. One segment may appear above another when the jar is seen in profile. Follow the feature around the whole neck before describing its shape. How many turns the cap would make, how much resistance it should have, and where it should stop are questions for the specific closure. A general description of the spiral cannot supply those values.
📐 2.2 Read the Separate Segments on a Lug Finish
A lug finish can show separate raised segments around the neck. Compare those segments with the matching surfaces inside the closure when both are already apart. Some cap designs conceal the engagement features behind an outer skirt. Photograph the underside as well as the top. An outside dimension can look similar across closures while the relevant shapes differ underneath.
🧢 3. What the Outer Cap Can Show You
The cap shell is the visible part that sits over the neck. In a simple screw closure, features inside the shell engage the finish. A liner, if specified, may sit between the shell and the rim. Stoelzle lists liner options on certain screw closures, which illustrates why the shell type and the liner are separate details. Another design may use a different sealing feature. Use the documentation for the complete closure before making a claim about which surface forms the seal.
An outer cover can obscure the parts that actually engage the jar. If the visible cover is loose, photograph its position while the jar is empty and undamaged. The picture can show whether the cover sits low on one side or stands above the finish. It cannot show how the cap would perform under conditions the packaging maker has specified. Describe the geometry separately from any question about sealing performance.
🛡️ 4. The Liner Is a Separate Part With Its Own Job
A liner is an inner layer specified for some closures. In one catalog entry, Pöhli lists a screw closure with an EPE liner and identifies the exact glass jar items that go with it. This is a concrete example of a cap, liner, and finish specified as a combination. An unmarked disc from a different lid should be described by what is visible. Color or thickness cannot establish its material or the conditions under which it is intended to work.
🧪 4.1 Visible Discs and Liners
A disc may be fitted into the underside of the cap and may look like the whole inner face when viewed from directly above. Look at the edge in a side photo to see whether a distinct layer is visible. Where a disc is already loose, record its location before moving it. A liner installed in the shell and a separate insert found loose in the package are different observations. Only the exact parts record shows which arrangement was intended.
🧾 4.2 A Liner and a Separate Insert Can Look Similar
Imagine finding two thin circles with an empty jar. One is fitted inside the cap. The other lies loose on the rim after the closure was removed. A photo of the circles side by side may show a difference in thickness or surface finish. It does not tell you whether the loose circle is a second liner, an insert, or an item from another container. Take one picture that preserves the original locations. A packaging drawing can show which circle is part of the cap assembly and which layer, if any, sits on the jar before the cap is installed.
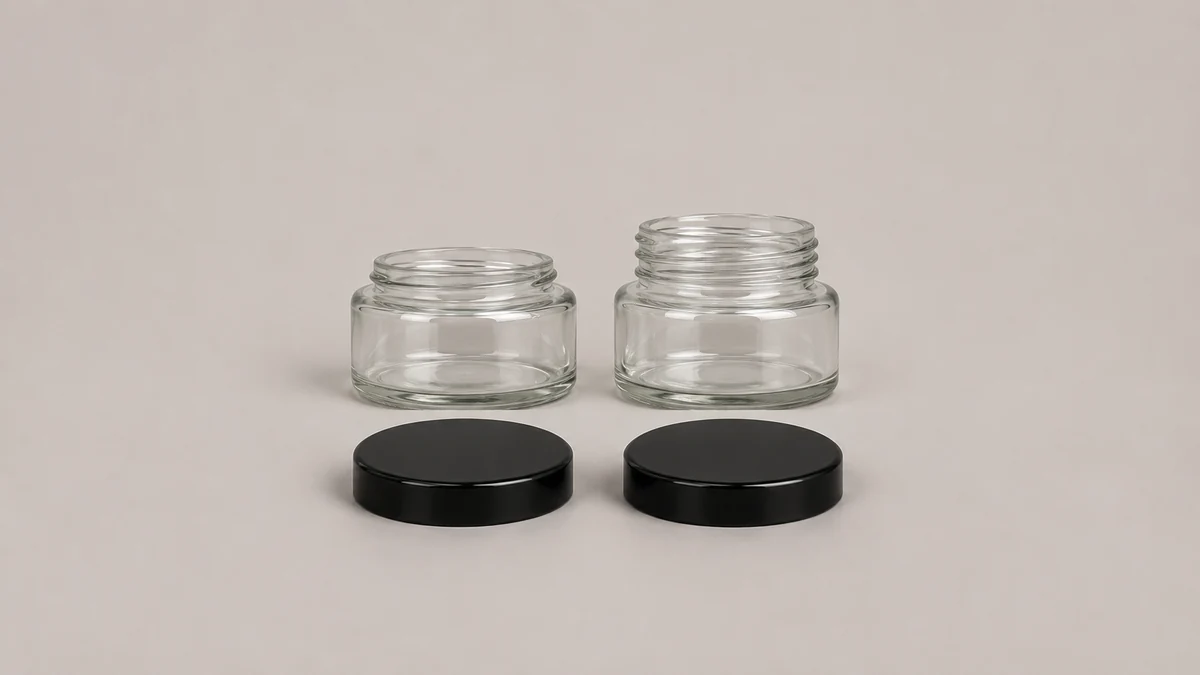
👁️ 5. What a Tilted Cap or a Detached Disc Actually Shows
A visible tilt records a difference in height around the seam. It leaves open several possibilities, including uneven engagement or a damaged part. Take a straight-on photo and compare it with a second side view. A photo from above can hide a tilt while a perspective view can exaggerate one. If an edge of the glass appears damaged, isolate the container from the others and show that edge in the reference photo. The angle itself cannot identify which component is responsible.
A detached disc may be inside the shell, on the rim, or loose beside the jar. The location is useful evidence even when its purpose is uncertain. It might be an insert intended to remain with the shell, or a layer that the maker identifies separately. The finish drawing shows the glass contact surface. The closure documentation identifies the parts expected at that surface. Compare both before describing the assembly as incomplete.
📸 5.1 Keep the Neck and Cap Views Together
In a support photo, a detached lid is often placed upside down several inches away from the jar. That exposes the inside of the lid, but the image may omit the side of the neck. Photograph the pair from a low angle as well, with the rim in focus. If the lid was found tilted, keep the original view and add a second one after the undamaged empty parts are separate. This preserves the reported position while giving the person reviewing it a clear look at each component.
Glare on a transparent rim can also look like a white disc in a top view. A side image with even light is often easier to interpret. Compare the same area from a second angle and describe what stays visible. The photos can show where a feature is located. A closure drawing and its item reference supply the identity when appearance alone leaves two possibilities.
📋 6. Recording What Is Visible Without Guessing the Rest
Write down three separate observations about the empty assembly. Describe the shape of the glass neck. Note where the visible shell sits relative to the rim. Record whether there is a separate inner disc and where it is. AOVAPE’s container material guide covers the broader distinction among glass, silicone, and rigid polymer bodies. Here the question stays with the three parts of a particular glass closure.
📝 6.1 Record the Gap and the Liner Position
A photo of the glass sidewall may show a model marking or a size label, but it will not usually show the underside of the cap. Label these photos separately so the material of one part is not attributed to another. If a liner is white and smooth, write that down as a visual description. Use the manufacturer’s designation for the actual material if it is available. AOVAPE’s silicone container guide explains why a flexible molded body is a different construction from a glass jar with a separate cap.
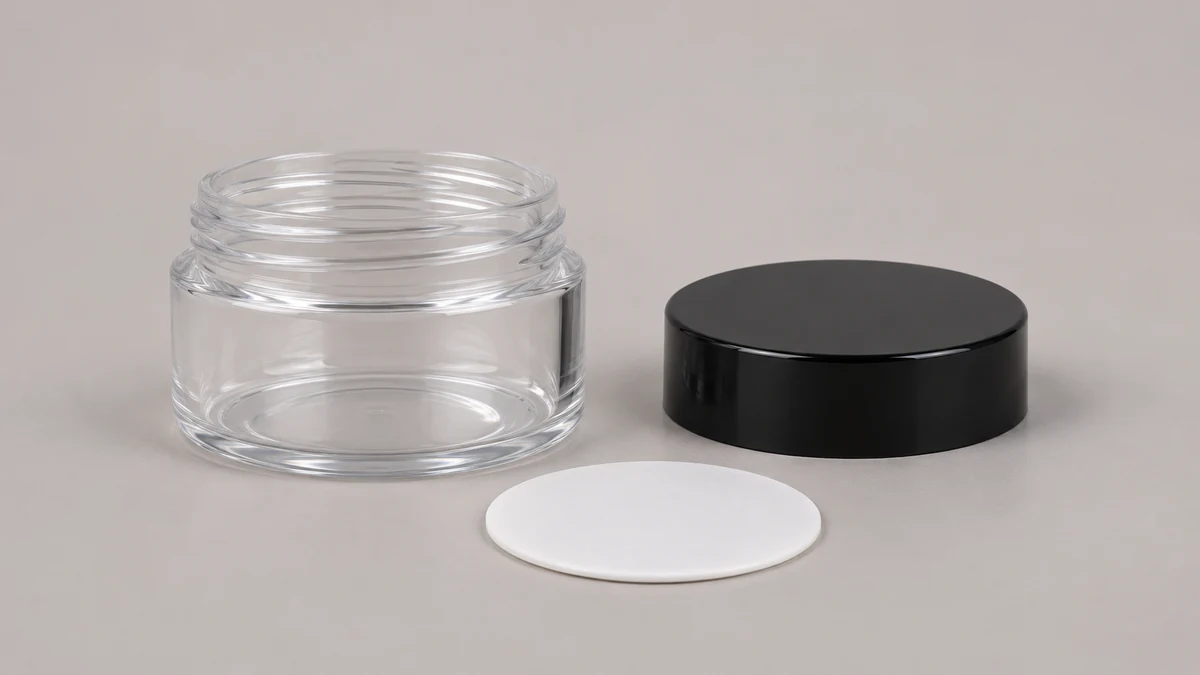
❓ 7. A Reader’s Question About a Sticking Black Cap
A reader on Reddit described a black cap that repeatedly stuck on a glass jar. Replies discussed opening it, while the post left the exact closure type unclear. Another reader asked why a glass jar came with a lid made from another material, and a reply pointed to the possibility of a liner. These are different questions. One concerns a closure’s movement and the other concerns the identity of its layers. The visible parts and the maker’s instructions are more useful for answering either than a general description of a black lid.
In a separate discussion about jars, readers described closures that felt different even when the containers appeared similar. A support note can narrow the question by recording the jar label, the shape of the rim, and where the shell stops relative to it. A photo of the empty cap from underneath can reveal a second layer that is invisible from above. These details make the report specific while the cause remains open.
🧩 8. Why the Same-Looking Jar and Cap Can Still Be a Different Finish
Two squat jars can occupy the same recess in a tray and still have different closures. A tray pocket usually follows the broad outside shape, while the closure depends on the neck. The dab tray organizer guide explains why recesses identify storage positions. They do not identify which loose pieces belong together. Keep a cap associated with its jar’s identifier when both are removed for inspection.
Matching the advertised capacity of two jars is also different from matching the finish. Capacity describes the volume of the container, while the finish describes the neck interface. Two containers of the same stated size can have visibly different neck heights and different cap skirts. Start with the finish code or the specified pairing. An outside dimension is useful for comparing the overall profile, but it cannot stand in for the part designation.
📏 8.1 Compare Which Dimension the Listing Names
Suppose one listing names the outside diameter of a cap while another gives the nominal finish size of a jar. Both numbers may describe width, yet they refer to different features. The cap can have a skirt wider than the part that engages the neck. The jar can have a thread below a rim that is narrower than the body. An annotated drawing tells the reader where each dimension was taken. When a listing gives only an overall width, record it as such and ask for the closure designation separately.
The same caution applies to a glass jar that looks shorter than its counterpart in a photo. One image may have been taken at a lower angle, or a wide cap may hide more of the neck. Compare the uncapped jars from the same angle and check the neck details against the drawing. This is especially useful when loose lids have been set aside together and their finished tops are visually identical.
🔧 9. What You Can Still Check Once the Parts Are Named
Once the pieces are named, compare the observations with the exact packaging documentation. A catalog entry that lists both a finish and the compatible closure is more useful than a similar-looking product photo. If the closure comes with a liner, look for that detail on the same entry or in the matching closure record. Keeping the two records together avoids applying the description of one cap to another version of the same jar.
If the model markings are missing, send the clearest view of the neck and the underside of the lid when asking about the pair. A reader can describe the flat rim, the thread or lug features, and the position of any disc without guessing a material. The next question is whether the maker identifies that closure and liner for that exact finish. A confirmed match is a statement about the documented assembly. It leaves contents suitability and any performance claim to the maker’s applicable documentation.