🔎 1. Where the Wood Actually Sits in a Nectar Collector
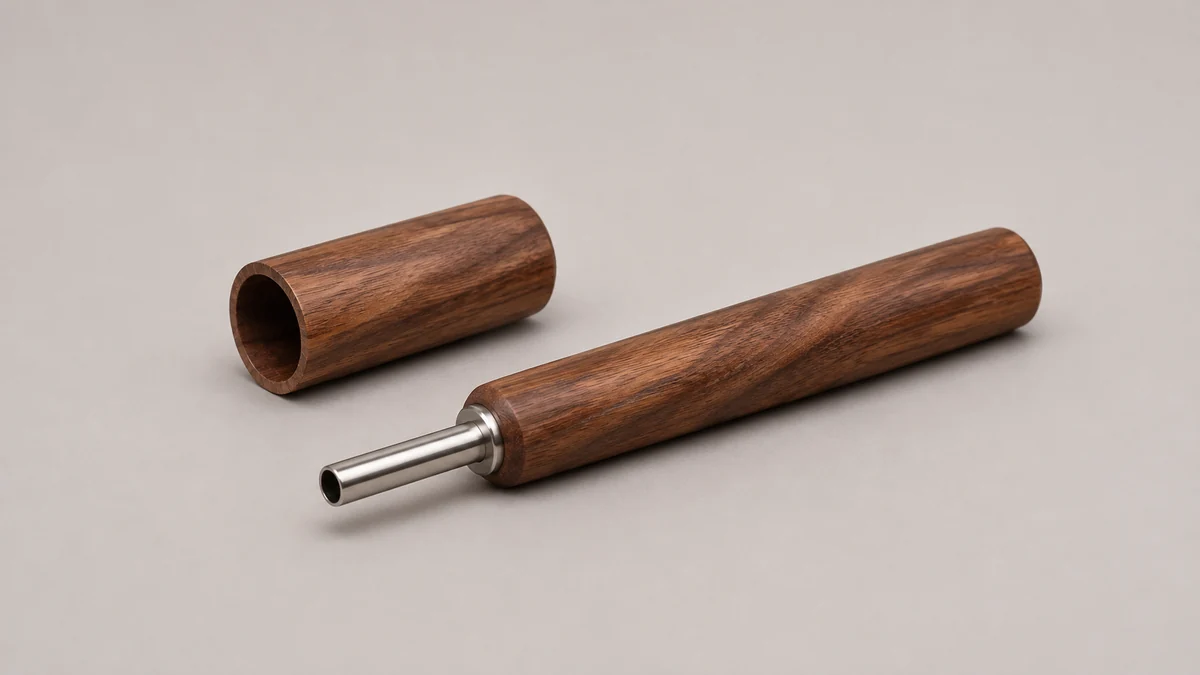
A wooden nectar collector can look like a single turned cylinder in a catalog photo. The grain may belong to a grip around a tube, a removable cover at the end, or a body that accepts a separate tip. Look at both openings and find the point where the materials meet. That boundary tells you which part the wood label describes and which details still need a parts diagram.
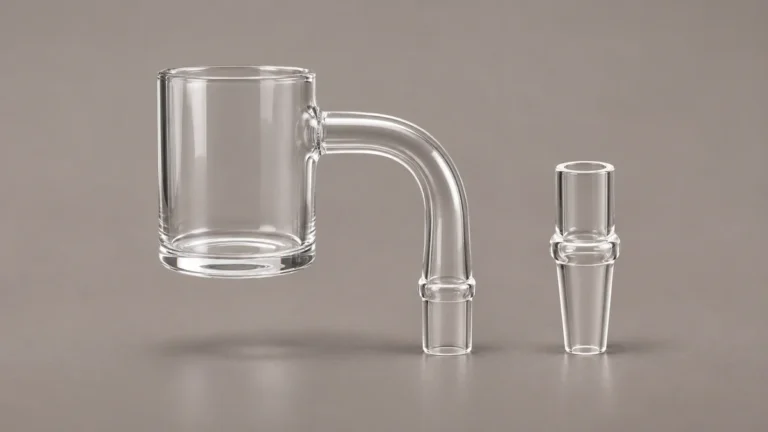
The terms can shift between listings, even for objects with the same outer shape. In AOVAPE’s guide to glass straw assemblies, a body, tube, and tip are separate descriptions. The same distinction helps with wood. A cylinder that appears to continue from one end to the other may be one visible grip over several parts. To describe it accurately, identify the exterior that you can see and then use the manufacturer’s material and parts information for anything concealed.
🪵 2. Three Places a Wood Component Can Appear
Three hypothetical assemblies show what a label like wooden body can leave open. Their profiles may look similar from across a room, particularly when every part is fitted together. From a tabletop view, the open ends and joints help separate them.
🧩 2.1 The Grip Around a Continuous Tube
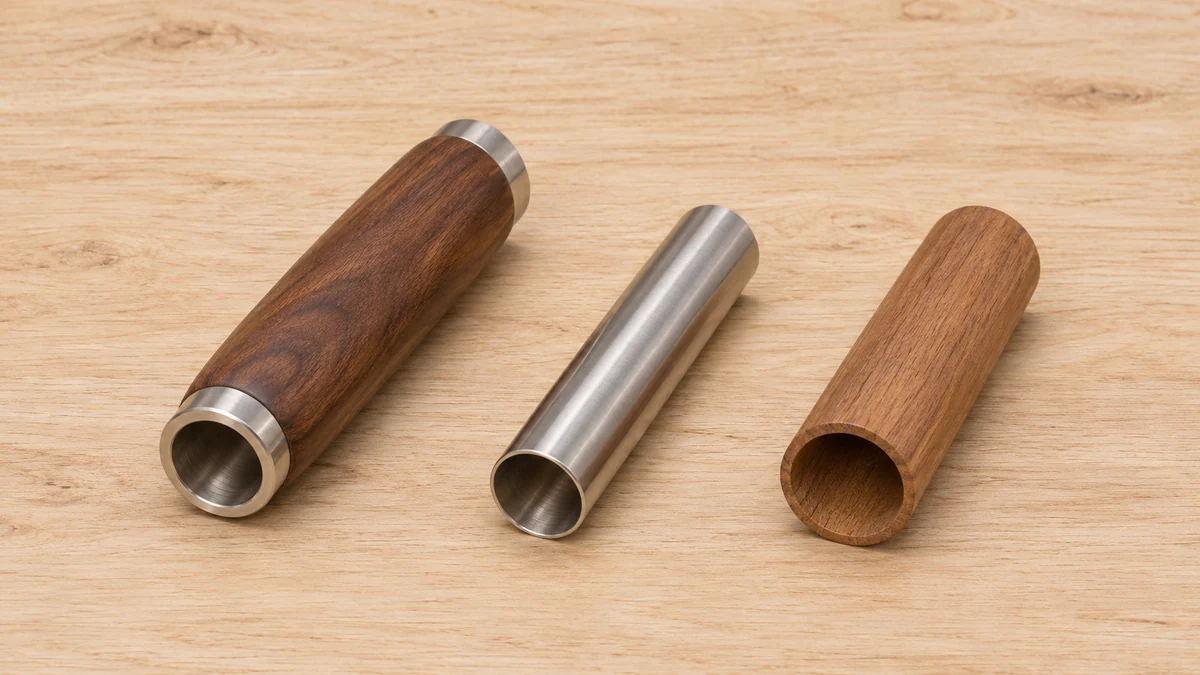
A continuous glass or metal tube can sit inside a wooden grip. In that layout the grip wraps the outside of the same tube along part of its length, and the material visible at the two open ends belongs to the tube. From the side, the grain dominates the photograph. From the end, the inner edge of the tube identifies the passage. A full-length drawing can confirm that the two openings are part of one tube. Matching rims at both ends are a clue, while separate short tubes can also have matching rims.
🔘 2.2 The Blind Cap at One End
A blind cover has an opening at one end and a closed opposite end. Its interior is a pocket that receives a protruding part when the pieces are together. A photo from the closed end alone makes it easy to mistake the cover for the end of the main body. An end piece with a passage through it is a different construction. Ask for a view into the opening and a side view of the cover next to the body if the part is designed to come off. Those two views reveal whether the end piece is a cap or part of the passage.
🔧 2.3 The Removable Tip and Socket
Another layout uses a tip that separates from a seat in the body. Honey Labs described a replaceable tip system and cherry and black walnut wood options for specific models in a July 2022 manufacturer release. That supports the distinction between the wood component and the replaceable part for those models. The release does not provide a cross-section for every body. If the tip appears to meet a darker ring, a drawing or parts list can show whether that ring belongs to the tip, a separate insert, or the body.
📷 3. Why Photographs of Both Openings Matter
A close image of the tip end can show a visible seam while leaving the rest of the tube hidden. The view from the other end gives a second reference point. If an exposed tube ends in a thin metallic rim, note where that rim meets the wood. A photograph at an angle can show the mouth of a seat and the surface next to it. The same seam in two views gives a reader a place to point when comparing the photos with a diagram.
End grain and shadow can make a seam look deeper than it is. A dark finish can also make a shallow seam nearly disappear against the body. Compare the same piece under even light and from the same angle where possible. If two listings show different colors, check the model names as well as the photos. A finish change and a construction change can produce similar differences in an exterior image.
🔦 3.1 When a Ring Is Visible From Only One End
Imagine a sleeve photographed with a shiny ring at the mouthpiece end and a plain wooden edge at the other. The ring might mark the end of a tube, the mouth of an insert, or a piece that covers the opening. A side photo shows where it sits relative to the wood. A view into the opening may show whether the ring continues inward, although perspective can make a shallow step look deeper. The exact parts drawing is the place to confirm which feature the photo shows.
🗺️ 4. What a Manufacturer Diagram Adds, and Where It Stops
An exploded drawing places each component apart and may show the direction in which it meets the next piece. A section view can reveal hidden walls if the maker includes them. When the drawing labels a sleeve or an insert, trace that label to the part boundary. Some illustrations are only assembly guides, so an unlabeled area is a reason to ask for the specific material, not to fill in the blank from the visible wood grain.
A drawing that names a socket helps answer a geometry question. A separate material specification is needed to identify the surface inside it if the diagram does not say. An exterior product picture gives a different kind of information, such as where the cap seam appears when everything is together. Use the two views together to match the part. Claims about the way a seam holds or seals would need evidence that shows how the complete assembly was evaluated.
🧾 4.1 Follow the Part Names Across Documents
A parts list may describe the wood as a body, while a diagram calls the same piece a grip. Follow the part number when one is available, or follow its position between the adjacent pieces. Note whether a listed tip includes the part that seats inside the body. If two illustrations appear to show different opening shapes, keep them tied to their respective versions. Combining them into a single imagined assembly can create a part that appears in neither drawing.
🌳 5. What the Wood Species Tells You
Cherry and black walnut in the manufacturer release identify the two wood options it describes. They also give an owner a way to narrow down the product record when several finishes are shown. For a question about how a particular joint fits, a socket drawing or the manufacturer’s instructions for that assembly are more direct sources. A finish name on its own does not identify the insert, contact surface, or depth of a seat.
Consider two hypothetical sleeves made from wood of the same species. In one, the visible opening ends in the wood. In the other, a thin separate insert reaches the rim. The color on the outside can match closely, but a document that applies to one opening may be irrelevant to the other. Ask about the surface that meets the next component and whether that surface is part of the wood or a separate piece.
A third case is a removable end cover made from the same wood as the grip. A photo of it in place may make the device look as if it has one continuous wooden wall. When the cap is off, the face where it meets the grip can be seen. If both pieces have the same finish, the seam and the shape of the opening are better identifiers than their color. Where the grip and cover are sold as a single set, it also helps to check whether the maker lists them separately in service documentation.
🧽 6. Find the Care Instructions for the Actual Assembly
The maker’s care sheet is the practical reference for a wood assembly. Look for a diagram that identifies which pieces can be handled separately and which remain attached. If the model has a removable tip, the sheet may treat it differently from the body or cover. The name of the wood does not reveal how the finish was applied or whether the tip was meant to be serviced by the owner.
A visibly similar shell can house a different internal assembly. AOVAPE’s guide to flexible collector bodies illustrates the same problem in another material. The exterior is easy to name, and the separate tip is still its own part. For a wooden assembly, look for care guidance specific to the wood component and separate instructions for any documented removable pieces. If the manufacturer groups the parts into a single assembly, keep that grouping when asking about maintenance.
📋 6.1 Questions Worth Asking Before Assuming Anything About a Wood Component
Match the model or revision printed on the package to the care sheet, especially when the same item name appears on several generations. An older sheet may show a part missing from the current package, or the same picture may be used for several finish options. A support note that shows the package label beside the two cool, inactive ends gives the manufacturer a clearer reference. If the tip is already detached, photograph it alongside the opening it came from.
❓ 7. Two Reader Questions About What the Eye Cannot See
One 2024 Reddit discussion illustrates why the word cover invites confusion. Commenters used straw and collector differently, and several described the wood sleeve as a place to put the device away. A cover shown in a photo establishes that it encloses something. The manufacturer’s instructions for the particular assembly are the place to look for storage conditions. AOVAPE’s guide to collector cases and loose parts distinguishes an enclosing sleeve from a separate carry case.
Another owner wondered whether the inside of a wood body had an inset. That question is easier to pose with a picture of the opening, but even a close image may show only the first part of a bore. A cutaway or written material callout can confirm the presence of an insert. A third discussion used quartz and wood as one description while a reply mentioned a metal straw. The different descriptions make more sense when each material is attached to a named part.
📄 8. Identify What Is Shown in a Listing
Start with the photograph that has the least ambiguity. An uncapped side view can identify the outer grip and the detached cover. A shot looking into the mouth of the seat can show a rim that the side view hides. A third view may be useful if a removable tip has a stepped end. Label which photo shows the body, which shows the tip, and which shows the cover. A description with those three nouns can be compared directly with the parts list.
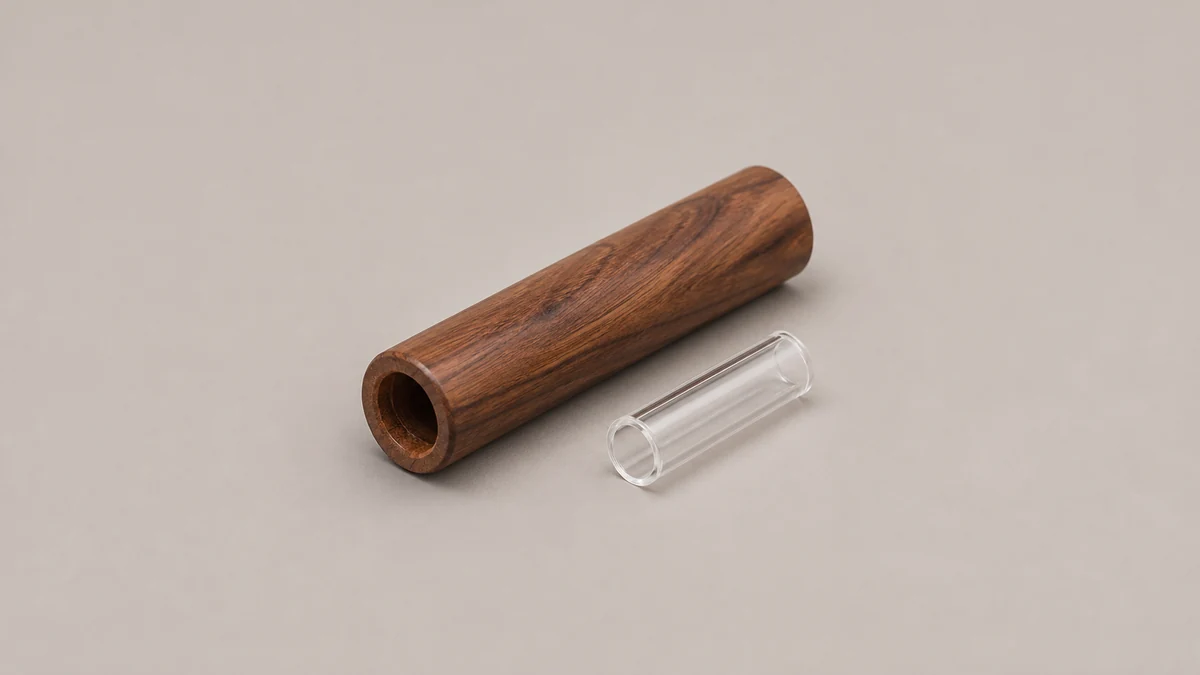
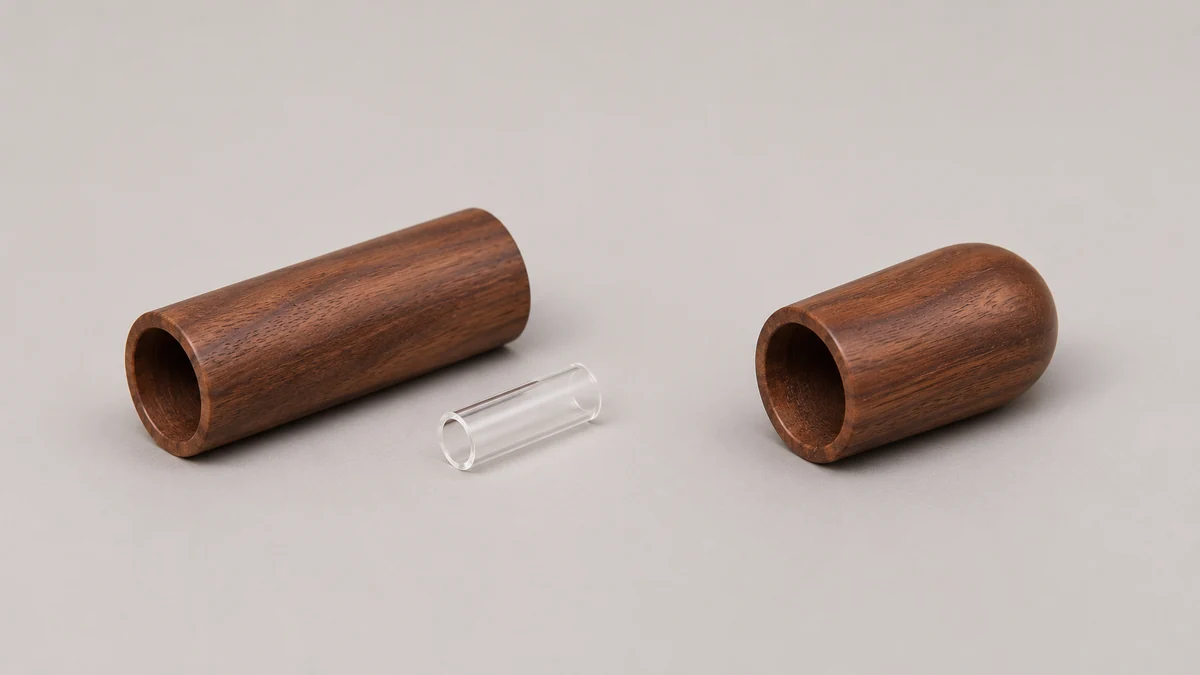
If a catalog photograph shows a wood sleeve next to a clear part, check whether the two are listed as separate pieces in the exact configuration. The image may show an optional finish or a spare. A list that names the included parts can settle what ships with the model even when the interior still needs a drawing. When the picture and list use different words, the model identifier and each item’s position in the assembly give the reader a way to ask about the same part.
🗃️ 8.1 When the Cover and Tube Arrive Separately
Imagine opening a box and finding a wood cylinder, a short clear tube, and a narrow sleeve. A flat photograph of all three may leave the sleeve’s function uncertain. Check which piece has a passage through it and which one is closed at one end. If the tube has a shaped end that appears in the assembly diagram, use that end as the reference when asking where it seats. A photograph showing the pieces in the same orientation as the drawing makes a support reply easier to interpret.
A package list may name a spare tube beside an assembled body. If the installed tube is not visible in the closed package, the spare can look like the only one included. Check whether the list counts an installed tube, a spare, or both. The answer is useful even when the manufacturer has not published a drawing of the interior. It identifies which piece is a replacement and which part is already present, leaving any uncertain material inside the body as a separate question.
🧭 9. Matching the Unit in Front of You to Its Description
When the unit is in front of you, point to the visible wood, the end opening, and the part described as removable. Match each to the documentation for the same model. Some drawings stop at the body and leave the seat construction unknown. If the drawing leaves that detail open, the next question is simple. Which material forms the inner surface at the point where the tip meets the body? Naming that location makes it possible to ask for an answer without guessing from the finish.