A hammer bubbler can have a built-in bowl and an internal stem that never pulls out. If you have inherited a long, low glass piece and cannot find a separate downstem, do not assume a part is missing. Compare the actual construction with the maker’s information before trying to separate anything.
The same connected shape explains a practical cleaning question: how do you empty the bowl without sending chamber water elsewhere? Identify the permitted emptying and draining method for that piece. A removable bowl on another water pipe may make the tasks look simple, but it does not provide instructions for a fused assembly.
🔍 1. Identify the hammer bubbler’s complete shape
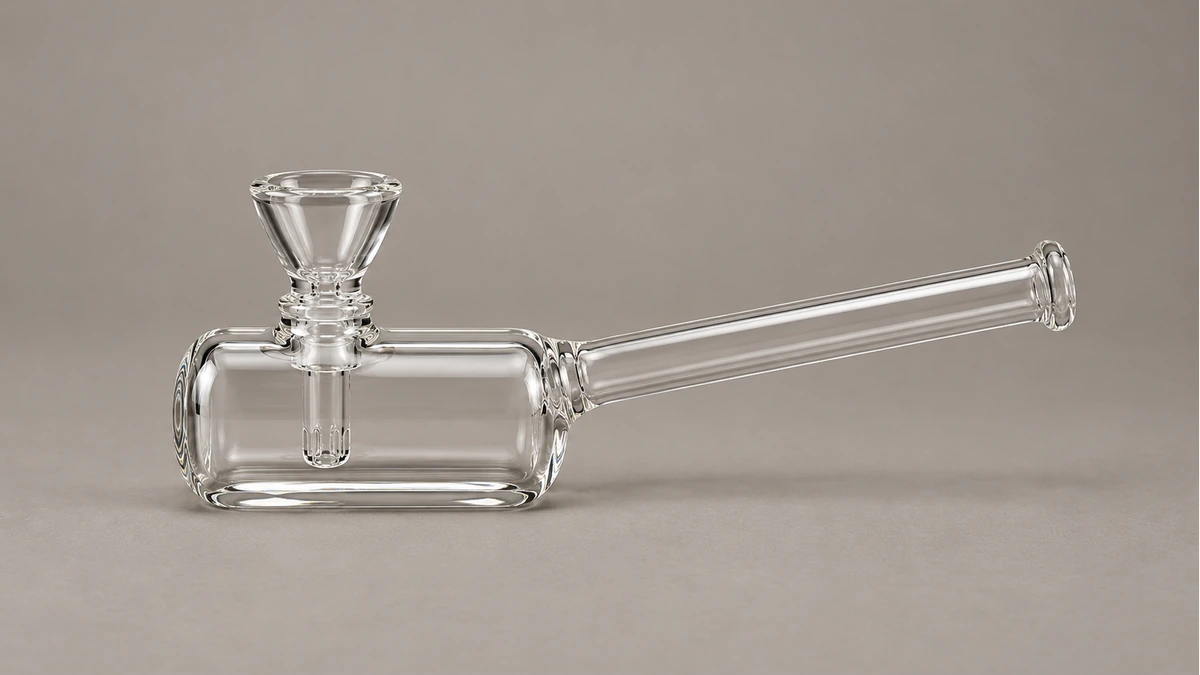
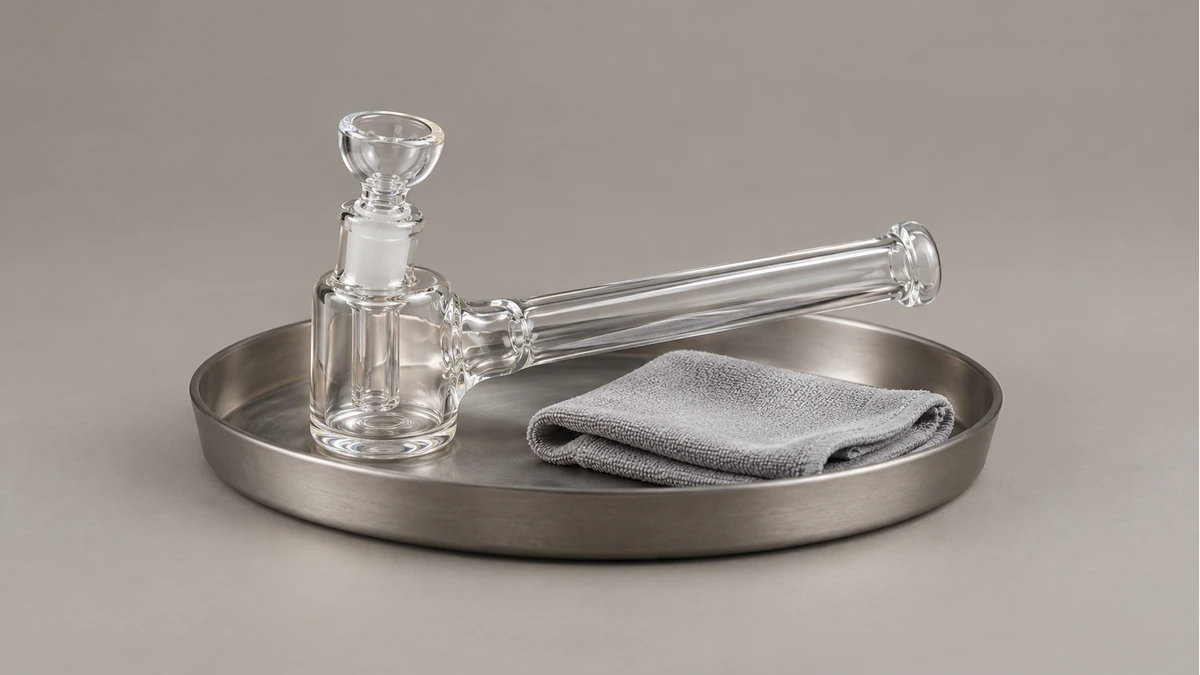
Start with a cool, empty piece on a suitable surface. Locate the bowl, the main chamber and the long mouthpiece. In the hammer-style shape, the mouthpiece extends away from the chamber, giving the complete piece an outline that matters during handling and storage.
The name is a starting point rather than a specification. Some bodies look more like a horizontal cylinder; others have a can-shaped chamber. A photograph of one does not establish the hidden stem route, whether a bowl removes or how another version should be filled.
Distinguish a water chamber from the bowl itself. A dry spoon pipe and a water-holding bubbler require different identification; do not add water to an unfamiliar object just because a seller used a loose category name. Ask for the actual model’s intended arrangement.
Our mini bubbler guide provides broader context for small water pieces. The hammer’s long outline and any integrated bowl still need their own care plan. Small size does not make the same draining or disassembly method suitable for every piece.
🧩 2. A fixed stem is different from a missing stem
A downstem need not be a loose tube inserted through a separate joint. An internal passage can be part of the glass assembly. That possibility matters when a new owner expects a pull-out part and starts looking for somewhere to grip.
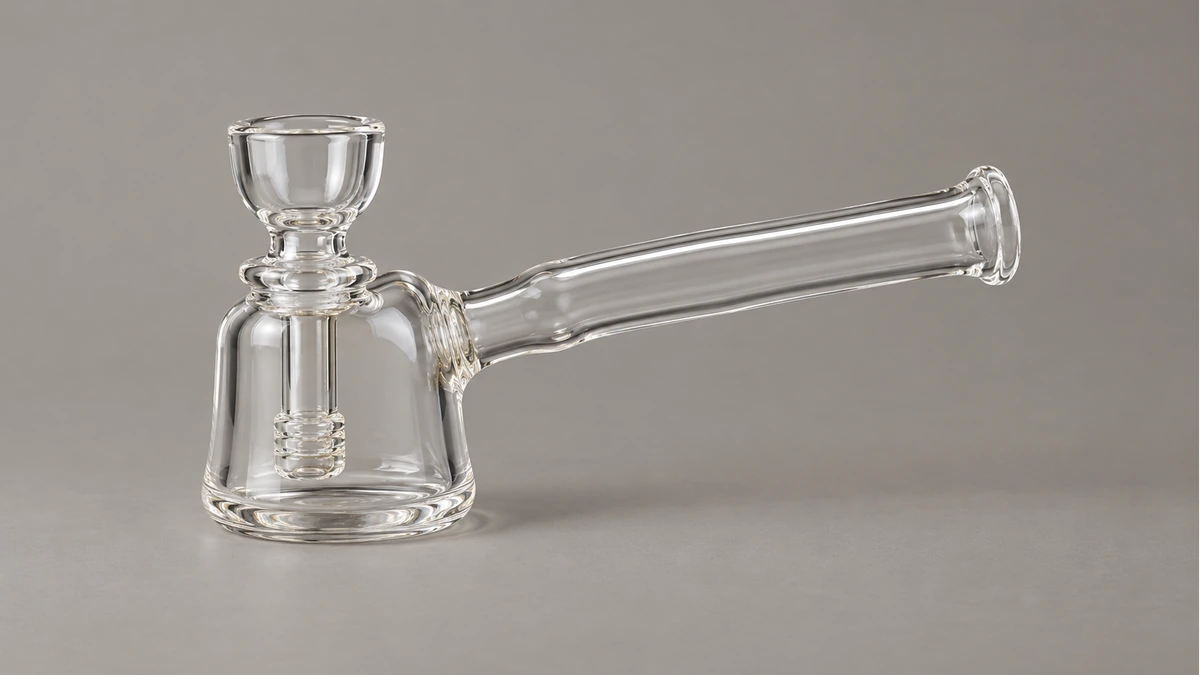
For a documented example, GRAV describes its mini hammer bubbler with a can-shaped base and an internal two-hole fission downstem. This shows that an internal arrangement exists; it does not identify your piece or establish that all hammer bubblers share that construction.
Compare several views with the original information. The route below the bowl may be visible from one side and hidden from another. A colored section or an obstructed view leaves a question unresolved; it does not confirm a break or a missing component.
For a secondhand piece with no paperwork, take clear photographs of the whole body and the accessible openings. Ask the original seller or maker whether the bowl and stem are fixed. Keep that answer with the care instructions so a later cleaning session does not restart the same uncertainty.
🛑 2.1 Do not investigate by forcing a separation
Do not twist a fused-looking section, probe a hidden route with a rod or apply heat to free a suspected part. A seam or change in glass thickness is not proof of a removable connection. If the intended assembly remains unknown, set the piece aside until it is identified.
Likewise, a forum reply saying a similar pipe has a built-in stem is a lead to check, not a diagnosis. Matching the actual documented shape is more useful than a guessed name or a claim that every object in this category is constructed the same way.
🫗 3. Separate bowl emptying from chamber draining
A fixed bowl remains attached as the body is moved. That makes emptying it a different task from lifting a removable bowl off another water pipe. Before tipping the piece, establish where existing chamber water can go under the documented draining method.
Prepare a suitable receiving area and a place to set the cool glass down. Follow the maker’s sequence for the actual piece, including any required prior draining. There is no universal bowl-first or water-first instruction here: the openings and permitted handling determine the appropriate sequence.
Do not copy suggestions to blow debris out, snap the piece sharply or strike it against something. Those suggestions do not solve the identification problem and are not a care method supplied by the maker. Keep the handling controlled rather than trying to combine several tasks in one quick motion.
After draining, confirm what the instructions require before beginning the next cleaning step. A chamber that appears empty may still have water in another section. If the permitted route is unclear, ask about draining specifically rather than requesting a generic cleaning recipe.
A useful support question describes the difficulty in plain terms: the bowl is fixed, the mouthpiece extends sideways and water moves toward that mouthpiece when the body is tipped. That gives the maker a concrete geometry question without claiming the piece is defective or proposing a forceful workaround.
💧 4. Follow this piece’s fill reference and orientation
A reply saying to fill a chamber one-third full cannot establish the amount for an unidentified hammer bubbler. The chamber, stem outlet and mouthpiece connection need to be identified together. A fraction of the outside body height does not describe all of those relationships.
Find the actual filling directions and the orientation shown with them. Compare the openings in the illustration with the glass in front of you. If the reference belongs to a different edition or body, ask whether it applies before treating it as the missing instruction.
Do not substitute the appearance of bubbles or a social-media demonstration for that reference. This article does not supply an inhalation test, a universal amount or a promise about performance. If a maker’s fill information is missing, that is a specific unresolved question to take back to the source.
Keep filling guidance separate from the draining directions. The position used to store a dry piece, the position used during care and the documented setup position need not be inferred from one another. A low profile alone is not a complete operating instruction.
🤲 5. Clear room for the long mouthpiece at the sink
The chamber may fit comfortably inside a sink while the mouthpiece extends toward the tap or counter edge. Look at the complete outline before moving wet equipment into the area. Remove loose utensils and other objects that would compete for that space.
Support the piece in the manner its maker directs. Do not use the far end of a narrow mouthpiece as a convenient carrying handle. If you cannot hold and place the complete shape without an awkward reach, rearrange the work area before starting.
Set out any permitted detached accessories separately. A screen or removable bowl should not disappear beneath a cloth or share an unprotected pile with heavier items. Identifying a clear place for each part is useful even when the main body itself stays in one piece.
Consider the return journey from sink to drying area as well. A crowded counter can leave you holding wet glass while trying to move another object with your free hand. Clear the destination first so the shape has a suitable place to rest when the documented care step is complete.
🧼 6. Work within the cleaning access the design provides
If the connected construction remains impractical for your care routine, that is a reason to reconsider the equipment arrangement rather than alter this piece. A preference for a removable bowl does not make the existing bowl removable. Keep any question about a replacement component separate from a request to cut, drill or detach fused glass. When discussing the problem with the maker, explain whether the difficulty is reaching a deposit, draining the chamber or removing bowl contents. Those are different tasks, and naming the actual one makes the response more useful.
A connected assembly can limit direct access to an internal chamber. The fact that a brush fits through the bowl does not mean it can follow the whole route beyond it. Do not force a cleaning tool around a bend or through a narrow internal section.
Use the actual maker’s permitted cleaners, tools and procedure. Instructions for another glass object do not establish compatibility with every finish or attached component. A stronger chemical or hotter rinse is not a substitute for knowing which method the piece allows.
Our glass pipe cleaning-kit guide discusses tool identification and access. Treat it as help understanding the task, not permission to scrub a sealed route. The specific piece’s restrictions remain the relevant limit.
DWK’s laboratory glassware guidance emphasizes careful handling and removing damaged glass from use. This general laboratory advice does not certify a bubbler or prescribe its cleaning chemicals. Set aside glass with a visible crack or chip instead of continuing a cleaning experiment.
If the approved method leaves a deposit in an inaccessible section, describe its location and the method already followed. Distinguish an observed patch from a confirmed obstruction or damaged surface. Do not scrape at a cloudy area simply to find out which explanation is correct.
🕳️ 7. Treat a screen as a separate compatibility question
First establish whether the bowl is intended to have a screen at all. A visible object near an opening might be a separate accessory or part of the glass. Confirm its identity before attempting removal, especially on unfamiliar secondhand equipment.
If the maker specifies a separate screen, use the documented type and fit. Do not assume that all small bowls take the same accessory, or that a loose screen from another piece is suitable. A component fitting into the opening is not the whole compatibility decision.
Follow the permitted removal method. Do not pry against the bowl wall, push an uncertain object into the stem or reshape an accessory inside the glass. If the screen cannot be removed as directed, stop and ask about that specific condition.
The glass-screen guide explains the separate component question in more detail. It does not turn a fixed bowl into a removable one or establish a universal replacement size. Keep the bowl, stem and screen identified as distinct parts of the care discussion.
📦 8. Dry and store the complete horizontal outline
Complete the maker’s drying method before enclosing the piece. A dry-looking outside does not establish that an internal chamber is ready for closed storage. Do not use an improvised heat source or forced-air process to hurry an unknown requirement.
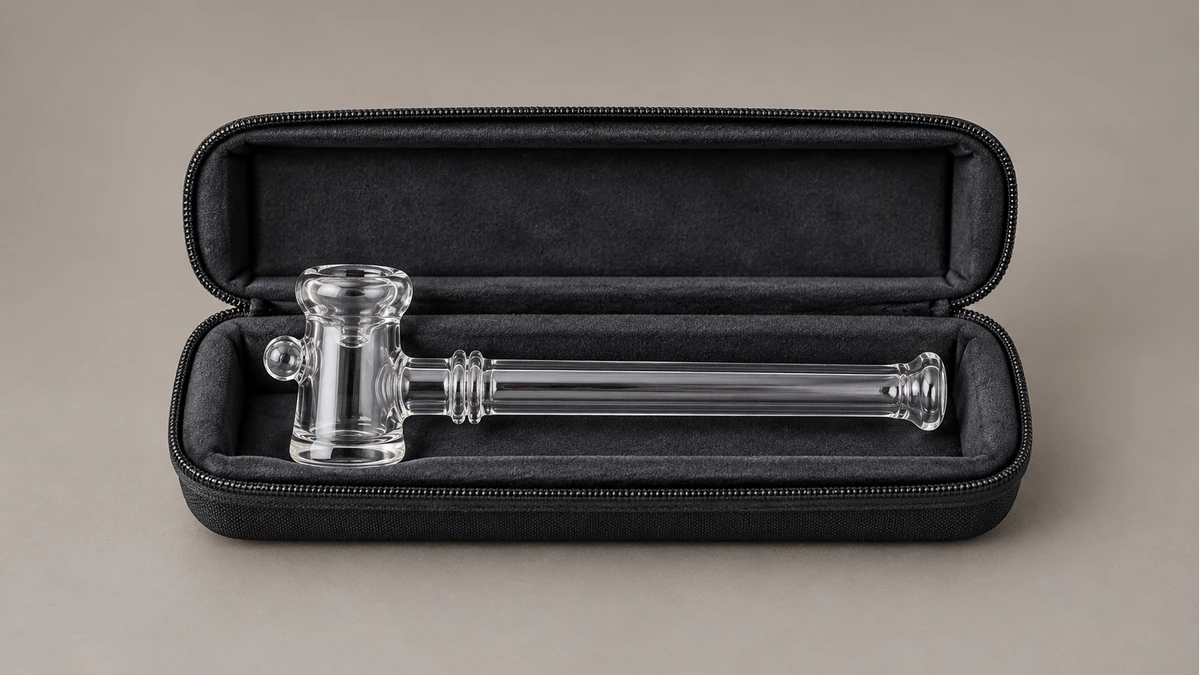
Assess a case by the whole shape: chamber, bowl, long mouthpiece and any side opening or protrusion. A compartment that accepts the chamber but presses on the end of the mouthpiece is not a suitable fit for the full assembly. Do not force the lid closed to make the outline fit.
Protect any permitted detached accessories separately and follow the equipment’s carrying instructions. A display position on a shelf is not automatically the arrangement for transport. Remove unrelated hard objects from the compartment rather than allowing them to share the glass’s space.
Keep the identification and care information available for the next session. If a stem remains unidentified or the draining route is still uncertain, resolve that concrete question before returning the piece to use. Clear photographs and the maker’s actual instructions are more useful than another attempt to pull out a part that may never have been removable.