A mini recycler dab rig has a water-return path, not simply a second chamber. Understanding that loop is the useful starting point when a small piece has several tubes and no clear instructions. Identify the main reservoir, the connected chamber and the route back before borrowing a fill level or cleaning routine from another rig.
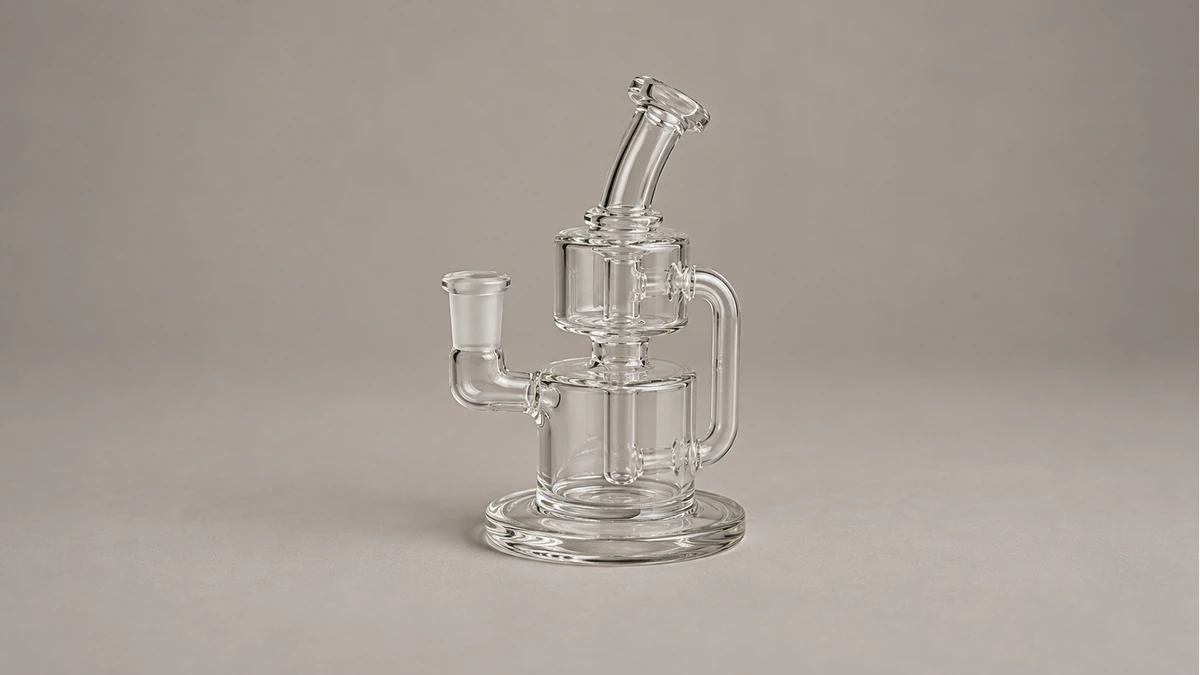
The small scale creates another practical question: what fits around those tubes? A banger may match the joint yet leave its bucket too close to the body, while a separate catcher adds another piece outside the base. Water-path identification and attachment clearance are different tasks. Treating them separately makes an unfamiliar rig much easier to describe.
🔄 1. What makes a mini recycler a recycler?
In a recycler layout, water has a route into another part of the assembly and back toward the reservoir. The return is the distinguishing feature. A piece can have several chambers without that same circuit, so counting visible bulbs or tubes is not enough to identify it.
MJ Arsenal’s description of recycler geometry explains the chamber-to-chamber water loop. That manufacturer explanation supports the basic distinction, not a promise about flavor, potency or the performance of an unidentified piece. The actual layout of your rig still needs its own diagram or description.
Start with a cool, empty piece on a stable surface. Compare the entire shape with the original maker’s information, including the back and side views. A front photograph may hide the point where a return tube joins the body. Do not assume that every similar-looking rig uses the same route.
If the name is uncertain, describe the visible parts instead: a lower chamber, a smaller chamber above it and an outside tube connecting two points. That is more useful than confidently assigning a specialist design name from a forum reply. Our rig and bong comparison provides the broader context without identifying a particular loop.
🔍 2. Read the complete glass outline before handling it
Find the base first, then the mouthpiece and the accessory joint. Follow the visible connection points without inserting anything into the glass. Keep the rig supported as its maker directs; do not lift it by an outside loop simply because that loop looks convenient to grasp.
Separate what you can see from what you know. A tube disappearing behind another chamber may have a connection you cannot inspect from that angle. A solid-looking decorative element might not be part of the water path. Neither observation justifies probing the opening or declaring a hidden section blocked.
For an unidentified local-shop piece, take photographs from several sides while it remains cool and empty. Include the base, mouthpiece, complete joint and any markings. Ask the seller for the maker’s name and an explanation of the water path rather than requesting a universal “recycler setup” instruction.
Inspect accessible glass visually before moving to the sink. DWK’s laboratory glassware care guidance advises against using damaged glass and emphasizes careful handling. This is general laboratory guidance, not certification of a dab rig. Set aside a piece with a visible crack or chip; do not heat, scrape or flex the area to investigate.
💧 3. Use the filling reference for this piece
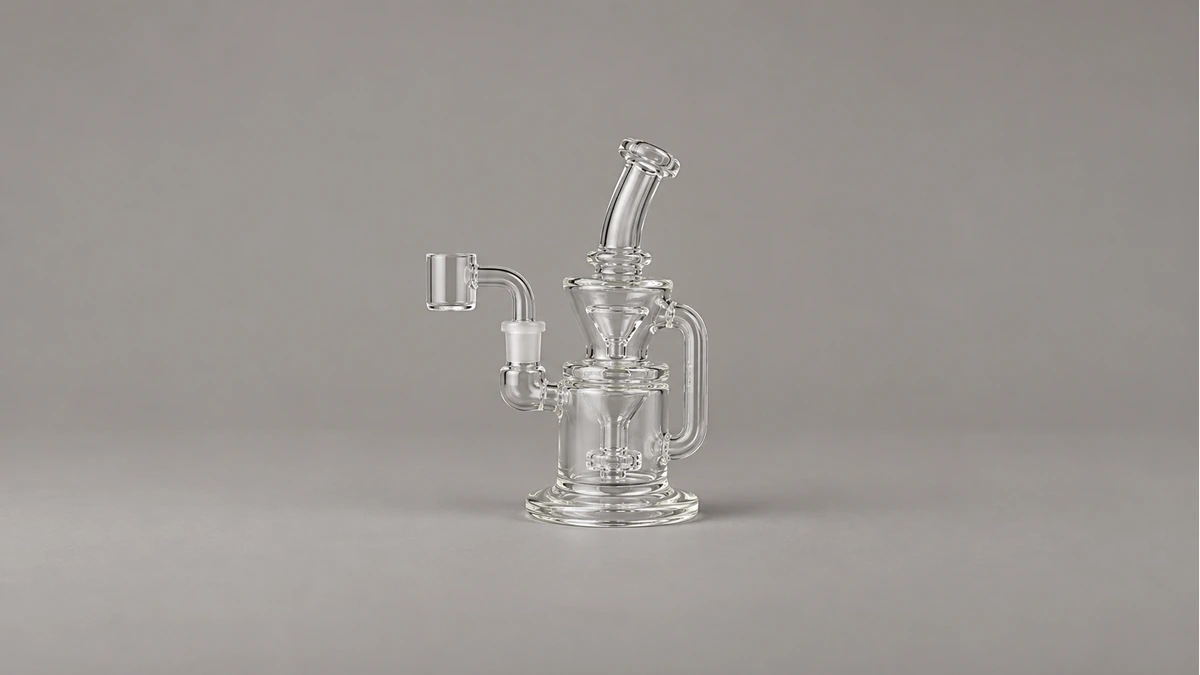
“Add more water” is common advice beneath videos of small rigs. It is not a measurement for yours. A comment about another chamber arrangement cannot establish the fill reference for an unfamiliar mini recycler, even when the two pieces appear close in size.
Look for the maker’s indicated level or stated filling method and establish which orientation it assumes. If the instructions include a diagram, compare the actual openings and chambers before applying it. A different edition, attachment or glass layout may require separate clarification.
Do not keep increasing the level to produce a more dramatic-looking loop. The appearance of a video is not an operating specification, and an impression of stronger movement does not establish that the amount is correct. Ask for the missing reference rather than improvising an inhalation test.
The water-level guide explains why glass geometry matters. Its general discussion should not be converted into a fill amount for a recycler it does not identify. Keep the rig’s own reference with its other care information so the same question does not recur after every cleaning.
🌊 4. Describe a change in the return path precisely
If the water movement seems different from the documented behavior, describe the change rather than guessing at its cause. Is there visible residue in an accessible passage? Did the difference appear after cleaning, moving the rig or changing an attachment? Those are distinct observations.
Do not turn “I cannot see a vortex” into “the recycler is broken.” The maker’s expected behavior is the relevant comparison, not a social-media demonstration of a different design. Equally, visible movement does not prove every passage is clear or the equipment is ready for use.
🧭 4.1 Keep troubleshooting separate from modifications
Take the rig out of use while an unexplained restriction or damaged part remains unresolved. Do not force a rod, brush or wire through an outside bend, and do not add a pump or heat source to make a passage clear. A fused glass route is not a removable hose.
For support, a photograph of the complete loop and a separate photograph of a visible deposit can be useful. Explain the actual care method already used. Avoid presenting a suspected blockage as a confirmed diagnosis if the relevant area cannot be seen.
📏 5. Joint fit and bucket clearance answer different questions
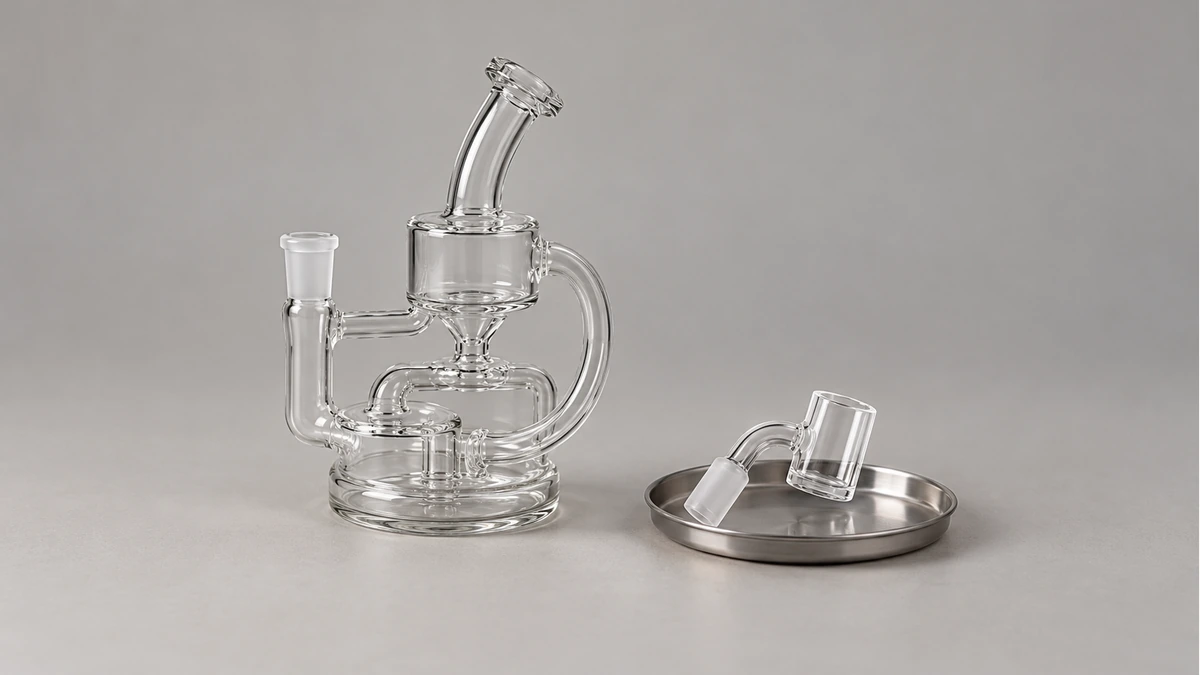
Keep the rig and accessory descriptions together in your notes. For example, a photograph of the socket alone may answer a connection question but leave the bucket’s reach unresolved. Include a side view showing the proposed attachment’s full outline, without heating or loading it, when asking the maker to confirm a combination. If the response supplies only a joint measurement, follow up on the remaining clearance question. That avoids treating a partial answer as approval of the complete assembly, particularly where an outside return tube occupies the same space as the attachment neck.
The rig joint is the connection into which an attachment seats. The bucket is the open chamber at the other end of a banger, and a cap has to match that bucket separately. A catcher is another accessory again. Mixing those terms makes replacement descriptions confusing.
Establish the documented joint size, joint gender and angle for both mating parts. Do not infer a joint size from the word mini. If you cannot identify the connection, ask the maker how it should be measured rather than inserting caliper tips or testing several uncertain attachments by force.
Next consider the whole banger shape. Its neck, bucket and any cap occupy space beyond the mating joint. On a compact rig, compare that outline with the mouthpiece, side tubes and tabletop. A connection that seats does not by itself confirm that the intended combination has adequate clearance.
Use only a combination the relevant makers confirm is appropriate. Do not add a chain of adapters to move one part around another without checking the complete arrangement. If a different attachment makes the setup awkward, return to the confirmed parts rather than treating the small body as a platform for every available accessory.
⚖️ 6. Give the base and its surroundings room
A compact rig may take little shelf space by itself, while an attached bucket or catcher extends beyond that outline. Before assembling permitted parts, clear a suitable flat area and consider the complete footprint. Leave room to place a detached accessory without balancing it against the main body.
Do not test stability by pushing or tipping glass. If a combination does not sit properly as intended, stop and resolve the compatibility or placement problem. A reported success with someone else’s heavy attachment does not establish a load limit for your joint.
Think about ordinary movements near the setup. A cable pulled across the front, a cupboard door opening beside it or a cleaning bottle lifted from behind it can all interfere with the space you reserved. Move unrelated objects away before handling the rig rather than trying to reach through a crowded arrangement.
A shallow parts tray helps define a place for cool detached accessories, provided each part is supported appropriately. It is not a substitute for a compatible rig assembly, and adding a mat does not establish a heat rating or prevent every movement. Keep the purpose of each support clear.
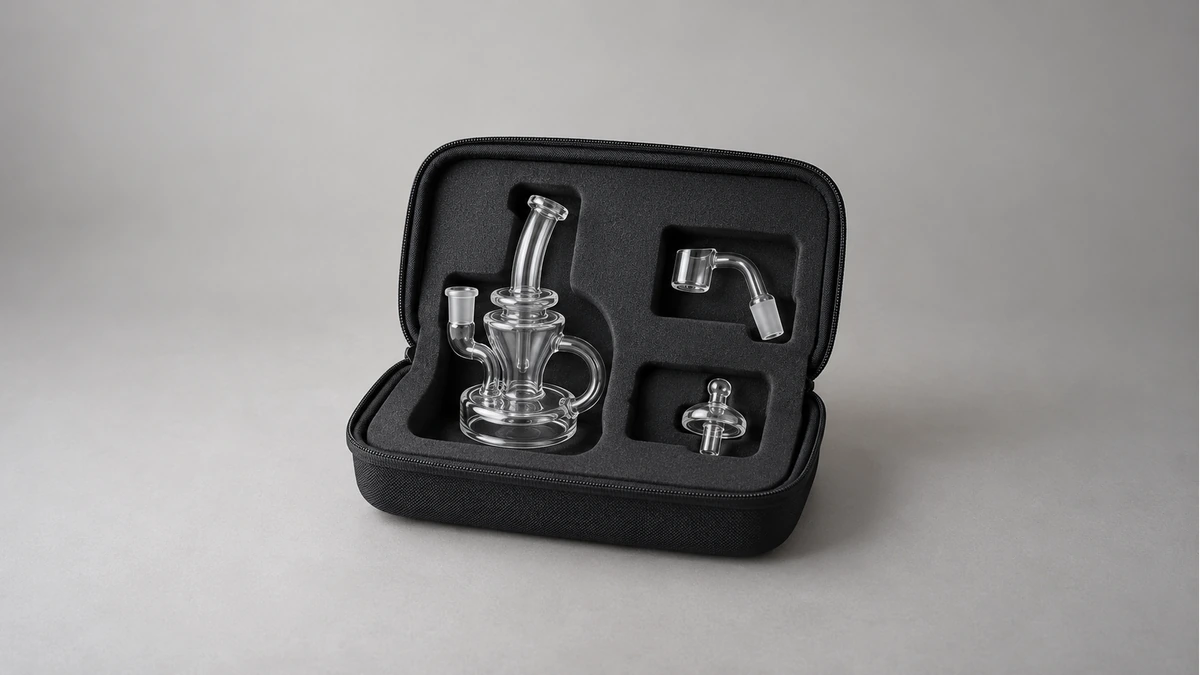
🧼 7. Plan cleaning around access, not force
Read the actual cleaning directions before starting. Identify which pieces may be removed, what cleaner is permitted and how the rig should be supported during rinsing. Do not assume that a visible glass seam separates or that an outside tube can be detached.
At the sink, leave a clear space for the main body and a separate place for removable accessories. A narrow sink surrounded by hard taps and loose utensils is a poor place to maneuver several protruding glass sections. Prepare the area before your hands and the equipment are wet.
Use only the tools and access points the maker allows. A brush that enters an opening may still be unable to follow the next bend. Stop rather than pushing when the intended access ends. Stronger scrubbing or an invented solvent sequence does not solve a route that was never designed to admit that tool.
Visible cleanliness in the main chamber does not tell you everything about a hidden return section. Complete the documented procedure for the whole piece. If residue remains somewhere the approved method cannot address, describe that location to the maker instead of assuming more heat or a harder tool is the next step.
Keep the water-return loop separate from any accessory described as a reclaim catcher. The word recycling in the rig’s name refers to its water path; this article provides no recovery or reuse recipe for collected material. Cleaning and identifying the hardware are the tasks here.
📦 8. Drain, dry and pack the full shape
Follow the maker’s draining and drying method before closing the rig in a case. A lower chamber appearing empty does not establish that every connecting section is dry. Do not use an improvised heating or forced-air process to speed up a step whose requirements are unclear.
When the documented process is complete, compare the entire outline with the case. Include outside loops, the mouthpiece and the bare joint. A case that fits the main reservoir but presses on a side tube is not a suitable fit for that complete shape.
Store permitted detached accessories separately, with enough protection that they cannot strike the rig or one another. Our glass-case planning guide discusses compartment space in more detail. Follow the actual equipment’s transport instructions as well; a display arrangement is not automatically a carrying arrangement.
Before the next use, keep the same part identification and care reference available. If the loop, filling instruction or accessory combination is still unknown, resolve that specific question first. A clear description of the small rig’s route and its complete shape is more useful than a guessed name or a dramatic-looking water video.