If you’ve ever stood at the sink staring into an empty piece wondering how much to fill a bong before you pack a bowl, you’re not alone. It’s one of the most searched questions about bong care, and it’s also one of the most frustrating to answer with a single number. That’s because there isn’t one. A tall beaker, a squat stemless piece, and a rig with a built-in percolator all draw water differently, so a fill line that works perfectly for one can flood another. The fix isn’t a magic ounce count — it’s learning to read the air path inside your own piece and let the glass tell you where the line should be.
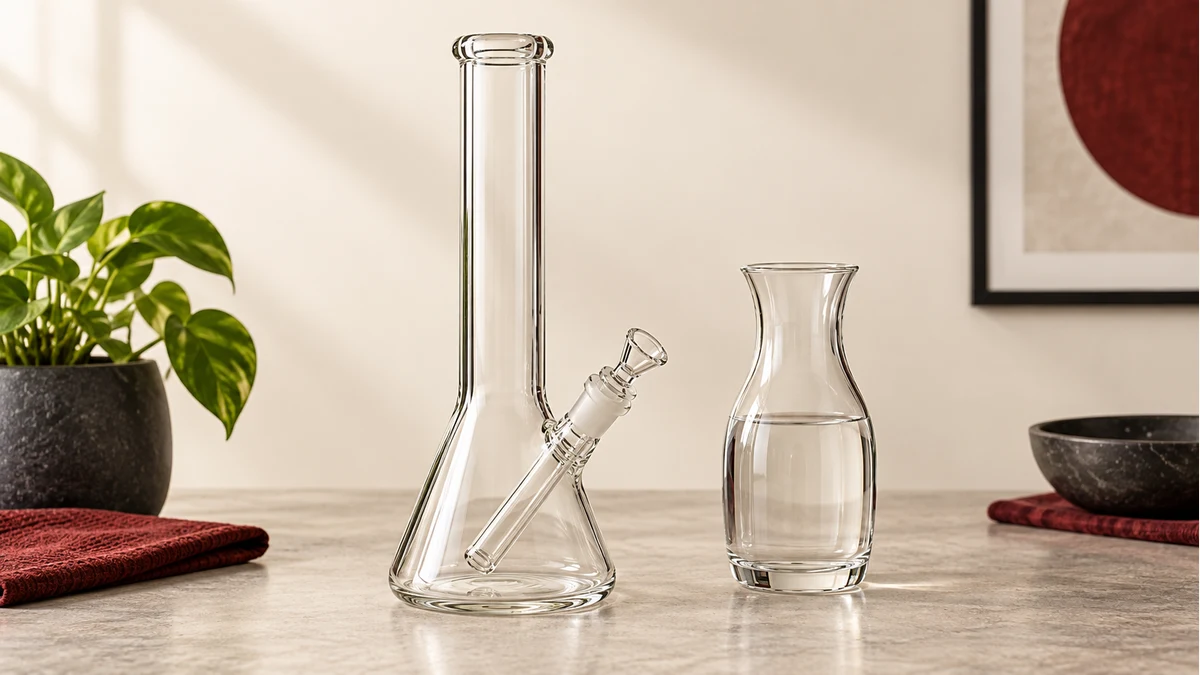
This guide walks through that process from the ground up: what the “air path” actually means, how to find the lowest active diffuser opening, how to run a simple no-material draw test, and how water behaves differently in beakers, stemless tubes, percolators, multi-chamber setups, and ash catchers. Along the way you’ll pick up a repeatable way to record your fill line so you’re not re-guessing every time you rinse the piece out.
💧 1. Why There’s No Universal Ounce Number
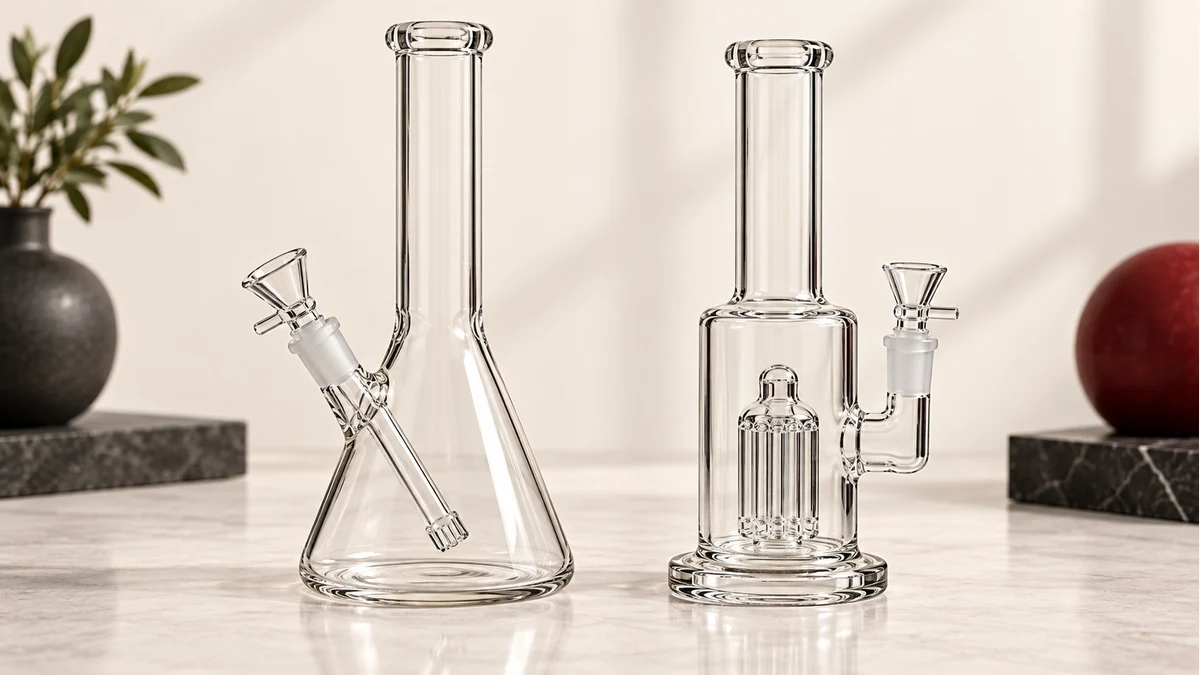
Every bong moves air through the same basic sequence: air enters through the downstream or slide, travels through the stem or percolator arm, exits through a set of slits or holes below the water line, bubbles up through the water, and exits through the mouthpiece. The volume of water needed to make that sequence work depends entirely on where those exit holes sit relative to the base of the piece, how wide the tube is, and how many diffusion points the design has.
🌬️ 2. Find the Waterline From the Air Path
The core idea is simple: water should submerge the lowest set of active diffuser openings — the slits, holes, or perc arms that air actually passes through — while leaving the upper portion of the air path clear. If you pour water so high that it climbs into the neck or joint area, you’re no longer diffusing air through water, you’re forcing it through a flooded tube, and that’s where problems start.
🧩 2.1 Locate the Diffuser First
Before adding any water, look at the downstem or fixed stem and find where the slits or holes are cut. On a diffused downstem, these are usually near the bottom, angled or slotted so smoke breaks into small bubbles. On percolator pieces, the same logic applies to each arm or disc — find the lowest row of openings on every diffusion point in the chamber.
🧩 2.2 Submerge Just That Point
Water needs to sit high enough to fully cover that lowest row of openings. If only half the slit row is underwater, air will take the path of least resistance through the exposed half, which skips diffusion entirely and makes the piece harsher to draw through and easier to spit water. Full coverage of the lowest active opening is the actual target, not a specific measurement.
🧩 2.3 Keep the Upper Path Clear
Above that submerged point, the rest of the air path — the space leading up to the mouthpiece — should stay open and dry. If water creeps up into that clear zone, there’s less room for bubbles to expand and pop before the air continues upward, which is what leads to gurgling, splashing, and water reaching your mouth. The goal is coverage at the bottom and clearance at the top, and everything in between is just the buffer that lets bubbles do their work.
🧪 3. The No-Material Draw Test
Once you’ve eyeballed a fill level, confirm it before ever loading anything. With the bowl or slide removed (or empty, if it doesn’t come out), place your mouth on the mouthpiece and draw gently, the same way you would with dry air. This lets you evaluate the water level using only air movement, without introducing smoke or combustion into the equation.
Listen and watch for a few things:
- Even bubbling: You want a steady, consistent bubble stream from the diffuser, not a weak trickle from one side. A weak or uneven stream usually means part of the diffuser is still exposed above the waterline.
- No splashback: If water jumps up into the neck or spits toward the mouthpiece during a gentle draw, the level is too high, or the draw pulled harder than the clearance allows.
- Reasonable resistance: A very stiff draw with almost no bubble movement can mean too much water is packed into a percolator chamber, restricting airflow rather than diffusing it.
If the draw feels off, adjust in small increments — pour a little out or add a little more — and repeat the test until the bubbling is even and nothing splashes. This test is worth repeating any time you switch pieces, swap an ash catcher on or off, or change the downstem, since all of those change where the lowest active opening actually sits.
🪣 4. Beakers vs Stemless Designs
Beaker-style bases and stemless designs handle water differently because of how the downstem interacts with the base, and understanding that difference goes a long way toward answering how much to fill a bong for your specific shape.
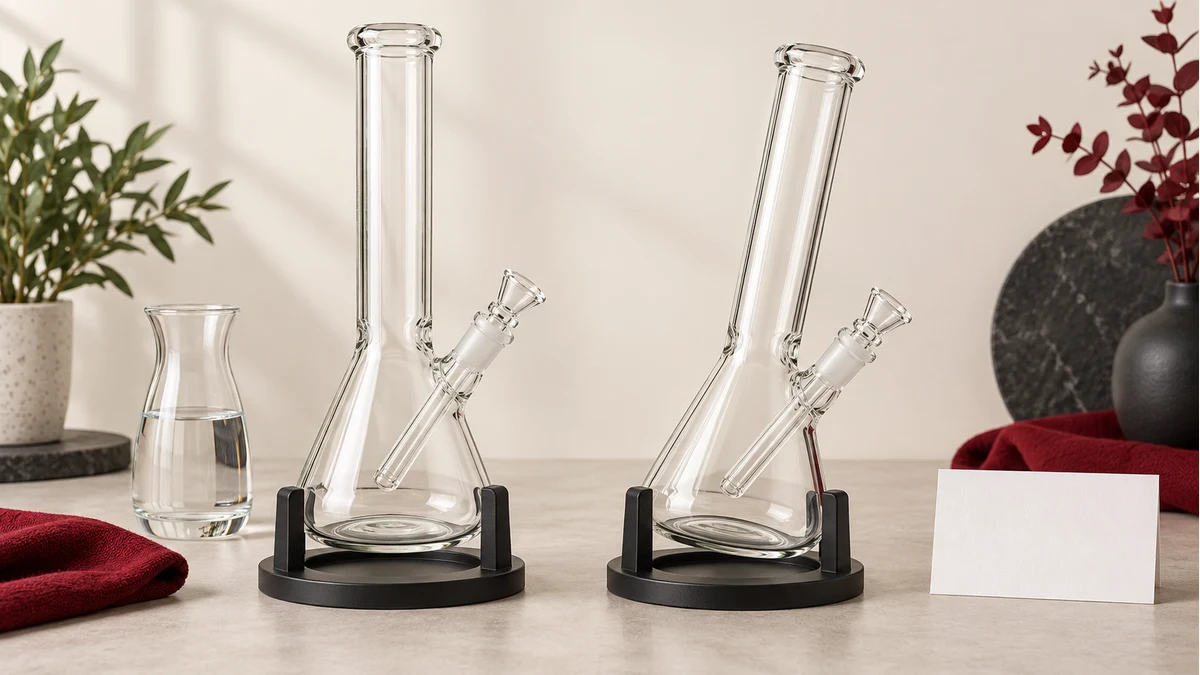
In a beaker, the downstem is a separate piece that slides into a joint and extends down into the wide base. Because the base flares out, the same downstem depth covers more surface area, so water tends to look shallower relative to the width of the glass even when the diffuser is fully submerged. It’s easy to misjudge a beaker as “underfilled” purely because the wide base spreads the water thin — checking the actual slit coverage, not the visual water height, is what matters.
Stemless pieces route air through a fixed internal tube or built-in percolator instead of a removable downstem, so the diffusion point is usually closer to the base and often shorter in length. That tends to mean less water is needed to reach coverage, but it also means the margin for error is smaller — a small overpour can push the level into flood territory much faster in a compact stemless chamber than in a tall beaker with more vertical room to work with.
If you’re still getting familiar with how these components relate to each other, the bong bowl guide explains how the bowl, joint, and connected glass interact, which makes it easier to visualize exactly where your air path sits before you start pouring.
🔀 5. Percolators and Multiple Chambers
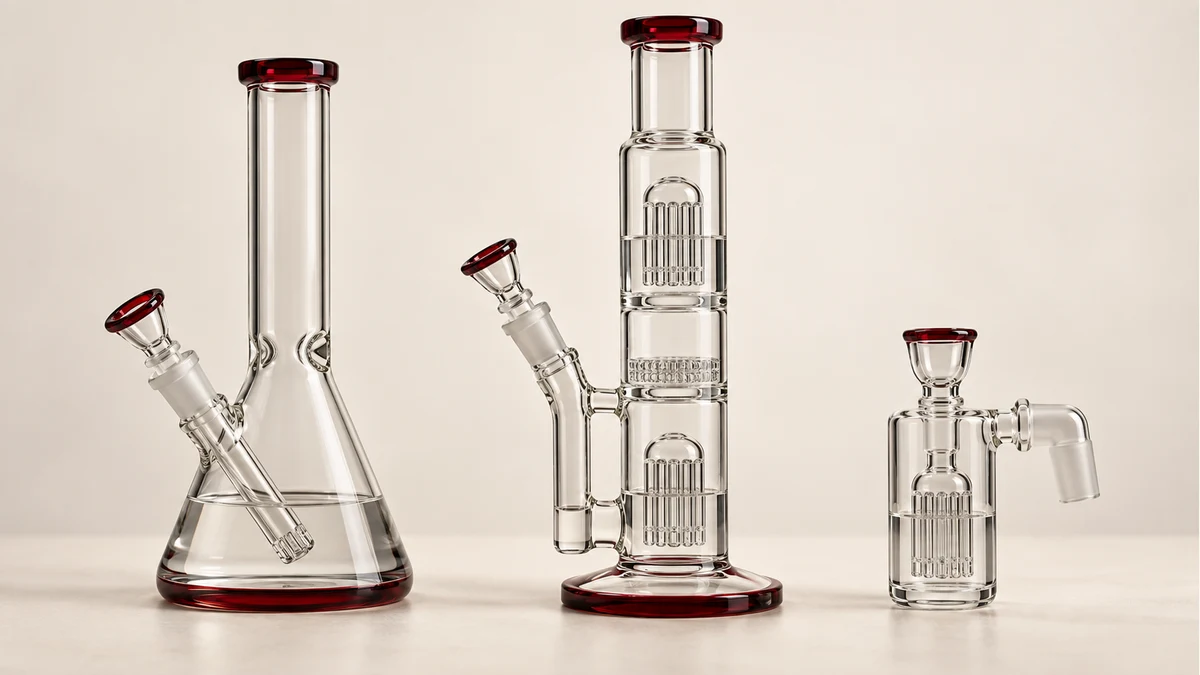
Percolators add a second — or third — diffusion stage above the main chamber, and each stage needs its own coverage check. A tree perc, honeycomb disc, or showerhead perc sitting inside a chamber has its own slits or holes that need to be submerged in that chamber’s water, independent of the main downstem below it.
This is where multi-chamber pieces get more involved. In a design with separate chambers connected by tubes, water in the first chamber needs to cover its diffuser without climbing so high that it backs up into the connecting tube toward the second chamber. Each chamber effectively gets its own version of the same rule: submerge the lowest opening, keep the connecting passage clear above it. Because there are more moving parts, the no-material draw test becomes even more useful here — you can actually watch bubbles move through each chamber in sequence and catch a chamber that’s over- or under-filled before it becomes a splashback problem.
For a closer look at how water levels are managed across separate chambers, the 3-chamber bong guide walks through how each stage connects to the next and what to watch for when one chamber’s level affects the ones around it.
🧊 6. Ash Catchers Add Their Own Waterline
An ash catcher sits between the bowl and the main joint, and it has its own small chamber with its own diffuser, which means it also needs its own water. Adding an ash catcher doesn’t just add a component — it adds an entire extra waterline to manage.
The same rule applies at this smaller scale: fill the ash catcher just enough to cover its lowest slits, and keep the space above that clear so air can pass into the main chamber without carrying water with it. Because ash catcher chambers tend to be small, a tiny amount of overpour has an outsized effect compared to the main chamber, so it’s worth checking this waterline separately every time rather than assuming a fixed amount will always work.
⚠️ 7. Signs of Too Little Water
An underfilled piece usually announces itself pretty quickly during the draw test. Watch for a thin, weak bubble stream that seems to come from only part of the diffuser rather than the whole opening. Draws can feel harsh or dry compared to what the same piece feels like properly filled, because air is bypassing the water instead of moving through it. In percolators specifically, an underfilled perc often produces a rattly or hollow sound rather than a smooth bubbling one, since air is slipping past exposed holes instead of pushing evenly through submerged ones.
🌊 8. Signs of Too Much Water
Overfilling tends to show up as resistance and mess rather than silence. A draw that suddenly feels much harder to pull, water that climbs visibly up the neck during the test, or splashing and gurgling that reaches toward the mouthpiece are all signs the level needs to come down. In stacked percolator setups, overfilling one chamber can also push water into the chamber above it through the connecting tube, which then throws off that chamber’s level too — another reason the draw test is worth running section by section in multi-chamber pieces.
📐 9. How Tilt Changes the Waterline
Water finds a level relative to gravity, not relative to the glass, so how you hold or set down a piece changes what “covered” actually means. A bong sitting perfectly upright on a flat surface shows its true waterline. Tilt that same piece even slightly while drawing — which happens naturally when people lean a piece toward themselves — and the water shifts, potentially exposing part of the diffuser on the high side of the tilt while creeping closer to the neck on the low side.
📝 10. Recording a Repeatable Fill Reference
Once you’ve dialed in a level that passes the draw test cleanly, it’s worth having a way to reproduce it without repeating the whole process from scratch every time. A simple option is marking the fill point relative to a fixed feature on the glass — where the water surface sits against a percolator disc, a joint, or a printed logo — since these features don’t move, unlike a ruler measurement that requires you to remember where you started measuring from.
The table below outlines a basic reference format you can adapt for your own piece, whether it has one chamber or several.
| Component | Reference Point to Mark | Check Method |
|---|---|---|
| Main chamber | Water surface relative to a fixed glass feature (joint base, logo, seam) | No-material draw test; even bubbling, no splashback |
| Percolator stage | Coverage of the lowest slit row on the perc arm or disc | Watch bubble stream through that stage specifically |
| Secondary chamber | Level relative to the connecting tube opening | Confirm no backup or bubbling into the connecting tube |
| Ash catcher | Coverage of its own diffuser slits | Test with ash catcher attached, separate from main chamber check |
Once you have that reference noted, refilling after a rinse becomes a matter of pouring to the mark and confirming with a quick draw test rather than starting the search over each time. If you ever swap components — a new downstem, a different ash catcher, a percolator with a different arm length — treat it as a new piece for this purpose and re-check the reference, since even small design differences shift where the lowest opening actually sits.
🧩 11. Putting It Together
The honest answer to how much to fill a bong is that the water follows the glass, not the other way around. Find the lowest active diffuser opening, cover it fully, keep the air path above it clear, and confirm the balance with a gentle no-material draw before loading anything. That same logic scales from a simple stemless piece to a beaker with a percolator, to a multi-chamber setup, to an ash catcher bolted on the front — only the number of waterlines you’re tracking changes, not the underlying rule.
If you’re working with a piece that has several connected sections, it also helps to understand how those sections come together mechanically, since that affects how water moves between them and how easy each waterline is to check and adjust. The bong that comes apart guide covers how modular, joint-connected designs separate for cleaning and reassembly, which is useful context when you’re trying to track down exactly where each chamber’s diffuser sits.
Once you’ve run the draw test a few times and marked your reference point, filling a bong stops being a guessing game and turns into a quick, repeatable step — no ounce chart required.