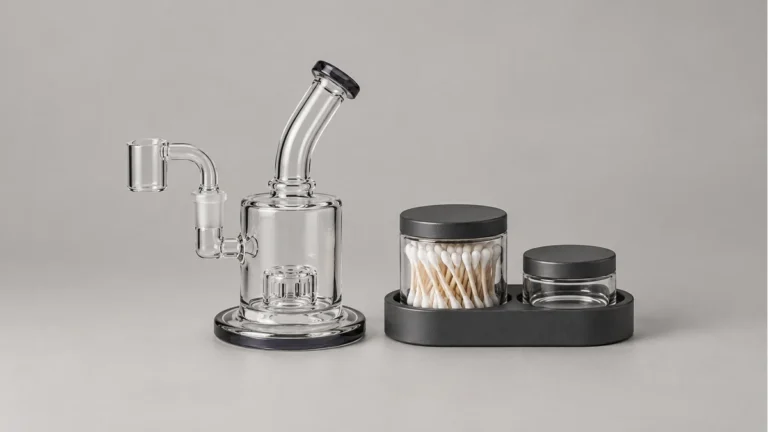
Search any bong forum for water advice and you’ll find the same pattern: someone posts a picture of their piece, asks “is this too much water,” and gets six different answers, each confidently contradicting the last. The confusion isn’t really about volume. Ounces and milliliters don’t translate across pieces because no two bongs move water the same way. The real variable is geometry — where the downstem ends, what kind of percolator sits in the chamber, and how much airspace is left above the waterline when you pull.
🧭 1. The Real Question Isn’t “How Much” — It’s “Where”
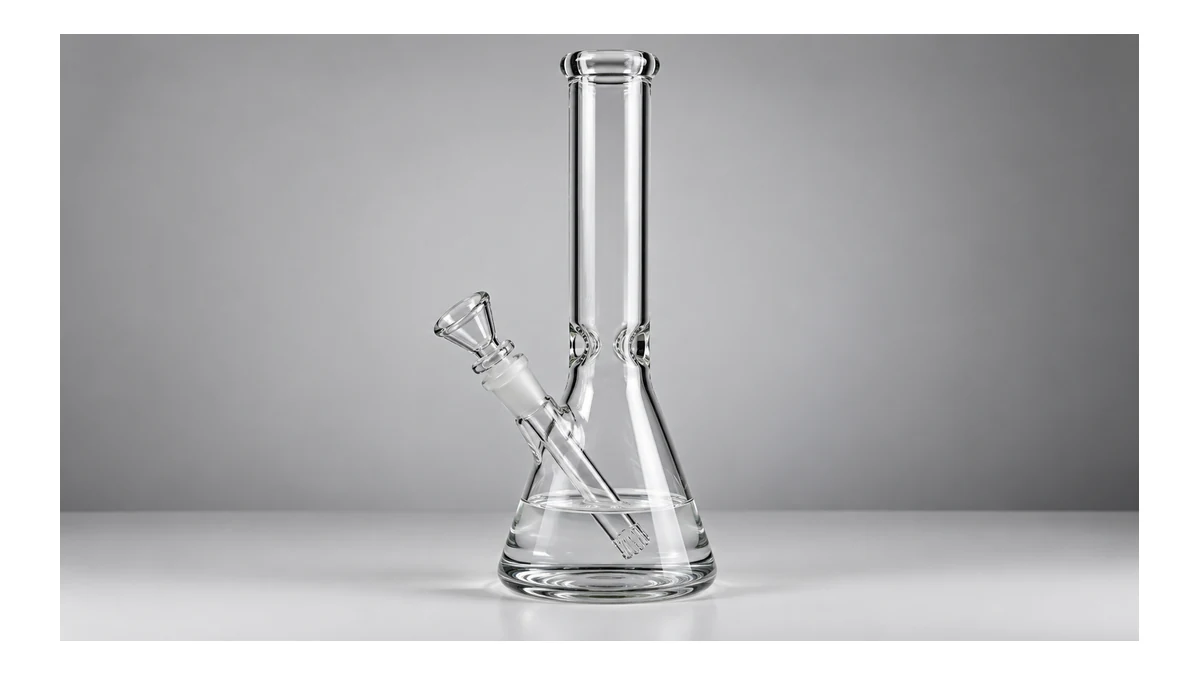
Water level only matters in relation to one fixed point: the bottom opening of the downstem, or the lowest slits of a percolator if the piece has one built in. Everything else — chamber width, joint angle, bowl size — is secondary. A rule like “fill it two inches” ignores that two inches submerges a short downstem completely and barely touches a long one.
The functional target is submersion, not depth. Water needs to cover the downstem’s open end (or the perc’s lowest slits) by a small margin, usually somewhere in the range of a quarter to half an inch past the opening. Go past that margin by a wide amount and you start fighting the piece instead of using it.
🔍 1.1. Why a Fixed Number Fails Across Pieces
Downstems vary in length by an inch or more between brands, and the same joint size can hold stems that sit at very different heights inside the chamber. A number that works on one 14mm joint may leave a shorter stem dry or a longer one drowning. Judging by the opening, not a ruler, is the only method that transfers between pieces.
🔍 2. Start With the Downstem, Not a Measuring Cup
For a standard bong with a single diffused downstem, the process is simple: pour water until the slits or holes at the bottom of the stem are just submerged, then check by looking at the piece from the side at eye level. The water line should sit slightly above the lowest openings — enough that no air bubble sits exposed when the piece is still.
🧩 2.1. Slitted vs. Showerhead Downstems
A basic slitted downstem has a few small cuts near the base; it needs the least water to submerge fully, since the openings sit close together. A showerhead downstem has a wider ring of holes around its circumference and generally needs a touch more water to cover the full ring evenly. If only the front-facing holes are submerged while the back ones sit dry, airflow becomes lopsided and part of the diffusion is lost.
🧩 3. Percolators Change the Math
Once a percolator enters the chamber, the downstem is no longer the only thing that needs covering. Each percolator has its own slits, holes, or teeth, and those need their own margin of submersion — independent of how the downstem is filled.
🌬️ 3.1. Tree, Honeycomb, and Matrix Percs
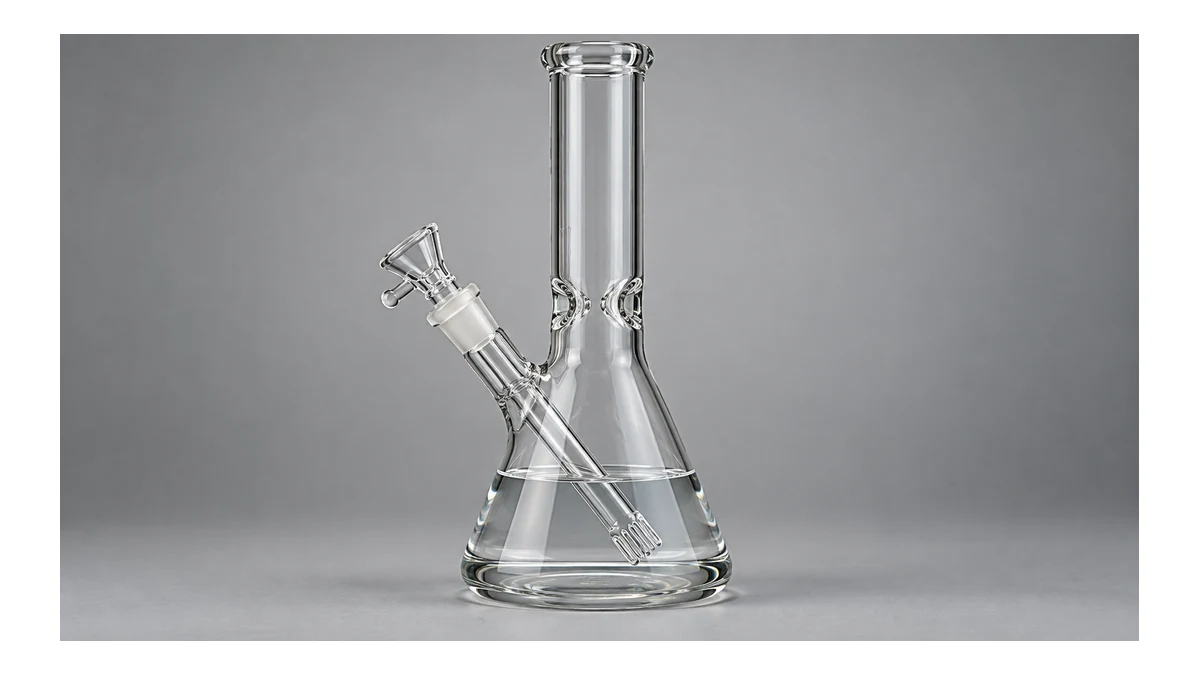
Tree percolators and honeycomb discs sit in a fixed pool of water below the perc plate. Because that pool is enclosed, it’s easy to overfill without realizing it — the visible water above the perc looks modest, but the reservoir feeding it can be nearly full. Fill slowly and check the level through the perc’s slits directly rather than estimating from the outside of the glass.
⚙️ 3.2. Recyclers Are a Special Case
Recycler pieces move water through a closed loop between two chambers during use, so the “resting” water level looks different from the “active” level. Fill to the point where the lower chamber’s percolator is just covered while at rest; the recycling action will redistribute water into the second chamber once air starts moving through it. Overfilling a recycler is one of the more common mistakes, because the resting level looks low compared to a standard bong.
🌬️ 4. The Dry-Pull Test
The most reliable way to confirm a water level, on any piece, is a dry pull — drawing air through the empty piece (no bowl lit, nothing burning) and listening and watching for problems before actually using it. This test costs nothing and catches most level errors immediately.
- Weak or silent bubbling from a percolator usually means the water hasn’t reached its slits — add a small amount and retest.
- Water surging up the neck or splashing toward the mouthpiece signals too much water for the draw resistance of that piece — pour a little out.
- A gurgle that sounds “thin” or uneven often means water is covering some perc slits but not others, usually from the piece sitting on an uneven surface during fill.
Because a dry pull uses only air, it’s a safe way to calibrate a new piece or check it after cleaning, before water level becomes a guessing game mid-session.
⚙️ 5. Splashback: What Too Much Water Looks Like
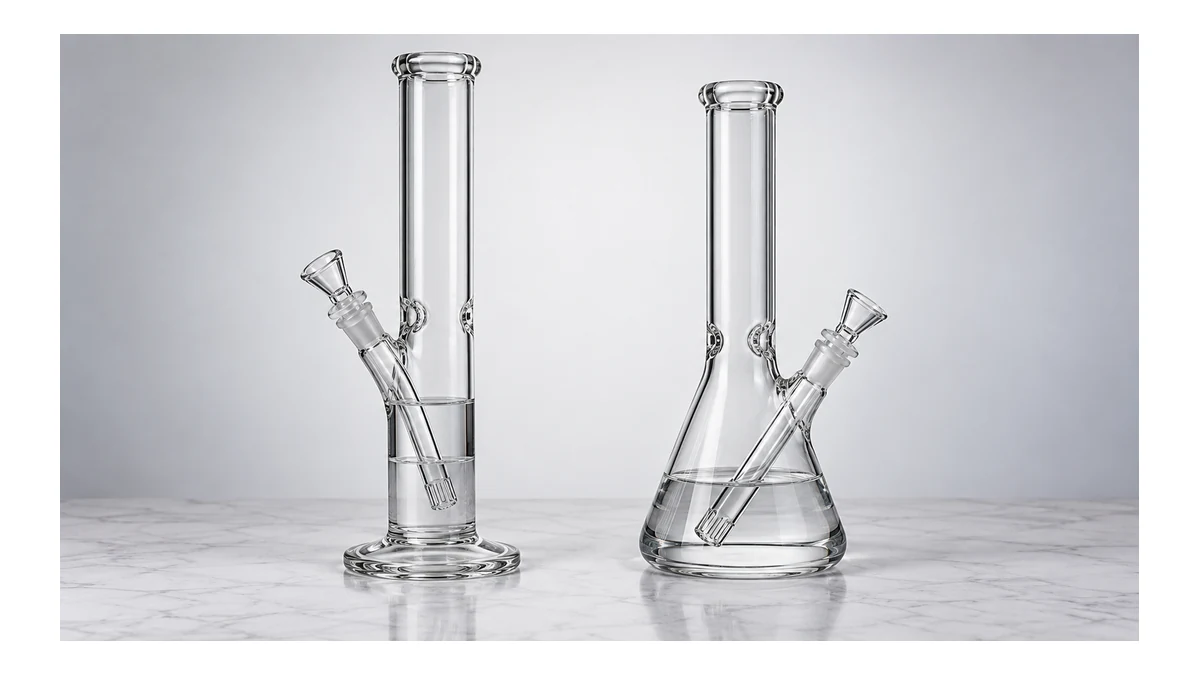
Splashback is water reaching the mouthpiece during a pull, and it’s the clearest sign of overfilling. It happens because a deeper reservoir needs a stronger pull to move the same volume of air, and that added force can carry water droplets up through the neck faster than gravity pulls them back down.
Chamber shape affects how much margin exists before splashback starts. A wide beaker base gives water more surface area to spread across, which dampens turbulence compared to a narrow straight tube, where the same volume of water sits in a tighter column and reacts more violently to a hard pull.
🧼 5.1. Ice Catchers Add a Variable
Pieces with ice catchers — the small pinched notches above the chamber — narrow the neck at that point. If water is already borderline high, that narrowing gives splashing water less room to settle before reaching the mouth, so pieces with ice catchers generally reward a slightly more conservative fill than the same piece without one.
🧼 6. Drag: What Too Little (or Too Much) Feels Like
Drag is the resistance felt when pulling air through the piece. Both underfilling and overfilling affect it, but in different ways, which is why “just add more water if it feels off” isn’t reliable advice on its own.
| Symptom | Likely Cause | Adjustment |
|---|---|---|
| Very easy pull, weak bubbling | Water below the downstem or perc openings | Add water gradually until openings are just covered |
| Heavy pull, water visibly surging | Too much water raising resistance | Pour out a small amount, retest with a dry pull |
| Uneven or sputtering bubbling | Perc partially submerged, piece not level | Check the piece on a flat surface before judging the level |
| Consistent heavy pull despite low-looking water | Dense percolator design (matrix, multi-chamber) | Compare to manufacturer fill guidance for that specific perc |
Multi-percolator pieces compound drag naturally, since air has to pass through several sets of slits in sequence. On those pieces, “correct” water level is partly a matter of personal preference for resistance, within the range that keeps every perc submerged without triggering splashback.
📏 7. Chamber Geometry Matters as Much as Volume
Two bongs holding the same volume of water can behave completely differently once air moves through them, because the shape of the chamber changes how that water reacts.
🧪 7.1. Straight Tubes vs. Beakers
A straight tube keeps a narrow, consistent diameter from base to mouthpiece, so water sits as a tall, narrow column. That column reacts quickly to changes in draw pressure, which means straight tubes tend to need more careful, incremental filling — small additions matter more.
A beaker base spreads the same water across a wider footprint, creating a shorter, more stable column. Beakers generally tolerate a slightly wider margin of “close enough” water levels before drag or splashback becomes noticeable, which is part of why they’re common in beginner-oriented and everyday pieces.
🔄 7.2. Joint Angle and Downstem Fit
A 90-degree joint holds the downstem essentially vertical, so the stem’s length is a direct predictor of fill depth. A 45-degree joint angles the stem, which changes how much of its length is actually submerged for a given water level — the same stem sits shallower in the water at an angle than it would straight down. When swapping downstems between pieces with different joint angles, re-check the fill level rather than assuming the old level still applies.
🧪 8. Water Changes and Level Drift
Water level doesn’t stay constant through repeated use. Evaporation lowers it gradually, and residue buildup along the glass can make the level look different than it actually is at the downstem opening. A quick visual check before each fill — rather than assuming yesterday’s level still holds — avoids drifting into underfilled territory over several days.
Refer to a percolator identification guide if you’re not sure which type of perc your piece has, since the fill approach in section 3 depends on correctly identifying it. For downstem length and joint-angle compatibility when replacing a broken stem, a downstem sizing reference is more useful than guessing from the old piece.
🔄 9. A Quick Reference by Piece Type
| Piece Type | Fill Target | Watch For |
|---|---|---|
| Basic straight-tube, slitted downstem | Slits just covered | Overfilling narrow tubes causes fast splashback |
| Beaker, showerhead downstem | Full holed ring submerged | Uneven surface can leave back holes dry |
| Tree or honeycomb perc | Perc slits covered independently of downstem level | Hidden reservoir can be overfilled without looking full |
| Recycler | Lower chamber perc just covered at rest | Active water redistributes; don’t judge by resting level alone |
| Multi-chamber / matrix perc | Each stage’s slits covered | Drag compounds across stages; expect heavier pull |
✅ 10. Practical Takeaway: Learn to Read Your Piece
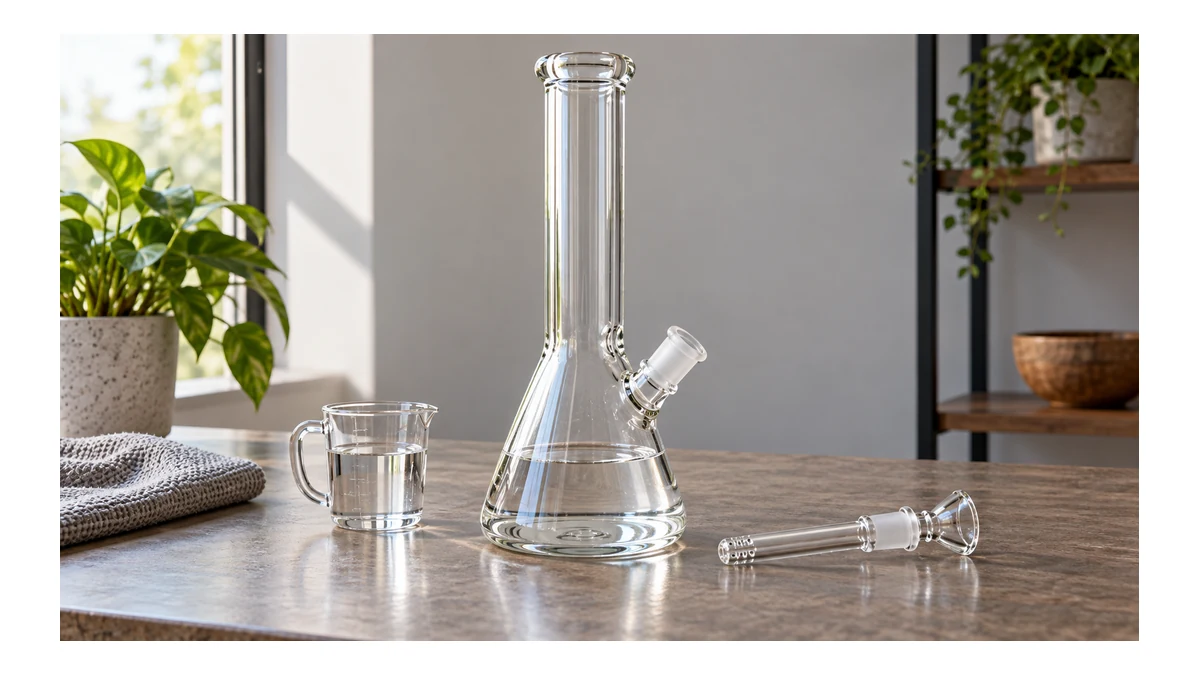
There’s no universal ounce count that works across bongs, because the number was never the actual variable — submersion of the downstem and percolator openings is. The fastest way to get a new piece right is a dry pull before first use, a slow incremental fill while watching the slits directly, and a willingness to pour a little out if splashback shows up on the first real draw.
Once a piece is dialed in, it’s worth noting the fill line on the glass itself, or simply remembering how many pours from a specific container reached the right level. That piece-specific reference will be more accurate on refill day than any general rule, including this one. For cleaning routines that can affect perceived water level through residue buildup, see a glass cleaning and maintenance guide.
🧱 11. 🧪 Water-Level Testing Works Better Than Guessing
A photograph can suggest a starting point, but it cannot show the pressure drop through a specific downstem or percolator. Add water in small increments, then make a dry pull with no material and no heat. The useful level is the lowest one that keeps every intended diffusion opening submerged during a normal draw. That test isolates the glass and water from everything else.
Listen as well as look. A section that alternates between bubbling and sucking air is sitting close to the surface. A chamber that sends droplets toward the mouthpiece has too much water for its bore, angle, or draw strength. The correct level therefore belongs to the assembled piece, not to a universal measurement printed in inches.
🔌 11.1. 🔄 Recheck After Moving the Piece
Tilt, table angle, and removable ash catchers can move water away from some openings. Set the piece on the surface where it will actually stand, attach every water-bearing component, and repeat the dry pull. Marking an external reference line is useful only after that complete configuration has been tested.
Water temperature and dissolved residue can also change how a familiar level feels. Warm water moves differently from cold water, while film on a diffuser narrows openings and makes bubbling less even. If a previously reliable fill suddenly produces more drag or splash, inspect and clean the submerged parts before permanently changing the reference line. Recheck the level after cleaning, with the same downstem, ash catcher, and mouthpiece configuration used during the original dry-pull test.