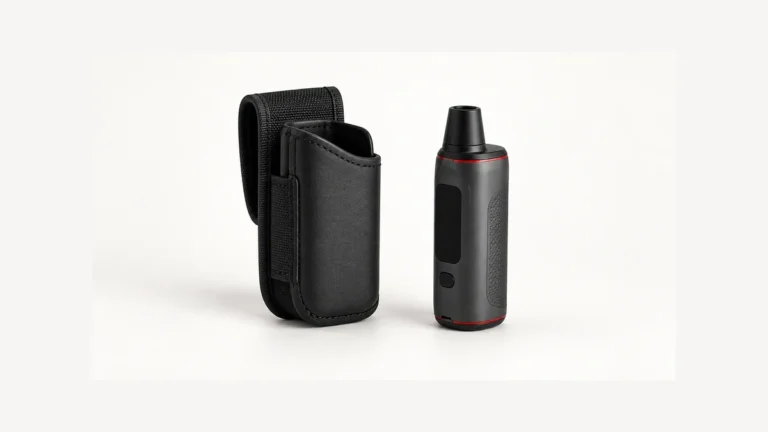
Cleaning a vape coil only works if the coil is built to be cleaned. A rebuildable atomizer with exposed wire and rewickable cotton can often be rinsed, dried, and put back into service. A sealed factory coil head—the kind that screws into most pod systems and starter tanks—has cotton packed inside a metal shell where water can’t reach the wick fibers or drain back out. Running that sealed head under a faucet usually traps moisture against the wire instead of removing residue, and it won’t undo burnt flavor once the cotton has scorched.
The practical question, then, isn’t “how do I clean a coil” in the abstract—it’s “does my coil design allow cleaning, and if so, how far will that cleaning actually take me?” This guide walks through identifying your coil type, the cautious steps for cleaning a serviceable build, drying and priming it correctly before firing, and the warning signs that mean a coil head needs to be replaced rather than rescued.
🧭 1. First identify what kind of coil you have
Before touching any liquid, cotton, or tool, look at how the coil is built. This single distinction determines almost everything else in this guide.
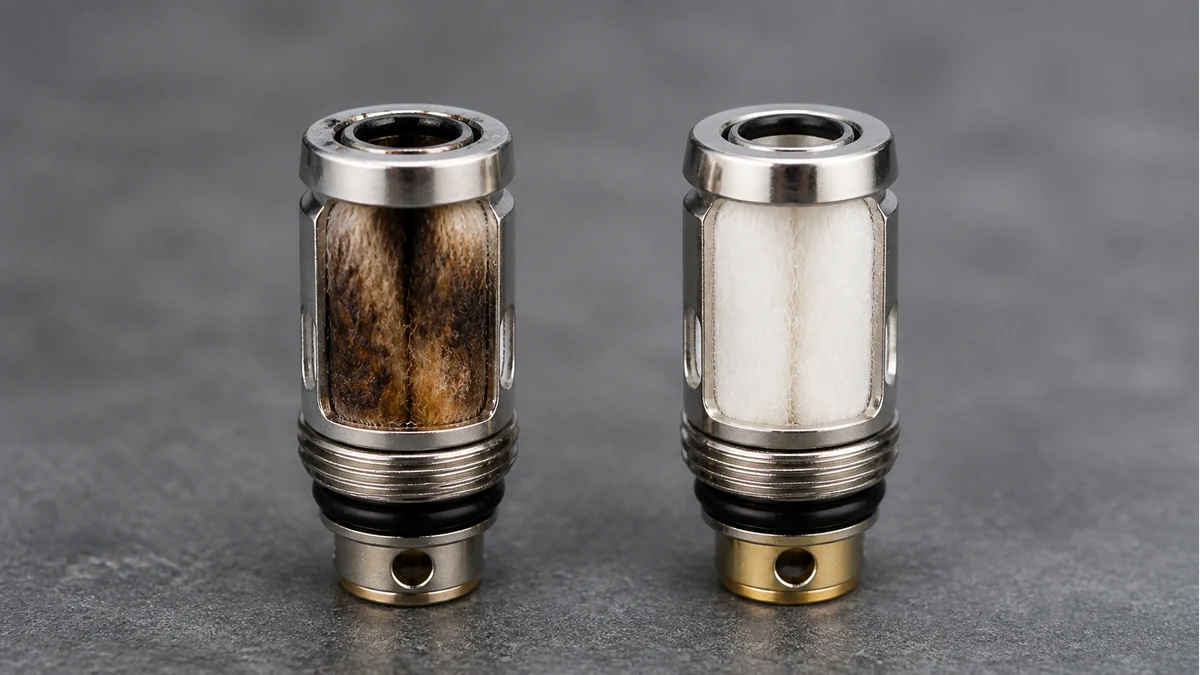
Sealed coil heads are the pre-built cylinders used in most pod systems, starter kits, and disposable-style tanks. The wire and wicking material sit inside a closed metal or plastic housing with small juice-intake holes on the side and airflow channels running through the center. You cannot see or access the cotton without breaking the housing apart, and the manufacturer never intended for these to be opened.
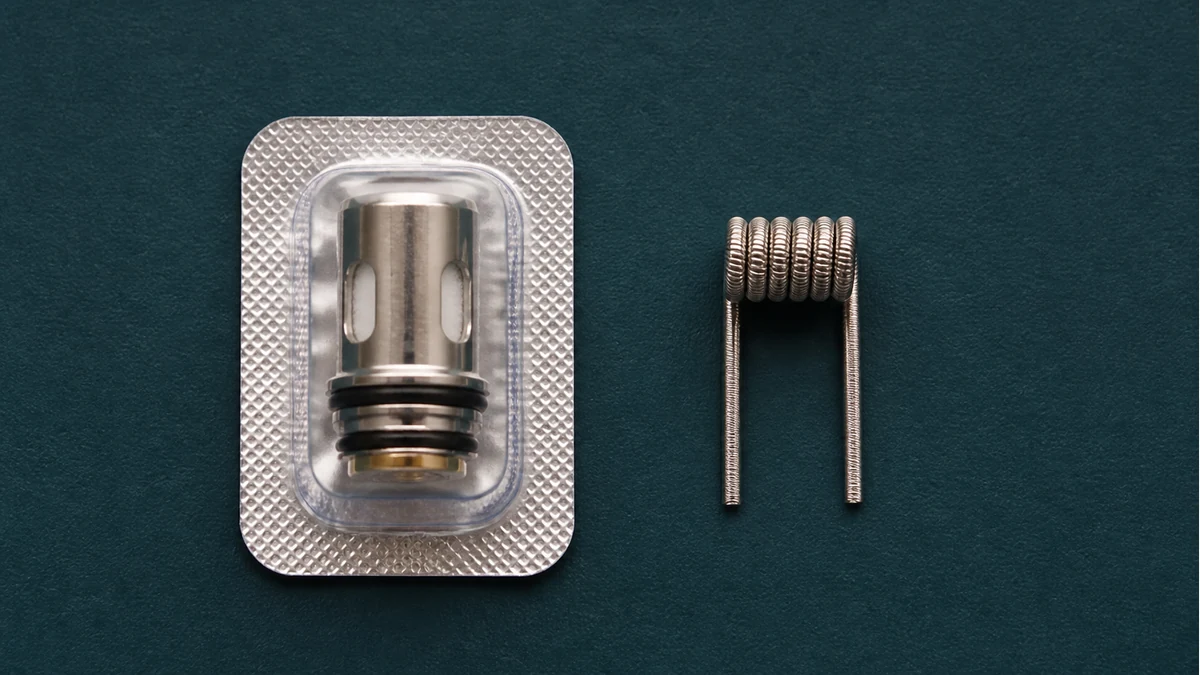
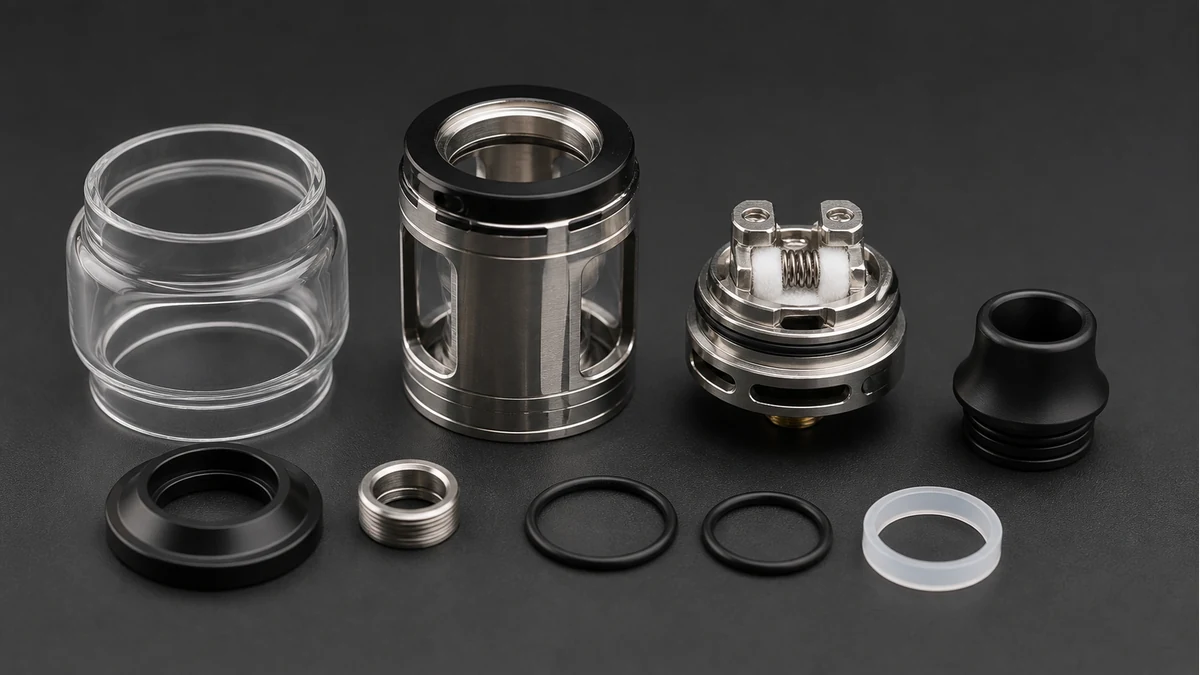
Rebuildable atomizers—often abbreviated RBA, RTA, or RDA—expose the coil wire on posts or terminals that you can see and touch, with cotton wicking that you install and trim yourself. Because you built the wick, you can also remove it, and the bare wire underneath can be cleaned and reused many times before it needs to be replaced or rebuilt.
If you’re not sure which one you have, check the atomizer or coil manufacturer’s packaging or instructions. When a device uses interchangeable coil heads that you buy in multipacks and discard, treat it as sealed. When you built the coil yourself from wire and cotton, or your tank explicitly advertises rebuildable decks, treat it as serviceable. For a broader look at how these designs compare on lifespan and maintenance, see this comparison of coil types used across common vape setups.
🧩 2. Why sealed coil heads are rarely restored by washing
Sealed coil heads fail for reasons that soaking or rinsing generally can’t reach. The wicking material is compressed into channels alongside the wire, and once it absorbs burnt residue, discoloration, or a stale off-flavor, that material has already changed. Water or alcohol poured over the outside of the housing mostly runs across the metal shell and the intake holes; it doesn’t flush deep into the packed cotton fibers where the actual problem lives.
There’s also the matter of what gets left behind. Any liquid that does enter the housing through the juice ports has to evaporate or drain back out through those same narrow openings. If it doesn’t fully clear, it sits against the wire and cotton, which can lead to a muted or wet-sounding hit and, in some cases, encourages the buildup you were trying to remove in the first place. A sealed head that looks clean on the outside can still be compromised on the inside.
This is why most atomizer manufacturers frame sealed coil heads as a consumable part rather than a maintenance item—review the coil manufacturer’s instructions for your specific device, since replacement intervals and handling guidance vary by product. If you’re trying to decide whether frequent coil head replacement is a coil problem or a habits problem, this breakdown of what actually shortens or extends coil head lifespan covers the variables worth checking first.
🛠️ 3. Clean a serviceable rebuildable coil cautiously
If your atomizer is rebuildable, cleaning the bare wire is a reasonable and commonly practiced step—but it still has to be done carefully, and only to the wire itself, never to a powered device.
Start by removing power entirely. Take the atomizer off the battery or mod, and if the wicking cotton is saturated, discolored, or has any burnt smell, pull it out and discard it rather than trying to reuse it. Reused cotton that has already absorbed burnt flavor will carry that flavor into fresh liquid.
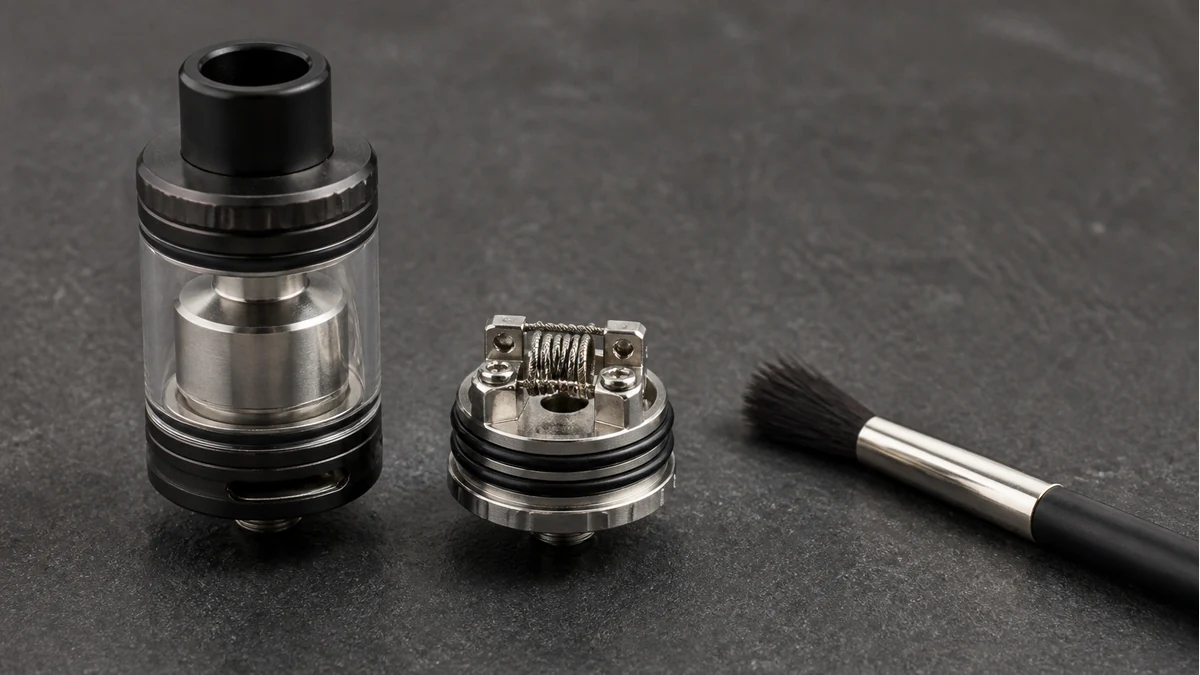
With the cotton removed, you’re left with bare wire on the coil posts. Many rebuilders rinse this wire under running water to loosen buildup, then dry-fire it briefly at a low, controlled wattage—outside the tank and away from any liquid or cotton—until it glows evenly and any remaining residue burns off cleanly. Follow your device manufacturer’s guidance on safe dry-firing wattage for your specific wire gauge and coil configuration, since this varies by build. Never fire a coil while it’s wet, while liquid is present in the tank, or while new cotton is packed against it—doing so risks a scorched wick, a damaged coil, or liquid being forced somewhere it shouldn’t go.
Some rebuilders also use a soft brush or a specialized cleaning tool to knock loose crust off the wire before rinsing. If you’re assembling supplies for this kind of maintenance routine, a general rundown of the basic tools people use for vape upkeep is in this cleaning kit guide. Whatever tools you use, avoid anything abrasive enough to nick or thin the wire, since a damaged coil can develop hot spots or fail sooner than one that was left alone.
🌡️ 4. Dry every component before power returns
Drying is the step people rush, and it’s the one most likely to undo the cleaning you just did. Any part that touched water—the coil wire, the tank sections, the base, o-rings, and airflow channels—needs to be completely dry before anything goes back together or near a battery.
Shake excess water out of the tank sections and stand the parts on a clean, dry surface or towel. Let them air-dry fully; don’t rush this by wiping the coil wire with anything that could leave fibers or residue behind. Pay particular attention to o-rings and seals, since trapped water there can slowly work its way back into the tank once it’s reassembled and filled.
If you dry-fired the wire as part of cleaning it, let it cool completely before rewicking. Installing fresh cotton against a hot coil, or against one that still has moisture trapped in the build deck, is a common way to end up right back at a burnt or muted-tasting hit shortly after doing all this work. Take the extra few minutes here—it’s the difference between a coil that performs like new and one that immediately disappoints.
💨 5. Prime and restart at the correct setting
Once the coil is dry and reassembled, priming does the final work of getting it ready to fire. For a rebuildable atomizer, this means saturating the fresh cotton with liquid and letting it sit for a few minutes so the wick fully absorbs before you take a draw. Firing dry cotton, even briefly, can scorch it immediately and waste the rebuild you just did.
Start at a lower wattage than you’d normally use and work upward gradually while tasting for any off-notes. This lets you catch a wicking problem—a channel that isn’t saturating evenly, for instance—before it produces a burnt taste, rather than after. Refer to your coil manufacturer’s recommended wattage range for the wire gauge and resistance of your build, since firing above that range is a common cause of premature burnout.
If you’re working with a sealed coil head instead—say, you’ve decided the old one is being replaced rather than cleaned—the same priming logic applies to the new one: let it sit and saturate before the first draw, and start at the lower end of the device’s recommended wattage. A new coil that’s fired hard before it’s properly wicked can taste burnt from the very first hit, which sometimes gets mistaken for a defective unit when the real issue is priming.
🧼 6. Burnt cotton and damage are replacement signals
Some problems are cleaning problems, and some are replacement problems. Knowing the difference saves you from repeating a cleaning routine that was never going to fix the underlying issue.
Burnt cotton is the clearest signal. Once cotton has scorched, it releases a harsh, acrid taste that doesn’t wash out—the fibers themselves have changed, and no amount of rinsing restores them. If you smell or taste burning, the wick needs to be replaced (on a rebuildable) or the coil head needs to be swapped (on a sealed system), not cleaned.
Corrosion on the wire or contacts is another stop sign. Discoloration that looks like rust, pitting, or a dull crusted texture on metal contacts suggests the coil’s wire or connection points have degraded, and continuing to use it risks inconsistent performance or damage to the device it’s connected to. Similarly, check the coil head’s o-rings and seals for cracking, stretching, or visible damage—a compromised seal can let liquid leak past the wicking material entirely, which no cleaning step will fix since the seal itself is the failure point.
Persistent off-flavor that returns quickly after a clean, rewick, or fresh coil head is also worth paying attention to. If a newly wicked coil or a brand-new coil head tastes off within the first day or two, the coil itself may not be the source—but if cleaning and replacing components hasn’t resolved a recurring burnt or stale taste, that’s a signal to step back and reassess the coil, the wicking material, or the build rather than repeating the same fix.
⚖️ 7. Prevent the buildup that caused the problem
Cleaning and replacing coils is easier to avoid than to perform, and most of the buildup that leads to either one traces back to a handful of habits.
Letting a tank run low or dry is one of the most common causes. When liquid drops below the level of the wicking ports, the cotton draws air instead of liquid, and the next few draws can scorch a dry patch of wick even if the rest of the coil is fine. Refilling before the tank runs low—rather than after it starts tasting dry—gives the wick time to stay saturated.
Higher-viscosity liquids, particularly those with more sweetener or thicker base ratios, tend to leave more residue on the wire and cotton over time than thinner formulations. This doesn’t mean thicker liquids are unusable, but it does mean coils used with them may need attention or replacement on a shorter interval than coils used with thinner liquids—something worth factoring in if you’re comparing coil lifespan across different setups, as covered in the coil longevity guide linked earlier.
Finally, storing a device properly between uses matters more than most people expect. Leaving a filled tank sitting unused for long stretches, storing it on its side where liquid can pool against one section of wick, or exposing it to significant temperature swings can all accelerate the kind of degradation that eventually shows up as burnt flavor or corrosion. Following the atomizer manufacturer’s storage guidance for your specific device is a simple habit that reduces how often you’ll need to clean or replace a coil in the first place.
📚 8. Sources and Reader Questions Reviewed
Reddit discussions informed reader questions and failure scenarios only; they were not used as proof of technical, health, safety, or legal claims. Technical statements follow manufacturer-specific instructions where applicable.