Using a dab rig for the first time comes down to five moves in order: heat the banger, let it rest to a documented working range, place a small dab with the tool, control airflow with the carb cap, and inhale slowly through the mouthpiece. The confusion beginners run into isn’t really about technique — it’s that nobody walks through the full sequence from cold glass to cleanup in one pass. This guide does that, without pretending a single heat time or water level applies to every banger, torch, or carb cap on the market.
If you’ve been dabbing with a portable pen or an electronic rig and you’re picking up traditional glass for the first time, expect the workflow to feel less automated and more hands-on. There’s no digital readout telling you the exact moment to inhale. You’re reading glass color, listening for a faint sizzle, and timing a cooldown by feel. That’s not a flaw in the format — it’s just a different set of skills, and this walkthrough is built to get you through your first session without wasting material or guessing at every step.
🧭 1. Know the rig, banger, cap, tool, and heat source
Before you touch a torch, it helps to know what each piece of a traditional setup actually does, since the terminology is where most beginners get stuck. The rig itself is the water pipe — usually a recycler or straight-tube design — that filters and cools vapor as it passes through water on its way to your mouth. The banger is the quartz, ceramic, or titanium bucket that sits in the rig’s joint and holds the concentrate once it’s heated. A carb cap is a separate piece of glass or titanium that sits over the banger’s opening to control airflow and trap heat, which matters more with quartz than with materials that hold temperature on their own. The dab tool is whatever you use to portion and place your concentrate — a metal or glass pick, usually — and the heat source is typically a butane torch, though some setups use an enail to regulate temperature electronically instead of a flame.
Each of these parts comes in enough variations that no single description covers every product. Banger styles alone range from flat-bottom to quartz bucket to thermal designs with double or triple walls, and each style changes how heat is retained and how long a cooldown period should reasonably run. If you’re shopping for your first setup or trying to figure out which pieces are compatible with each other, a breakdown like this dab rig kit guide covers how the components pair together before you commit to a specific rig and banger combination.
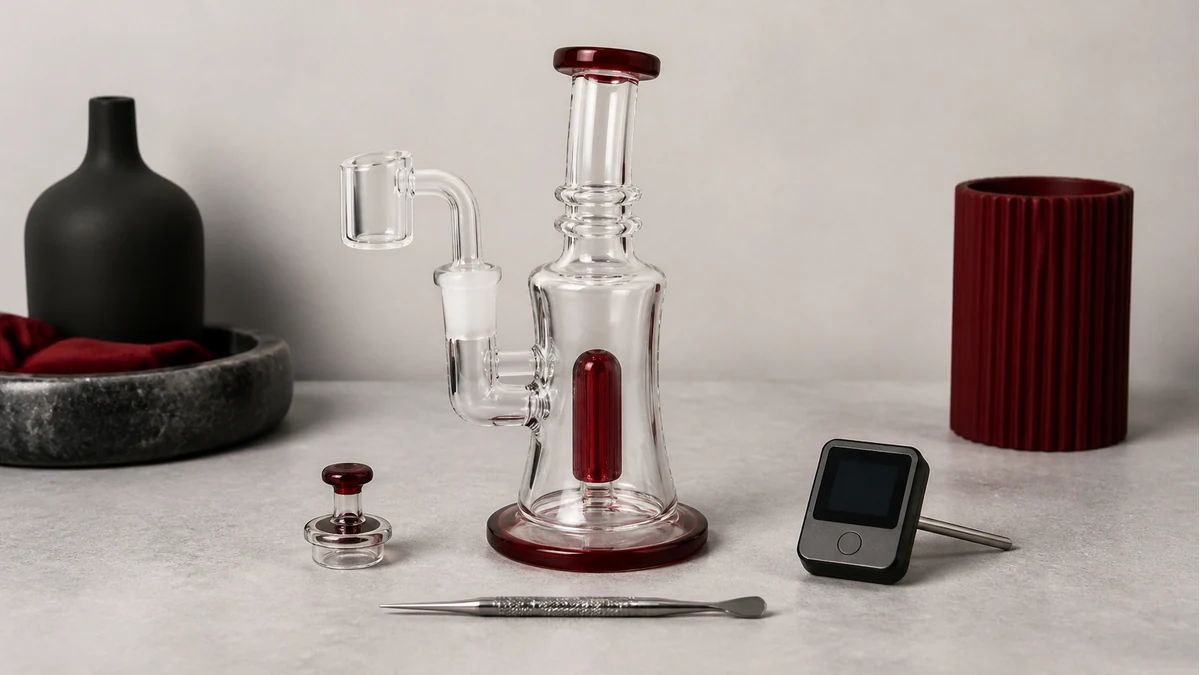
It’s also worth understanding early that a dab nail, a banger, and an enail aren’t interchangeable terms, even though people often use them loosely. A nail is typically a simpler, often domeless piece without the bucket shape of a banger, while an enail replaces the torch entirely with an electric heating element and a controller. If you’re deciding which format fits how you actually want to dab — flame-heated glass versus an electronic setup — this comparison of dab nails, bangers, and enails lays out the practical differences before you buy accessories that only work with one style.
🧩 2. Build a stable first-session setup
A dab rig loaded with hot quartz and a torch in the other hand is not the moment to discover your table wobbles. Set the rig on a flat, hard surface — not a couch cushion, not a rug — somewhere it can’t tip if you bump it while reaching for the carb cap. Recyclers in particular have an off-center weight distribution once water is added, so give the base more clearance than you think you need.
Water level is genuinely model-specific. Some rigs are designed to run with water just covering the percolator slits, others want a deeper fill to reach a marked line inside the chamber. Overfilling is the more common beginner mistake — it usually shows up as water splashing back through the joint during a hard inhale, which is unpleasant and can damage the piece if it gets into the wrong places. If your rig came with instructions or a fill line, follow those over any general rule you’ve read online, including this one.
Lay your tools out before you light anything: dab tool within reach, carb cap somewhere it won’t roll off the table, concentrate container open and accessible. Fumbling for a carb cap with a torch still running in one hand is how people get burned or drop expensive glass. A few seconds of setup before the flame comes out saves a lot of frustration once the banger is actually hot.
🛠️ 3. Choose a cold start or measured hot start
New dabbers generally land on one of two heating approaches, and neither is universally “correct” — they suit different materials, different bangers, and different preferences for flavor versus vapor density. A hot start means torching the banger to a high temperature, letting it rest through a cooldown period, then placing the concentrate once the glass has come back down to a workable range. A cold start means placing the concentrate into a banger that’s still at or near room temperature, then applying gentle, indirect heat until it begins to vaporize.
Hot start dabs tend to produce more visible vapor and can feel more familiar if you’re used to how a portable pen or e-rig delivers a dose quickly. The tradeoff is that judging the right moment to dab is entirely a matter of watching the glass and estimating a cooldown window, since color changes and elapsed time are the only feedback you get without a thermometer. Torch too little cooldown and you risk scorching the material instead of vaporizing it cleanly.
Cold starts are slower and more forgiving for a first attempt, since you’re applying heat gradually and can pull the torch away the moment things look active rather than committing to a single blast and a timed wait. Many beginners find cold starts easier to control precisely because there’s no cooldown period to misjudge — you’re heating in real time and watching the response.
If you want something closer to an objective read on banger surface temperature rather than judging by glass color and elapsed seconds, infrared thermometer tools exist specifically for this — the Dab Rite user guide is a useful reference for how one such device is meant to be used, and it’s a reasonable option if you’d rather remove some of the guesswork from your early sessions. That said, a dedicated reader is useful when repeatability matters, provided it is positioned and configured as its manual specifies, so treat it as optional rather than essential.
🌡️ 4. Load a small amount and control airflow
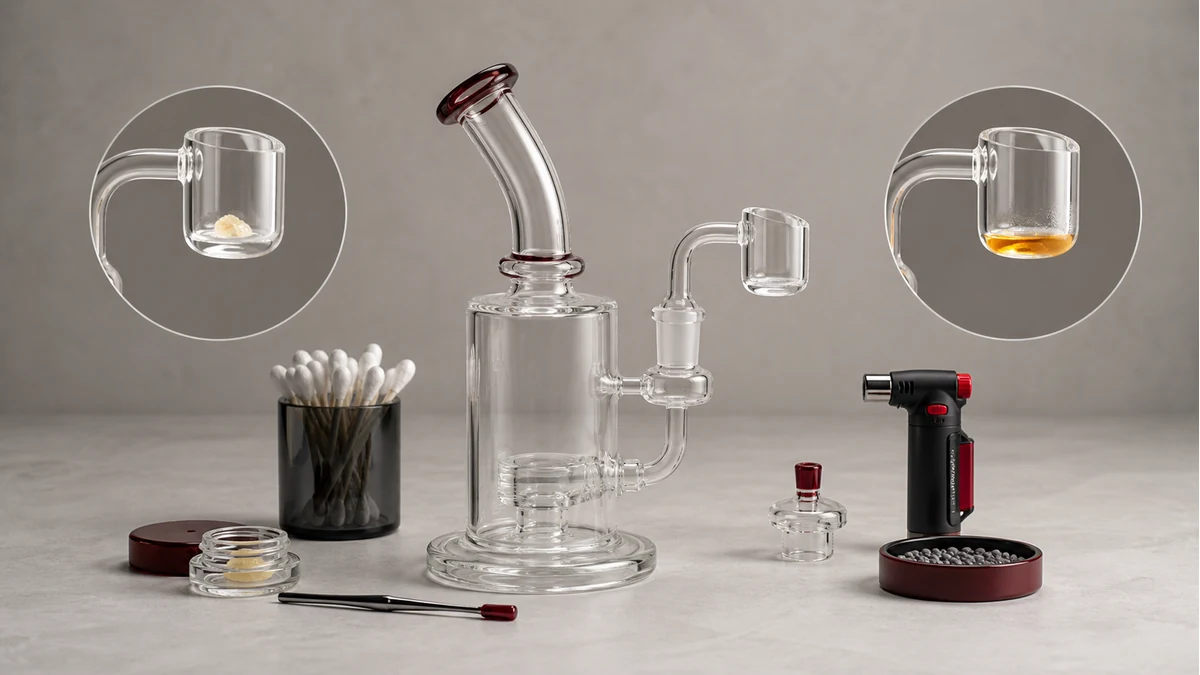
Use less concentrate than feels intuitive for your first few dabs. A piece roughly the size of a grain of rice is a common starting reference, not because larger amounts are unsafe, but because a small dab is far easier to vaporize fully and evenly, and it gives you a baseline to judge before you scale up. Overloading a banger on your first attempt is one of the more common ways beginners end up with a harsh, wasteful hit and a mess to clean up afterward.
Place the concentrate against the wall of the banger with your dab tool rather than dropping it straight into the center — this generally spreads heat exposure more evenly and reduces the chance of a sudden flare of vapor. Once the material is in, the carb cap becomes your airflow control. Most caps have some kind of opening, slot, or adjustable directional airway that lets you throttle how much air pulls through the banger as you inhale. Restricting airflow early in the draw tends to concentrate heat around the concentrate and pull more of it into vapor; opening the cap partway through often helps clear the chamber.
Exact carb cap mechanics vary enough between designs — spinning caps, directional caps, bubble caps — that there’s no single instruction that covers all of them. If your cap came with guidance from the manufacturer, that’s the more reliable source than a general description. What stays consistent across styles is the basic principle: less airflow early, more airflow to clear, and a slow, steady inhale rather than a fast pull that can drag in more heat and harshness than you want on a first attempt.
💨 5. Read the residue instead of chasing a universal timer
One of the more useful habits a new dabber can build early is looking at what’s left in the banger after a hit instead of relying purely on a stopwatch. A clean, fully vaporized dab typically leaves little to no visible residue — maybe a faint film. A banger that shows a dark, sticky, or scorched residue is usually a sign the glass was too hot when the concentrate went in, or that airflow was restricted for too long. Residue that looks like it barely changed at all can mean the opposite — the banger wasn’t hot enough to fully vaporize the material.
This kind of feedback is more reliable than any specific second count you’ll find online, because heat retention differs so much between banger thicknesses, materials, and even how long your torch ran and at what distance. A thick thermal banger holds heat differently than a thin flat-bottom piece, and a butane torch running low on fuel heats differently than a full one. Treat your first several dabs as calibration sessions where you’re learning how your specific banger behaves, not as attempts to hit some universal target.
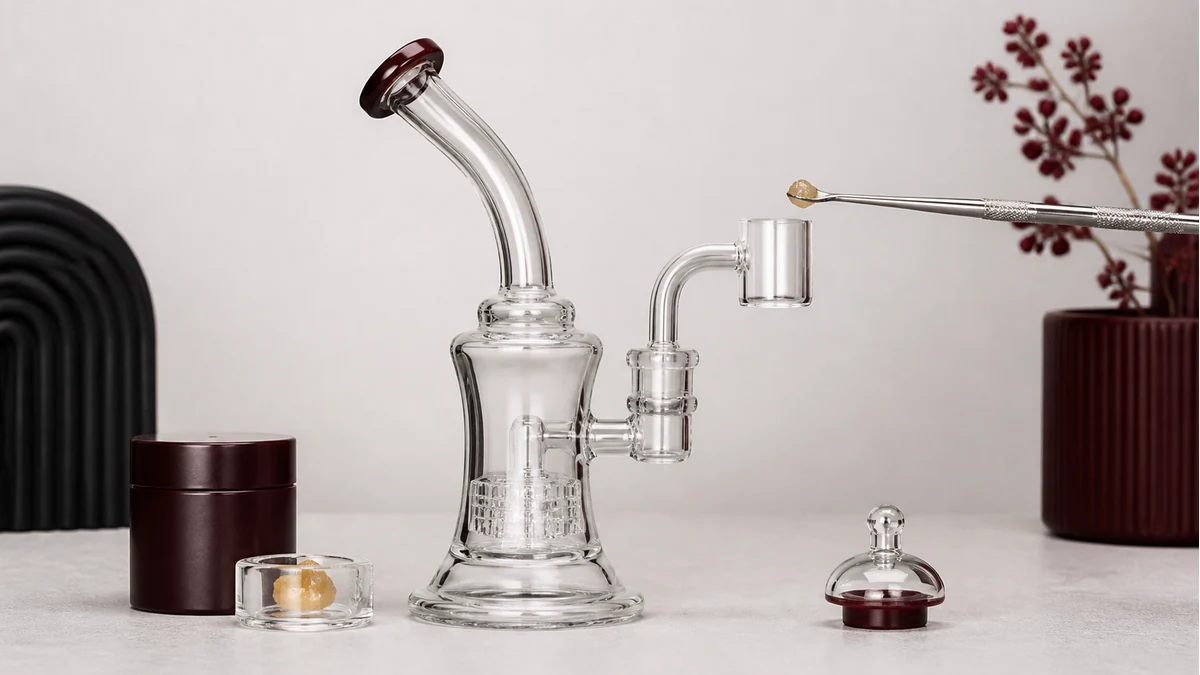
If you’re inconsistent from one dab to the next even when you think you’re repeating the same steps, it’s worth checking whether your tools themselves are the variable — a warped carb cap, a dab tool that’s transferring concentrate unevenly, or a torch with an inconsistent flame can all throw off results independent of your technique. A rundown of dab rig accessories covers what each supporting tool is actually for, which can help you figure out whether it’s your process or your gear that needs adjusting.
🧼 6. Clean and reset the rig
Cleaning immediately after a session is dramatically easier than cleaning after residue has sat and hardened, so this step works best done while the banger still has some warmth in it rather than left for later. A cotton swab can usually wipe out light residue from a still-warm banger without any solvent at all. For buildup that’s more stubborn, isopropyl alcohol is the common choice, but concentration, soak time, and whether the manufacturer recommends alcohol at all versus a different cleaning solution varies by quartz maker and banger material. Some quartz makers explicitly advise against certain solvents or extended soaks that can affect clarity or structural integrity over time, so checking the guidance that came with your specific banger — or the manufacturer’s published care instructions — is worth doing before you settle into a regular cleaning routine.
The rig itself needs separate attention from the banger. Water should be dumped and refreshed regularly rather than left to sit between sessions, since standing water accumulates residue and can affect both taste and hygiene over time. Deeper cleaning of the rig’s interior — the recycler chamber, the percolator, the joint — may involve a manufacturer-approved cleaner and gentle agitation, followed by thorough rinsing. How long that soak should run and how much salt to use again depends on the piece; a delicate recycler with narrow internal chambers generally needs a gentler approach than a simple straight tube.
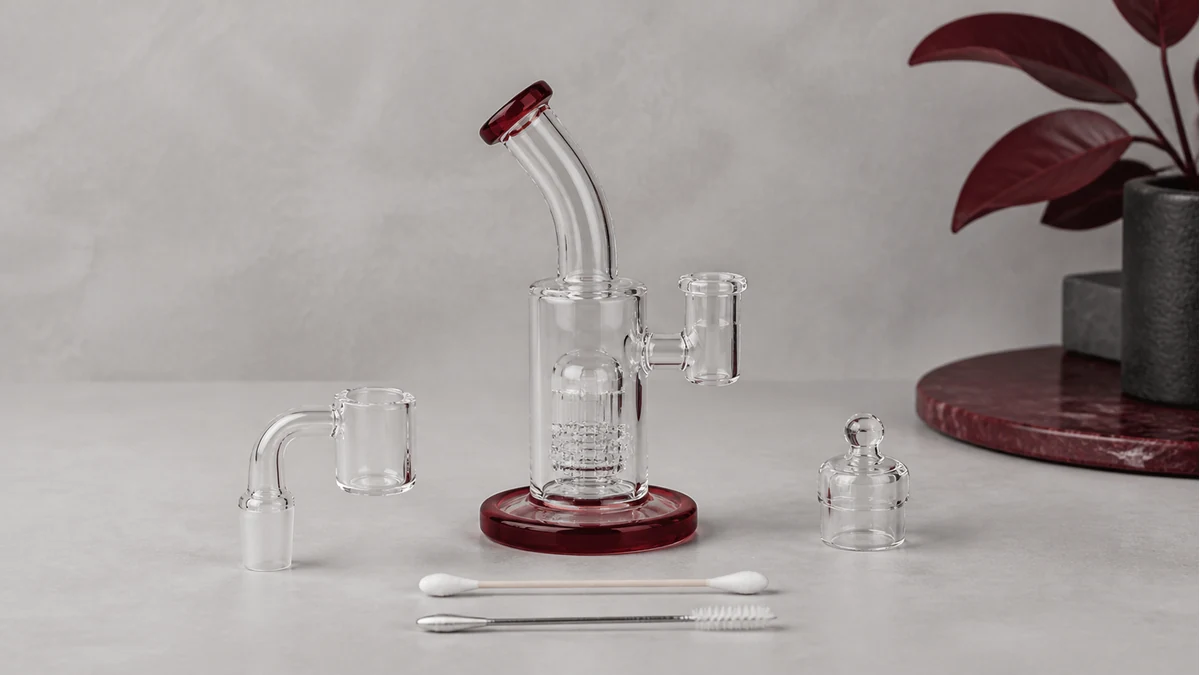
Carb caps and dab tools accumulate residue too, and it’s easy to forget them while focused on the banger and rig. A quick wipe or alcohol soak after each session keeps them from transferring old buildup into your next dab. Building this cleanup step into your routine from day one — rather than only cleaning once things look visibly dirty — keeps every part of the setup performing closer to how it did when it was new.
⚖️ 7. When an e-rig or nectar collector is the easier format
📚 8. Sources and Reader Questions Reviewed
Technical guidance was checked against the manufacturer material below where applicable. Reddit discussions were used only to identify reader questions and failure scenarios, not as proof of technical, health, safety, or legal claims.