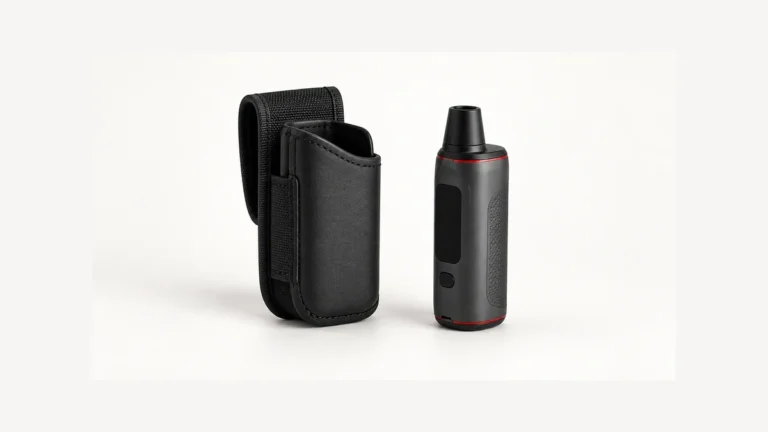
The first time you pick up a nectar collector, the sequence that actually matters is simple: check that every removable part is seated and secure, heat or activate the tip according to its manual, touch the tip lightly to a small amount of concentrate while drawing slowly, then let the tip cool before you set it down or touch it again. Most first-use problems — a scorched-tasting hit, a pool of wasted concentrate, or a dropped joint — trace back to skipping one of those steps rather than to the tool itself. This guide walks through that sequence in order, and separates handling principles that apply across most nectar collectors from instructions that are specific to your particular model.
🧭 1. What a nectar collector does
A nectar collector is a straw-style dab tool. Instead of loading concentrate into a bowl or onto a nail ahead of time, you heat or activate a narrow tip, touch that tip directly to a small amount of concentrate on a separate surface, and draw the vapor up through the body and out the mouthpiece in one motion. The design puts the heat source at the point of contact with the material, which is why grazing technique and heat control matter more here than they do with a bong or pipe.
Nectar collectors come in a few common configurations. Torch-heated versions use a glass, quartz, or titanium tip that’s warmed with a butane torch before each use. Electronic or battery-powered versions heat the tip with an internal coil instead, and are typically operated with a button rather than an open flame. Some collectors — sometimes called water nectar collectors — route the vapor through a water chamber before it reaches the mouthpiece, which changes how the piece is assembled and cleaned; if that’s the style you have, our water nectar collector guide covers the assembly and use differences in more detail. The core motion — heat the tip, graze the material, draw slowly — is shared across all of these, but the exact heating method and timing are not.
🧩 2. Identify and secure every part
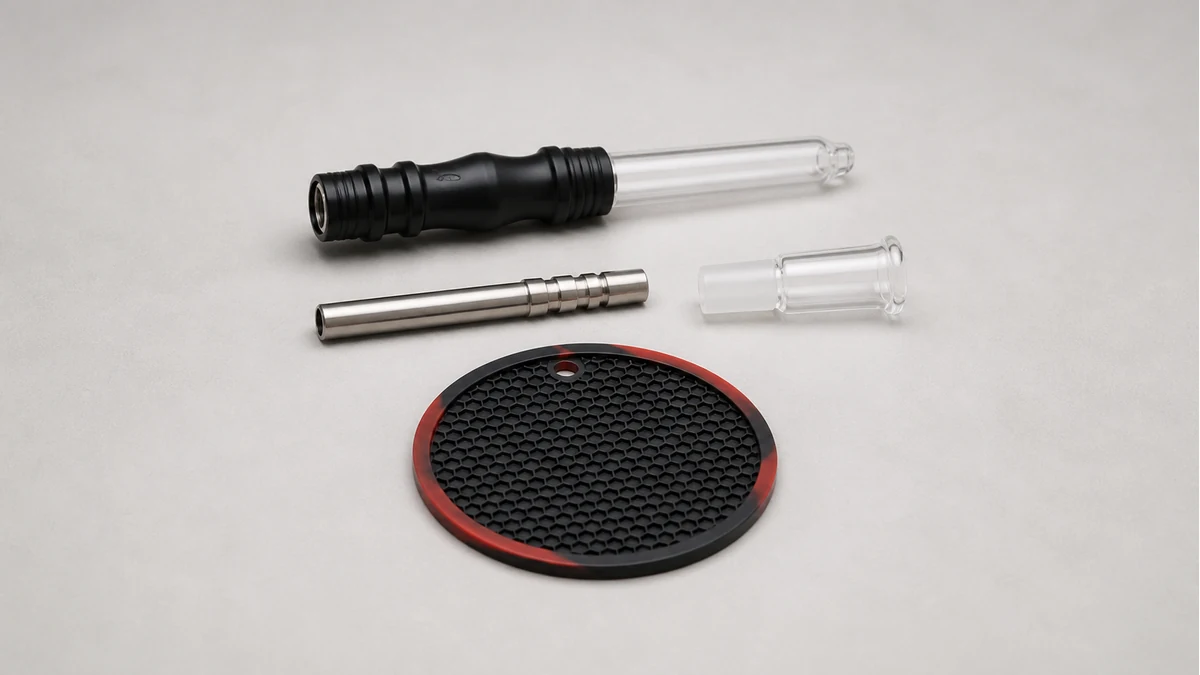
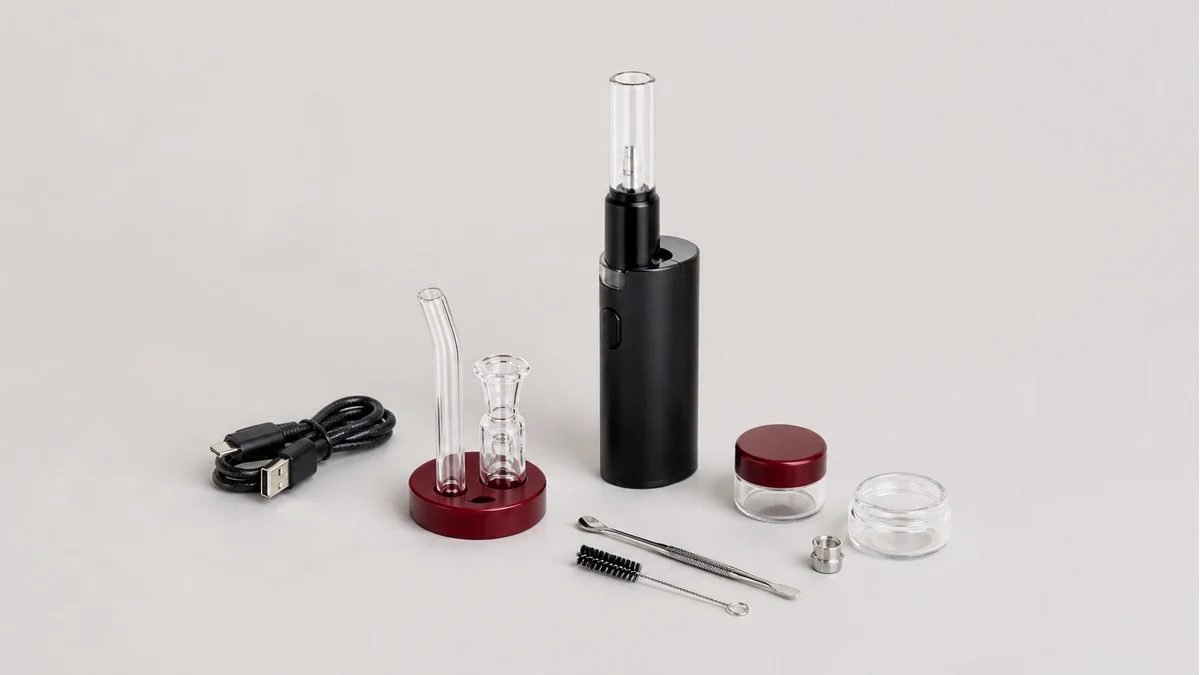
Before you heat anything, lay out the pieces and confirm what you’re working with. Most nectar collectors have at minimum a tip, a body or shaft, and a mouthpiece. Many also include a joint connection with a rubber grommet or O-ring where the tip meets the body, and electronic models add a battery or atomizer section. A full kit can also include a stand, a dab tool, extra tips, and cleaning supplies — if you want a breakdown of what’s typically included and how the pieces fit together, see our nectar collector kit guide.
Check every joint by hand before your first session. Push connections should seat snugly without wobbling, and any O-ring or grommet should sit flush rather than pinched or twisted. A loose tip is one of the most common causes of a dropped or spilled hit on a first try, since the tip is the part that gets warm and handled the most. If a joint feels loose or a grommet looks worn, that’s a fit issue worth addressing before you add heat, not after.
🛠️ 3. Prepare a small amount on a stable heat-safe surface
Place a small amount of concentrate on a nonstick surface such as a parchment paper square or a silicone dish, and set that surface somewhere flat and stable — a table or counter, not your lap or an unsteady tray. Starting with less material than you think you need is worth doing on a first attempt: it’s easier to go back for more than to deal with a larger amount that overheats or spreads before you’re ready to draw.
Keep your hands, the torch (if you’re using one), and the concentrate dish arranged so you can heat the tip, move to the material, and draw without repositioning anything mid-motion. Fumbling for the dish while the tip is hot is a common reason first-timers either miss the material or touch the tip somewhere they didn’t mean to.
🌡️ 4. Heat or activate the tip according to its manual
How you bring the tip up to temperature depends entirely on which type of nectar collector you have, and the exact heating time, distance, or button sequence for your specific model is something only its manual can tell you accurately. For torch-heated tips, that generally means applying flame to the tip for a period before pulling the torch away and letting the tip settle for a moment; for electronic tips, it usually means a specific number of button presses or a hold duration that varies by device. Because these details are model-specific, don’t rely on a general rule of thumb here — check the instructions that came with your collector, or the manufacturer’s page for that model, before your first use.
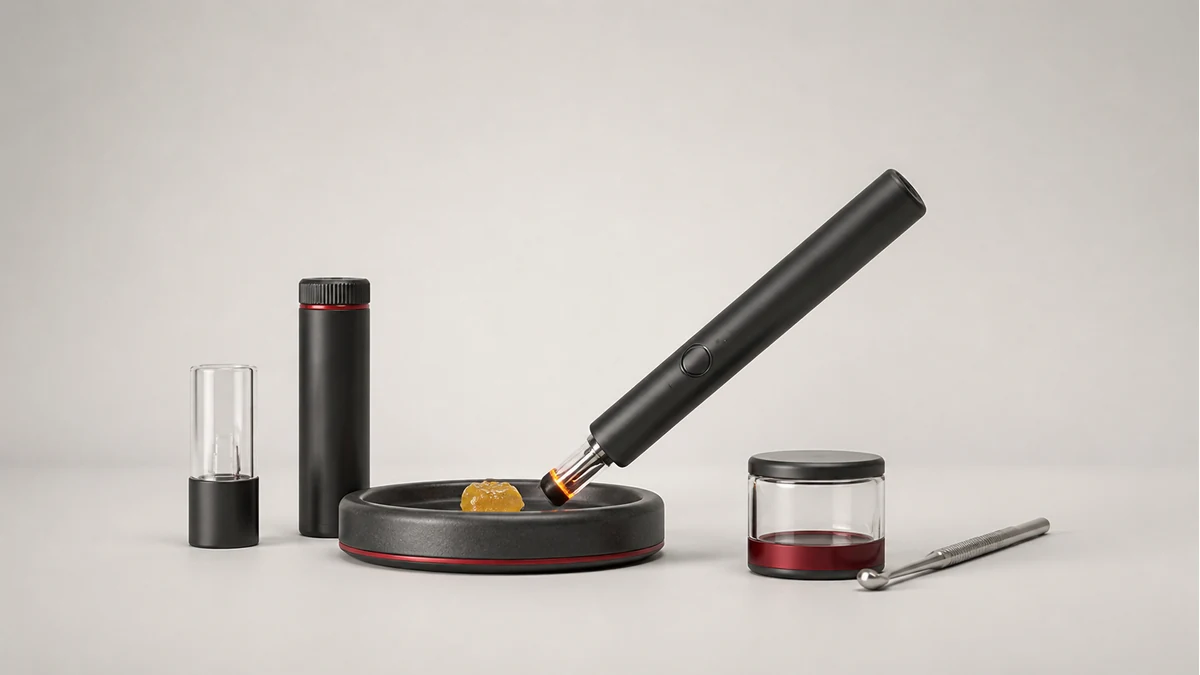
What is consistent across types is the goal: an evenly heated tip, not just a hot point at the very end. Uneven heating is a frequent cause of the “why does my hit taste burnt” problem beginners run into, since a tip that’s overheated in one spot can scorch material on contact even if the rest of the tip is at a reasonable temperature.
💨 5. Graze the surface and control the draw
Once the tip is ready, touch it lightly to the surface of the concentrate rather than pressing or plunging it in. Grazing — lightly skating the tip across the material so it vaporizes on contact — uses less material per pass and gives you more control than dipping the tip fully into the dish, which tends to pool concentrate around the tip and waste it. Draw at a slow, steady pace as you graze; drawing too fast can pull material past the point where it’s fully vaporizing, which both wastes concentrate and can make the hit taste harsher than it needs to.
If the tip has cooled too much to vaporize the material smoothly, it’s better to reheat briefly and try again than to keep pressing the cooled tip into the dish. Multiple light passes generally use material more efficiently than one long, hard press.
🧼 6. Cool, park, and clean the collector
After your last pass, the tip is still hot enough to burn skin or scorch a surface it shouldn’t touch. Let it cool on a heat-safe stand or mat before setting it down anywhere else, and before handling the tip directly or breaking down the piece for cleaning.
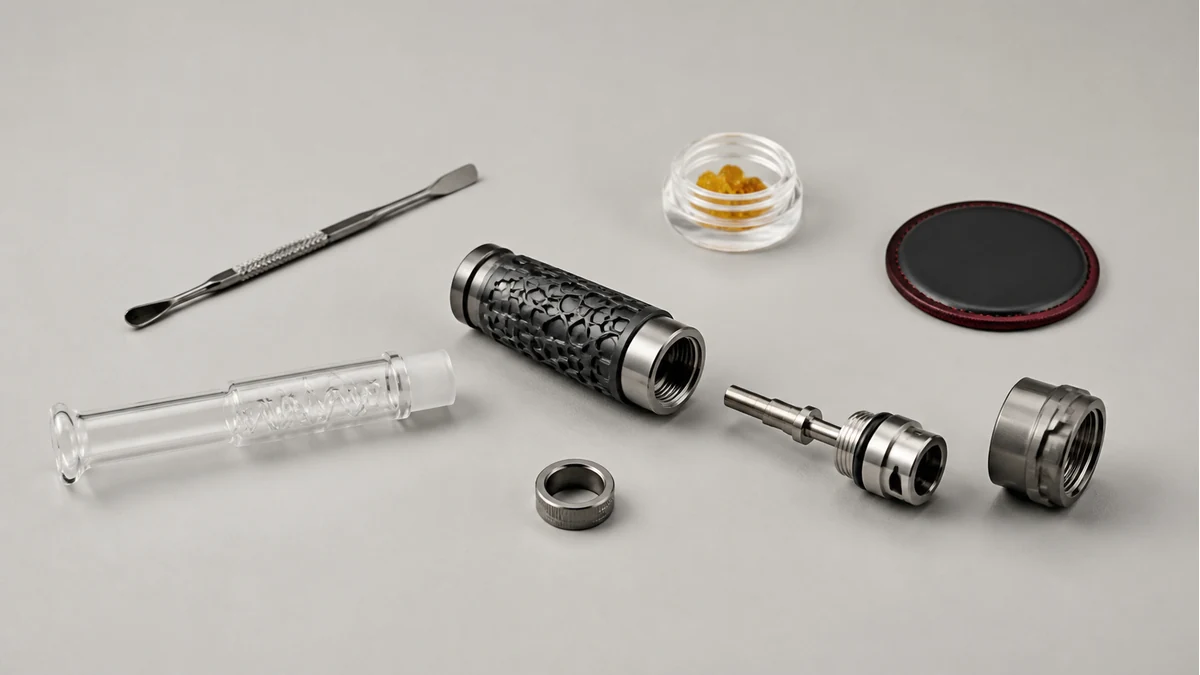
Cleaning routines vary by material and by model. Glass and quartz tips are commonly cleaned with isopropyl alcohol, but the concentration, soak time, and whether the piece should be fully submerged or just wiped down are details set by the manufacturer for that specific piece — check your manual rather than assuming a soak time that worked for a different tool. If your collector has silicone components, those often have their own cleaning and handling considerations; our silicone nectar collector guide covers that in more depth. Water nectar collectors add a water reservoir that needs to be emptied and refreshed on its own schedule, and electronic models have charging requirements and battery care instructions that are specific to that device — none of these are safe to guess at, so keep the manual on hand until the routine becomes familiar.
🧩 6.1 Build one repeatable motion before adding speed
Practice the path while every part is cool: lift the collector from its stand, bring the tip toward the dish, keep the mouthpiece level, and return the tool to the stand without crossing your free hand. This dry rehearsal sounds overly careful until you notice how many first-use questions are really coordination questions. The goal is not a theatrical routine. It is a short path in which the hot end never passes over a lap, cable, cloth, or open container.
The work surface matters just as much as the grip. A small heat-safe dish keeps the amount in one place, while a stable noncombustible resting point gives the tip somewhere obvious to cool. Avoid balancing a hot collector against the edge of a jar or laying it where the tip can roll toward another object. If a removable joint needs a clip or other retention part, use the part specified for that joint rather than holding it together with your fingers during the draw.
🧩 6.2 Use the result to adjust only one variable
After the first draw, look at what happened before heating again. Material pulled into the airway usually calls for less contact or a gentler draw. A large untouched pool may mean the tip barely contacted the surface, but it does not prove that more heat is the answer. Change contact depth, draw pace, or the device-approved heat setting one at a time. When two or three variables change together, the next result teaches you nothing about which adjustment worked.
This is also why a borrowed collector deserves extra caution. Confirm the tip type, assembly, operating instructions, and cleaning state instead of assuming it behaves like a different device you have seen. A short pause to identify the hardware is cheaper than replacing a tip, flooding an airway, or discovering that a removable section was never secured.
⚖️ 7. Mistakes that waste material or create burn risk
A few patterns account for most of the frustration first-time users run into:
🧩 7.1 Overheating the tip
Holding heat on the tip longer than needed, or reheating an already-hot tip, is a common cause of scorched-tasting hits. If a hit tastes burnt, the tip was likely too hot for the material rather than not hot enough.
🧩 7.2 Plunging instead of grazing
Pressing the tip fully into the concentrate dish rather than lightly skating across the surface tends to pool material around the tip, waste it, and make cleanup messier.
🧩 7.3 Drawing too fast
A fast, hard pull can draw material past the point of full vaporization. A slower, steadier draw generally uses concentrate more efficiently.
🧩 7.4 Skipping the joint check
A loose tip or an unseated O-ring is one of the more common reasons for a dropped hit or a spill during a first session — worth checking before you add heat, not after something goes wrong.
🧩 7.5 Cleaning while still hot
Setting a hot tip directly into cleaning solution, or handling it before it’s cooled, risks both burns and thermal shock to glass or quartz components. Let the piece cool fully before breaking it down.
Most of these are habits that settle in after a session or two. The details that vary most between devices — exact heat timing, cleaning solvents and soak times, water levels, charging routines, and part replacement — are worth confirming against your specific model’s manual rather than a general guide, since those specifics differ enough between manufacturers that a one-size answer isn’t accurate.
📚 8. Sources and Reader Questions Reviewed
Technical guidance was checked against the manufacturer material below where applicable. Reddit discussions were used only to identify reader questions and failure scenarios, not as proof of technical, health, safety, or legal claims.