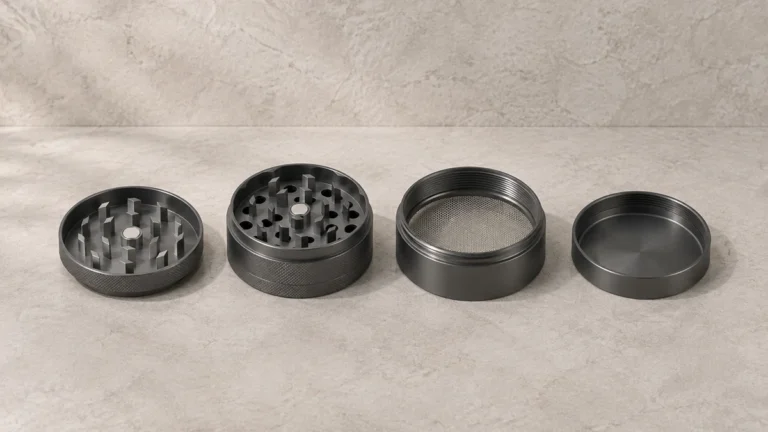
When a manual herb grinder will not open, first identify the seam that is stuck. The top lid may lift away without threads while a lower collection cup unscrews, and the screen can have a separate retainer. Turning the whole stack harder can leave the actual stuck connection untouched.
This guide concerns the empty tool and its opening mechanisms. The useful starting description is precise: which two neighboring pieces remain joined, which pieces still come away normally, and whether the problem existed when the grinder was new. Those details narrow the question before any cleaning or replacement is considered.
🧭 1. Locate the Stuck Seam Before Choosing a Direction
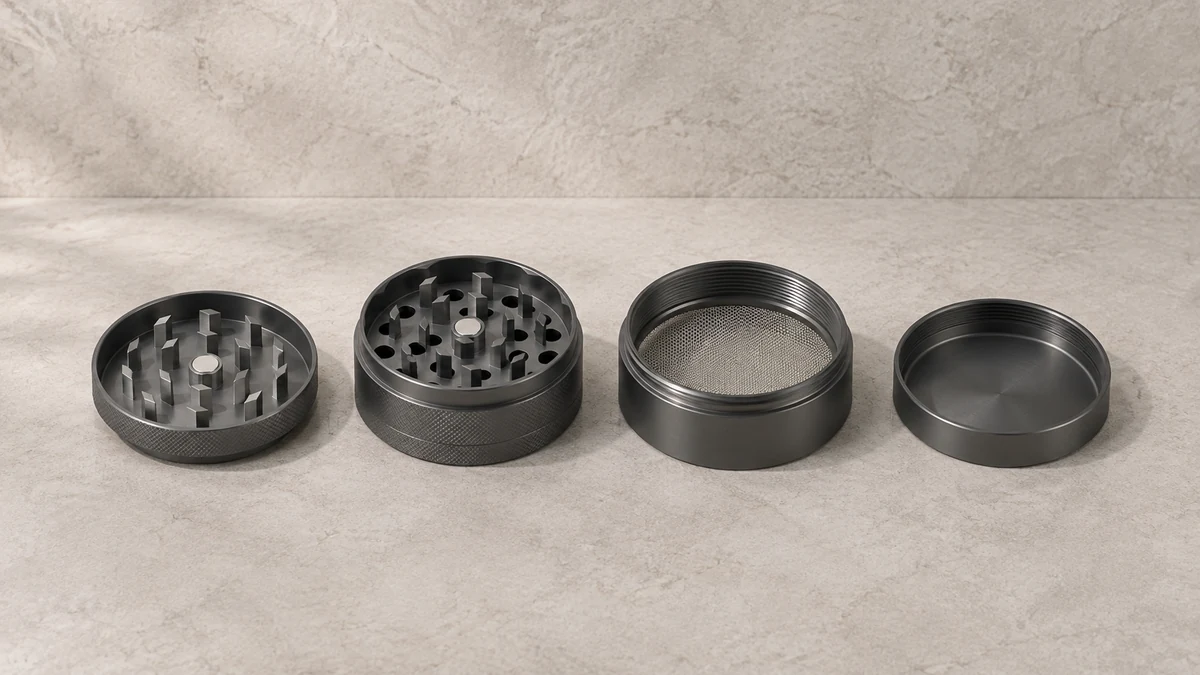
Set the grinder on a plain surface and look at its side. Each horizontal line may mark a separate chamber, a cap or a decorative change in the housing. Use the maker’s parts illustration to distinguish actual openings from lines that only look like seams. Count the parts the instructions identify, rather than assuming every visible ring comes apart.
Now name the two pieces beside the problem. “The lid will not lift from the toothed body” describes a different fault from “the collection cup will not unscrew from the screen chamber.” Both may be shortened to “stuck grinder” in a forum post, but the mechanisms require different questions.
🔎 1.1 Check Which Parts Still Move Normally
With the empty tool inactive, follow only its ordinary hand-opening instructions. Note which sections separate without resistance and leave a resistant seam alone. The purpose of this first look is to locate the problem, not to get every part open in one attempt.
For example, if the magnetic lid lifts and the bottom cup comes away, a middle seam can still remain stuck. Removing the two accessible pieces has not resolved that seam, but it has identified where the issue sits. A photograph of that remaining pair is more useful than a photograph of the fully closed stack.
🗺️ 1.2 Name the Remaining Pair After Accessible Parts Are Removed
A grinder can look very different once the freely removable lid and cup are set aside. Take another overview of the remaining pair and compare it with the parts drawing. The exposed top may still contain teeth, while the lower edge may belong to a screen chamber. Those landmarks establish which sections remain joined.
This helps avoid asking a second person to repeat the same irrelevant motion. Handing over the fully closed grinder with only “it is stuck” invites another attempt at the lid. Showing the resistant pair and naming the free sections gives that person the actual opening question.
🧲 2. Separate a Magnetic Lid From a Threaded Cup
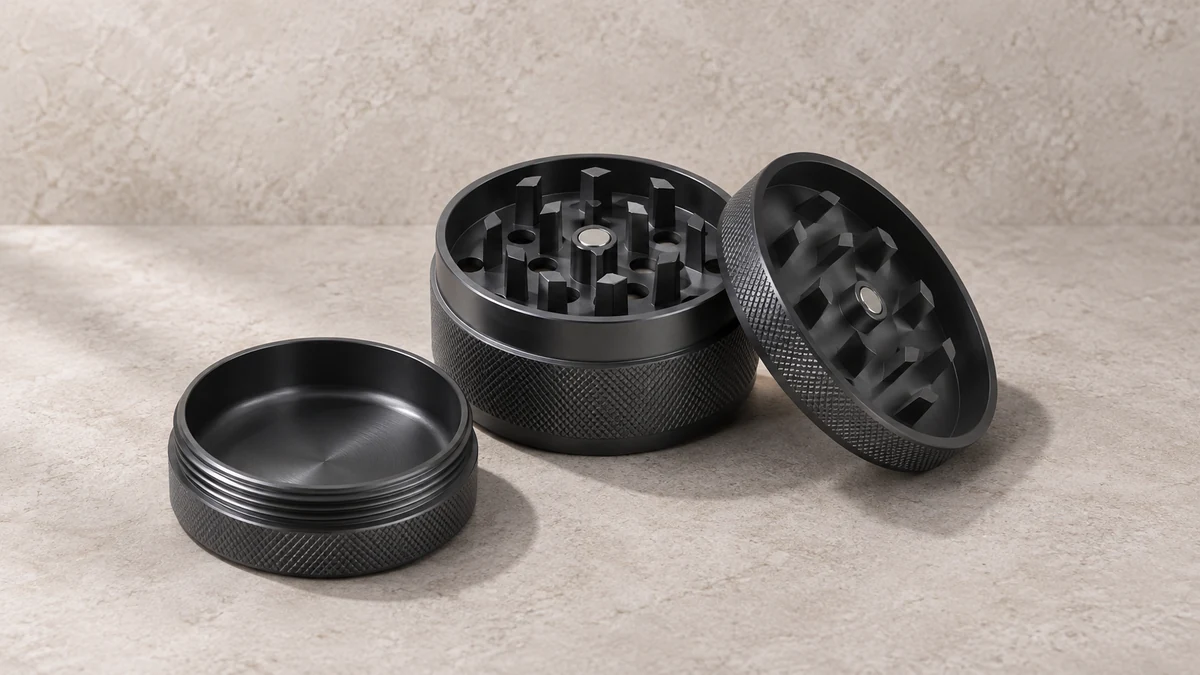
A magnetic lid can rotate during the tool’s normal mechanical action without unscrewing. A threaded cup uses its spiral mating surfaces to move away from the body as it turns in the intended direction. The fact that both parts are round and turn in the hand does not make them the same kind of closure.
Herb Ripper’s manufacturer FAQ gives a clear example. It describes its top cap as unthreaded, then identifies quick threads on the lower body and threaded connections farther down the assembly. That specific anatomy explains how one manual grinder can contain more than one opening mechanism.
📐 2.1 Read Opening Direction From a Consistent Viewpoint
Directions such as left and right become ambiguous when one person looks down at the lid while another looks up at the bottom. Follow the viewpoint in the product’s instructions. When asking for help, say whether the photograph shows the top, underside or side of the component.
If the directions only say to unscrew a lower chamber, compare them with the illustrated assembly rather than assuming they refer to the lid. An owner can be turning a freely rotating top while holding the entire lower stack in the other hand. The motion looks convincing, yet no relative motion is being applied across the threaded seam that needs to open.
🪛 3. Keep Screen Retainers Out of the Lid Diagnosis
A mesh screen can sit inside a chamber with its own retaining arrangement. A ring visible near that screen may secure the mesh rather than act as the chamber’s opening. Check the parts list before treating a visible inner ring as another cap to unscrew or a place to insert a tool.
Herb Ripper’s maintenance-kit listing separately identifies a friction ring, an O-ring, a screen and a retaining ring, with kits specified by model size. That list is a useful reminder that several small service parts can coexist in one grinder. A worn ring and a stuck chamber are different problems until the actual assembly establishes a connection.
🗂️ 3.1 Chamber Count Does Not Reveal Every Service Part
A three-piece or four-piece label describes the principal stack. It may leave out small rings that remain fitted inside a larger part during normal opening. Keep the maker’s normal disassembly sequence separate from its service instructions. A component that can be replaced during service is not necessarily something to remove during every clean.
The overview of two-piece grinder construction helps explain why some tools have fewer chamber boundaries. When an unfamiliar grinder has additional sections, identify their actual locations before borrowing an opening routine from a simpler tool.
🧩 3.2 Preserve a Loose Ring’s Original Location
If a ring comes away during permitted disassembly, photograph where it was fitted before cleaning the remaining pieces. A friction ring, chamber seal and screen retainer can have very different jobs. Their similar circular shape does not tell you which groove they belong in or whether one can replace another.
Do not omit an unidentified service part simply because the main sections seem easier to close without it. Compare it with the model-specific parts list or ask the maker to identify it. The useful result is an assembly restored to its documented arrangement, including the small pieces that can disappear from an overview photograph.
🆕 4. A New Grinder Can Be Stuck Without Residue
If the tool arrived unused and closed, include that fact in the first support request. A residue-based explanation has not been established. Ask the maker to confirm the intended opening mechanism and inspect the supplied photographs for an assembly or alignment problem.
Look at the outside of the seam. Is the gap reasonably even, or does one side sit visibly higher? Is there a dent across the housing? Does the finish show a recent impact? These are observations an owner can record without forcing the parts apart or deciding exactly what happened inside.
📷 4.1 A Crooked Seam Is a Reason to Stop Escalating Force
A tilted cup may be misaligned, obstructed or damaged. The visible tilt alone does not distinguish those possibilities. Repeatedly tightening it to make the edge sit flat can change the condition before it has been assessed. Keep the tool as received while requesting the maker’s next step.
Take side photographs from more than one angle and include an overview showing where the seam sits in the stack. Add the order details and model name. That gives support a new-unit problem to assess and avoids describing an uncertain mechanical fault as ordinary buildup.
🧼 5. For a Used Tool, Check the Permitted Cleaning Route
If the tool previously opened normally, note when the resistance appeared and which accessible surfaces show deposits. Cleaning may be relevant, but the product’s material and construction still determine the permitted method. A cleaner intended for a glass accessory should not be assumed suitable for every metal, coating, magnet or seal in a grinder.
The difference is visible even within one retailer’s documentation. TVape publishes a care routine for its named Bolt grinder, while its Purify cleaning-solution page warns against using that named solution with grinder or aluminum parts. The practical lesson is to match both the tool and the cleaning product to their specific instructions.
🪥 5.1 Clean Accessible Surfaces Without Inventing Access
Use only the ordinary disassembly the maker permits. If a lower cup remains stuck, a routine that begins with four separate pieces has not explained how to reach its internal threads. Applying the rest of that routine to the closed stack is a different procedure and needs its own approval from the manufacturer.
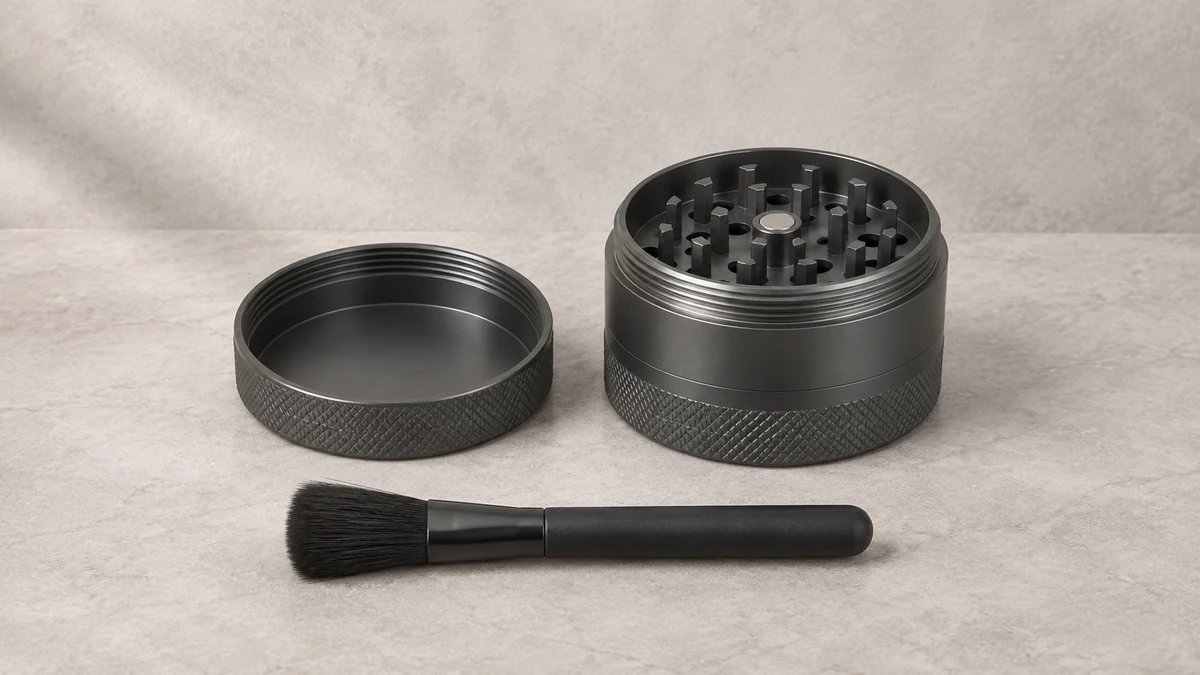
Where the maker permits surface brushing, keep attention on reachable areas and the materials it names. Herb Ripper’s FAQ, for instance, describes a brush-based cleaning approach for its own tool and specifically asks for care around the magnet. That is an attributed example, not a universal recipe for every anodized, painted or composite grinder.
The article on grinder coatings and cleaning boundaries develops the material question. For the stuck-seam problem, the order matters: identify what is joined, establish the permitted method, and then assess whether it actually gives access to that connection.
📝 5.2 Describe the First Change in Resistance
A tool that gradually became harder to open has a different reported history from one that stopped opening immediately after being dropped. A cup that resists from its first turn also deserves a different description from a lid that rotates normally but cannot be lifted. Preserve those differences when explaining the problem.
The timeline does not prove the cause, but it narrows the information a support team has to reconstruct. Include whether the issue appeared before or after cleaning and whether any small parts were removed. An accurate sequence is more useful than assigning the fault to a material or finish without evidence.
🤲 6. Check Where Your Hands Are Applying Movement
Hold only the neighboring sections identified in the opening instructions, with dry hands and the exterior free of loose cleaner. Ordinary hand pressure can be difficult to direct when the sections are short or the top cap turns freely. Before increasing effort, check that the two hands are actually on opposite sides of the intended seam.
A broad palm around the whole lower stack can accidentally hold both sides of the connection together. Meanwhile the other hand spins the lid above it. Nothing in that motion establishes that the lower thread is seized. Changing the description from “the grinder turns but will not open” to “the upper lid turns while the lower two sections remain together” helps locate the issue.
If normal hand opening remains unsuccessful, stop and obtain model-specific support. Online suggestions involving metal gripping tools, impacts or abrupt temperature changes introduce additional variables to an uncertain fault. They should not become the default response to a tool whose opening mechanism has not yet been identified.
⚙️ 6.1 A Handle Changes the Drive, Not Every Closure
A crank or handle can be part of the operating mechanism while the collection chamber still uses a separate closure. Moving the handle does not necessarily apply any opening motion to that chamber. Identify the closure from the body instructions, even when the top of the tool looks unfamiliar.
The explanation of hand-cranked grinder mechanisms covers that distinction in more detail. It is useful when an owner describes the entire tool by its handle and misses the smaller lower seam that is actually causing the storage or maintenance problem.
🧱 7. Read the Condition of Parts After They Open
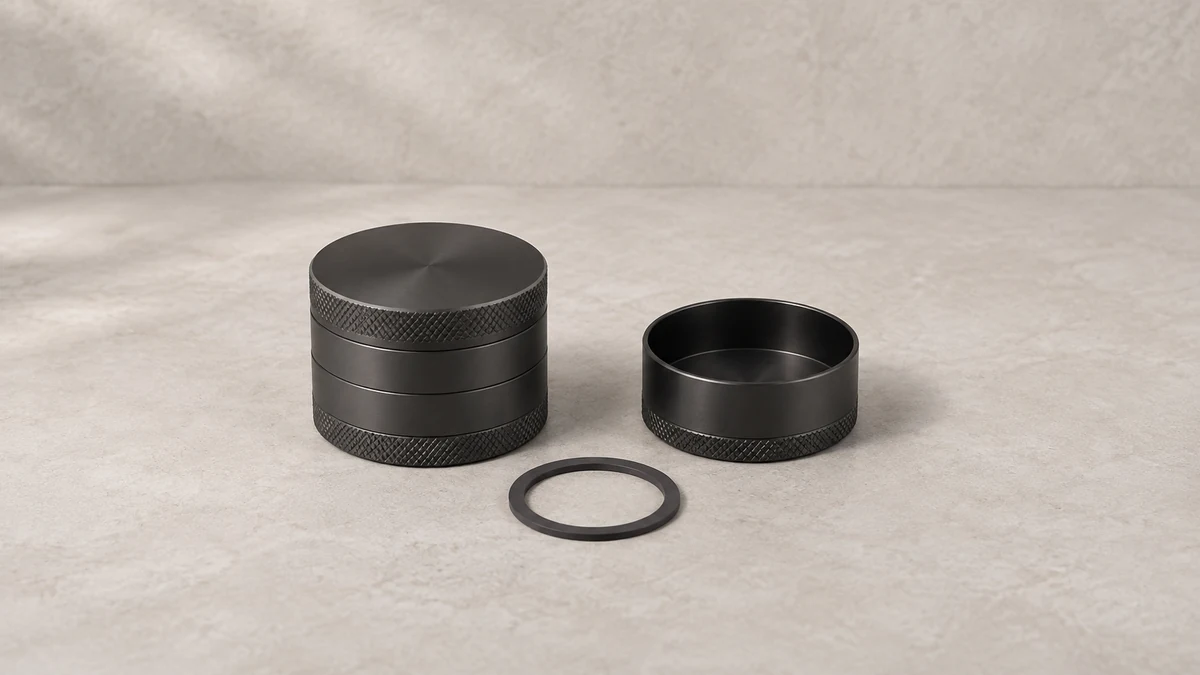
If the maker’s approved process separates the parts, inspect the empty mating surfaces before putting them back together. Record visible deposits, damaged edges, a displaced ring or a thread that appears flattened. Cleaning and damage should remain separate observations, because removing a deposit does not establish that the underlying part is intact.
A section that starts at an angle, catches immediately or will not sit as the instructions show needs further assessment. Do not repeatedly close the stack just to see whether it gets easier. A support team may ask for a view of the exposed mating surfaces, which is harder to provide once the same uncertain connection has been tightened again.
Replacement rings and chambers should be matched to the actual model and size. Similar-looking rubber rings are not interchangeable merely because they can be stretched over the body. The maker’s service-part listing should establish their intended location and fit, especially when several rings have come away during cleaning.
🔩 7.1 Match the Whole Closure When Replacing a Cup
The outside diameter of a replacement cup is only one feature. Its mating thread, depth and any seal arrangement must belong to the body it is meant to close. A cup from a similar-looking grinder can share the overall outline while meeting a different interface inside.
Keep the complete model identification when requesting a spare, and include the version or purchase date if the maker asks for it. A replacement that is specifically named for the assembly resolves more than a photograph of two round pieces beside one another. Follow its supplied fitting instructions before considering the opening problem resolved.
✅ 8. Describe the Fault So the Next Answer Fits It
A complete request can be short. Name the grinder, state whether it is new or previously used, identify which sections open normally, and describe the exact seam that remains joined. Include photographs of the side gap and any visible damage. Add the care procedure already attempted, using its actual product name.
For example, “The magnetic top lifts normally, the bottom cup opens, and the middle chamber remains joined to the toothed body” tells the recipient where to focus. It also makes clear why an answer about lifting the lid would miss the problem. Keep the final opening or replacement instruction with the tool’s model record for future maintenance.