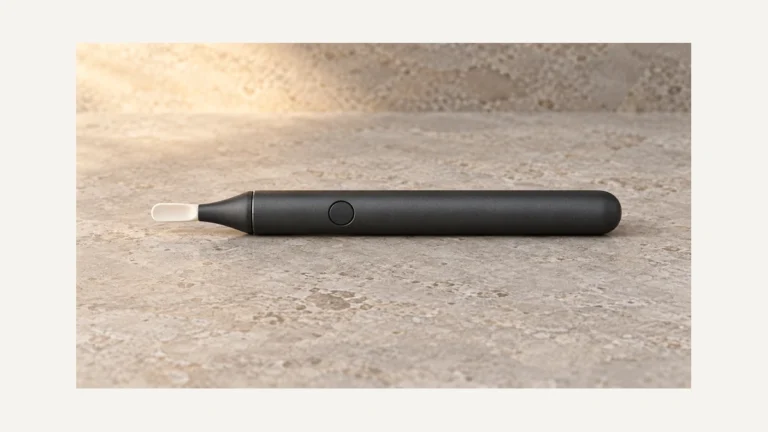
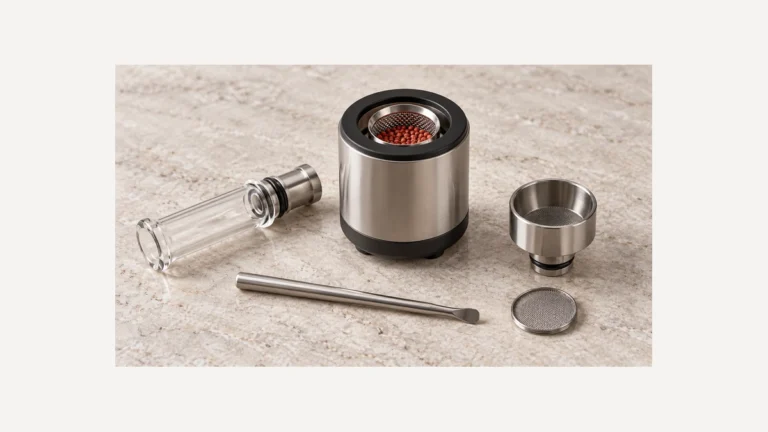
A “no atomizer” message means the battery’s circuit is not detecting a valid electrical load where the coil should be. Instead of reading the resistance of a working atomizer, the chip either sees an open circuit — no connection at all — or a reading so far outside its expected range that it treats the slot as empty. This is why the warning can appear even when a cartridge or tank is physically screwed or snapped into place: the hardware is present, but the circuit isn’t complete in a way the battery recognizes.
The message is a diagnostic shortcut, not a specific diagnosis. It doesn’t tell you whether the problem is a speck of residue on a contact, a coil that burned out, a center pin that got pushed too far in or out, or a mismatch between the battery and the atomizer you’re using. Because several unrelated problems produce the identical error, the fastest way to fix it is to trace the connection systematically instead of guessing at a single cause.
🧭 1. No atomizer means the battery cannot detect the expected load
Every atomizer — whether it’s a replaceable coil, a pod, or a cartridge — has a heating element with a measurable resistance. When you press the fire button or draw on the device, the battery’s circuit briefly checks that resistance before sending power through. If the circuit finds a complete path within the range it expects, it fires normally. If it finds no path at all, or a path that reads as infinite resistance, it displays some version of “no atomizer” or “atomizer error” instead of firing.
This check happens every single time, which is why the error can be intermittent. A connection that’s marginal — close enough to complete the circuit on some attempts but not others — will produce the error only occasionally, which is often more confusing than a fault that fails consistently. An intermittent error usually points to a mechanical connection issue rather than a fully dead coil, since a fully failed heating element will not intermittently work.
Because the message describes what the battery observed rather than why, it applies equally to a brand-new cartridge that was never connected properly and to an old coil that has genuinely reached the end of its life. Treating the two situations the same way — by immediately assuming a part is defective — skips the faster and more common fixes described below.
🧩 2. Start with the removable connection, not the electronics
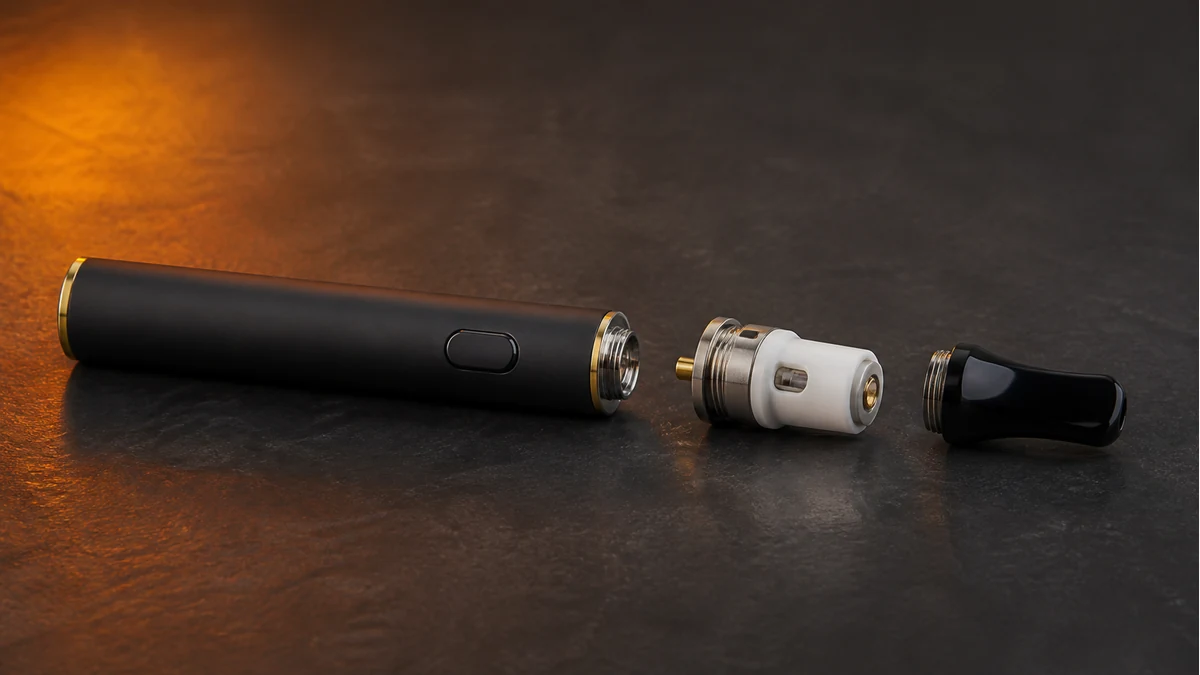
Before assuming anything is broken, separate the two halves of the device and reconnect them. Most regulated batteries pair with atomizers through a threaded 510 connection or a magnetic pod connection, and both rely on metal-to-metal contact that can be disrupted by something as small as a partial turn or a slightly misaligned magnet.
If you’re using a threaded coil or tank, unscrew it fully, inspect the threads for visible damage, and reseat it by hand until it stops naturally — not by force. If you’re using a magnetic pod or cartridge system, remove the cartridge, check that the magnetic pins are seated flush, and reinsert it fully rather than resting it at an angle. For guidance on why a properly connected atomizer can still fail to produce vapor even after airflow is confirmed, see this explanation of carts that draw air but don’t hit, which covers a related but distinct symptom.
This step matters because it’s the only one that costs nothing and rules out the single most common cause: a connection that looks closed but isn’t making full contact. If reseating the atomizer resolves the error, the underlying cause was mechanical, not electrical, and no further troubleshooting is needed.
🔍 3. Residue and overtightening create different contact problems
If reseating the atomizer doesn’t help, the contact surfaces themselves are the next place to check, and it’s worth distinguishing two contact problems that look similar but have opposite causes.
⚙️ 3.1 Residue and buildup
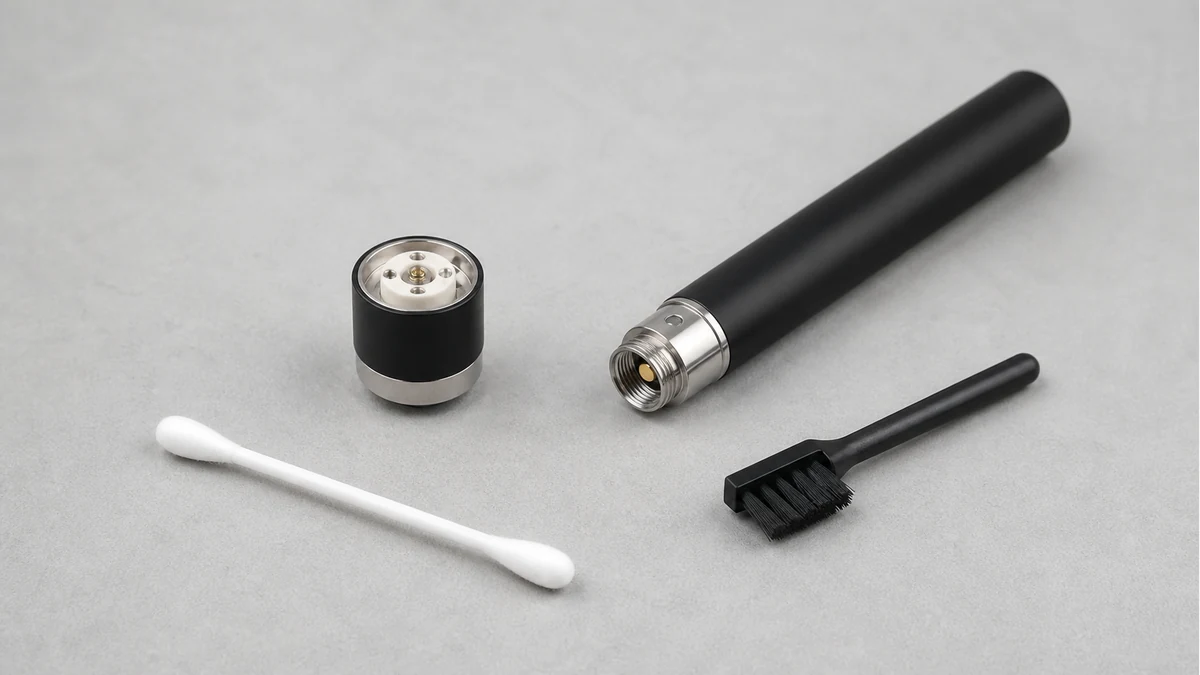
E-liquid, condensation, and fine dust can settle on the flat contact pin at the bottom of the battery or on the magnetic pins of a pod connection. Even a thin film is enough to insulate the connection and prevent the circuit from closing. This is one of the more common first checks people make, since the buildup is often visible once you look closely at the contact point rather than at the atomizer itself.
A dry cotton swab or a soft cloth is generally sufficient to clear light residue from a contact. Always follow the device manufacturer’s cleaning guidance for your specific model, since some finishes and connector types are more sensitive to moisture or solvents than others.
🧼 3.2 Overtightening
The opposite problem — tightening a threaded atomizer too far — can push the center pin down further than intended or, in threads with tighter tolerances, deform the connection slightly. This can produce the same error as a dirty contact, which is why the same cartridge sometimes works on one battery but not another with a marginally different thread depth or pin height. If you’ve been tightening firmly to try to “fix” an intermittent connection, try backing the atomizer off and reseating it with hand-tight pressure only.
⚙️ 4. A failed coil can look exactly like a battery fault
If the contacts are clean and the atomizer is seated correctly, the coil inside the atomizer itself may have failed. A coil that has burned out, cracked, or developed an open circuit internally will read the same way to the battery as an atomizer that isn’t connected at all — because from the circuit’s perspective, both situations present no measurable load.
This is the core difficulty people run into: a “no atomizer” error caused by a dead coil and a “no atomizer” error caused by a bad connection are indistinguishable from the message alone. Understanding how the heating circuit is built helps explain why. This overview of how an atomizer works walks through the relationship between the coil, the wicking material, and the contact points that the battery relies on to complete its circuit check.
Coils that have reached the end of their usable life tend to fail this way after a period of degraded performance — weaker vapor production, a burnt taste, or gurgling — rather than failing suddenly with no warning. If those symptoms preceded the error, a worn-out coil is a more likely explanation than a connection problem.
🧼 5. Use a known-compatible part to isolate the side that failed
The most reliable way to narrow down whether the fault is in the atomizer or the battery is substitution, provided you have access to a second, known-working, compatible part.
If you have a second atomizer that is confirmed compatible with your battery, connect it after cleaning the contacts. If the second atomizer fires normally, the original atomizer is the likely source of the fault. If the second atomizer also produces the “no atomizer” error on the same battery, the fault is more likely in the battery’s connection or sensing circuit rather than in either atomizer.
The reverse test works the same way: if you have access to a second battery that’s confirmed compatible with your atomizer, try the original atomizer there. Compatibility matters for this test to mean anything — connecting parts with different thread standards, pin depths, or resistance ranges than the device was designed for won’t produce a meaningful result, and forcing an incompatible connection risks damaging both parts.
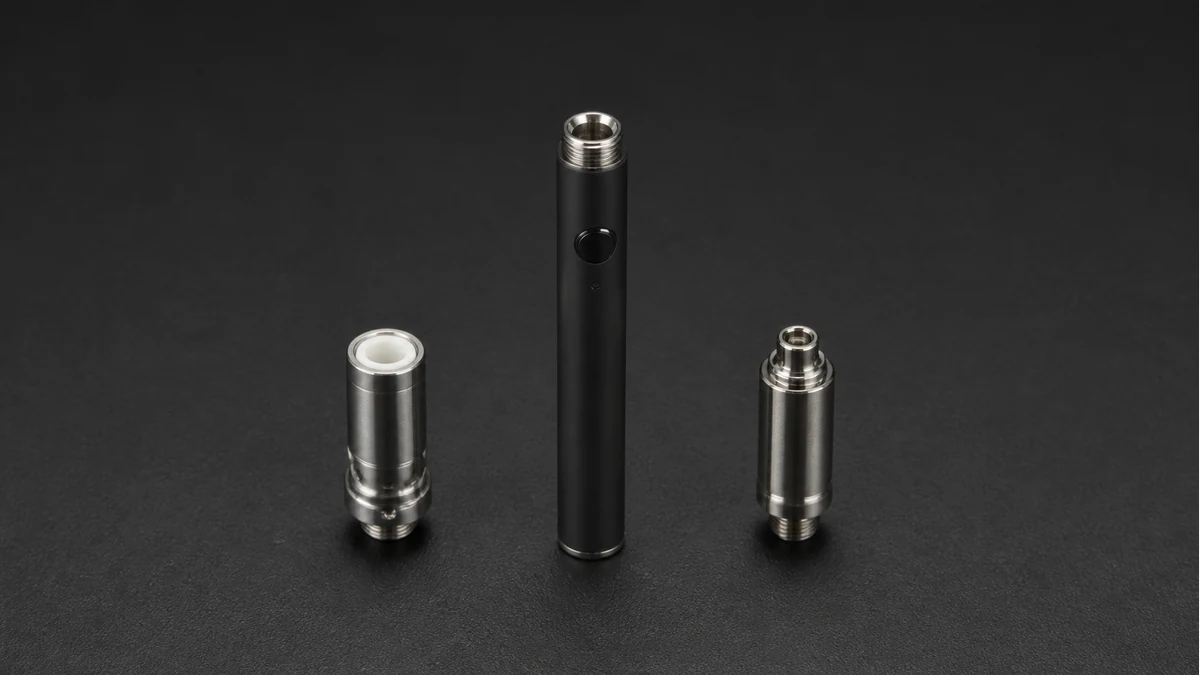
This kind of substitution testing is the same logic used when troubleshooting other device faults. If you’re also dealing with a battery that won’t charge, a similar process of elimination — isolating the cable, the port, and the battery from each other — is covered in this guide to charging problems.
🛠️ 6. Stop when damage, heat, or unstable readings appear
Some signs mean it’s time to stop troubleshooting rather than continue testing. If a contact pin is visibly bent, corroded, or discolored, if the battery or atomizer feels unusually warm without being in use, if you see any swelling, or if the device produces inconsistent readings that change with no clear pattern even after cleaning and reseating, don’t continue trying to force a connection.
Attempting to bend a center pin back into place, forcing a cross-threaded connection to seal, or repeatedly retrying a hot device are the kinds of workarounds that can turn a simple connection fault into a damaged battery or atomizer. Regulated devices include this detection specifically so that an incomplete or unstable circuit doesn’t get power sent through it; overriding that signal by forcing a connection defeats the purpose of the check.
If cleaning, reseating, and substitution testing haven’t resolved the error, or if you notice any of the warning signs above, the manufacturer’s support documentation or a qualified repair source is the appropriate next step rather than continued self-diagnosis.
✅ 6.1 Use one controlled swap to isolate the fault
If cleaning and reseating do not restore detection, a known-compatible atomizer is the most useful next check. Change only that one part. If the replacement is detected, the original atomizer or its connection is the likely branch to inspect. If neither is detected, the battery-side connector or device may be involved. Swapping several adapters, batteries, and atomizers at once destroys the comparison and can introduce another incompatible part.
Known-compatible means listed for that exact battery or concentrate device, not merely similar-looking or threaded. Wax-pen atomizers may share a general silhouette while using different contact depth, resistance range, airflow path, or proprietary seating. Never bridge a contact, pry inside a battery, or defeat a protection message to force a reading.
📦 6.2 Separate residue from physical damage
A dry removable contact can be wiped only as the manufacturer allows, then given time to remain completely dry before reassembly. A depressed center contact, torn insulator, cross-threaded connector, cracked ceramic cup, or heat-discolored atomizer is different: cleaning cannot restore missing insulation or correct distorted metal. Stop using any part that becomes unusually hot, produces an unstable reading, or shows impact or liquid damage around the battery connection.
When the message appears only after the pen has been dropped or the atomizer has been changed, do not keep tightening in search of contact. Remove power, let the hardware cool, and inspect the threaded areas and insulating ring under bright light. A connection should seat smoothly with light finger pressure. Cross-threading or a loose center assembly needs replacement or qualified service, not more torque.
Before storing the pen, separate and cap components only as the maker recommends. Loose metal items in a pocket can contaminate or bridge an exposed connector, while an atomizer left loaded on its side can move residue toward the contact. A small fitted case keeps clean parts separated without turning the troubleshooting routine into another source of faults.
✅ 7. The durable fix is a clean compatible connection
Once the error is resolved, the same three habits that isolated the fault also prevent it from recurring. Keep contact surfaces clean by wiping them periodically, especially after refilling a tank or noticing any liquid near the connection point. Seat atomizers by hand rather than tightening them as far as they’ll go, since a firm hand-tight connection is what most threaded designs are built for. And confirm compatibility — thread type, pin depth, resistance range — before pairing a new atomizer with an existing battery, rather than assuming that a similar-looking part will behave the same way.
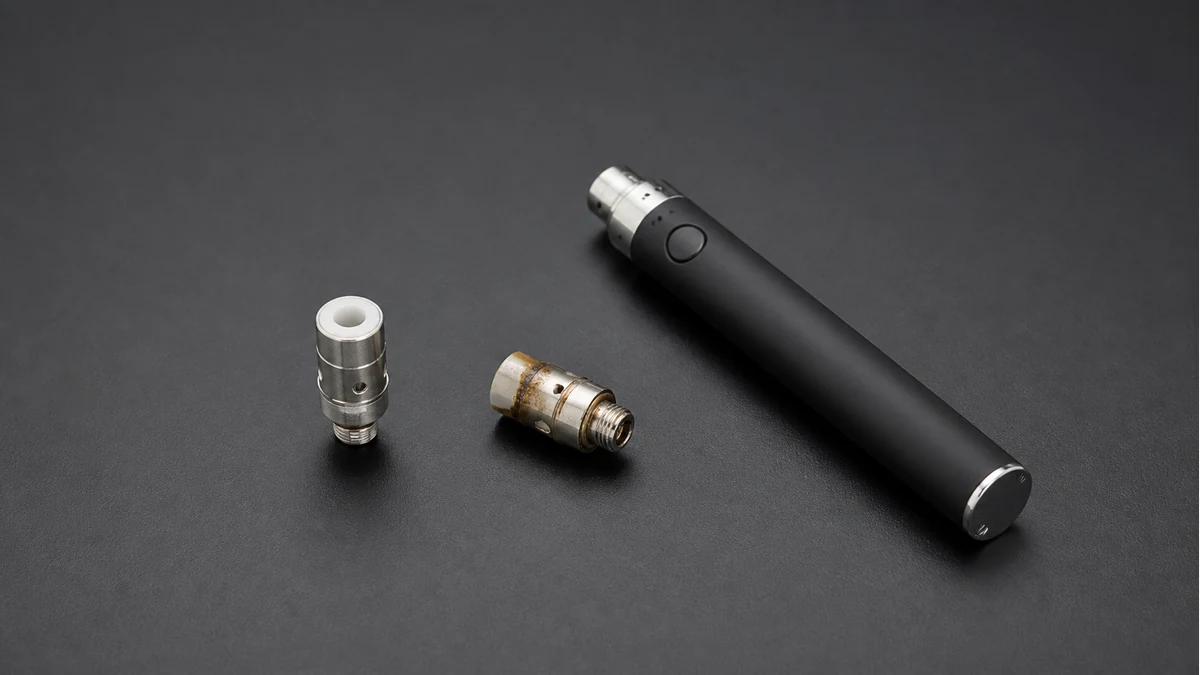
A “no atomizer” message will keep recurring if the underlying cause is a connection issue that gets reseated without being cleaned, or a coil that’s nearing the end of its life and gets reconnected without being replaced. Tracing the fault through the contact, the coil, and a substitution test — in that order — is what separates a five-minute fix from a repeated cycle of unscrewing and rescrewing the same worn connection.