Why is the airflow completely open on the draw, and yet nothing happens when the coil should be heating? A user pulls on the mouthpiece, feels air move through cleanly the way it always has, and gets absolutely nothing back — no vapor, no taste, no warmth on the exhale. That mismatch is what throws people off. Most cartridge complaints involve a draw that feels tight or restricted, which points toward a clog or a wicking problem. When the draw feels normal but the vapor never shows up, the air path isn’t the problem at all. Something downstream of the air — the electrical circuit or the oil delivery into the coil — is failing silently, and open airflow is actually a useful clue that narrows the search rather than a red herring.
🔎 1. Two Separate Systems: Air Isn’t Power
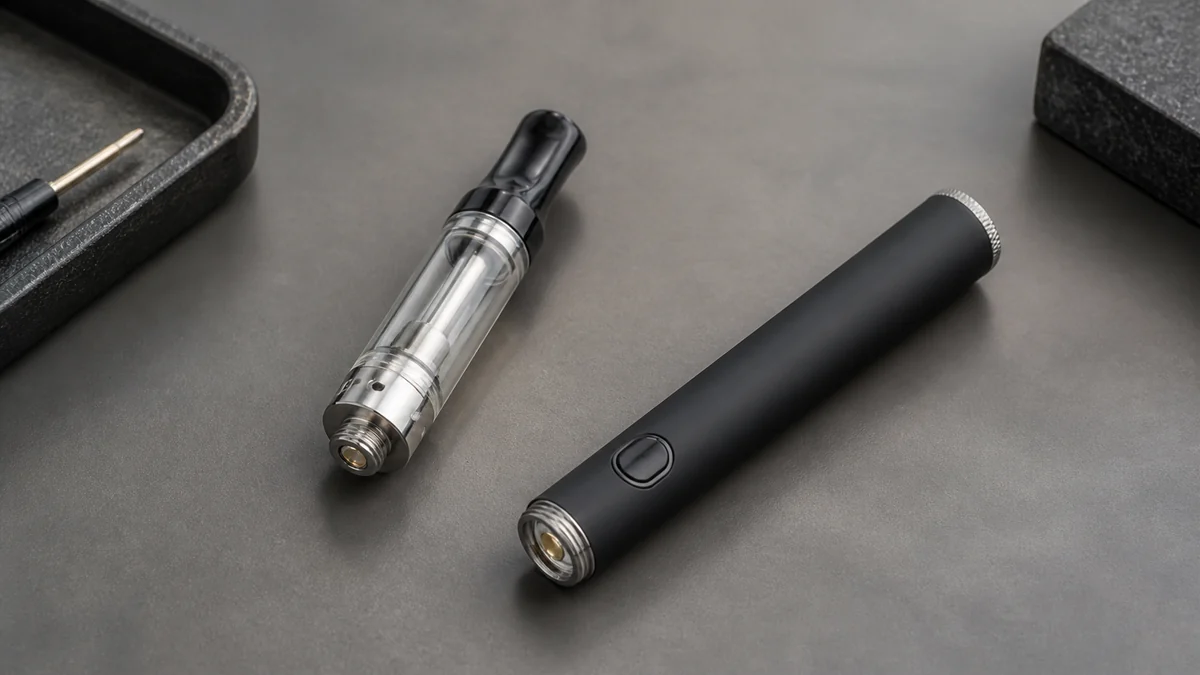
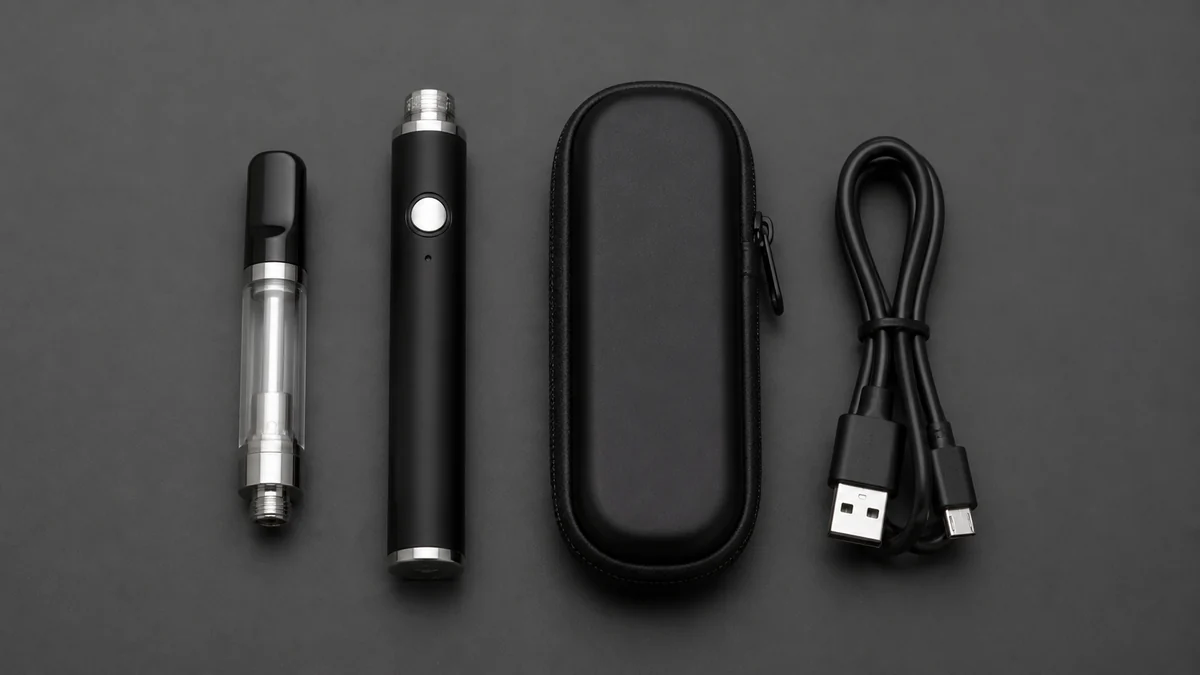
It helps to think of a cartridge as running two independent systems that happen to share the same housing. One is purely mechanical: air enters through an intake hole near the base, travels up around or through the coil chamber, and exits through the mouthpiece. The other is electrical and thermal: the battery sends current through the 510 threads and center pin, into the coil, which heats the wick and vaporizes the oil sitting against it. A free-flowing draw only confirms that the air channel is unobstructed. It tells you nothing about whether the coil ever got hot.
That distinction matters because it changes where you should look first. If the draw were tight or gurgling, you’d suspect condensation or a clogged air path. Since the draw is open, the working theory should shift entirely to the power path: is current reaching the coil at all, is it reaching it consistently, or is the device intentionally refusing to fire. For background on how the coil, wick, and airflow are supposed to interact in a functioning atomizer, AOVAPE’s atomizer explainer is a useful reference before troubleshooting further.
| What you notice | Most likely path |
|---|---|
| Draw feels open, no vapor, no taste at all | Electrical/power path |
| Draw feels open, faint vapor and taste, just weak | Oil delivery or partial contact |
| Draw feels tight or gurgles, no vapor | Air path or flooded wick, not covered here |
| Light blinks a set number of times when you press the button | Battery is signaling a fault or low charge |
🔎 2. Start With the Battery, Not the Cart
Before assuming the cartridge is bad, rule out the battery, since it’s the easier and cheaper part to test. Most 510 batteries use blinking LEDs to communicate faults: a certain number of flashes can mean the battery is dead, that it’s in a protected state, or that it isn’t detecting a load at all. If pressing the button produces a blink pattern instead of a steady light, check the battery’s manual for what that pattern means rather than guessing, since the sequences aren’t standardized across brands.
A battery can also read as “on” — screen lit, button responsive — while still being too depleted to deliver enough current to heat a coil consistently. Batteries under heavy resistance loads near the bottom of their charge curve can fire weakly or not at all even though they’ll happily light up an idle display. If it’s been sitting for a while, a full charge cycle on the correct charger is the cheapest diagnostic step available, and it rules out an entire category of “not hitting” complaints before you touch the cartridge at all. AOVAPE’s battery and charger guide covers how to read charge state and match a charger to a battery correctly.
If you have access to a second, known-good battery, swapping the cartridge onto it is the single most informative test you can run. A cart that fires on a different battery confirms the problem lives in the original battery, not the cart — and vice versa.
🔎 3. Contact and Connection Problems
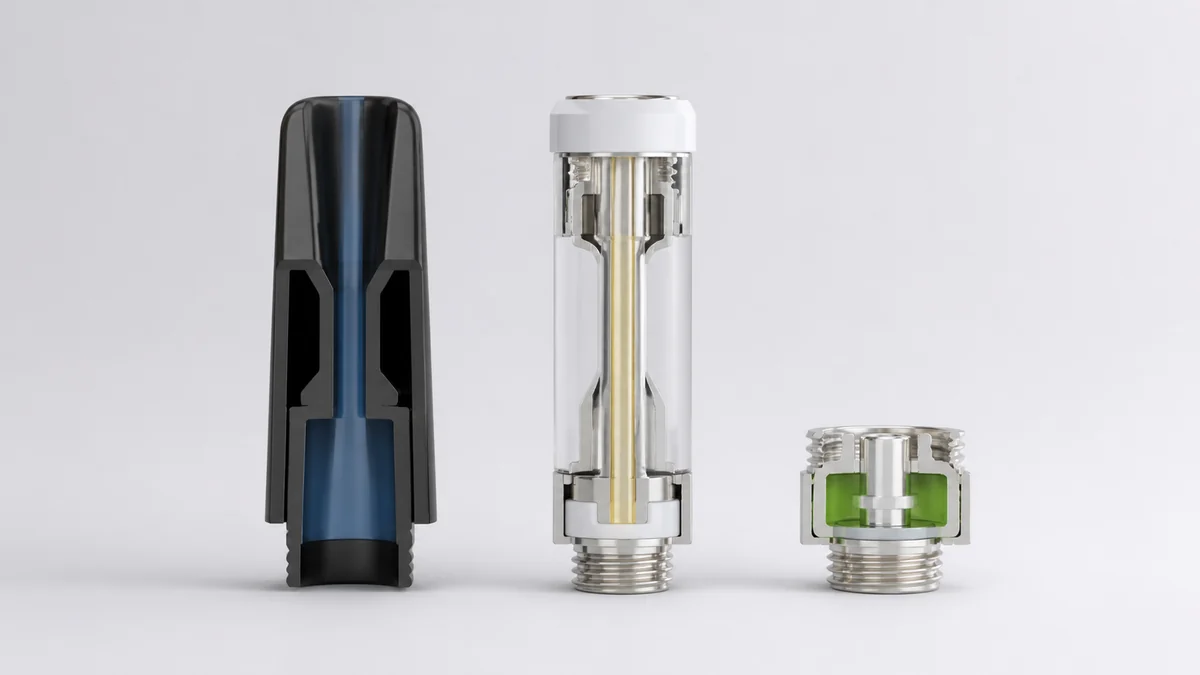
Assuming the battery checks out, the next most common cause is a connection that looks fine but isn’t actually closing the circuit. The 510 interface relies on a small amount of spring tension and precise contact between the cartridge’s center pin and the battery’s connector. It doesn’t take much — a slightly recessed pin, a speck of oil residue, or threads that aren’t seated all the way — to break that contact while everything still looks physically intact.
🧩 3.1 Pin Height and Fit
Center pins that sit too low, or that got pushed in during shipping or a drop, may not reach the battery’s contact point even when the cartridge is threaded in fully. Some 510 batteries include a pin with a small amount of built-in adjustability specifically to compensate for this — check your battery’s manual to see if that applies to your device, since not all connectors work the same way. If your battery doesn’t document an adjustable pin, don’t improvise one; forcing a pin with a tool risks bending it or shorting the connector, and it’s a step best left to the manufacturer’s documented procedure or a warranty exchange.
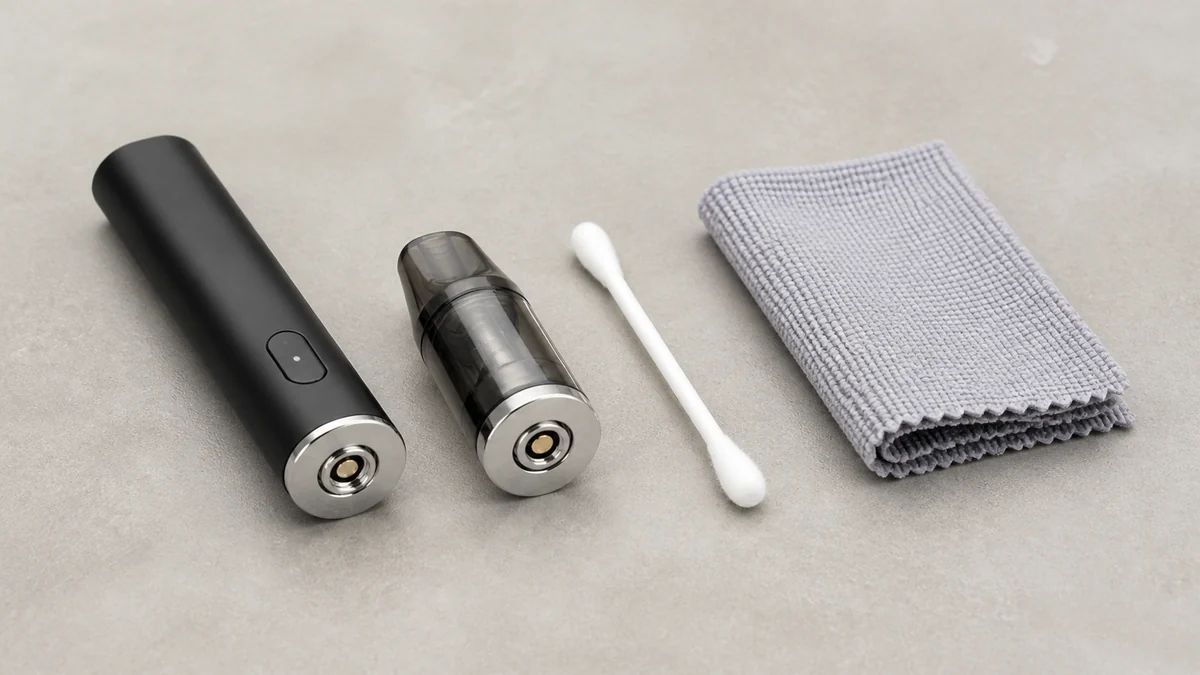
🧩 3.2 Threads, Residue, and Exterior Cleaning
Oil that seeps around the base of the cartridge during storage or transport can leave a thin film on the threads that insulates the connection just enough to interrupt current. A cotton swab lightly dampened with isopropyl alcohol run over the outside of the threads and the visible contact points — on both the cartridge base and the battery connector — clears this without opening anything sealed. Let it dry fully before reinserting, since alcohol residue combined with a live circuit is its own hazard. If you’re unfamiliar with how the 510 standard is supposed to fit together, AOVAPE’s 510 cartridge guide walks through the mechanics of the thread and pin connection in more detail.
What you shouldn’t do at this stage is pry apart the cartridge itself to inspect or reposition the internal coil leads. That’s a step some online troubleshooting threads suggest, but it means breaking a factory seal on a sealed unit, and it turns a connection problem into a leak, a short, or an exposed heating element — none of which are things to introduce into a device you’re about to put in your mouth.
🔎 4. Safety Protections That Silently Block a Hit
Modern 510 batteries include protection circuitry that will refuse to fire under certain conditions, and from the outside that refusal looks identical to a dead connection. A short-circuit protection can trip if the device senses resistance outside its expected range — which can happen with a genuinely faulty coil, but can also happen from residue bridging contacts or a cartridge that isn’t a great match for that battery’s firing profile. Puff-count cutoffs, timeout locks, and low-voltage cutoffs all exist for the same reason: to stop the battery from pushing current through a circuit that looks abnormal.
These protections aren’t a malfunction to work around — they’re doing their job. If a battery is refusing to fire and its indicator light is showing a fault pattern rather than a normal “firing” light, the correct response is to remove the cartridge, let the battery sit, and try again with a clean connection, or consult the manual for what that specific light sequence means. Bypassing or defeating a protection circuit to force a fire — something occasionally suggested in troubleshooting forums — removes the one safeguard standing between a fault condition and a battery failure. The U.S. Consumer Product Safety Commission’s guidance on high-energy batteries is a reasonable general reference for why that margin exists and why damaged or faulted cells should be treated cautiously rather than forced.
🔎 5. Condensation, Viscosity, and Oil Flow
If the connection is clean and the battery is confirmed good on another cartridge, but the hit is still weak or entirely absent, the remaining variable is whether oil is actually reaching the coil once it heats. Two environmental factors do most of the damage here: condensation and viscosity.
A cartridge that’s gone through a temperature swing — left in a cold car overnight, then brought into a warm room — can develop condensation inside the air path or around the coil chamber. That moisture doesn’t just dilute the vapor; in enough volume it can sit against the coil and interfere with normal wicking. Letting the cartridge sit at room temperature for a while before use, mouthpiece up, gives any condensation time to settle rather than pool against the heating element.
Viscosity is the other half of it. Oil that’s cold, or that’s simply thick by formulation, moves slowly through the wicking material that draws it into the coil. Ceramic-coil designs — the kind most reputable cartridge makers, including CCELL, build around — rely on small wicking channels that pull oil from the reservoir toward the heating surface, and that process is temperature- and viscosity-dependent by nature. If a cartridge has been cold, warming it in your hand or an inside pocket for a few minutes before firing gives thick oil a chance to move again, without applying any external heat source directly to the device.
What you shouldn’t do is try to speed this along with a lighter, a hair dryer, or any other uncontrolled heat source. Sealed cartridges aren’t designed to be heated externally, and doing so risks warping the housing, degrading the oil, or creating pressure inside a sealed chamber. If gentle warming and a rest period don’t restore normal draw and vapor, that points toward a wicking or coil problem inside the cartridge itself — which, on a sealed unit, means replacement rather than repair.
🔎 6. When to Stop Troubleshooting and Replace
There’s a useful order to run through all of this: charge and test the battery on a different cartridge, clean the exterior contacts and threads, check for an obvious fault light or protection trip, then consider condensation and viscosity. If you’ve gone through that sequence and the cartridge still won’t produce vapor on a battery you’ve confirmed works with something else, the cartridge itself is the likely point of failure — most plausibly a broken internal coil lead or a wicking failure, neither of which is something to chase further on a sealed device.
At that point, the reasonable move is replacement or, if the purchase is still eligible, a return through the seller’s written process. Exchange and warranty terms vary, so check the receipt, retailer policy, and manufacturer documentation instead of assuming that a sealed cartridge can be repaired. For a broader look at how the different components inside a vape system are supposed to work together, AOVAPE’s vape parts overview is a useful next stop if you want to understand what you’re replacing and why.
🔎 7. The Bottom Line
Open airflow with no vapor is a genuinely useful symptom, not a dead end — it tells you the problem almost certainly isn’t in the air path, which narrows the search to the electrical connection, the battery’s protection state, or the oil’s ability to reach the coil. Work through the battery first since it’s the cheapest thing to rule out, then the exterior connection, then environmental factors like condensation and viscosity. If none of that resolves it, treat it as a hardware fault on the cartridge and replace it rather than opening a sealed unit or forcing a fire past a protection circuit — both of those trade a minor inconvenience for a real safety risk.
📚 8. Sources
- CCELL — Cartridge technology overview
- CCELL — M3B Plus battery reference
- U.S. Consumer Product Safety Commission — High-Energy Batteries safety guidance