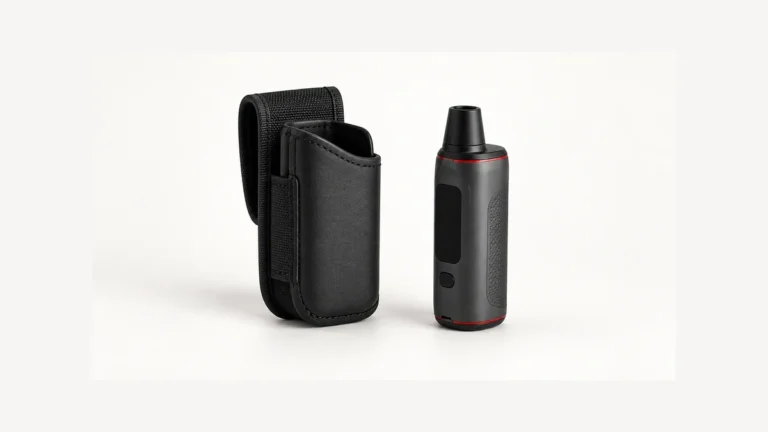
A question that keeps resurfacing among people tinkering with 510 thread hardware goes something like this: the threading on a battery and a cartridge lines up perfectly, every turn feels snug, and yet nothing happens when the device is activated. That gap—threads matching while the circuit stays dead—is the starting point for understanding what a screw-on connection actually does and does not guarantee.
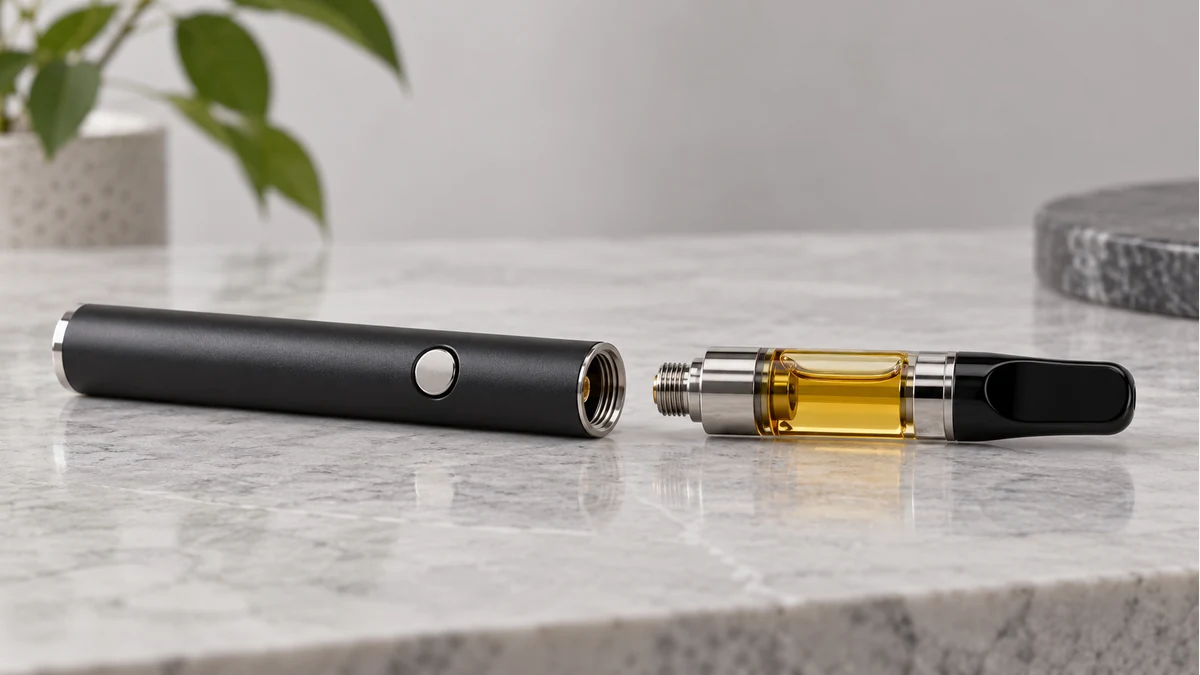
The 510 thread is named for its pitch, not for any electrical standard. It is a mechanical spec: a specific screw diameter and thread count that lets a huge range of batteries and cartridges from different manufacturers physically join together. Because so much of the vaping hardware market converged on this one thread size, people assume that a secure mechanical fit also means a confirmed electrical and airflow match. It does not. The thread only answers one question—will this screw into that—and leaves several other questions, like voltage delivery, center-pin alignment, and vapor path diameter, completely open.
🧭 1. The Screw Fit Is Mechanical, Not Functional
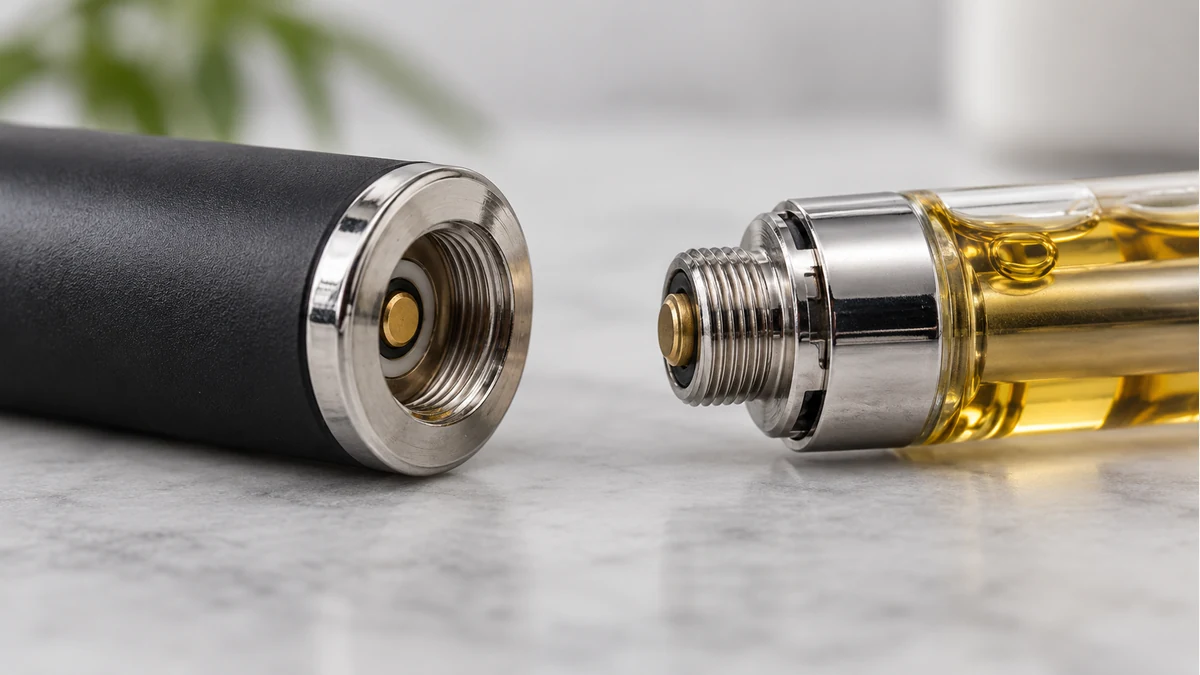
Every 510 connection has two independent jobs happening at once. The outer threading holds the two halves together under tension, the same way any screw holds two plates together. The inner contact—a small pin or spring-loaded post in the center of the battery’s threaded ring—is what actually completes the electrical circuit by touching the matching contact on the cartridge’s base.
Those two jobs can succeed or fail independently. A cartridge can thread on tightly while its center pin sits a fraction of a millimeter too short, too recessed, or slightly off-center to make contact. The result is exactly the scenario described above: a solid mechanical connection with no electrical one.
📐 1.1. Why a Snug Thread Can Still Mean No Power
Center pins vary in height and spring travel across manufacturers. Some cartridges use a flush, non-spring-loaded pin designed for a specific battery’s slightly recessed contact. Put that same cartridge on a battery with a differently shaped contact well, and the pin may never physically touch the circuit, even though the threads turned down to a complete stop.
This is also why people troubleshooting a “dead” cartridge often find the fix is a tiny twist back out, not a replacement part—backing off a quarter turn can sometimes let a spring-loaded pin extend into contact that over-tightening had pushed out of reach.
🔍 2. The Center Contact Carries the Actual Circuit
Inside the threaded ring, the center contact is the only part doing electrical work. On the battery side, it connects to the circuit board or button mechanism that regulates how current reaches the cartridge. On the cartridge side, it connects to the heating element inside. The thread’s only electrical role, if it has one at all, is sometimes acting as the return path (the ground), which is a separate reason a loose or corroded thread can cause intermittent cutouts even when the center pin looks fine.
🧩 2.1. Voltage and Output Controls
Batteries built around the 510 thread range from fixed-output cells with no adjustment to variable-voltage models with a dial or button sequence that steps through preset levels. None of this is visible from the thread itself. Two batteries can look identical from the threading up and still deliver very different output to the same cartridge, because the regulation happens entirely in the circuit behind the center pin, not in the screw connection.
This matters for the kind of question that shows up when someone is comparing batteries by capacity alone, something referenced in discussions about picking a battery with a higher capacity rating. Capacity (measured in mWh for these small batteries) describes how much energy is stored, not how that energy is metered out. A high-capacity cell paired with the wrong output setting for a given cartridge’s resistance can still underperform or overheat the oil, because capacity and output regulation are separate hardware properties connected only by the same circuit board.
| Hardware trait | What the thread tells you | What you actually need to check |
|---|---|---|
| Thread diameter/pitch | Confirms mechanical screw-together fit | Nothing about the circuit |
| Center pin height | Not visible from thread alone | Whether pin reaches the cartridge contact |
| Output voltage | Not indicated by thread | Battery’s printed or dial-set voltage/output level |
| Airflow diameter | Not indicated by thread | Cartridge’s intake hole size versus battery’s airpath, if any |
⚙️ 3. Airflow Depends on Cartridge Design, Not the Thread
A separate point of confusion comes up around draw and airflow, especially from people assembling a battery shell themselves rather than buying a complete device. Threading two parts together says nothing about how air moves through the assembled unit. Airflow is determined by the cartridge’s own intake holes near its base and the internal channel leading up to the mouthpiece.
Some batteries include an open bore running through the center of the threaded post, letting outside air reach the cartridge’s base vents. Others have a solid or mostly closed center post, relying entirely on the cartridge’s own side vents for air. Screwing a cartridge built for one airflow design onto a battery built for the other does not break the circuit, but it can produce a draw that feels unexpectedly tight, loose, or inconsistent—an outcome that has nothing to do with oil, coil, or charge level, and everything to do with how the two airpaths happen to line up once threaded together.
For related context, see the 510 cartridge guide.
🔩 4. Over-Tightening and Thread Wear
Because the 510 thread is a fine pitch cut into comparatively soft metal (usually brass or a plated alloy), it is easy to cross-thread or strip with excessive force. A cartridge that seems to require unusual effort to seat is more often a sign of debris or a slightly bent pin than a connection that needs more torque.
🌬️ 4.1. Signs of Thread Damage
- Cartridge spins without tightening, or feels loose after a few turns
- Visible shiny or flattened spots on the threading where metal has been shaved
- A grinding or catching sensation partway through screwing in, rather than a smooth stop
- Connection that works only when held at a slight angle, suggesting the threads are no longer cutting evenly
Stripped threads cannot be restored by tightening harder; the fix is replacing the damaged part. This is one of the more common hardware failures reported by people experimenting with mismatched or salvaged components, including in build discussions where parts from different sources are forced together despite a rough fit.

🔋 5. Keeping the Connector Clean
Residue buildup at the center contact is one of the most frequent, and most fixable, causes of weak or intermittent connections. Oil residue, condensation, or fine debris sitting on either contact surface acts as an insulating layer, and it does not need to fully cover the pin to interfere—a thin film is often enough to create a flaky connection that works only under pressure or at certain angles.
🔌 5.1. A Basic Cleaning Approach
- Remove the cartridge from the battery before cleaning either surface
- Use a dry cotton swab or soft cloth on the battery’s center pin and the surrounding threaded ring
- Avoid inserting anything metal or sharp into the contact well, since it can bend or flatten the pin’s spring travel
- Let any moisture fully air-dry before reconnecting, since a damp contact can mimic the same symptoms as a dirty one
A connector that intermittently cuts out, rather than failing completely, points toward this kind of surface-level contact issue far more often than it points toward a dead battery or a defective cartridge.
For related context, see the digital 510 battery guide.
🧼 6. Why a Secure Thread Still Isn’t Proof of Compatibility
Pulling the previous points together: the thread confirms exactly one thing, which is that two parts share the same screw geometry. It does not confirm that the center pin reaches far enough to close the circuit, that the battery’s output matches what the cartridge’s heating element expects, that the airflow paths line up the way the cartridge was designed to draw, or that the connector surfaces are clean enough to carry current reliably.
This is the same reasoning that applies to the broader question of building a 510 device from separate parts rather than buying a matched pair. A thread compatibility check is a useful first filter—if the parts don’t screw together at all, nothing else matters—but it is the easiest check to pass and the least informative one on its own. Center-pin geometry, output regulation, and airflow design all have to be checked independently, usually by referring to the specifications printed on or packaged with each component rather than relying on physical fit as a stand-in for the rest.
For related context, see the adjustable-voltage battery guide.
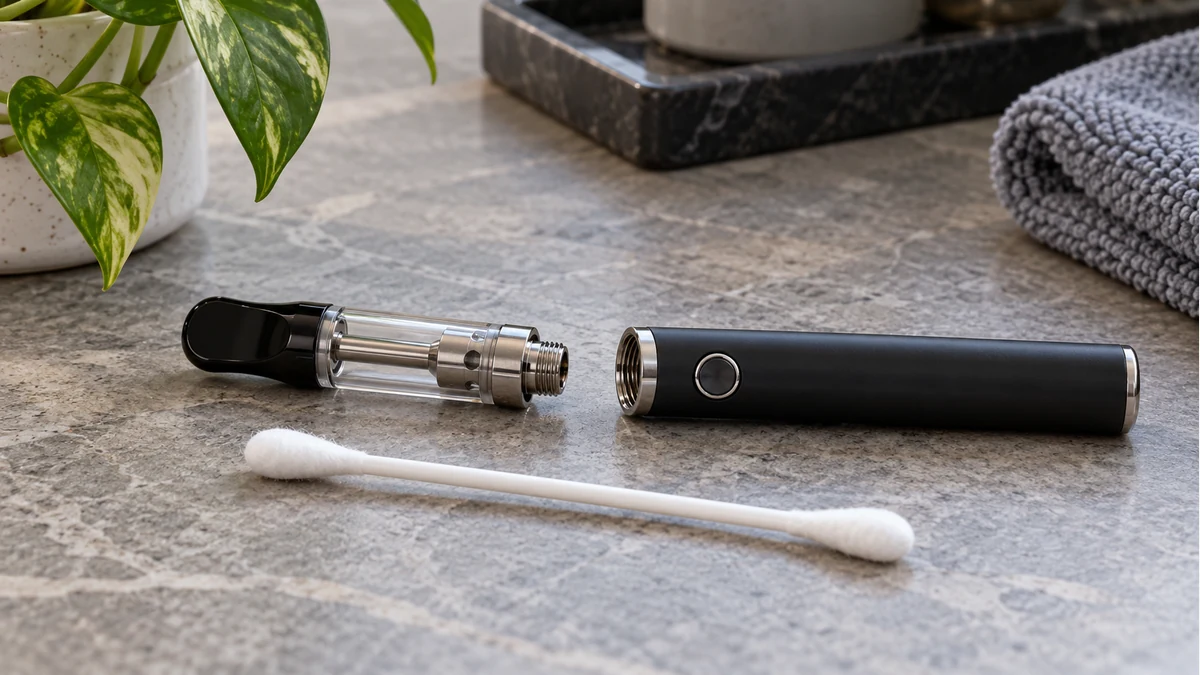
When troubleshooting a screw-on cart battery, the most useful habit is to separate the question “does this screw together” from “does this actually work together.” A secure thread is a starting point for inspection, not a finish line—confirm the center pin makes contact, confirm the output level suits the cartridge, and confirm the connector surfaces are clean, before assuming the hardware itself is at fault.
🧪 7. Documentation Beats Visual Similarity
Product photographs can establish the broad hardware category, but they cannot confirm dimensions, electrical limits, or internal construction. A reliable comparison uses the model manual, a dimensional drawing, and the maker’s stated compatibility list. The 510 label describes a common connection pattern; it does not guarantee identical depth, airflow, contact travel, or load requirements.
📏 7.1. Record the Physical Interface
Before changing parts, note the connector condition, exposed cartridge diameter, installed height, control state, and charging-port type. These observations separate a fit problem from a power or maintenance problem. They also make support conversations specific instead of relying on a generic product name.
🛠️ 7.2. Keep Claims Within What the Hardware Shows
A material name, indicator light, or familiar silhouette is only one clue. It should not be expanded into an unsupported claim about performance, purity, battery health, or service life. When documentation is missing, state the uncertainty and compare only observable construction.
📋 8. A Practical Inspection Sequence
Start with the device powered off and disconnected from charging. Inspect the threads and center contact for debris, check that the cartridge or atomizer seats without force, and confirm that air openings remain unobstructed. Reassemble finger-tight rather than using the battery body as a lever.
Next, use the documented controls and indicator meanings for that exact model. If the observed light or screen behavior conflicts with the manual, stop and verify the cartridge and cable separately instead of repeatedly activating the device. A repeatable sequence preserves the evidence needed to identify which interface is actually involved.
✅ 9. Thread Engagement Is Not the Same as Electrical Contact
A screw-on cartridge can begin threading correctly yet stop before its center pin reaches the battery contact. The opposite can also happen: the center pins touch while the cartridge base leaves an unusual gap. Thread depth, collar shape, pin travel, and insulating rings all influence the final interface. That is why forcing the last fraction of a turn is a poor diagnostic method.
Examine both contact faces under good light. They should be clean, centered, and surrounded by intact insulation. A center contact that appears tilted, deeply recessed, or loose needs model-specific service guidance. Do not pry it upward or bridge it with metal. Those shortcuts can damage the insulator and create a short circuit.
💡 9.1. Airflow May Bypass the Threads
Some cartridges draw air through slots near the base; others use openings higher on the body. A battery collar, adapter, or decorative shroud can cover those slots even though the 510 threads fit. Check the documented air route and preserve visible clearance around every inlet.