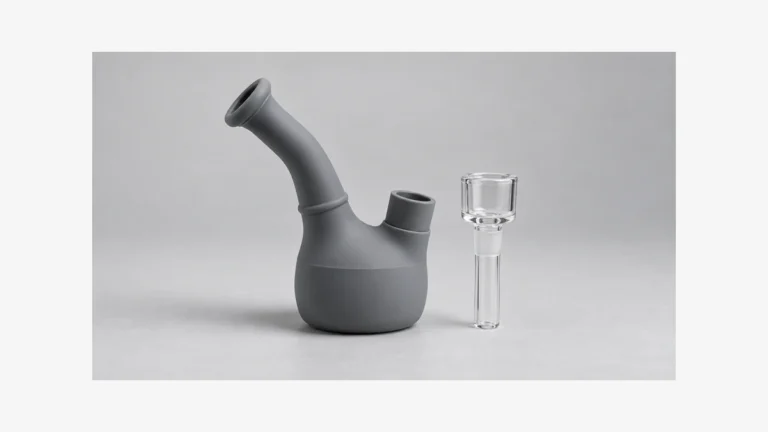
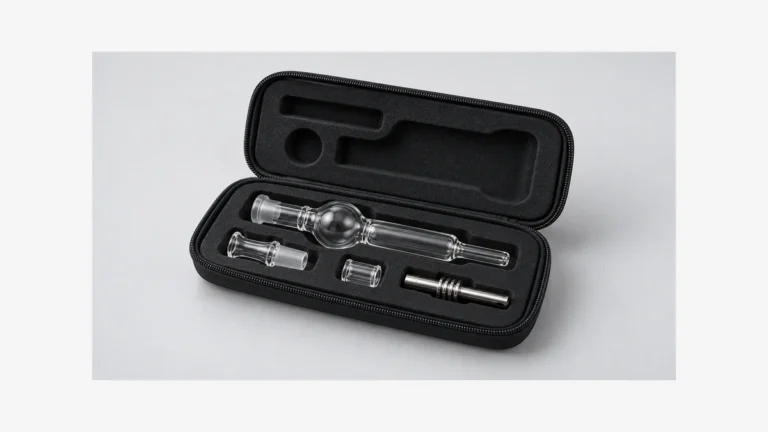
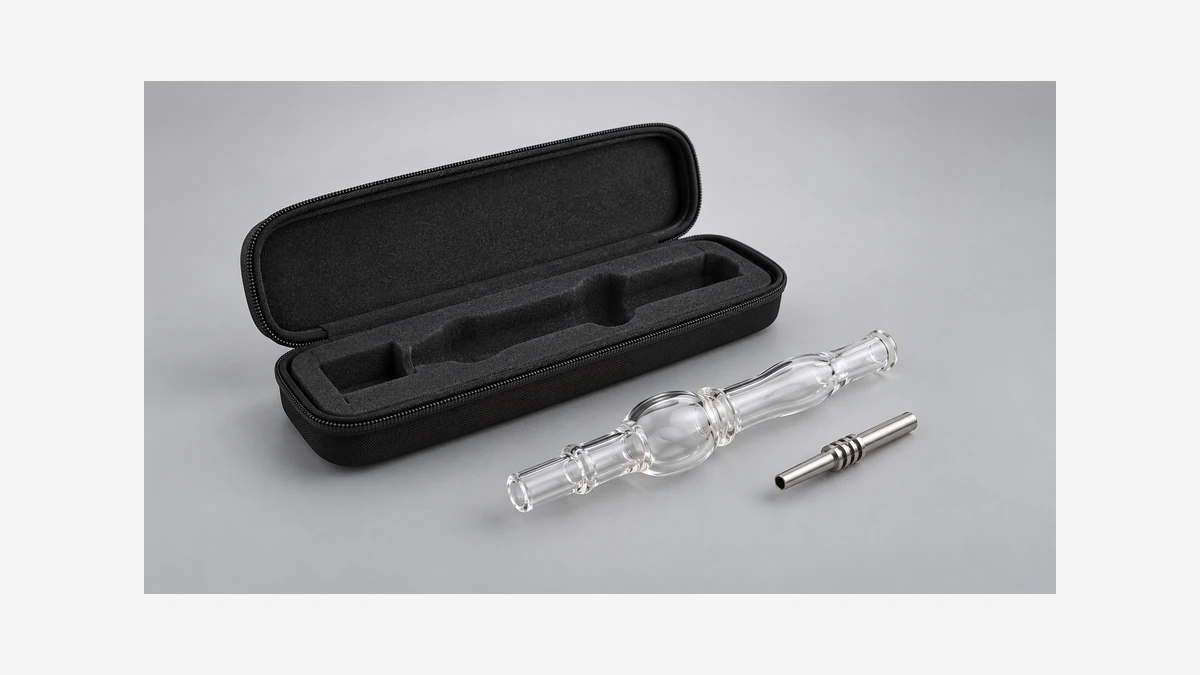
The original case still closes, but the replacement tip no longer sits where the old one did. That is an easy detail to miss when searching for a nectar collector with case: the name describes a bundle, while the fit depends on the actual parts inside. The shell, insert, body and loose tip need to be identified separately.
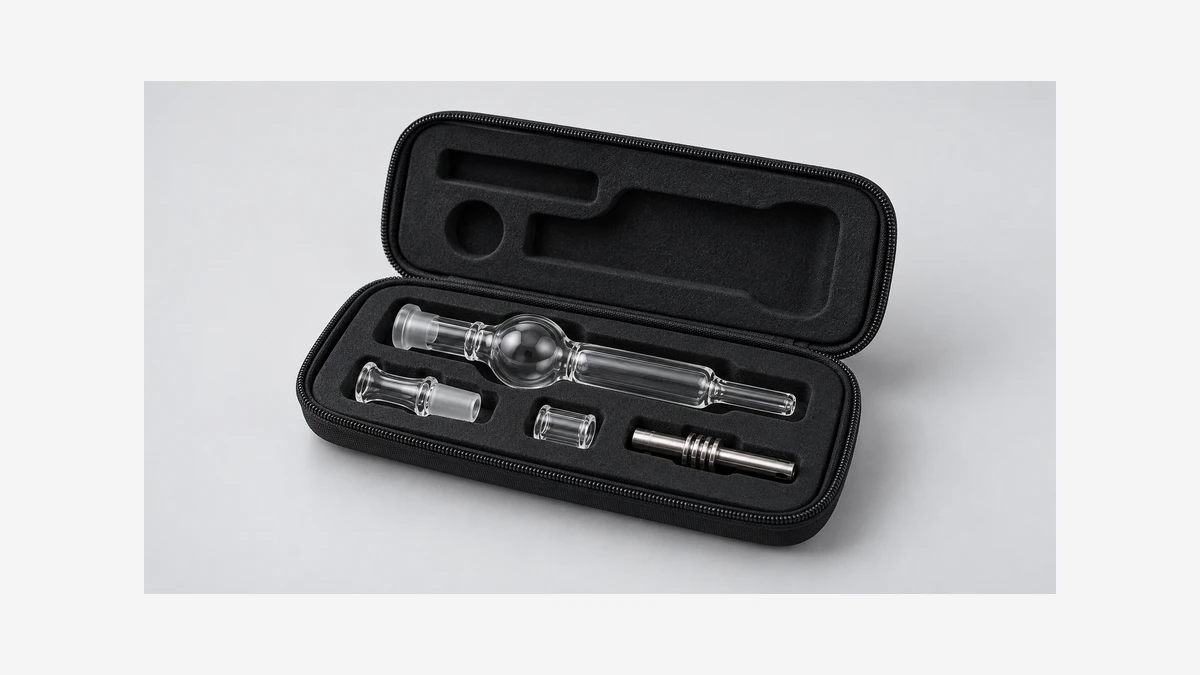
For an existing kit, begin with its present contents rather than the original photograph. A missing insert, a changed component or a worn closure can each explain a different problem. A case is a storage arrangement. It cannot repair a loose socket or make damaged glass sound again.
📦 1. What does nectar collector with case actually include?
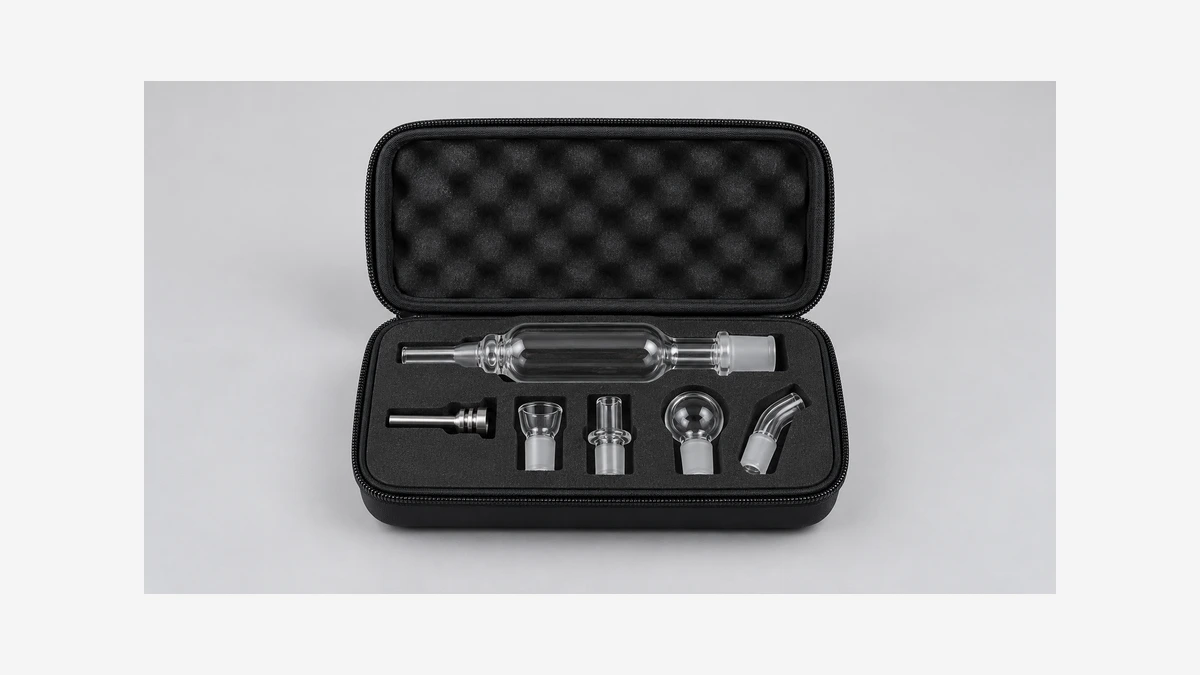
A photograph can show a case with a handpiece and several accessories without establishing which items are included. Read the specific kit’s inventory. The storage shell, removable liner and accessory pouch may have separate names. A picture of the complete arrangement does not establish that an empty replacement case includes the same insert.
For a kit already in the house, make an inventory of its empty, cool components. Identify the main body, any documented removable tip and other original fittings. Keep uncertain pieces in the uncertain category. An unused recess may belong to a part that is missing, but it could also be intentional space in an insert used for several configurations.
A mixed-kit discussion illustrates the difference between a list of contents and a fit description: a commenter asked about size after the owner listed many items. The list alone did not provide dimensions or a protection rating. A full-looking photograph is not a measurement of the case.
For terminology, the glass-straw construction guide distinguishes bodies and tips. Use the names that match the particular kit. Calling every narrow piece a straw makes it harder to explain whether a concern is about the body, a connector or a separate end component.
📐 2. The assembled outline and the packed outline can differ
A long recess can be intended for a complete handpiece, while another insert may have separate locations for its components. Neither arrangement should be assumed from the outside of the case. Use the kit’s documented packing layout, including which pieces are intended to separate. Do not dismantle an unidentified joint just to reproduce a photograph of a different kit.
Model-specific descriptions make this distinction visible. The maker’s smaller kit-case page identifies smaller handpieces in its own family. Its other case page describes a broader fit within that family. These are limited fit descriptions, not evidence that either case fits an unrelated collector.
The same caution applies to a replacement part that looks similar. A longer connector, wider end or different shoulder changes the outline that a storage recess must accommodate. The original case name does not establish that a later component has the same packed dimensions as the original.
Record the configuration actually specified for storage. If instructions show separate parts, compare the individual outlines. If they show an assembled body, preserve that distinction in the question. A measurement of total assembled length is useful for one arrangement but incomplete for a case with several independent recesses.
🧩 3. The body and loose tip need identifiable locations
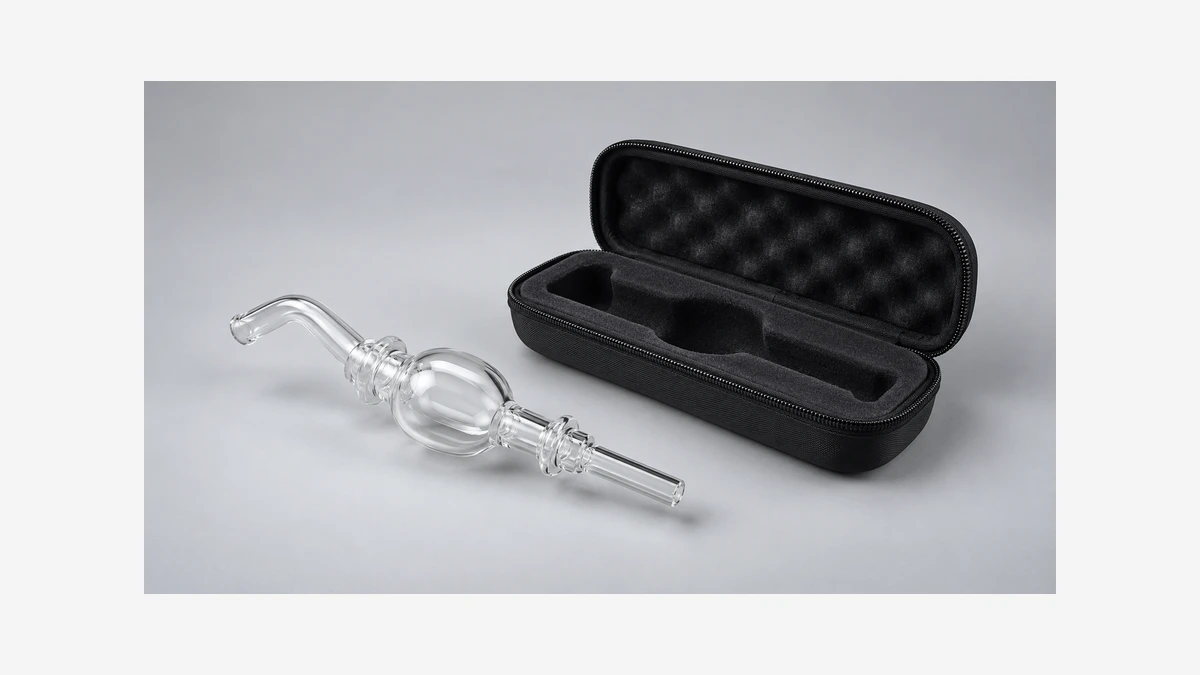
A narrow tip and a broader body have different outlines. A recess that accepts the body does not automatically account for the tip. Look for the intended location of each component in the kit’s layout, rather than filling an available space simply because the part can be placed there.
Do not assume the narrowest recess is necessarily the correct one. It may be for a tool or another fitting. If the original diagram is missing, photograph the empty insert and the components separately. That is a better starting point for identification than rearranging everything until the case appears full.
A tip that is loose in its socket raises a different issue. In a discussion about a falling tip, another participant reported a similar concern. The thread does not establish the cause or an approved repair. It also does not contain a verified recommendation that a case solves the socket problem.
For storage, keep the component identifiable and follow the maker’s documented arrangement. Do not use a case recess to press a loose joint together. A closure holding the pieces in one position is not evidence that the connection has become correct or that the equipment is ready for service.
✋ 3.1 Access matters when a component must be removed
An insert can surround a part closely while leaving little obvious space to reach it. Check the documented removal direction and any intended finger recess. Do not use the protruding tip as a handle to lever the body out. If an item appears trapped, stop and ask about the layout rather than increasing force.
This is worth including in a support photograph. A top view shows the recess outline; a side view can show how deeply a component sits. Together they describe the access problem without requiring a demonstration in which the glass is bent, pulled against a tight edge or repeatedly pressed into place.
For example, a replacement end may fit the width of an old recess while projecting above its top. A top-down photograph can make that look correct because the extra height is hidden. A side view supplies the missing information. This is an illustrative mismatch, not a diagnosis of a particular case or a reason to compress the part farther into the lining.
A finger recess can also disappear from view when a different component occupies the slot. If the intended removal area is blocked, record the arrangement with the case open. Do not use the neighboring part as a lever or assume that an unusually tight fit means the new combination is better supported.
A collector stand supports an exposed body; a case defines an enclosed storage arrangement. An accessory that rests on its stand has not thereby been shown to fit a case insert. Keep those two support questions separate when describing the kit.
🔒 4. A closed lid does not establish correct fit
The closure is only one part of the arrangement. A zipper can close around a flexible shell without proving that each internal component has clearance. Conversely, a difficult closure may reflect an item in the wrong place, an overfilled pocket, a displaced liner or a problem with the closure itself. The symptom does not identify the cause.
If the lid is visibly obstructed, do not push it down to see whether the contents settle. Check the maker’s layout with the case open. An enlarged replacement end, raised accessory or shifted insert can be described without testing how much compression the assembly will tolerate.
A lid pocket deserves the same attention as the lower recesses. Its contents occupy space above the main compartment. An open-case photograph may make two sections look separate even though they face each other when closed. Compare the actual arrangement with the documented layout rather than treating the pocket as unlimited additional storage.
Do not shake or drop the case to test whether the parts move. This article is about recognizing a layout problem, not evaluating an impact rating. A fit question should be answered through the case’s intended configuration and specifications, not through an improvised stress test on the glass inside.
The broader rig-case guide discusses separation around larger bodies and loose glass. A small collector kit has its own component outline. Borrowing the general idea of separate locations does not make the dimensions or restraints from a larger rig case applicable to it.
⚠️ 5. Separate a packing problem from a condition problem
A support insert can be mismatched while every component remains visibly intact. A component can also be damaged even when its original case fits exactly as intended. These are different questions. Reporting both is useful; treating the case as an explanation for every defect is not.
In a thread about repeated tip cracks, the owner described cracking during heating. Comments proposed several explanations. That account should not be rewritten as evidence of transport damage, and the comments do not establish a diagnosis. A storage article cannot resolve that failure from the post.
DWK’s laboratory-glass guidance rejects visibly chipped, cracked or scratched glass. Used here as a narrow physical-care reference, it supports taking damage seriously. It does not certify a collector or suggest that padding restores an already damaged component.
Keep an unresolved or damaged component separate from intact accessories according to the maker’s guidance. Do not return it to a kit as though packing it away has settled the condition question. A photograph and item identity should remain associated with that component until the issue is resolved.
💧 6. The case and the equipment have separate care needs
The glass body, a metal fitting, a foam insert and a fabric shell are not one material. Care instructions for the equipment do not automatically apply to the case. A cleaner suitable for one part is not established as suitable for every lining, adhesive, zipper or pocket surrounding it.
Empty the case only as its instructions allow before its own care step. If the liner is described as fixed, do not pull it out because another case has a removable insert. A loose edge may be a condition issue rather than a designed removal point. Preserve the distinction when asking for guidance.
Pack only cool, dry equipment in its documented storage configuration. The case is not a cooling enclosure or a substitute for the separate drying steps in the equipment’s instructions. This article provides no hot-packing, torch-storage or charging arrangement; those require their own product-specific directions.
Examine the empty case for visible changes: a displaced divider, debris in a recess, a torn lining or a closure that no longer follows its normal path. Record what is present without assuming a chemical cause or promising that cleaning will restore its original fit. A worn insert and a dirty insert are not automatically the same problem.
The empty insert can reveal a different problem from the loaded case. A liner may be folded at an edge or seated differently from the original layout. State what the photographs show, but do not remove a fixed liner to obtain a better picture. The question is whether its present position matches the documented arrangement.
Case identification matters when the exterior has remained the same across several kits. Include any model label and the original kit inventory if available. A photograph of a familiar-looking shell alone may not identify which insert came with it. Keeping these records together avoids assigning one kit’s internal layout to another kit’s container.
If the concern is a missing slot rather than a closure problem, make that distinction explicit. Identify the component with no documented location and show it beside the empty insert. That is a more specific question than asking whether the case is too small, and it does not require experimenting with crowded arrangements.
📝 7. Describe the missing space before asking about an insert
Start with photographs of the case open and empty, its identification label and the cool components beside it. Include a ruler for accessible dimensions, without placing it against fragile ends. Name the measurement: outside shell length, usable compartment length, recess width or available depth. Those numbers answer different questions.
Explain what changed. Was a tip replaced, a liner removed, a divider displaced or a pocket newly filled? An original photograph can help identify the previous arrangement, but it does not prove the current part is identical. Keep the old and current configurations distinct in the message.
Ask whether the existing insert was designed for the exact component combination shown. If there is no published layout, say so. The useful outcome is an identified arrangement for those particular parts, not a universal claim that any collector fits any padded case or that a tight closure makes the contents protected.