Search “510 battery light meaning” and you’ll find a dozen conflicting answers. One thread says green means full charge. Another swears green means low power. A third insists green is just what happens when the battery is idle. None of these people are wrong, exactly — they’re just describing different devices, made by different manufacturers, running different firmware, with no shared rulebook between them.
That’s the core problem with 510 battery color meanings: there isn’t a “510 standard” for LED colors at all. The 510 thread is a physical connection spec — the screw pattern that lets a battery and a cartridge fit together. It says nothing about lights, blink counts, or what red versus blue is supposed to communicate. Every indicator light you see is a decision made by whoever designed that specific battery, and it can change from one product line to the next, even within the same brand.
New vape pen owners run into this constantly, and it shows up in the same handful of ways every time: someone gets a device with no manual and can’t figure out what the light color means, someone sees blinking and assumes it’s a power-level signal when it’s actually something else entirely, and someone conflates charging behavior, blink patterns, and weak output into one confusing mess because all three happen to involve a light changing. These are three separate systems that happen to share the same hardware component — a single LED.
🎨 1. Power Level Colors Are a Design Choice, Not a Rule
Most 510 batteries with variable output or a charge indicator use color to represent something about battery level — but the specific mapping is entirely up to the manufacturer. Some use a green-to-red gradient where green means high charge and red means low. Others invert that entirely. Some use a single color that only changes brightness or blink speed instead of hue. Some don’t indicate power level through color at all and instead use a number of blinks.
Because of this, it’s not accurate to say “green means full” or “red means low” as a general rule for 510 batteries. That mapping only holds for the specific model it was documented for. A battery from one brand might use red for its highest voltage setting, while a visually similar battery from a different brand uses red exclusively as a low-battery warning. Without checking the documentation for that exact device, there’s no way to know which logic applies.
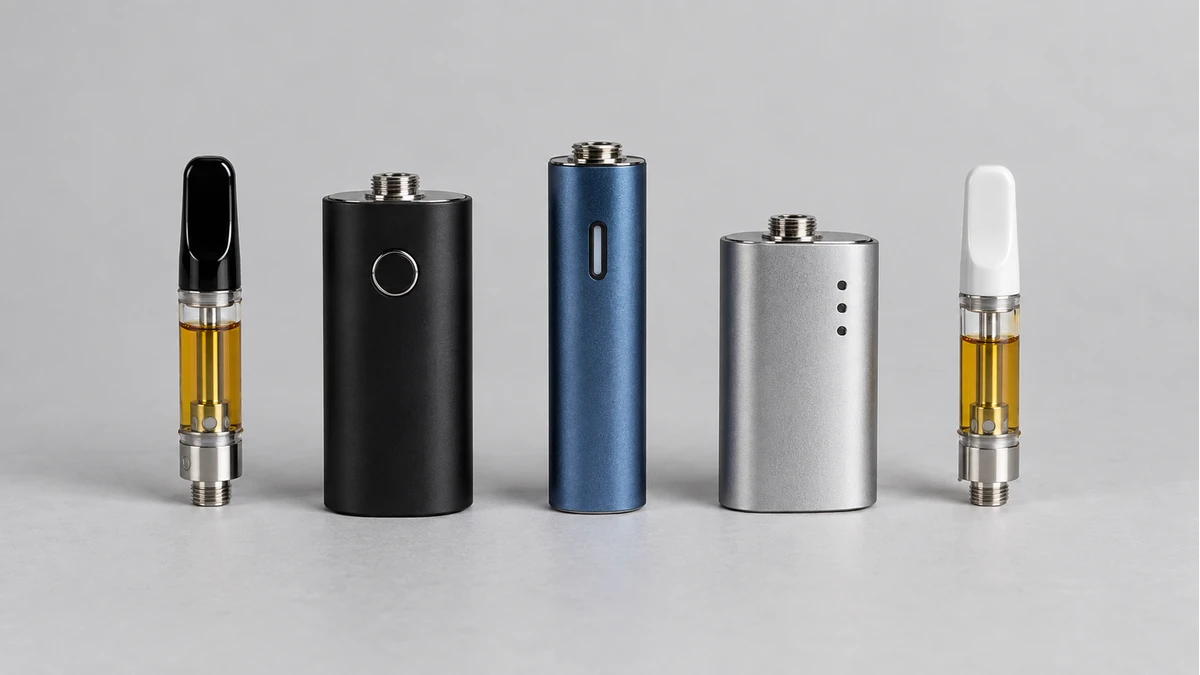
This is also why so many people describe the same experience on forums: they bought a device secondhand, inherited one without packaging, or simply misplaced the insert that came in the box, and now they’re trying to reverse-engineer the color logic from memory or guesswork. It’s a reasonable instinct, but color alone is rarely enough information to draw a firm conclusion.
⚡ 2. Charging State Colors Follow Their Own Separate Logic
Charging indicators are a distinct system from power-level indicators, even though they often use the same LED. A battery might show one color while charging, switch to a different color or turn off entirely when charging completes, and use yet another color when it’s disconnected from a charger and simply powered on and ready to use. Mixing these up is one of the most common sources of confusion.
⚡ 2.1 What a Steady Light During Charging Usually Represents
On many devices, a steady (non-blinking) light while plugged in indicates that charging is actively in progress. Some models pulse instead of staying steady, and a smaller number don’t light up at all until charging is nearly finished. There’s no way to assume which behavior applies without checking documentation for that specific battery, since manufacturers implement this differently even on visually similar hardware.
⚡ 2.2 Why “Charging Complete” Signals Aren’t Consistent Either
Some batteries switch to a different color when charging finishes. Others simply turn the light off. Others blink a set number of times once before going dark. If someone assumes their battery isn’t charging because the light behaves differently than they expected, that assumption can be wrong — the device might just be finished, or using a different visual language than the last battery they owned. For anyone dealing with a light that won’t change no matter how long it’s plugged in, our vape-not-charging guide walks through how to separate an actual charging fault from a light behavior that simply looks unusual but is functioning normally.
🚨 3. Blinking Is Its Own Category — Not a Power Reading
This is probably the single most common point of confusion, and it shows up constantly in new-user questions: someone presses the button expecting the device to activate, and instead the light blinks several times. The instinct is to read that blinking as a battery level warning. Often, it isn’t.
Blink patterns are frequently used to indicate connection or fault states — a cartridge that isn’t seated properly, a short circuit protection trigger, an atomizer resistance that’s out of the expected range, or a safety lockout being engaged or disengaged. These are electrical-state signals, not charge-level signals, and manufacturers typically assign them a distinct blink count specifically so they can be told apart from power indicators.
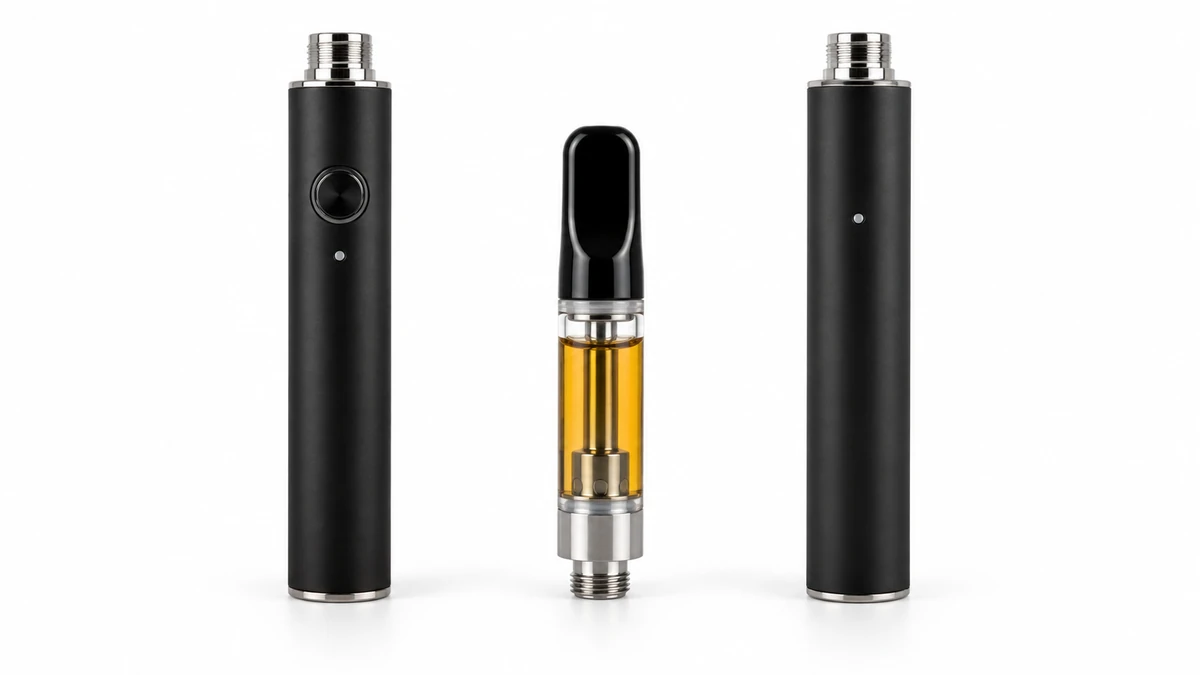
The number of blinks matters here more than the color in many designs. Three blinks might mean one thing, five blinks something else entirely, and a continuous rapid blink yet another. Some devices reuse the same color for multiple blink-coded messages, which is exactly why color by itself can’t be the deciding factor — the pattern and count carry the actual meaning, and that pattern is defined per model, not universally.
🔥 4. Preheat Indication Adds a Fourth, Separate Signal
Batteries with a preheat function — a mode that warms the connected cartridge before full output begins — often use a distinct visual cue to show that this mode is active. That might be a different color entirely, a slow pulsing effect, or a specific blink rhythm that’s clearly different from both the power-level display and the fault-blink pattern.
Because preheat is a temporary, timed state rather than a static reading, its indicator is designed to be easy to distinguish from “this is your battery level” at a glance — at least in theory. In practice, if a user doesn’t know their device even has a preheat function, seeing an unfamiliar color or pulse pattern appear can be just as confusing as any blink-based fault signal. The fix is the same in both cases: check what that specific light is documented to mean, rather than assuming it maps to charge or power.
💨 5. Auto-Draw Feedback Is a Different Signal Layer Again
Auto-draw batteries — the kind that activate automatically when a draw is sensed, rather than requiring a button press — introduce yet another layer of light behavior. These devices often flash briefly to confirm that the draw sensor triggered activation, which is a real-time feedback signal rather than a status indicator at all. It’s telling the user “this just activated,” not “here is your current charge level” or “here is a fault.”
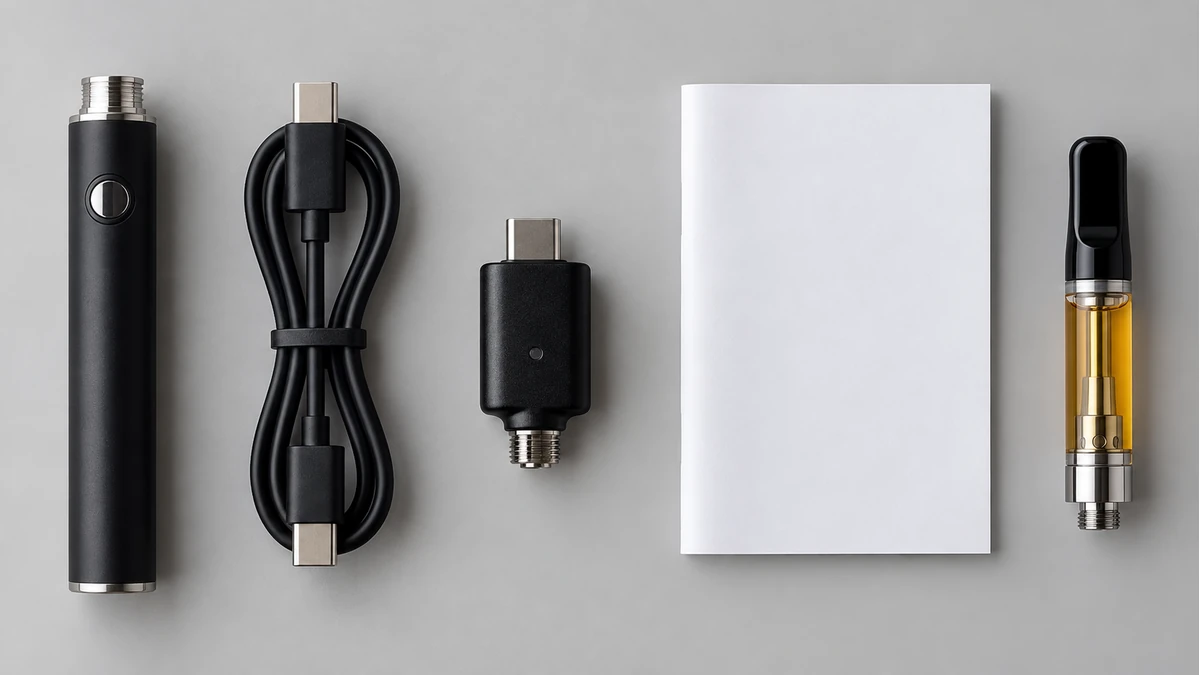
People coming from button-operated devices sometimes misread this activation flash as a power warning, especially if the color happens to overlap with whatever that brand uses for low battery elsewhere in its lineup. Our auto-draw 510 battery guide goes deeper into how draw-activated feedback differs from button-based indicator systems, since the two aren’t interchangeable even when the physical light looks the same.
🧭 6. A Manual-First Way to Actually Identify What a Light Means
Given how much color meanings vary between models, the most reliable path isn’t guessing based on general internet advice — it’s working through a short identification process specific to the device in hand.
🧭 6.1 Start With the Button Sequence
Most 510 batteries use a specific click pattern — commonly five rapid clicks — to power on, power off, or enter a settings mode. Testing this sequence and observing exactly what the light does in response (does it blink a set number of times, cycle through colors, pulse once) gives a concrete, repeatable data point rather than a one-off observation.
🧭 6.2 Check the Port and Any Printed Labels
The charging port type, any printed model number, logo, or SKU near the base of the battery, and the packaging (if it still exists) are all identifying details that can be used to search for the correct documentation. A battery without any printed markings is harder to identify, but the port style and overall shape can still narrow down the likely manufacturer or product family. For related hardware context, see AOVAPE’s 510 battery display guide.
🧭 6.3 Track Down the Manufacturer’s Documentation
Once the model is identified, the manufacturer’s own instructions — printed insert, product page, or support documentation — are the only reliable source for what a given color or blink pattern actually represents on that device. This is the step that resolves the ambiguity every general color chart online cannot, because those charts are usually written for one product line and then treated as if they apply universally. Our 510 battery display guide covers this identification process in more detail, including how to work through it when the original packaging or manual isn’t available. For related hardware context, see AOVAPE’s vape-not-charging guide.
🧩 7. Organizing What You Observe
Because color alone doesn’t carry enough information on its own, it helps to separate what’s actually being observed into categories before trying to interpret it. The table below outlines the broad signal types discussed above and where the answer for each one needs to be verified — not what any specific color or blink count means, since that’s model-specific information. For related hardware context, see AOVAPE’s auto-draw 510 battery guide.
| Signal Type | What It Generally Relates To | Where to Verify the Meaning |
|---|---|---|
| Light while idle or in use | Power level display | Manufacturer documentation for that model |
| Light while plugged into a charger | Charging state | Manufacturer documentation; vape-not-charging guide for troubleshooting |
| Blinking after a button press | Connection or fault warning | Blink count and pattern, cross-checked against documentation |
| Pulsing or distinct color during activation | Preheat mode | Manufacturer documentation for that feature |
| Brief flash on inhale | Draw-sensor activation confirmation | Auto-draw 510 battery guide |

Working through categories like this — rather than starting from “what does this color mean” — tends to produce a much more accurate answer, because it forces the actual context (was this during charging, after a button press, during a draw) into the picture instead of relying on color in isolation.
None of this is complicated once it’s laid out, but it’s easy to see why it trips up so many people early on. A single LED is being asked to communicate four or five entirely different kinds of information, and manufacturers solve that problem in their own way, using their own color logic, without any obligation to match what a different brand did last year. The light isn’t broken and it isn’t lying — it’s just speaking a dialect that’s specific to the device it’s attached to, and the only way to translate it accurately is to go back to that device’s own documentation rather than a general chart.
🗺️ 8. Build a Model-Specific Light Map
A useful reference is a small map for the exact battery in hand: action, light behavior, documented meaning, and the manual page that supports it. Keep charging indicators separate from operating indicators. If the battery has a screen, treat its symbols as a separate interface rather than assuming the LED repeats the same information.
This approach also prevents a later replacement from inheriting the wrong color assumptions. Two batteries can share a 510 connector, exterior shape, and three-color LED while using completely different sequences. The connector standard describes the cartridge interface; it does not standardize the user interface.