Picking up a first 510-thread pen often comes with a puzzling first experience: the battery blinks while it’s plugged into a charger, and there’s no manual in sight to explain what that means. Some people assume the blinking means the unit is already dead out of the box. Others get confused about whether the light is telling them something about the battery itself or about the cartridge screwed onto it. A related mix-up shows up when someone tries to pull on a cartridge while the battery is still on the charger and gets a blink instead of vapor — which has nothing to do with the charger and everything to do with how the battery’s circuit handles a draw request mid-charge. These are two different systems reporting two different things through the same tiny LED, and untangling them is the fastest way to stop guessing.
🧭 1. Two Separate Systems, One Confusing Light
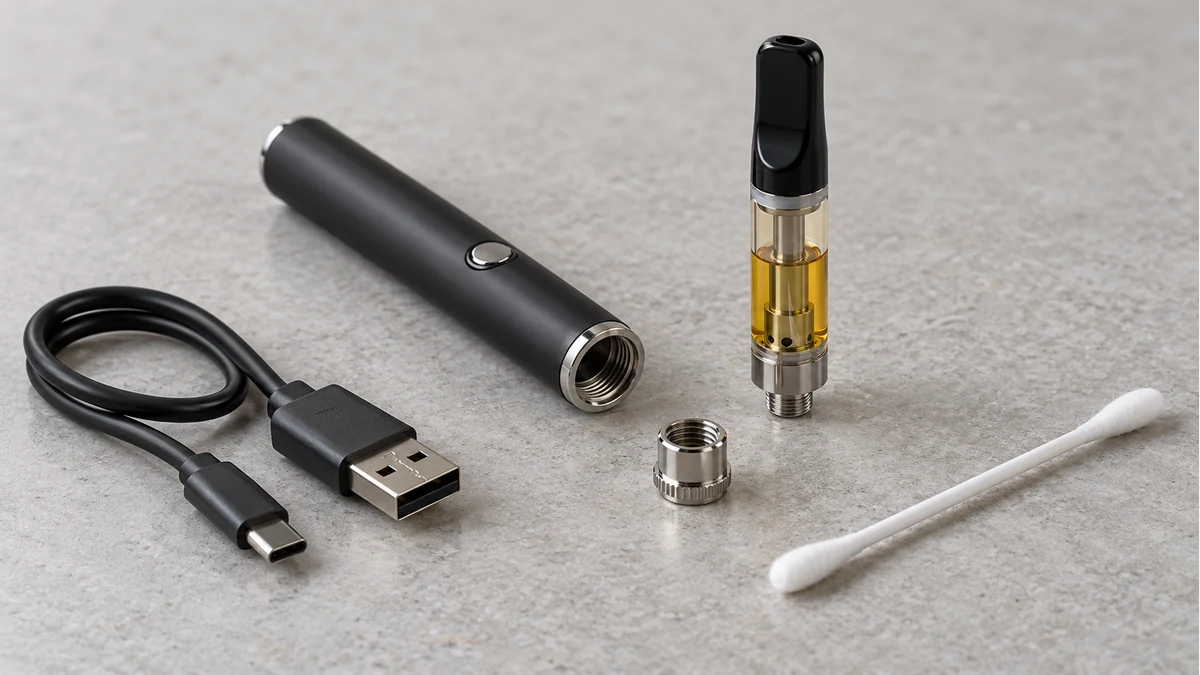
A 510-thread vape pen is really two components that happen to share a light: the battery (with its internal circuit board, charging port, and LED) and the cartridge (a heating coil and reservoir that draws power from the battery on contact). The LED lives on the battery housing, not on the cartridge, which means every blink pattern you see is the battery reporting on its own status — charging progress, voltage level, or a fault it has detected. The cartridge itself has no way to communicate with that light at all.
📐 1.1. Why This Distinction Matters
When a cartridge produces weak vapor, tastes burnt, or doesn’t heat at all, the instinct is often to blame the battery’s blinking light. But a blink during charging is almost always unrelated to how a specific cartridge performs once it’s attached. Separating “is my battery charging normally” from “is my cartridge working” prevents a lot of unnecessary troubleshooting in the wrong direction.

🔍 2. What Blinking During Charging Usually Means
On most 510 batteries, a blinking LED while connected to a charger is the documented, normal way the device shows it’s actively receiving power. A steady light that only appears once the battery is full, or a light that shuts off entirely at full charge, is the counterpart signal on many models. The problem is that manufacturers don’t agree on which behavior means what — some use blinking for “still charging” and solid for “done,” others reverse it, and a few use color changes instead of blink patterns altogether.
🧩 2.1. Confirming the Connection First
Before assuming anything about the blink pattern itself, check that the charging cable is fully seated in the port and that the battery’s threading is making contact with the charger if it uses a magnetic or pass-through dock. A partially inserted plug can cause intermittent blinking that looks like a fault but is really just a loose physical connection.
⚙️ 2.2. Watching for a Pattern, Not Just a Blink
Count the blinks and note their rhythm. A slow, even, repeating blink is typically the “charging in progress” signal on most boards. A fast or irregular blink, especially one that starts the moment the cable is connected and doesn’t settle into a rhythm, is more often associated with a fault rather than normal charging — which is covered in more detail further down.
🔩 3. Loose or Dirty Contacts
The 510 threading and the charging port are both small metal contact points, and both are exposed to the same daily handling: pocket lint, skin oil, condensation, and residue from the cartridge’s reservoir seal. Any buildup on the battery’s charging pin or on the connector inside the charging dock can interrupt a stable connection, and an unstable connection often reads to the circuit board as an interruption worth flagging with a blink.
🌬️ 3.1. Where Residue Collects
- The recessed charging port on the base or side of the battery
- The metal tip of the USB or magnetic charging cable
- The 510 threading itself, if residue has migrated down from an attached cartridge
🔋 3.2. Cleaning Contacts Without Causing Damage
A dry cotton swab, or one very lightly dampened with isopropyl alcohol and allowed to fully dry before reconnecting, is generally enough to clear light residue from a charging port. Avoid submerging the battery or applying liquid directly into the port, since internal electronics are not built to tolerate moisture. If blinking persists after a thorough cleaning and a few minutes of drying time, the cause is more likely electrical than physical debris.
🔌 4. Incompatible or Mismatched Charger
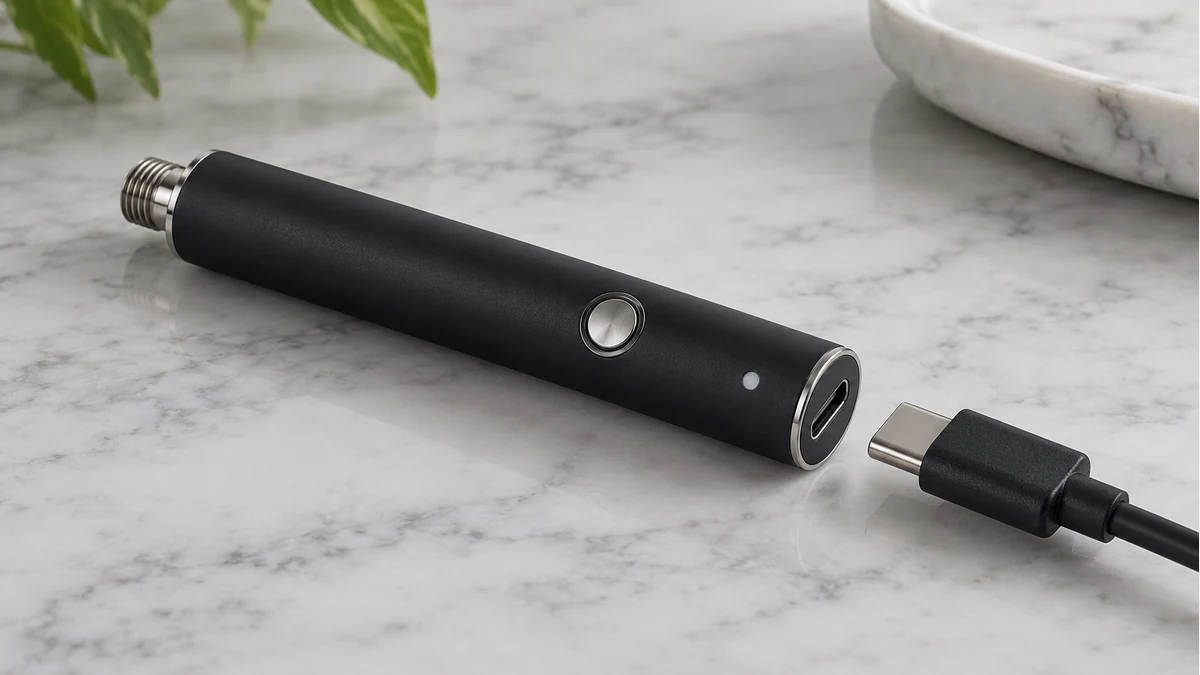
Not every USB cable or charging dock is built to the same output specification as the battery expects, and a mismatch between what a charger supplies and what the battery’s circuit is designed to accept can trigger a protective blink rather than a normal charge cycle. This is especially common when a cable from an unrelated device — a phone charger with a different output profile, for instance — is substituted for the one the battery originally shipped with.
🧼 4.1. Cable and Port Wear
A frayed or bent charging cable can deliver inconsistent power even if it technically fits, and that inconsistency can look identical to a battery fault from the outside. Inspecting the cable for visible damage, and testing a second known-working cable if one is available, isolates whether the issue lives in the battery or in the accessory feeding it.
🧪 4.2. When the Dock or Pass-Through Design Is the Variable
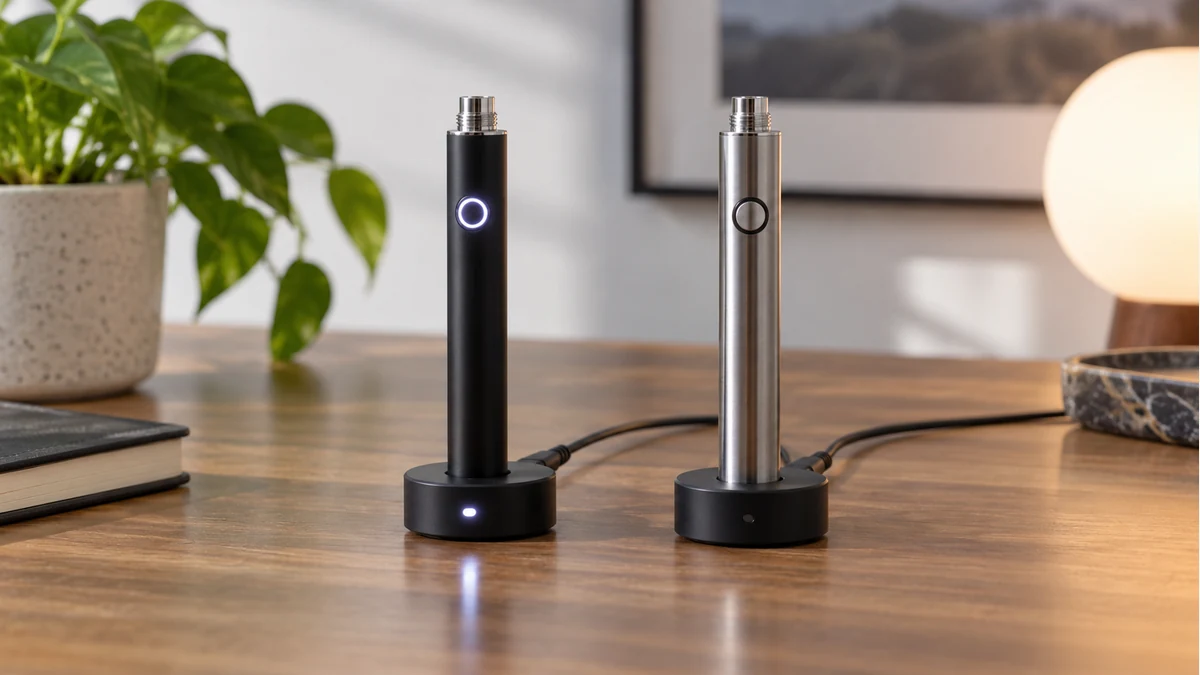
Some batteries charge through a dedicated magnetic dock rather than a direct USB-C or micro-USB port. These docks rely on precise pin alignment, and even a slight misalignment or a speck of debris on the dock’s contact points can produce the same blinking behavior as a bad cable.
For related context, see the 510 battery color meanings.
covers how to check contact alignment on dock-style chargers in more detail.
📏 5. Fault Signaling and Stop Conditions
Battery circuits include basic protective features, and a blink is the primary way a sealed, light-only interface can communicate that one of those protections has activated. Common conditions include a short circuit detected at the 510 threading, an attached cartridge resistance that falls outside what the circuit is built to handle, or an internal temperature that has climbed past a safe operating threshold.
🛠️ 5.1. Distinguishing a Fault Blink From a Charging Blink
| Observation | More Consistent With |
|---|---|
| Steady, slow blink rhythm while plugged in, nothing else unusual | Normal charging indication |
| Rapid blinking that starts immediately on connection and doesn’t change | Possible fault or bad connection |
| Blinking only when a cartridge is attached, not when the battery is bare | Cartridge-side resistance or short, not a charging issue |
| Battery feels unusually warm along with the blink | Thermal protection response |
📋 5.2. What to Do When a Fault Pattern Appears
Disconnect the charger, remove any attached cartridge, and let the battery sit for a few minutes before reconnecting with nothing else plugged into the threading. If the blinking stops under those stripped-down conditions, the fault was tied to the cartridge or the charging accessory rather than the battery’s internal cell. If it continues with the cartridge removed and a different charger in use, the battery’s own circuit is the more likely source.
✅ 6. Reading Your Specific Battery’s Documentation
Because there is no universal standard for what a blink count, blink speed, or color means across every 510-thread battery, the documentation that came with a specific model — or the manufacturer’s listed support page — is the only reliable source for interpreting its light patterns. A five-blink sequence on one battery can mean “low voltage,” while the same sequence on a different model means “cartridge resistance error.”
💡 6.1. What to Look For in Product Documentation
- A legend or table mapping blink counts or colors to specific states
- Any mention of a reset procedure, usually several rapid clicks of a button if the battery has one
- Stated voltage or wattage ranges the battery is designed to output, which affects compatibility with certain cartridges
🧲 6.2. When Documentation Isn’t Available
Batteries sold without retained packaging or a model number visible on the housing are harder to look up.
For related context, see the battery charging guide.
walks through identifying an unmarked 510 battery by its physical features, which is often the first step before any blink pattern can be matched to a known meaning.
⚖️ 7. A Short Troubleshooting Checklist
When a battery starts blinking during charging and the cause isn’t obvious, working through these steps in order tends to isolate the issue efficiently:
- Remove the cartridge and charge the bare battery alone to see if the blinking continues
- Try a different, known-working charging cable or dock
- Inspect and gently clean both the charging port and the 510 threading
- Check the battery for warmth or swelling, which points toward a thermal or cell-level issue rather than a simple connection problem
- Look up the specific model’s documentation to confirm what the observed blink pattern is actually designed to indicate
For anyone comparing batteries before a purchase,
For related context, see the auto-draw battery guide.
breaks down which charging indicator designs tend to be easier to interpret without a manual on hand.
The most useful habit to take away from a blinking charge light isn’t memorizing what a particular color or speed means in general — it’s learning to treat the battery and the cartridge as two separate pieces of hardware, confirming the physical connection first, and then checking the specific battery’s own documentation before assuming a fault. A light that behaves consistently, in the same pattern, every time the battery charges under normal conditions, is simply doing its job; it’s an unexplained change in that pattern that’s actually worth investigating.
🔎 8. Documentation Beats Visual Similarity
Product photographs can establish the broad hardware category, but they cannot confirm dimensions, electrical limits, or internal construction. A reliable comparison uses the model manual, a dimensional drawing, and the maker’s stated compatibility list. The 510 label describes a common connection pattern; it does not guarantee identical depth, airflow, contact travel, or load requirements.
📦 8.1. Record the Physical Interface
Before changing parts, note the connector condition, exposed cartridge diameter, installed height, control state, and charging-port type. These observations separate a fit problem from a power or maintenance problem. They also make support conversations specific instead of relying on a generic product name.
🧭 8.2. Keep Claims Within What the Hardware Shows
A material name, indicator light, or familiar silhouette is only one clue. It should not be expanded into an unsupported claim about performance, purity, battery health, or service life. When documentation is missing, state the uncertainty and compare only observable construction.
📐 9. A Practical Inspection Sequence
Start with the device powered off and disconnected from charging. Inspect the threads and center contact for debris, check that the cartridge or atomizer seats without force, and confirm that air openings remain unobstructed. Reassemble finger-tight rather than using the battery body as a lever.
Next, use the documented controls and indicator meanings for that exact model. If the observed light or screen behavior conflicts with the manual, stop and verify the cartridge and cable separately instead of repeatedly activating the device. A repeatable sequence preserves the evidence needed to identify which interface is actually involved.
🔍 10. Charging Lights Describe a State, Not a Diagnosis
A blinking indicator can mean charging activity, a nearly full transition, a connection problem, or an error, depending on the battery firmware. Count the flashes, note their color and rhythm, and record whether the pattern begins before or after the cable is connected. Then compare that exact pattern with the model manual.
Separate the cartridge from the charging question unless the manufacturer explicitly requires it to remain installed. The charging circuit is in the battery, while the cartridge connects to the output side. A cart mentioned in the symptom may simply be attached when the battery light begins blinking.
🧩 10.1. Check the Power Source Without Guesswork
Use the specified cable and input rating, inspect the port for debris, and try a known compatible low-power source if the manual allows it. Repeatedly swapping random fast chargers adds variables. Stop charging hardware that becomes unusually hot, smells damaged, shows a swollen housing, or has a loose port; an indicator pattern cannot override visible physical damage.