🔌 1. What Separates Electric Dab Tools From Passive Dabbers
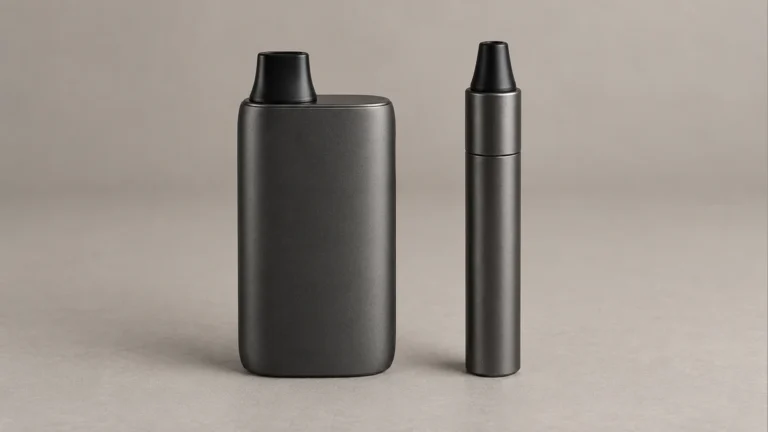
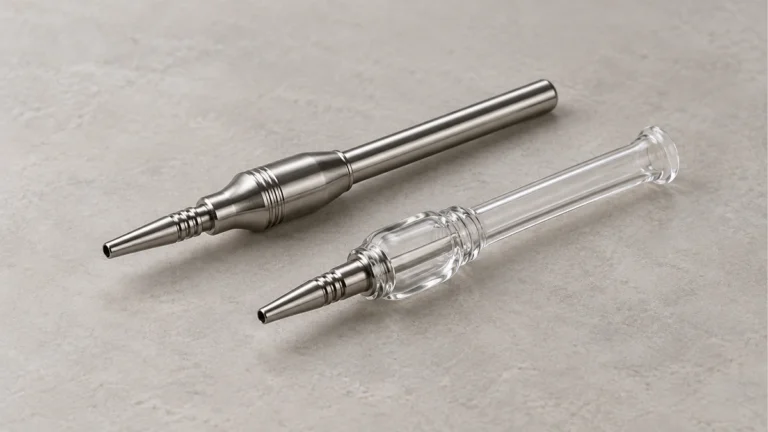
A passive dab tool is just a shaped piece of metal or glass — a dabber, wand, or scoop that has no heat source of its own. It relies entirely on an external heat source, usually a torch-heated nail or banger, to warm the surface the tool then touches. The tool itself stays at room temperature unless it happens to contact something hot.
An electric dab tool works differently. It has a heating element built into or near the working tip, powered by an internal rechargeable battery, and controlled through a button, dial, or preset cycle. There’s no open flame involved in warming the tip itself. Instead, pressing a button closes a circuit that sends current through a resistive heating coil, which raises the temperature of the tip directly.
🔎 1.1 Where the Heat Comes From
In a passive setup, heat transfer happens in two steps: the torch heats the nail, then the nail (or the tool touching it) transfers that heat to the material. In an electric loading tool, the process collapses into one step — the tool heats itself. That single change affects everything else discussed in this piece, from how fast the tip responds to a button press to how residue forms along its length.
🧠 1.2 Loading Tools vs Full E-Rigs
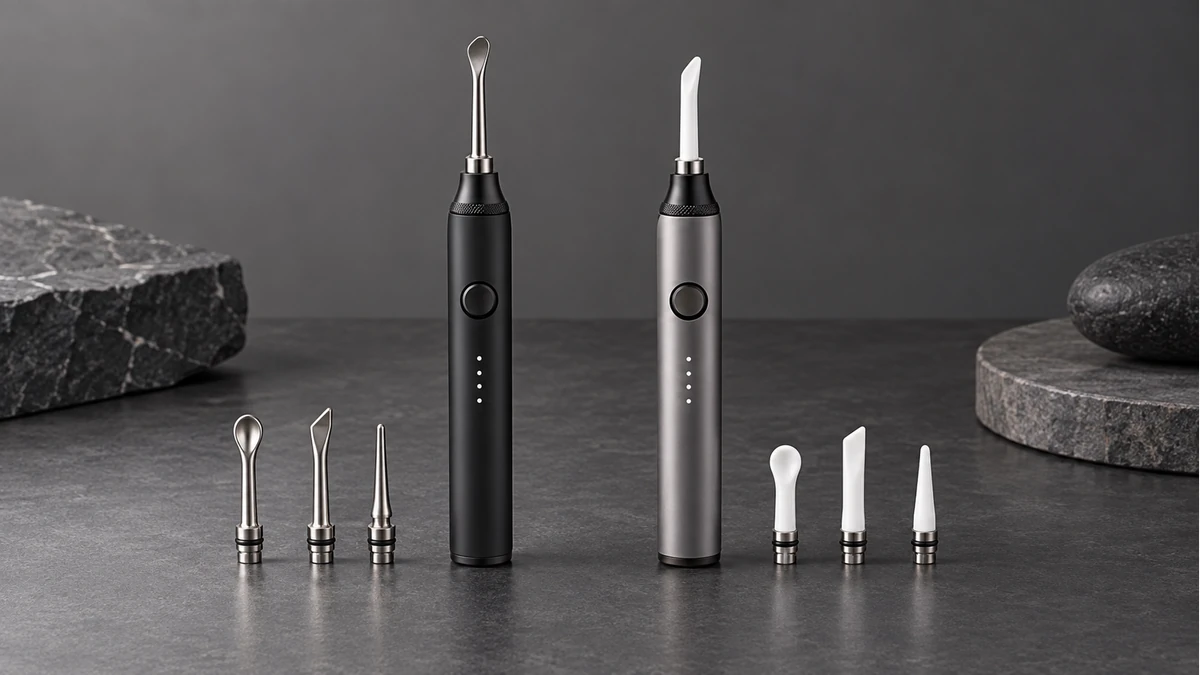
It’s worth separating two categories that get lumped together under “electric dab.” A heated loading or warming tool is a standalone handheld device — it’s not connected to a rig or banger at all. It exists to warm and soften material so it’s easier to handle, load, or spread. A full electronic nail (e-nail) setup is a different category entirely: it heats a nail or banger that’s mounted on a rig, with a separate control box wired to a coil. This piece focuses on the handheld loading-tool category, since that’s the design most people mean when they search for an electric dab tool that replaces a simple metal dabber.
🧭 2. Tip Materials and What They Do to Heat and Residue
The tip material on an electric dab tool isn’t cosmetic — it changes how fast the tool heats, how evenly it holds that heat, and how residue behaves on the surface.
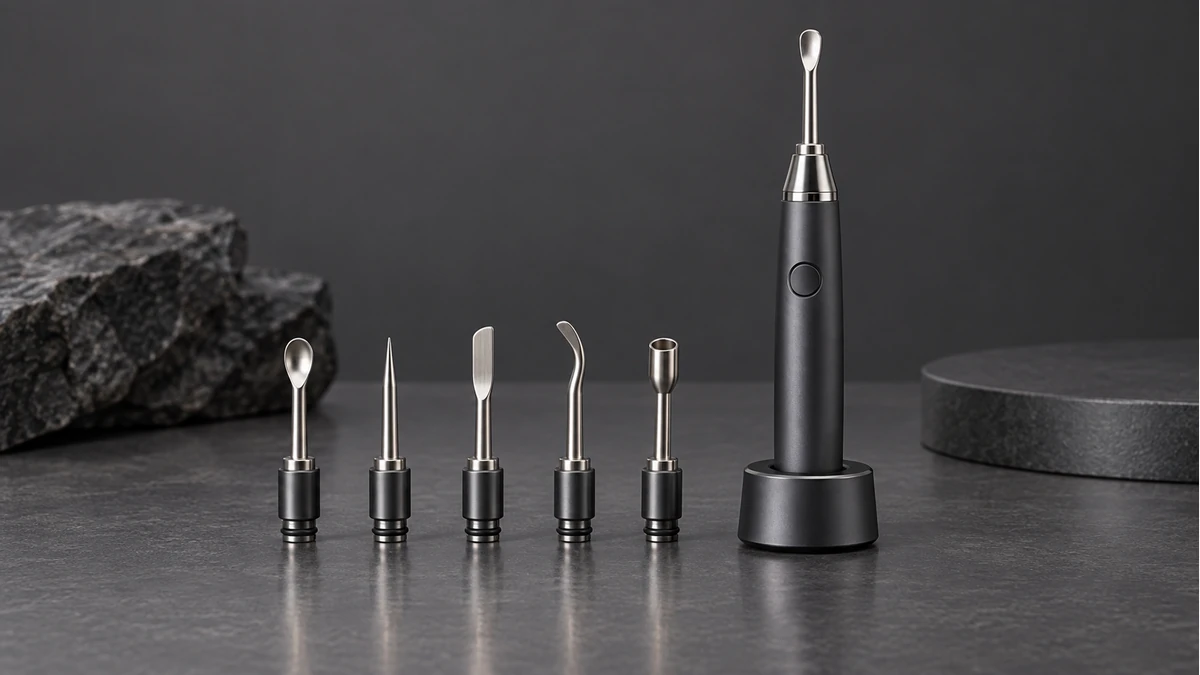
🔎 2.1 Titanium, Stainless Steel, and Ceramic-Coated Tips
Titanium tips heat quickly because the metal has relatively low thermal mass for its strength, so the heating coil doesn’t have to work as hard to raise the surface temperature. The tradeoff is that titanium can develop a visible patina or discoloration after repeated heating cycles, which is a cosmetic change caused by surface oxidation, not a sign of failure.
Stainless steel tips are more resistant to pitting and staining over repeated use, but the metal typically takes longer to reach a stable temperature and can heat somewhat less evenly across the tip’s length compared to titanium.
Ceramic-coated tips are applied over a metal base to reduce direct material transfer during contact. The coating can wear at the edges over time, especially where the tip repeatedly contacts a jar rim or dish, and once the coating thins in a spot, that area behaves more like the bare metal underneath.
🧠 2.2 Surface Texture and Residue Behavior
A polished, smooth tip tends to release residue more easily during cleaning because there’s less surface area for material to grip. A tip with a rougher or textured finish — sometimes intentional for grip, sometimes just a manufacturing variance — holds onto residue in the small grooves, which means it needs more contact time or a finer tool (like a cotton swab) to fully clear.
Where the heat concentrates along the tip also matters. A tool that heats mainly at the very point will build residue closer to that hot spot, since material near the heat softens and adheres there first. A tool that distributes heat along more of the shaft spreads residue over a wider area, which usually means lighter buildup at any single point but a longer section that needs attention during cleaning.
🔋 3. Controls, Heating Cycles, and the Thermal Path
Electric dab tools vary widely in how they let you control heat, and this is one of the more confusing parts for new users comparing models.
🔎 3.1 Buttons, Presets, and Indicator Lights
Some tools use a single button with one fixed heating cycle — press it, the tip heats for a set duration, then it shuts off automatically. Others offer multiple preset levels, cycling through them with repeated presses, or a dial that adjusts more continuously. A separate indicator light, usually built into the button or housing, signals status through color or blink pattern.
The confusing part is that these indicator conventions aren’t standardized across brands. A blinking light might mean “still heating” on one tool and “battery low” on another. A steady color might indicate the tip is ready, or it might just mean the device is powered on. Because there’s no shared labeling convention across manufacturers, the only reliable source for what a given light pattern means is the documentation that came with that specific tool — assuming a color or blink pattern based on another device is a common source of confusion. For a closer look at how heat controls compare across dab accessories generally, the guide to dab tools covers the broader category.
🧠 3.2 From Battery to Tip: How the Circuit Responds
The thermal path in an electric dab tool runs from the battery, through a small circuit board, into a resistive heating coil, and finally into the tip itself. The distance and material between that coil and the tip surface affects two things: how quickly the tip responds when you press the button, and how quickly it cools back down once the cycle ends or the tool shuts off.
A tool with the coil positioned very close to the tip responds fast in both directions — quick to heat, quick to cool. A design with more metal or an air gap between the coil and the tip will lag a little on both ends. Neither approach is inherently better; it changes the rhythm of how the tool is used, since a slower-cooling tip stays warm longer after the cycle ends.
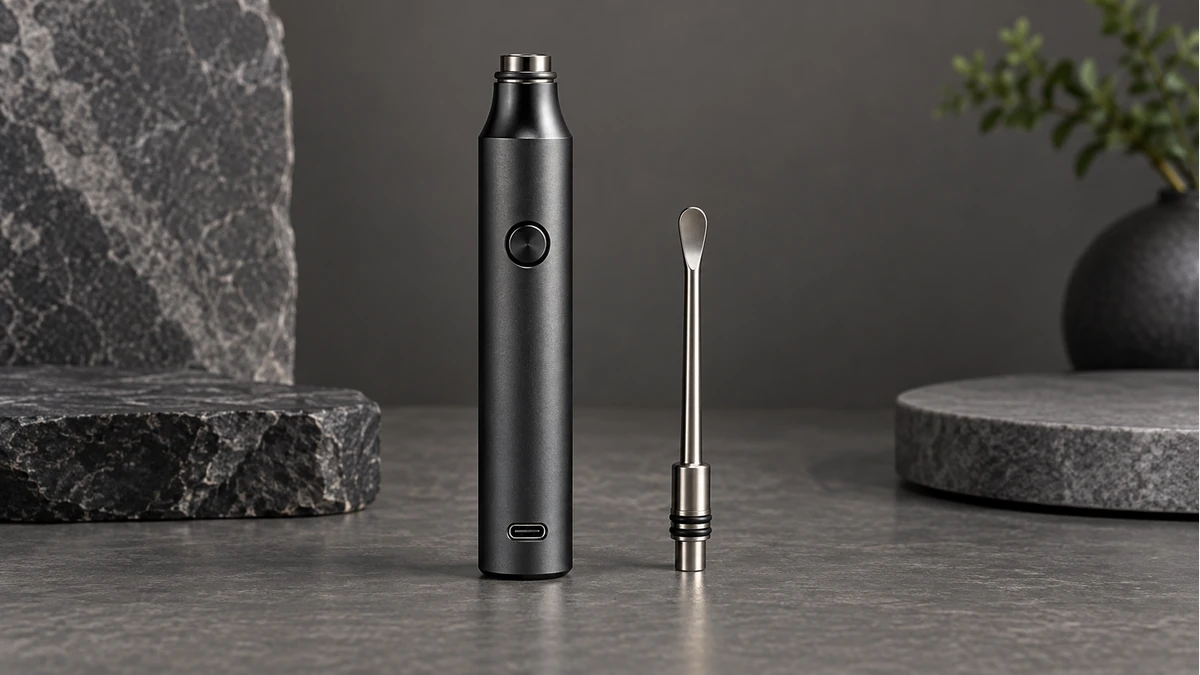
Auto shutoff is a standard safety and battery-saving feature on most electric dab tools, cutting power after a fixed idle period or a fixed heating duration. A tool that goes dark after sitting untouched for a stretch hasn’t necessarily failed — it’s likely just completed its cycle or hit its idle timeout, which is worth checking before assuming a defect.
🧩 4. Handling, Charging, and Battery Care
🔎 4.1 Grip and Weight Distribution
Because the battery and circuit board take up space in the handle, electric dab tools are generally heavier and thicker than a simple metal dabber, with the weight concentrated toward the body rather than the tip. That shifts the balance point compared to a passive tool, which is usually evenly weighted or slightly tip-heavy. Some designs compensate with a narrower grip section or contoured housing so the tool still feels balanced in a single-hand hold.
🧠 4.2 Charging Habits That Affect Longevity
Most electric dab tools charge through a small port — commonly USB-C or micro-USB depending on the model — often covered by a rubber plug or cap to keep out moisture and debris. A loose or missing port cover is one of the more common reported issues, since without it, residue or dust can work into the port and interfere with a reliable charging connection.
Lithium-based batteries, which power nearly all of these tools, lose capacity faster when left on a charger well past full or when stored for long periods at very low charge. Keeping the tool somewhere close to room temperature between uses, rather than in a hot car or a cold garage, also helps the battery hold its charge more consistently over time. None of this is unique to dab tools — it’s standard behavior for small rechargeable lithium devices generally, and the same habits that extend the life of a phone battery apply here. For more on charging port types and battery behavior in similar rechargeable accessories, the heated dab-tool guide goes into more detail.
🧼 5. Cleaning Boundaries: What’s Safe and What Isn’t
🔎 5.1 Why the Whole Tool Can’t Be Soaked
A common point of confusion is treating an electric dab tool like a piece of glass — dropping it into an isopropyl alcohol soak the way a banger or bowl might be cleaned. That approach damages an electric tool. The battery compartment, circuit board, and charging port all need to stay dry, and submerging the housing risks liquid working past seals meant only to resist splashes or light moisture, not full immersion.
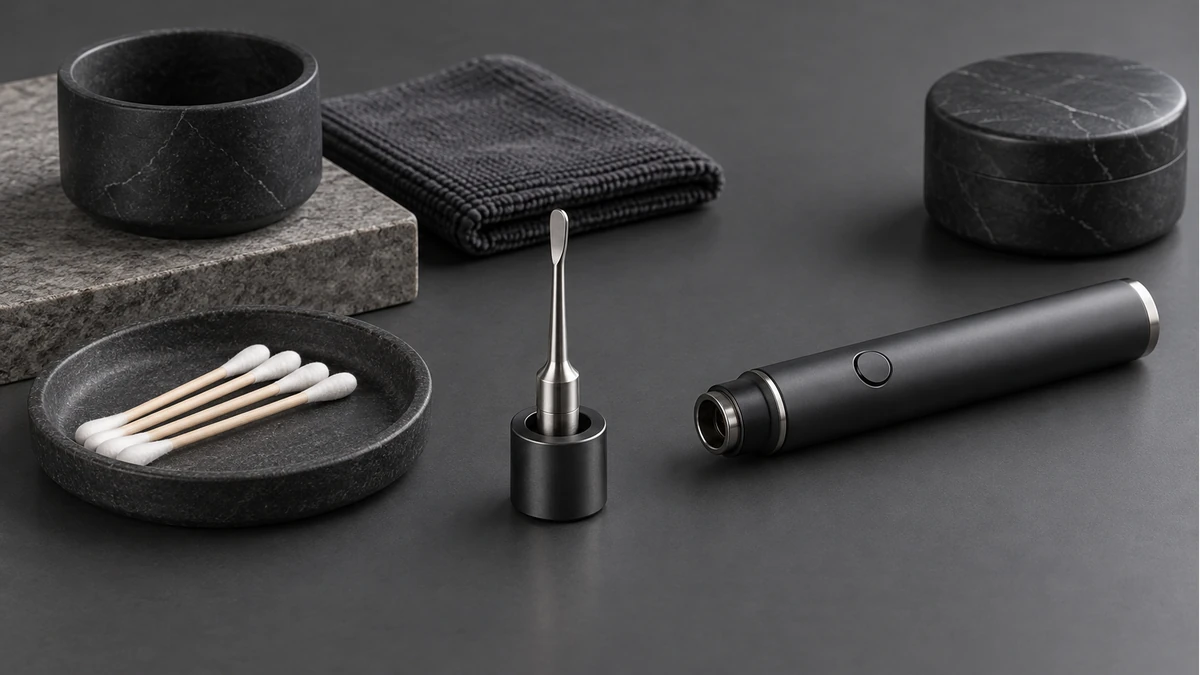
The safer approach is to clean only the tip and exterior housing, using a cotton swab or lint-free cloth lightly dampened with isopropyl alcohol, keeping liquid away from seams, buttons, and the charging port entirely.
🧠 5.2 Removable Tips vs Sealed Designs
Some electric dab tools are built with a removable or unscrewable tip, which allows that piece alone to be cleaned separately, sometimes with a brief alcohol soak isolated to just the tip. Other designs have a fixed, sealed tip that isn’t meant to come apart, in which case cleaning has to happen with the tool fully assembled and the electronics protected from moisture the entire time.
Residue that’s cold and hardened is harder to remove without scraping, and scraping with excessive force is what tends to scratch a ceramic coating or dull a polished finish. Letting the tip run a brief warming cycle before wiping — rather than scraping it cold — softens residue enough that a cloth or swab can lift it without needing to apply pressure against the surface.
📐 6. Separate the Heated Tip From the Handle
The tip is the service surface. The handle contains the battery, controls and charging hardware. Cleaning instructions must preserve that boundary. Let the tool cool, remove a detachable tip only when the documentation allows it, and keep liquid away from openings in the powered handle. A darkened tip may be residue or normal material discoloration; appearance alone does not justify abrasive scraping.
🔍 7. Compatibility, Confusing Labels, and Troubleshooting
🔎 7.1 Labels That Don’t Mean What They Seem
Product listings for electric dab tools often use labels like “heat level 1, 2, 3” or wattage figures without clarifying what those numbers actually correspond to in terms of tip temperature. Because there’s no shared standard, a “level 2” on one brand’s tool has no fixed relationship to a “level 2” on another. Wattage figures describe power draw, not directly the resulting tip temperature, since that also depends on tip material and thermal path design covered earlier. Comparing tools by these labels alone tends to be misleading without also knowing the tip material and heating design behind the number.
🧠 7.2 Common Failure Scenarios and What They Usually Mean
A few recurring troubleshooting scenarios come up often enough to be worth naming plainly:
- Tool won’t heat at all: usually points to a depleted battery or a charging port that isn’t making contact, sometimes due to residue or debris lodged in the port.
- Tip heats unevenly: can indicate a coil positioned off-center relative to the tip, or a design where heat is only concentrated at one point rather than distributed.
- Tool shuts off mid-use: often the auto shutoff timer completing its cycle rather than a malfunction, though it can also indicate an overheat protection trigger if the tool was used for an extended stretch.
- Indicator light stuck on one color: worth checking the included documentation first, since the same light pattern means different things across brands.
- Loose tip or attachment over time: typically thread wear or a degraded gasket/o-ring from repeated heating and cooling cycles rather than a manufacturing defect.
On the compatibility side, most electric dab loading tools are standalone devices rather than accessories designed to attach to a rig, nail, or banger. Their “compatibility” question is usually about tip interchangeability within the same brand’s lineup rather than fitting external glass or hardware. If a listing doesn’t specify whether replacement tips are available or interchangeable, that’s worth confirming before assuming a tip can be swapped later. A broader comparison of tool types within the dab rig category is available at the dab-rig component map.
The practical distinction to keep in mind when comparing options isn’t which tool has the most preset levels, but how directly you can verify three things before buying: what the tip is made of, whether the tip is removable for isolated cleaning, and what the indicator lights actually mean according to that specific tool’s documentation. Those three answers tell you more about day-to-day handling and maintenance than any headline spec on the listing.