The useful level is the lowest one that keeps those openings submerged during a steady pull without sending water toward the mouthpiece. Think of the water as a working seal around the diffuser, not a tank that should be filled as high as possible.
Fill a bong until the active openings at the bottom of the downstem or percolator sit just under water, then test the draw at the angle you actually hold the piece. That functional check is more reliable than an ounce count because chamber diameter, perc position, and tilt all change the depth.
💧 1. Start just above the active perc openings
Every water pipe pulls smoke through some kind of submerged opening, whether that’s a simple diffused downstem with slits cut near the bottom, or a percolator with rows of holes or slits built into the chamber. The water’s job is to cover those openings just enough that air has to push through them and break into bubbles, rather than sliding past through an open gap. If the openings sit uncovered, you get open airflow with no diffusion at all.
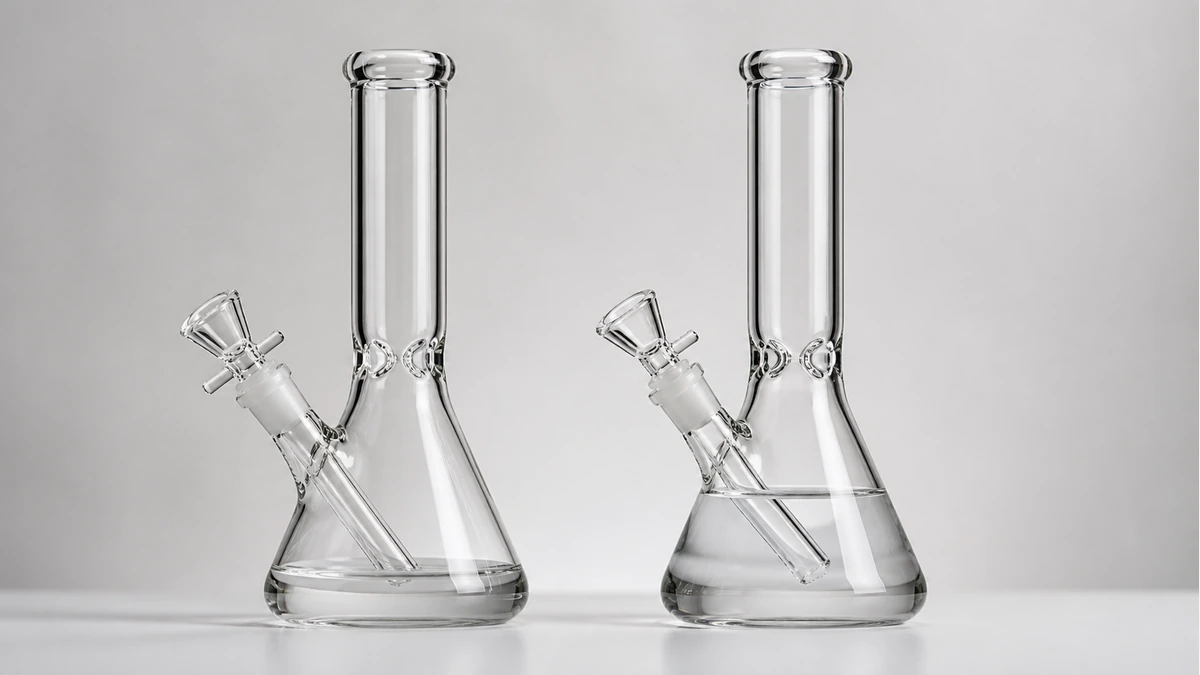
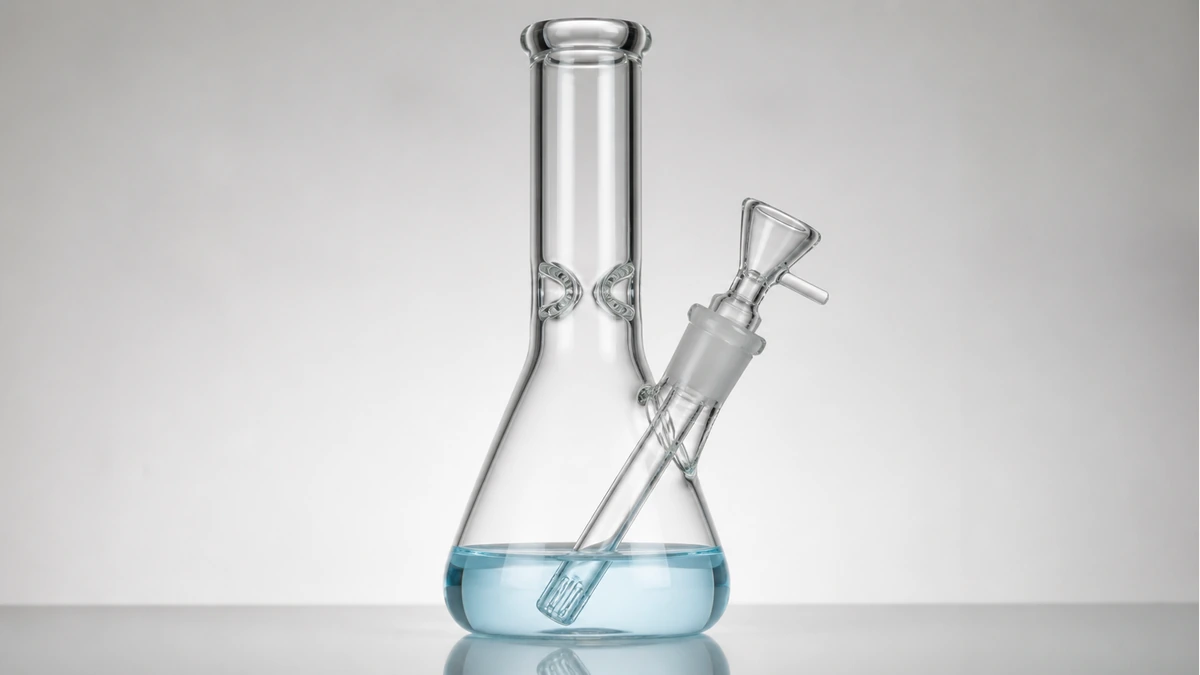
The starting point for any piece is to fill until the water sits roughly a quarter inch above the lowest row of holes or slits you want active. Not two inches above. Not barely touching. Just enough that the openings are submerged with a small margin, since water levels shift once you start pulling and displacing air. A downstem with basic slits near the tip needs less water to cover than a percolator with multiple rows of holes, so the “right” level is really a property of the hardware, not a fixed target you carry from one piece to the next.
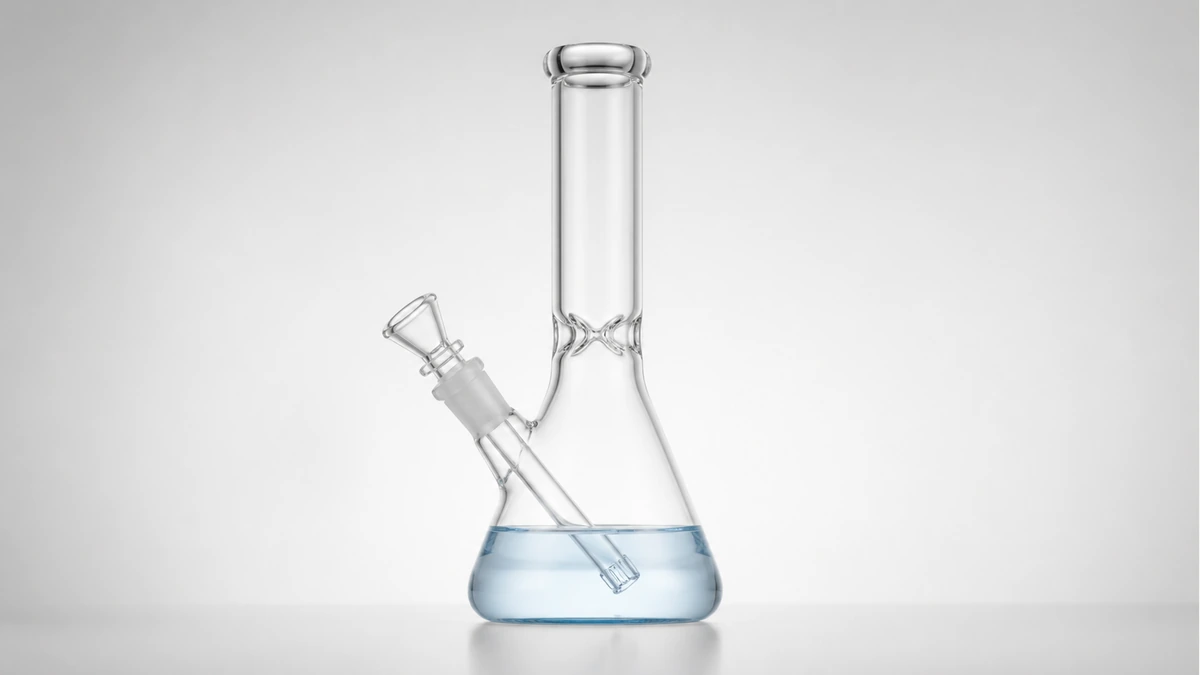
This is also where beaker bases and straight tubes start to diverge. A wide beaker base needs more water to reach the same depth over the downstem than a narrow straight tube does, simply because the water spreads across more surface area before it climbs. Two pieces can hold very different volumes and still have the exact same functional water level, which is part of why a single number in ounces never travels well between pieces.
📐 2. Test the level at the angle you actually use
A level that looks correct with the piece sitting upright on a table can be wrong the moment you tilt it to your mouth, and this catches new owners more than almost anything else. Tilting a beaker or straight tube shifts the water toward one side of the base, which changes how much of the downstem or percolator stays submerged during the actual pull, not while the piece is just standing there.
If you always hold your piece at a noticeable angle, don’t set the water level while it’s standing straight up and call it done. Tilt it the way you actually hold it, watch where the water line falls relative to the diffusion openings, and adjust from there. A downstem that’s fully submerged when the piece is vertical can partially clear the water line when tilted twenty or thirty degrees, and that gap is enough to let air bypass the openings instead of bubbling through them.
This matters more for tall, narrow pieces than for short, wide ones, since a small tilt on a tall tube moves the water surface a lot relative to the fixed position of the downstem. Wider, shorter bases are more forgiving because the water has less vertical room to move even at an angle.
👂 3. Too little water sounds airy and bypasses diffusion
When there isn’t enough water covering the openings, you’ll usually hear it before you notice it any other way. The pull sounds thin and airy, almost like pulling through an open tube, because a good portion of the air is slipping past the openings instead of being forced through them. That’s the diffusion function not really happening.
This is common right after cleaning, when a piece gets rinsed, set out to dry, and then refilled by guesswork rather than by checking the actual line against the openings. It also happens when someone tops off a piece that’s evaporated down over a few days without really looking at where the downstem or perc sits relative to the new level. The fix isn’t complicated, just add water in small amounts, checking the sound and the visible bubbling pattern as you go, rather than dumping in a large volume at once and overshooting.
If you want a clearer picture of how much difference small volume changes make and why using clean water changes the pull, the water for bongs guide covers that in more detail. It’s worth reading once, since it saves a lot of trial and error later.
🚫 4. Too much water adds drag and splashback
The opposite problem is more physically obvious once you feel it: overfilling makes the pull noticeably harder, because you’re forcing air through a taller column of water than the openings need. That extra resistance is drag, and it shows up as a pull that takes real effort even when nothing else about the piece has changed.
Splashback is the other overfilling symptom, and it’s the one people notice fastest because it’s unpleasant. When there’s too much water sitting above the diffusion openings, a hard pull can send water up through the neck, sometimes far enough to reach the mouthpiece. That’s not a sign anything is broken; it’s a direct result of too much volume relative to what the piece’s geometry can move cleanly.
The fix here is the same one used for underfilling, but in reverse: pour off small amounts of water, then test the pull again before removing more. Going straight from a badly overfilled state to a guessed lower level usually overcorrects into the airy, underfilled problem instead. Small adjustments, tested between each change, get you to the right point faster than any single big correction does.
🫧 5. Complex chambers need a fill-and-draw test
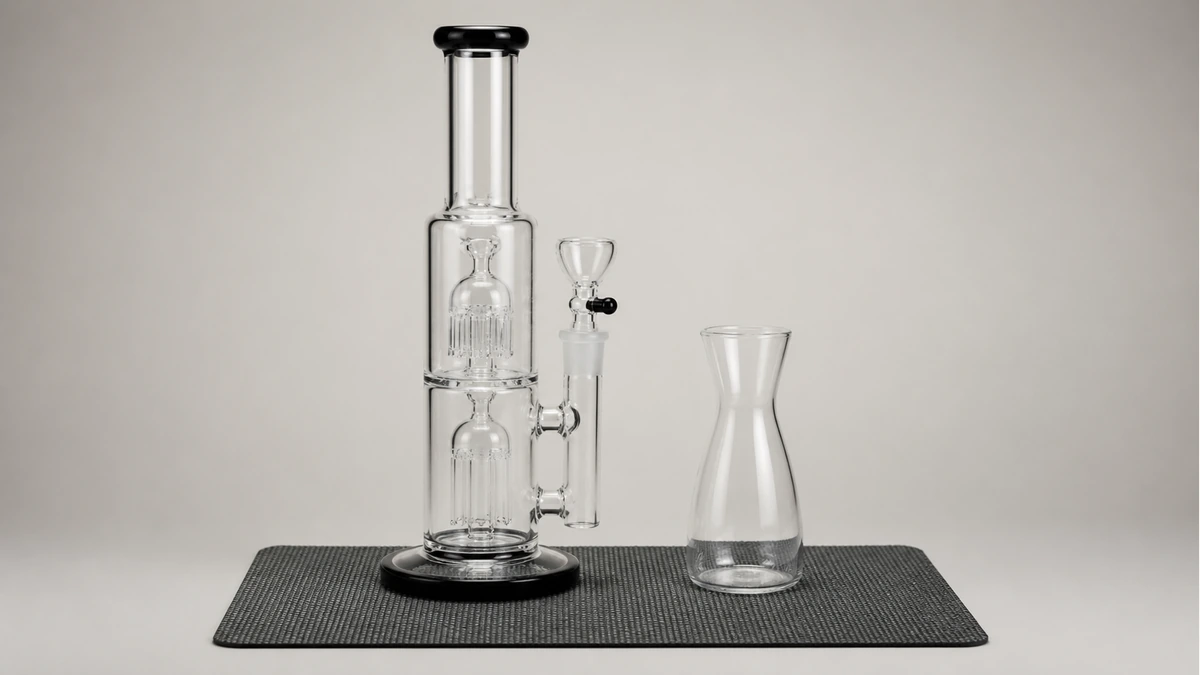
Pieces with a single downstem and no additional percolation are fairly easy to judge by eye, since there’s one opening zone to watch. Multi-chamber pieces with a fixed percolator built into the tube, or with recycler paths, are harder to read just by looking at the water line from the outside, because water distributes unevenly across chambers that aren’t equal in volume or shape.
For those pieces, filling by eye alone tends to guess wrong in one direction or the other. A more reliable approach is a fill-and-draw test: add water in small increments, then actually draw air through the piece after each addition and watch how the bubbling pattern behaves across every chamber, not just the first one. You’re looking for even, consistent bubbling through each percolator section rather than one chamber flooding while another stays dry.
This takes a bit longer than filling a simple beaker, but it only needs to be done once per piece, since the correct volume for a given percolator stack doesn’t change much once you’ve found it. After that first careful fill, refilling to a mental mark on the glass is usually accurate enough for daily use. If you’re also adjusting bowl packing while dialing in water level, the bong bowl guide is a useful companion, since airflow through the bowl and airflow through the water interact more than people expect.
🧼 6. Fresh water matters more than chasing a perfect number
Water that’s been sitting in a piece for several days doesn’t function the same way fresh water does, even at an identical fill level. Resin and residue accumulate in standing water, and a piece that’s had the same water in it since the last cleaning will often pull differently than one that was just refilled, independent of how many ounces are actually in the base.
This is part of why chasing an exact volume misses the point somewhat. A precise ounce count with old, dirty water can perform worse than a rougher estimate with clean water at roughly the right level. If a piece feels like it’s drawing harder than usual, or the taste has gotten noticeably worse, checking the water’s freshness first is usually more productive than re-measuring the level from scratch.
Regular water changes also make it easier to keep the level consistent over time, since you’re resetting from a known point rather than topping off evaporated, increasingly concentrated water indefinitely. Pairing that habit with periodic cleaning keeps both the water and the glass itself performing the way they did when the piece was new; the bong cleaning kit guide covers what that maintenance actually involves.
✅ 7. A thirty-second setup check solves most water-level problems
Most water-level complaints trace back to skipping a quick check rather than to anything wrong with the piece itself. Before a session, look at where the water line sits relative to the downstem or percolator openings, tilt the piece the way you’ll actually hold it, and take one test pull. If the pull sounds airy, add a small amount of water. If it feels like heavy resistance or splashes, pour a small amount off.
That short check, repeated until it becomes automatic, replaces the need to remember a specific ounce count for any particular piece. Different bases, different percolator styles, and different personal holding angles all shift what the “right” level looks like, so a fixed number was never going to travel well between pieces anyway. What does travel is the method: cover the openings with a small margin, test at your actual angle, and adjust in small steps based on sound and feel rather than guessing at volume from the outside.
🔄 8. Use a repeatable two-pass water test
Set the piece on a stable counter and add a small amount of water. Watch the downstem slits or perc openings rather than the outside silhouette. Once those openings are barely covered, install the empty bowl or an appropriate stopper only if the maker’s setup requires it, and take a normal unheated draw.
During that pull, look for three things at once: all intended openings remain underwater, bubbles form without a hard tug, and the rising water stays comfortably below the mouthpiece. If an opening gulps air, add a little. If water climbs rapidly or reaches your lips, remove a little. Small changes matter more in narrow chambers than in broad beaker bases.
📐 8.1 The correct level may look uneven
A beaker is commonly tilted toward the user. Tilting deepens the water around one side of the diffuser and makes it shallower on the other, so a perfectly level fill on the table is not necessarily the functional level in hand. Test the angle without lighting or loading anything. The goal is continuous submersion through the ordinary draw, not a visually symmetrical line while the glass is parked.
Recycler and multi-chamber designs add another clue: water should move through the intended loop and settle back without remaining trapped in the wrong section. If you cannot tell which openings need coverage, use the manufacturer’s fill diagram rather than copying a different piece.
🔧 8.2 Recheck after accessories change
An ash catcher, different downstem, or other compatible attachment changes airflow and sometimes the resting water distribution. Repeat the cold draw test after changing the path. The same is true after a deep clean, because trapped rinse water can make a familiar piece seem suddenly overfilled.
Once the draw is comfortable, empty and refill with fresh water regularly. A remembered fill line is convenient, but the bubble pattern, drag, and splash behavior are the better final check.