🔍 1. Separating hand-worked glass from loose-tip hardware
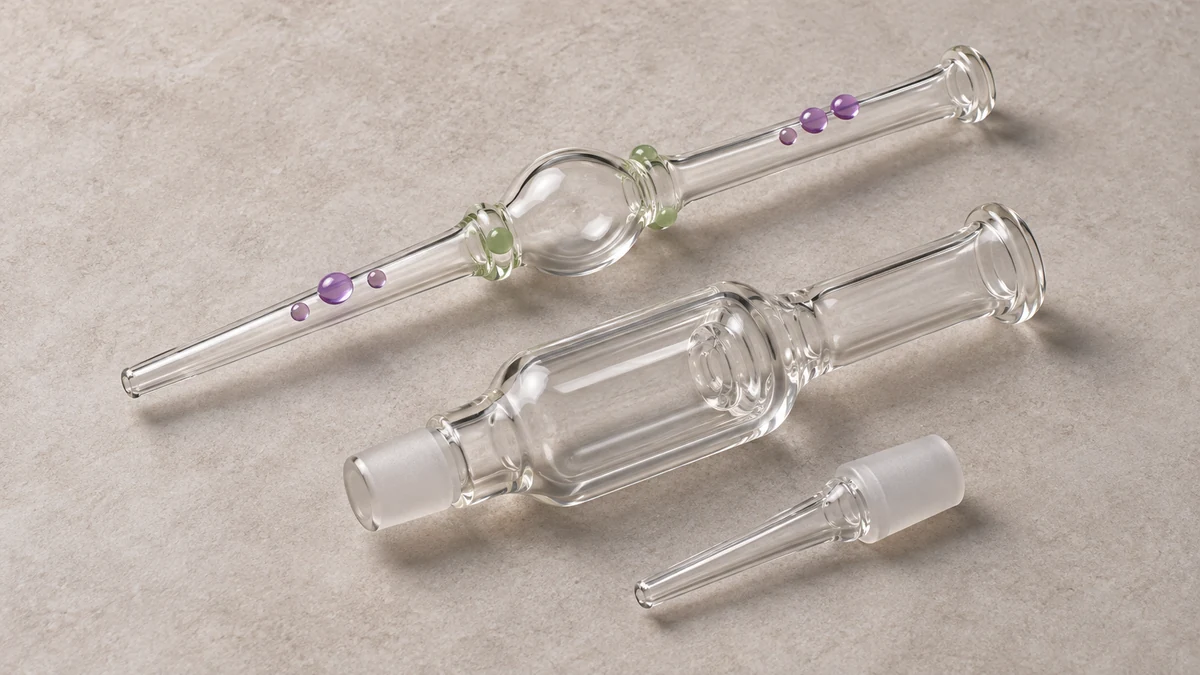
A hand-blown glass nectar collector can have an integral tip or a separate tip that seats in a socket. To tell which design you have, follow the body to the narrow end and look for a distinct mating interface. Decorative glass can make the transition harder to see. A complete profile and a photo of any loose parts give you more evidence than a close-up of the color work.
A loose clip is a clue about the contents of the bag. It could belong to a different joint, a different glass body, or a part missing from the photograph. Ask for the maker’s parts diagram before assigning it to a specific connection. The guide to nectar collector glass straw designs gives broader context for the body and tip configurations that can appear in a kit.
🎨 2. Surface Decoration and the Parts Underneath
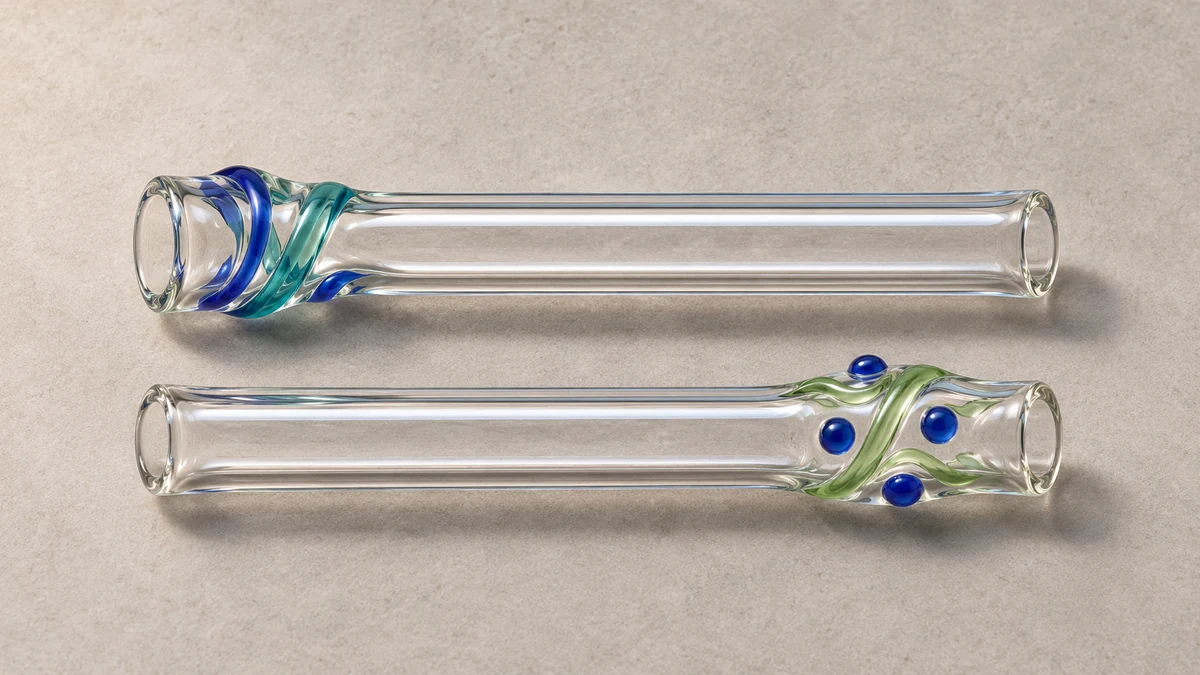
Color bands, dots, and worked ridges help identify an individual glass piece in a photograph. Keep those observations separate from the shape of the tip connection. A round glass detail near the end may be continuous with the body, while a socket elsewhere in the same piece can accept a removable component. The maker’s description of the interface is the strongest clue about which parts are replaceable.
🎨 2.1 Where decoration sits on the body
An opaque band can conceal a transition even when both ends of the piece are visible. Look at the underside or the opposite side where the outer profile may be easier to follow. At the narrow end, look for a continuous outer wall or a distinct opening where another part would sit. If the color obscures the edge in both views, use the model or maker’s photograph of the components laid out separately.
🧪 2.2 What accent color does not tell you
Suppose a seller shows several color options in one photograph. The page may use a separate reference image for the loose parts, so check which image applies to the selected version. An accent near the end may help you match a photograph of your piece to a catalog image. The parts list, or a view of the empty socket, is what establishes whether the tip is separate.
📐 3. Tracing continuity along the body
Tracing continuity means following the glass with the eye, or in a photo, from the mouthpiece down through the bulb or straight tube to the working end, looking for any point where the glass changes in a way that suggests two separate pieces joined together rather than one piece shaped throughout. A continuous fused tube typically shows gradual, uniform thickness changes, and any narrowing toward the tip blends smoothly without a visible lip or step. A socketed body shows a distinct step at the point where the socket begins, often with a slightly thicker collar of glass that forms the socket wall, and a visible gap where the tip insert meets that collar.
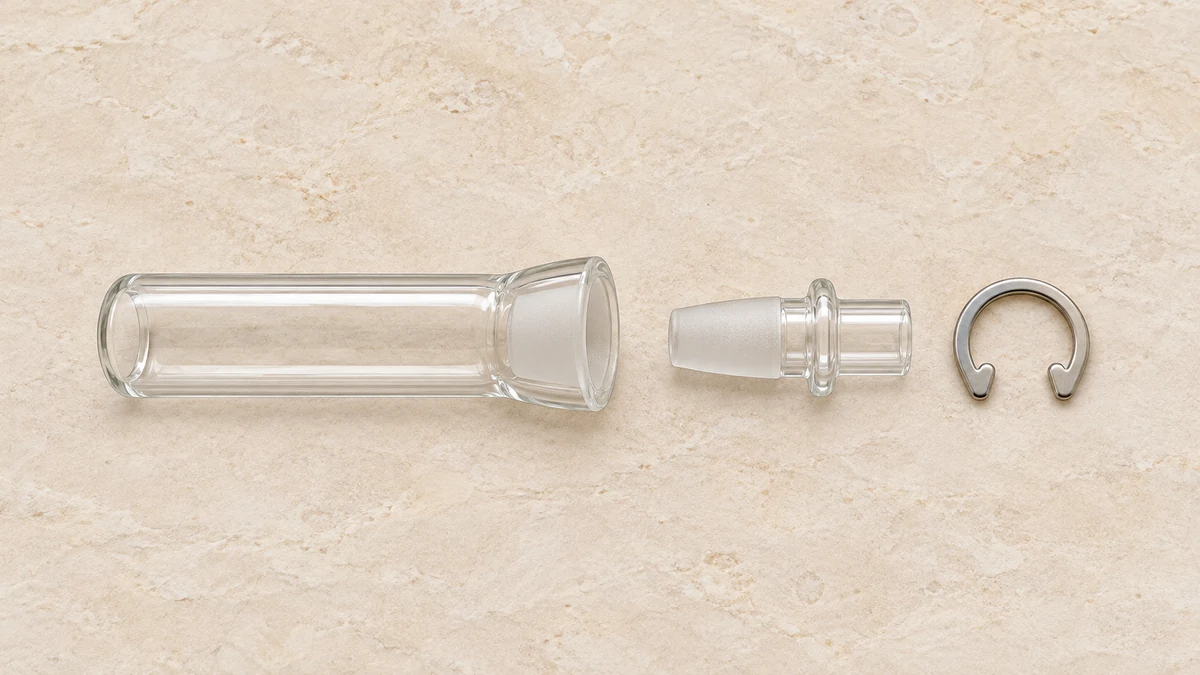
ZongGlass describes its original Zabba Dabba as a continuous hand-blown tube with no removable parts. It lists a separate version with a removable tip and a K-clip. Those two descriptions come from the same maker and illustrate how a similar product name can cover different constructions. Identify the exact version on the listing or packaging before mapping a loose clip or tip to the body in front of you.
🔧 4. Fixed tips versus detachable tapered ends
A fixed tip is fused directly into the body during the blowing process and cannot be removed without breaking the glass. A detachable tapered tip is a separate piece of glass or quartz shaped to fit into a socket at the end of the body, held in place by friction, a shoulder inside the socket, or an external clip. Both types can appear tapered to the eye, and taper angle alone does not indicate which category a given tip belongs to.
🔩 4.1 Checking for a seam at the base of the tip
The most reliable visual check is the base of the tip, where it meets the body. A fused tip shows glass flowing continuously from the body into the tip with no interruption, sometimes with a faint thickening where the glassblower added material to form the taper, but no gap or line. A detachable tip shows a visible edge where the insert ends and the socket collar begins, and this edge is often visible as a thin dark line in a photograph, even when the tip is fully seated.
🧷 4.2 Reading a clip-held versus friction-held tip
Some documented assemblies use a separate clip that spans the joint. The side profile of the glass shows what the clip would need to engage. Grace Glass lists a joint size, separate tips, and separate clips for its G1800 set. Those entries describe distinct features of that kit. A loose clip with a similar outline provides too little information on its own to confirm that it belongs to the same design.
🔗 5. Reading both retention shoulders
When a maker shows a clip spanning a joint, look for the two features that the clip engages. One can be on the collar and the other on the removable piece. A photograph with one side cropped out may show the taper but hide one of these features. The maker’s separated parts photo can show the shape of the collar, the base of the tip, and the complete clip in the same frame. That view helps distinguish a loose clip from a separate piece that belongs to the glass body.
A used kit may be missing a separate tip or clip, and a single photo can also hide a part that the seller has included. Request a frame with all loose pieces visible together and a separate profile of the body. List the visible ends and ask which one the tip belongs to. A package label or exact part name can help when the two ends of an ornate body look similar.
🗂 6. The fixed collar as a separate joint feature
A fixed collar is a ring of glass permanently shaped into the body around the socket opening, distinct from a removable clip. The collar does not detach, and its job is to define the socket diameter and provide the surface a clip or a tip flange presses against. A reader should not confuse a fixed collar with a clip, since the collar is part of the body itself and will be present even if a clip or tip is missing, while a clip is a separate piece that can be lost or swapped independent of the collar.
A nominal joint size in a catalog refers to that maker’s stated mating interface. A ruler held beside the outside of a collar shows the collar’s outer width, which is a different measurement. If the listing gives both, check the drawing for where the arrows end. Record the part number, joint size and mating form together. These details give the manufacturer a better starting point than an outside measurement alone.
🧩 7. Building a part map from a photo
A useful part map for a hand-blown glass nectar collector separates what is visible into a short list, the main body, the mouthpiece end, the socket collar if present, the tip insert if separate, and any clip. A reader working from a single photo should identify which of these are shown and which are implied but not visible, rather than assuming a complete set based on the pieces that happen to be in frame.
📷 7.1 What a single angle usually leaves out
A photo taken from one side often hides the far side of a socket collar, making it hard to tell whether a groove or notch exists on the opposite face. It can also foreshorten a tip insert so that its base, where the critical seam sits, is obscured by the angle. A reader should treat a single-angle photo as a starting point for identification rather than a complete record, and look for a second photo showing the joint from a different angle before concluding whether a piece is fused or modular.
🔍 7.2 Matching loose pieces to a body
Put the body, loose tip and clip side by side with the proposed mating ends facing the same direction. Compare the overall shape of the socket with the tip’s matching end, and check whether the clip is illustrated across that exact joint in the parts diagram. A rounded ring molded into the body can resemble a loose collar when the photograph crops off both sides. A complete view separates the pieces that came apart from details that are part of the glass itself.
📋 8. Cross-referencing documentation against visual inspection
For an unlabeled body, make a record of the visible construction and leave the model-specific questions open. If the narrow end is continuous, note that feature and photograph it in profile. If it ends in a distinct socket, describe the socket and include a picture from the open end. If a collar has already separated and you cannot locate its intended interface, keep the pieces apart while you ask the maker to identify the assembly.
Seller terms can also vary within a parts list. “Tip” can refer to the entire removable piece including its mating end. “Body” can refer to the glass assembly with its socket already formed. “Kit” can include a tip and clip even when the main photo shows only the body. Compare the listed contents with the photos so each name points to an identifiable piece.
For readers assembling or checking a full setup rather than a single piece, support components such as a stand or base are documented separately from the nectar collector body itself, and dimensions for one do not imply compatibility with the other without a stated match. Further detail on how a stand or body support is specified independent of the collector itself is covered in this guide to nectar collector stand and body support components. Readers who also want background on tip material differences across dab straw formats generally, separate from the nectar collector joint question, can review the glass dab straw guide covering tip material, heat response, and cleaning, which addresses tip material comparisons that sit outside the scope of joint and collar identification covered here.
📷 8.1 Document the Original Glass Before Asking About a Spare
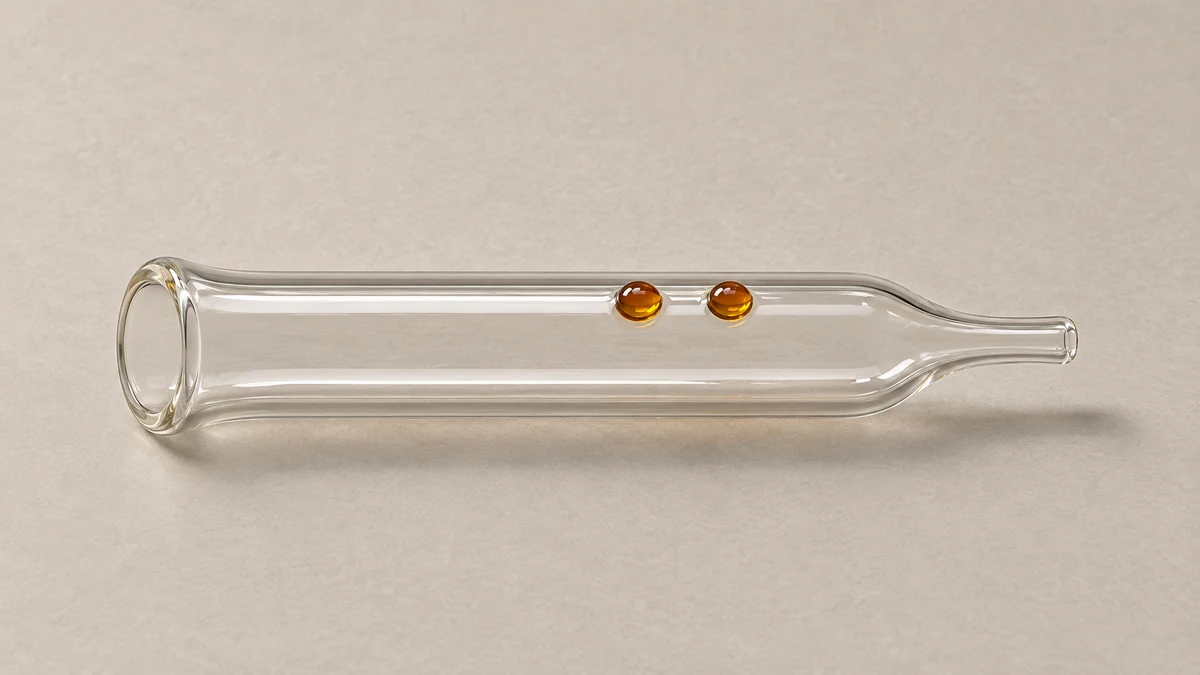
Consider two empty glass collectors with dots near the narrow end. One tapers through a continuous glass wall. The other ends at a recessed socket with a distinct mating tip. An overhead image can make the dots look as if they identify the same kind of connection. In profile, the first piece has no break between its tip and body, while the second has a shoulder at the opening where the separate piece sits. The shapes of the dots give no information about how the two glass interfaces are made.
For a missing clip, photograph the documented joint from the side and show the shoulders on either side of it. For a missing tip, photograph the complete body and the open socket as well. Include the model or the exact description on its original packaging. A manufacturer can use those views to distinguish a socket for a removable tip from a loose collar or a decorative ring without relying on a cropped picture of the end.
A useful record includes the shape and location of every raised detail. Put “amber dot near the wide end” in a description of the individual piece and put “frosted socket with two retaining shoulders” in the notes about the joint. This keeps the vocabulary clear if a maker offers the same body in different colors or makes several distinct bodies with similar decorations. If the original listing used one representative photo for a made-to-order item, keep the photograph of the actual piece alongside it.
When a glass artist uses the same accent across a series, record how far the accent is from each end. A decorated section can mark the piece for identification while the joint dimensions stay on a separate page of the maker’s records. Include a photo of the socket from the end. It can reveal a raised lip concealed in profile.
If you have only a box and a loose tip, record the exact product label and any version or size printed on it. The maker may use a similar product name for several glass bodies. A photograph of the tip alone may show its taper but give no indication of what was included in the kit. The box, body and loose components together give the clearest record.
Include a complete photograph of the mouthpiece end as well, since that end can identify the original body style.