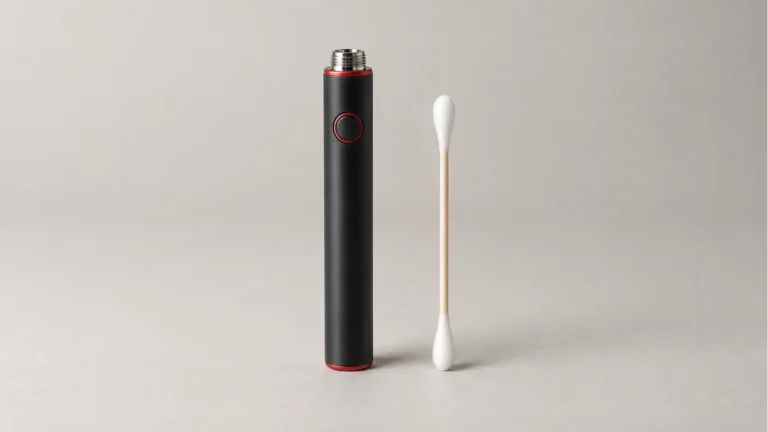
To clean a 510 battery, first disconnect it from charging and switch it off as its manual directs. Remove only the accessory the instructions permit, inspect the exposed connector and use the manufacturer-approved surface method. Keep liquid out of the powered body, allow cleaned parts to dry fully and check for loose or damaged components before reassembly. The job is external contact care. It does not include opening the battery housing, pulling up a contact or cleaning inside a sealed cartridge.
🔌 1. What “Cleaning a 510 Battery” Actually Covers
The 510 designation identifies the connector family, not a cleaning specification. It does not tell you which finishes tolerate a solvent, whether a particular contact is movable, or how the charging interface is arranged. For this article, the scope is the exposed connection area and exterior surfaces identified in the device’s own instructions. The internal cell and electronics are not part of an external wiping routine. That boundary follows the task being discussed; it is not a promise encoded in the number 510.
🔍 2. Naming the Parts Before You Clean Anything
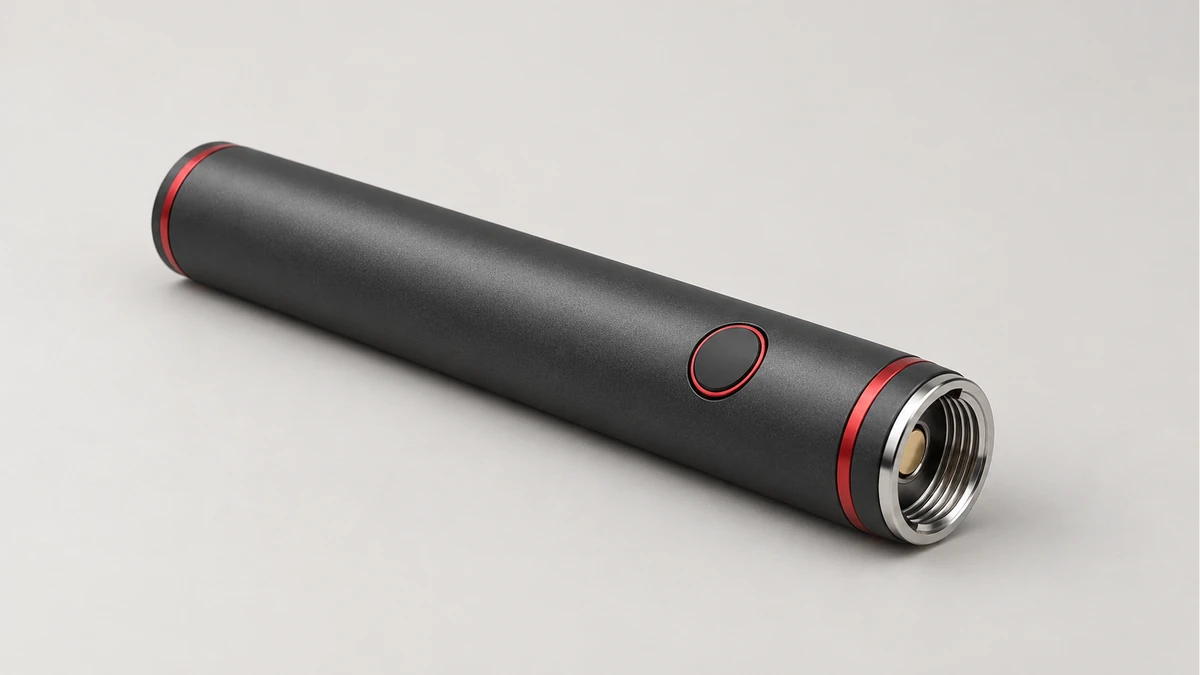
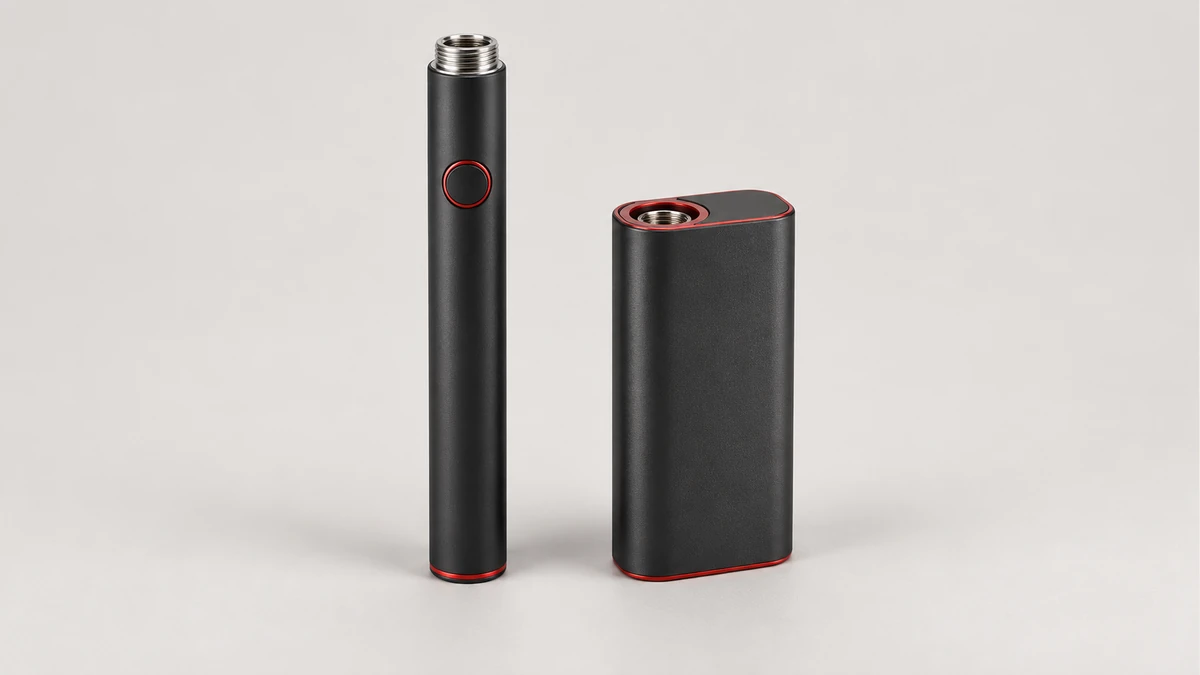
It helps to separate a 510 battery into five distinct zones, because each one has a different relationship to cleaning and a different level of risk if handled carelessly.
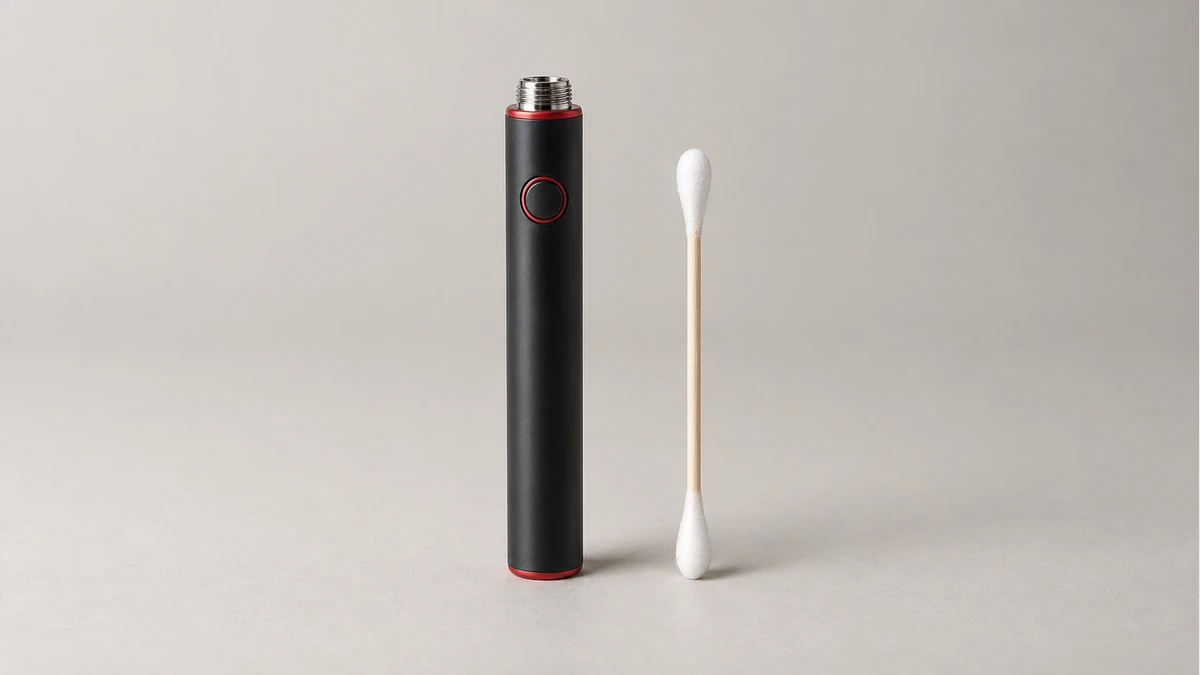
- The exposed connector — the small pin or contact point at the center of the threaded opening. Identify it separately from the surrounding threaded metal; both can have electrical roles in the connector.
- The surrounding threads — the grooved mating surface around the connector. Residue can affect how the surfaces seat; appearance alone does not establish whether a connection problem has been resolved.
- The outside finish — the visible coating or surface treatment of the shell. Its cleaning compatibility is a different question from that of an exposed metal contact.
- The charging port — wherever the battery connects to a charging cable or dock. Some designs use a separate port; others charge through the 510 interface with the specified accessory.
- The sealed powered body — the cell and circuit board inside the shell. Nothing in ordinary maintenance should involve opening or introducing liquid into this zone.
Keeping these five zones distinct matters because advice that applies to one does not automatically apply to another. A method that is safe on exposed threads is not necessarily safe near a charging port, and nothing that is safe on the outside finish tells you anything about what is safe for the connector itself.
⚠️ 3. Debris Versus Damage
A sticky patch, discolored metal and a connector that feels tight are observations rather than diagnoses. A mark may be removable residue, wear or a different surface condition. Tight threading might involve debris or a mechanical mismatch. Inspect the accessible area before choosing a response, and do not assume that every dark ring is dirt that should be scrubbed away. The aim is to remove an identified deposit using the permitted method, without changing the contact’s position or the shape of the threads.
Damage is a different observation. A displaced contact, visibly separated component or damaged thread calls for assessment rather than a more aggressive wipe. In a September 2024 discussion, the reader described cartridge bottoms being pulled out and asked whether the battery or cartridge was at fault. The thread does not prove which component caused the problem, and its informal repair suggestions are not instructions to follow. It does show why naming the detached part matters: cartridge base, battery connector and outer housing are different things. Cleaning a surface cannot reconnect a wire, restore a deformed contact or establish that a separated assembly is sound.
🧴 4. Light Wipe Versus Soaking
Vessel’s own maintenance guidance recommends a gentle connection-area wipe with a cotton swab lightly moistened with isopropyl alcohol. That is a specific manufacturer’s instruction for its devices. It does not grant solvent permission for every finish, charging port or battery carrying a 510 connector. The distinction is between an approved surface wipe and extending that instruction into a different area or a different procedure.
A cleaner permitted for an exposed metal contact may still be unsuitable for a coated shell. Keep those surfaces separate when reading the care instructions.
Permission to wipe a named surface should stay attached to that surface and procedure. A swab, a spray and an immersion bath are not interchangeable just because each might involve the same liquid. Nor does a manufacturer’s instruction for exposed metal establish what happens to a nearby painted or coated finish. Follow the device-specific method rather than turning a narrow instruction into a general solvent rule.
🧰 4.1 A Controlled External-Care Sequence
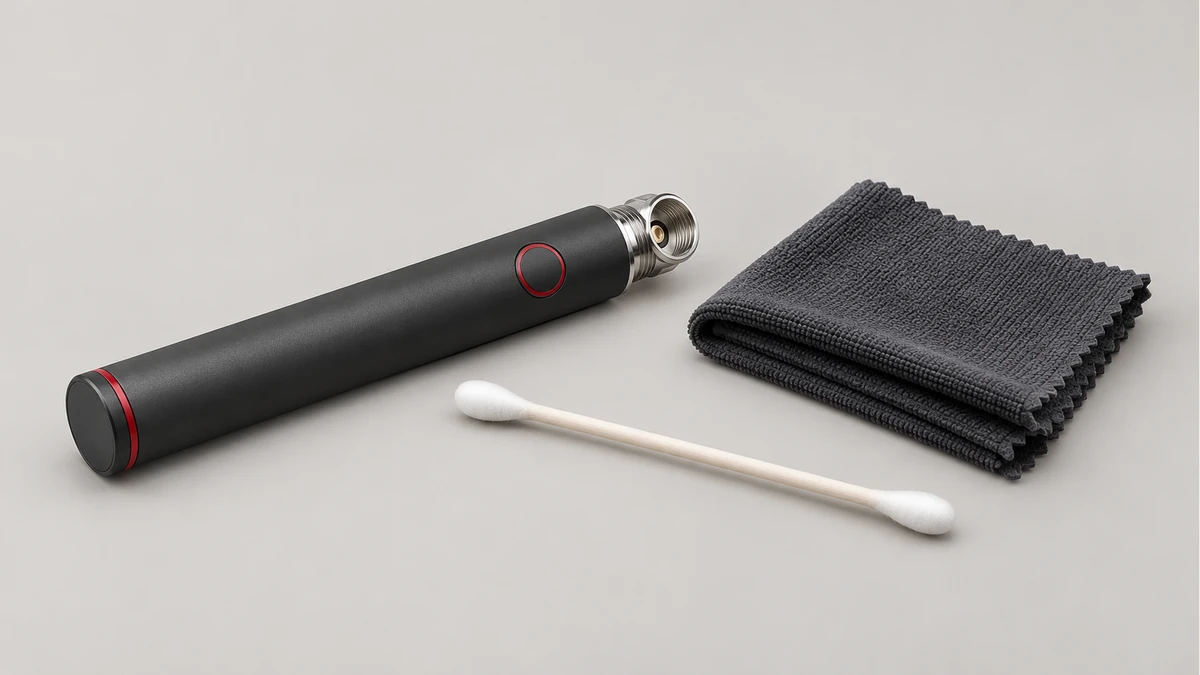
Set the disconnected device on a clear surface where the small accessory will not roll away. Keep the charger out of the cleaning area. Read the care section for the battery model, including any limits on its finish, and identify the exact surface it names. The instructions for a cartridge or mouthpiece are not automatically the battery’s instructions. If an adapter sits between the cartridge and battery, identify it separately before removing anything. A loose ring in the tray should not become an unidentified part of the battery.
Begin with inspection rather than liquid. Look at the accessible connector, the rim around it and the removed accessory’s exterior mating surface. Note where the deposit actually is. Debris on the cartridge’s base is a separate location from debris below a battery’s connector opening. Do not follow residue into an inaccessible gap or use a metal tool to lift a contact. If the accessible surface cannot be identified, stop at documenting it and ask the manufacturer which part its care instructions cover.
Where the maker permits a lightly moistened swab, keep the application controlled on that named surface. This does not mean pouring cleaner into a recessed opening or spraying the whole device. Replace a visibly dirty swab rather than spreading the deposit onto a neighboring finish. Check afterward for visible fibers on the accessible surface. A swab is a tool for a specific wiping task, not permission to probe a gap, press against a movable contact or push material into the housing.
After the stated drying and inspection steps, reattach only the identified accessory as the manual directs. If a part does not align normally, leave it apart rather than using tightening force as a test. A connector that looks cleaner is a useful observation, but it does not prove the device is repaired. Keep any later electrical fault separate from the result of the surface-cleaning task. That separation makes it possible to describe what changed without claiming a cause that was never established.
🔬 5. Dry Inspection and Thread Condition
Allow any permitted cleaning liquid to evaporate completely before reconnecting an accessory or charger. Follow the drying instructions for the specific device rather than judging only by whether the outside looks dry. If liquid has entered the powered housing, external drying does not establish that its interior is ready for use.
Once dry, inspect the exposed area under ordinary good lighting. Check whether visible loose material remains and whether the thread edges or contact look displaced or damaged. Appearance alone does not identify the condition of a hidden connection. A cartridge that will not seat without force calls for checking the specified fit and condition, rather than tightening harder. Cleaning cannot reshape crossed or stripped threads. It also cannot establish why two apparently clean parts fail to connect.
🔋 6. Identify the Actual Charging Interface
Some batteries have a separate USB charging port; others use the 510 connection with a specified charging accessory. Identify the arrangement in the manual before treating the charger as a separate opening. A connection-area cleaning instruction does not grant permission to put liquid into a USB socket, docking contact enclosure or any other opening. Where charging and accessory connection share an interface, use the care instructions for that actual arrangement rather than a diagram of a different battery.
Ordinary care around the charging port is simpler and lower-risk than connector cleaning: disconnect the device from its charger before doing anything else, power the device off according to its own manual if it has a power control, and avoid introducing any liquid into the sealed body of the device. These are basic precautions rather than a cleaning method, and they apply regardless of what connector-cleaning approach a person is using elsewhere on the device.
🔁 7. Repeated Leakage: An Unresolved Pattern, Not a Repair
A reader’s leakage discussion asks about material reaching the battery connection. Another thread about wiping threads raises a related boundary: cleaning an external connector is different from cleaning inside a cartridge. These discussions identify practical questions without proving the cause of either reported problem. Wiping the outside does not repair a cartridge seal or establish that anything inside the cartridge has been cleaned.
Those threads raise the possibility of recurrence; they do not establish a tested history of repeated leakage after cleaning in both cases. The useful distinction is between clearing a visible deposit and explaining where it came from. If the area becomes coated again, record that observation separately rather than treating it as proof of one particular seal, cartridge or battery fault. A clean surface is evidence about the surface at that moment. It is not a repair report for the larger assembly.
📝 7.1 What to Record When the Deposit Returns
Record the location and timing in ordinary terms: residue at the cartridge base after removal, a deposit around the battery’s exposed threads, or material visible near an adapter. Do not call all three battery leakage. A photo showing both disconnected mating surfaces can make the distinction clearer than a close crop of only the stain. Keep the device and cartridge identification available for support, while avoiding assumptions about which one caused the deposit. Repeating the same wipe does not answer where new material is coming from.
For a removable magnetic adapter, the 510 adapter guide separates seating, contact and fit questions. If the problem is charging, our charging troubleshooting guide distinguishes the cable and interface from the battery. If the deposit is at the mouthpiece, use the mouthpiece care guide for that component. Choosing the guide by the affected part helps prevent a connector-cleaning routine from becoming an unrelated repair attempt.
✅ 8. What a Clean Connector Can Tell You
Cleaning a 510 battery, in any grounded sense, means addressing the exposed connector, the surrounding threads, and the outer finish — not the sealed internal body, not a heating chamber, and not the inside of a cartridge. Within that boundary, the difference between light surface debris and actual mechanical damage determines whether cleaning is even the right response: debris can often be addressed with a light, controlled wipe, while a bent pin, crossed threads, or a separated housing cannot be fixed by cleaning at all. Manufacturer-specific guidance, where it exists, tends to describe a narrow and deliberate method — a lightly moistened swab on the contact area, not soaking — and that permission does not automatically extend to other parts of the same device, other devices, or the charging port.
Recurring leakage into the connector area, in particular, deserves to be treated as its own open question rather than something a cleaning habit will eventually solve. None of this replaces the specific instructions that come with a given device’s own manual, which remains the most direct source for anything model-specific. What a general understanding of these distinctions offers instead is a clearer sense of what ordinary surface maintenance can reasonably be expected to do, and where it reaches its limit.