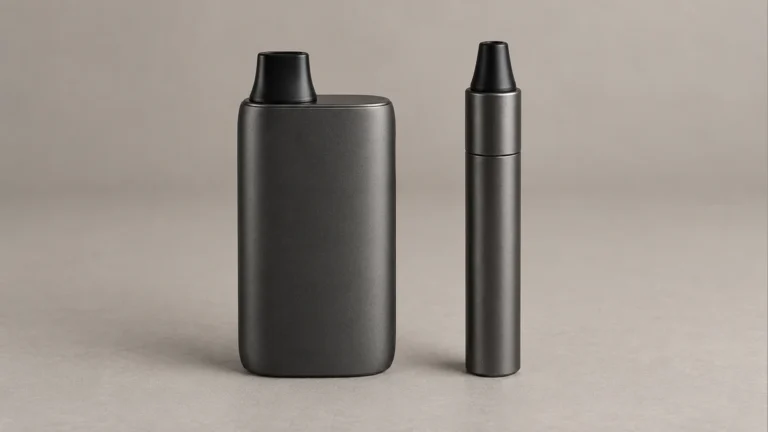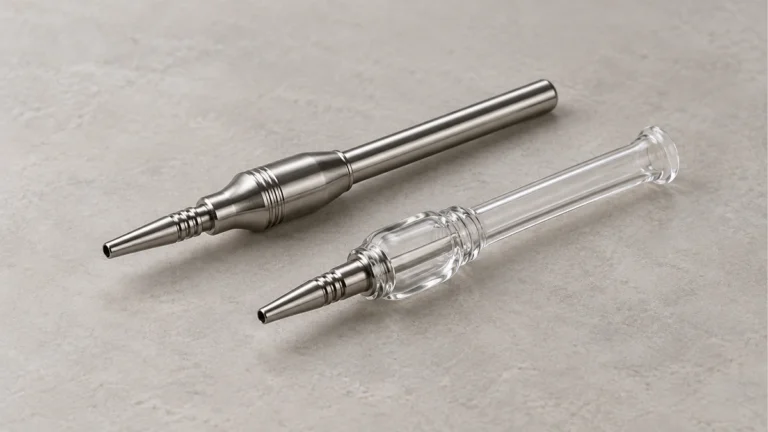
You pull the mouthpiece off, hold it up to the light, and it looks fine. No sludge, no visible gunk, nothing that would explain why your last few draws felt like sipping through a coffee stirrer. That gap between “looks clean” and “pulls badly” is where most people go wrong, because they treat the mouthpiece as the whole problem instead of the part they can see. A vape pen’s airflow is a path, not a point, and restriction can start at the tip, sit somewhere in the middle, or hide down near the chamber where a quick glance never reaches.
Before touching anything with a tool, it helps to separate what’s actually happening. A weak or muffled draw usually comes from one of four places: surface dirt on the mouthpiece itself, condensed vapor that has cooled back into liquid inside the air channel, buildup of chamber material working its way upward, or a restriction further down the air path that has nothing to do with the mouthpiece at all. Cleaning the wrong layer, or cleaning aggressively when the problem is somewhere else, is how people end up scratching a seal or dislodging a screen that was doing its job perfectly well.
🌬️ 1. Reading the draw before you start scrubbing
Airflow problems have a texture to them, and paying attention to that texture tells you where to look first. A draw that feels tight and slightly wet, sometimes with a faint gurgle, points toward condensation: vapor that cooled, turned back to liquid, and pooled somewhere it shouldn’t. A draw that feels dry but weak, almost like pulling against a partially blocked straw, more often points to solid buildup, whether that’s dried residue from chamber material or compacted lint that migrated in from a pocket or bag. And a draw that’s inconsistent, sometimes fine and sometimes choked, especially right after the device has been sitting unused, suggests the restriction may be intermittent, tied to how the device was stored rather than to grime sitting in one fixed spot.
If the mouthpiece itself is visibly clear but the draw is still bad, resist the instinct to dig further with whatever is on hand. That’s the exact moment people reach for a paperclip, a toothpick, or the edge of a key, and it’s also the exact moment they’re most likely to nick a rubber seal or bend a fine mesh screen that can’t be replaced individually. If restricted airflow is showing up despite what looks like normal function, it’s worth ruling out causes that have nothing to do with dirt at all before assuming the mouthpiece needs deeper cleaning; our guide to a cart that isn’t hitting despite having airflow walks through some of those adjacent scenarios and is a useful gut check before you disassemble anything.
🔒 2. Telling the four causes apart
Once you’ve got a general read on the draw, it’s worth slowing down and actually separating the four causes, because the right response to each one is different, and the wrong response to one can make another worse.
🧩 2.1 External dirt on the mouthpiece
This is the easiest case and the one people usually picture: dust, skin oil, or general grime sitting on the outside surfaces and around the rim where lips make contact. It affects comfort and hygiene more than draw strength, though a heavy enough film around the opening can shave a little airflow off the top. It’s also the safest layer to clean, since you’re working entirely on an exterior surface with no exposure to internal components.
🧩 2.2 Condensed vapor inside the air channel
Vapor that cools before it fully exits the device turns back into a thin liquid film along the inside walls of the air path. In small amounts this is normal and expected in almost any vapor pen; the problem starts when it accumulates faster than it evaporates, especially in devices used frequently in short bursts, or left sitting with the chamber loaded for long stretches. This is the layer responsible for that faint gurgling or a draw that feels slightly damp rather than dry-restricted.
🧩 2.3 Residue from chamber material working upward
Depending on what the device is designed to hold, particles or residue from the chamber can migrate up through the air path over repeated use, gradually narrowing the channel. This tends to build slowly, so the change in draw quality is often gradual enough that people don’t notice it until it’s fairly pronounced. If your device uses a refillable chamber, understanding how that chamber is meant to be loaded and cleared between fills goes a long way toward slowing this kind of buildup in the first place, which is covered in more depth in our refillable vape pen guide.
🧩 2.4 A restriction further down the air path
The mouthpiece is the part you can inspect without tools, but it’s frequently not where the actual blockage sits. Lint, fabric fibers, and general pocket debris are a distinct problem from condensation or chamber residue, because they usually enter through an air intake or a loosely fitted mouthpiece seam rather than from vapor itself, and they tend to lodge deeper in the path where a quick visual check won’t catch them. A mouthpiece that looks completely clean can still sit downstream of a restriction like this, which is exactly why the diagnosis step matters more than jumping straight to cleaning the one part you can see.
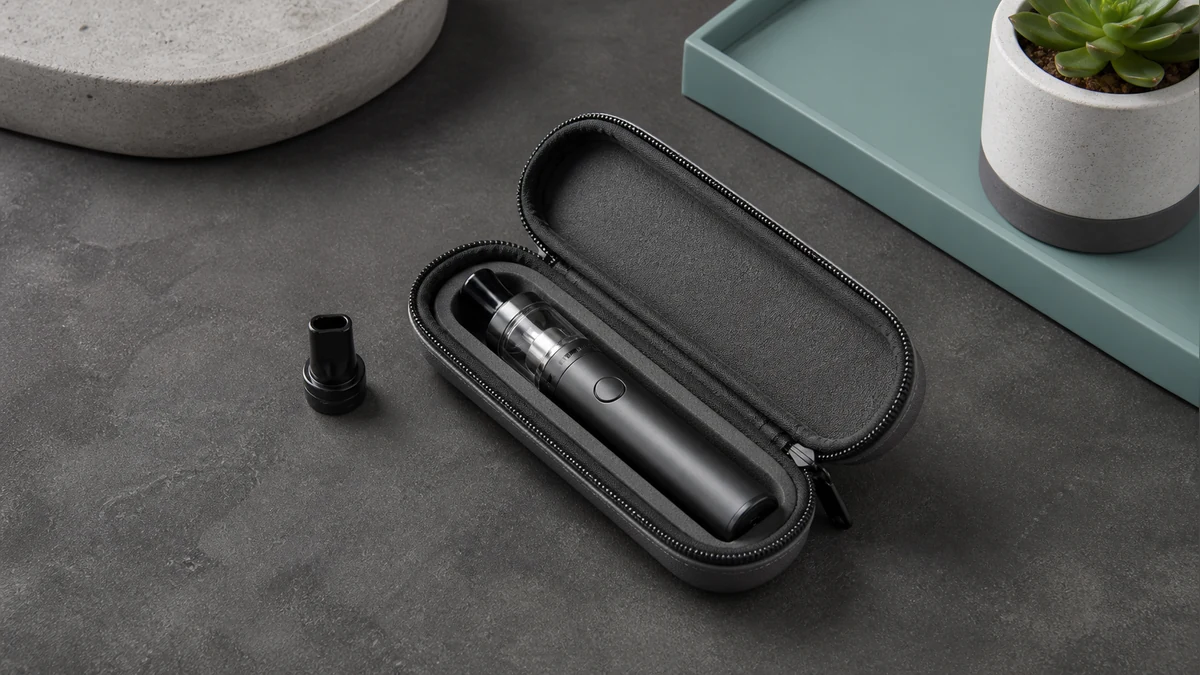
🌀 3. A conservative cleaning workflow
With a general sense of what you’re dealing with, the actual cleaning process should stay deliberately conservative. The goal at every step is to remove debris without pushing it further into the device, and without putting pressure on parts that weren’t designed to be pried at.
🧩 3.1 Start with the manual, not the internet
Disassembly steps, how far a mouthpiece is meant to twist or pull, whether it seats over a screen or a heating element, and what materials the seals are made from all vary by device and are specified in the manufacturer’s manual for that exact model. Skipping this step and improvising based on a similar-looking device is one of the most common ways a screen gets bent or a seal gets stretched out of shape. If the manual isn’t on hand, it’s worth tracking down before going further rather than guessing at how a part is supposed to separate.
🧩 3.2 Remove only what the design allows
Most mouthpieces are built to detach cleanly, either by pulling straight off or twisting to a stop, without needing force. If a piece resists past that point, that resistance is information, not an obstacle to push through. Stop, recheck the manual’s disassembly diagram, and confirm you’re not fighting a seal that’s supposed to stay seated. Never pry at a mouthpiece with a knife edge, scissor tip, or similar improvised tool; that’s how a lip gets chipped or a seal gets sliced.
🧩 3.3 Wipe and soak according to what you’re removing
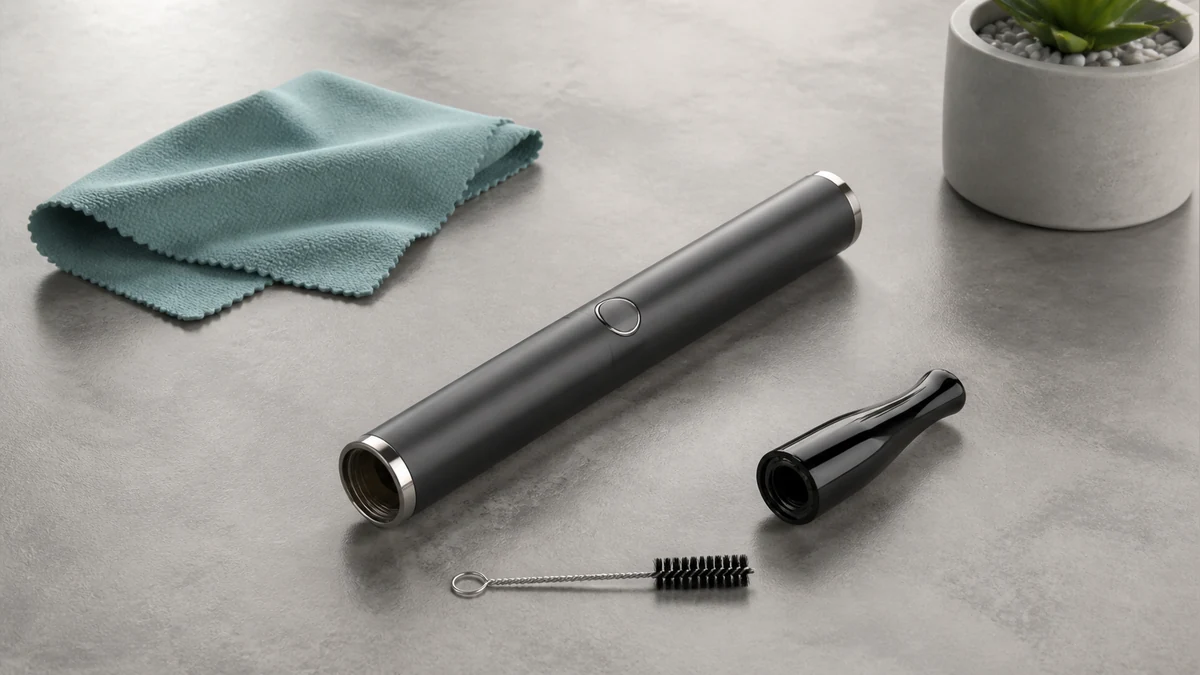
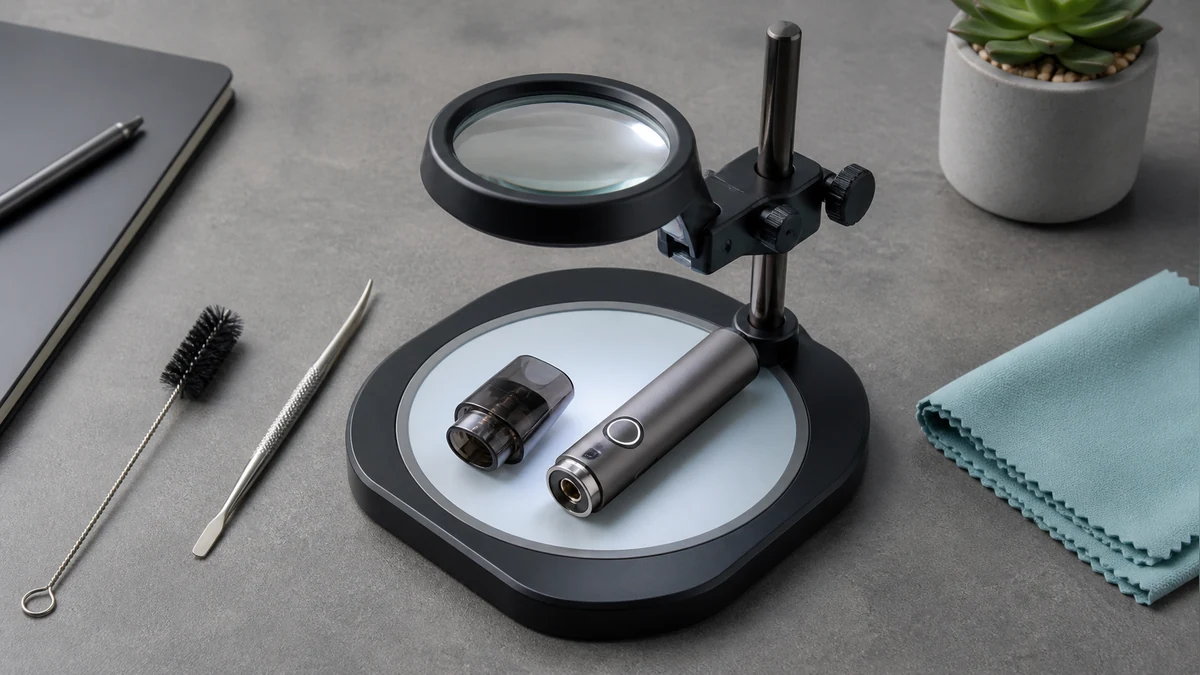
For external dirt and light condensation on the mouthpiece itself, a soft cloth or cotton swab, lightly dampened with warm water, is usually enough. Isopropyl alcohol is commonly used on detachable, non-electronic mouthpiece pieces to cut through condensed residue, but it should never be applied to anything with exposed contacts, a heating element, or circuitry, and the manual is again the right place to confirm which parts are safe to wet at all. For chamber-side residue, avoid scraping with anything rigid; a soft brush or cloth working gently along the accessible surface removes far more than force does, and it won’t scratch a coating or dislodge a screen the way a metal point can.
🧩 3.4 Dry fully and inspect before reassembly
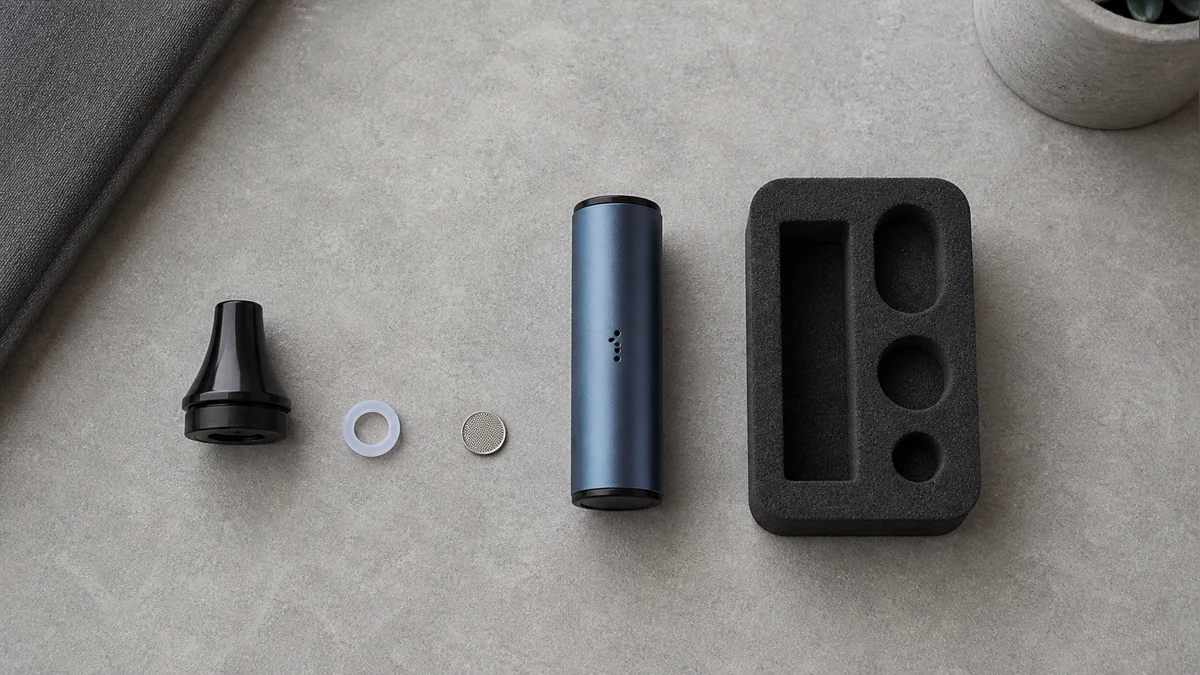
Any part cleaned with liquid, even plain water, needs to air dry completely before it goes back on the device. Reassembling while still damp is one of the more overlooked causes of ongoing draw problems, since trapped moisture just becomes the next layer of condensation. While everything is apart, take a moment to actually look at the screen or mesh, if the device has one, for tears or heavy discoloration, and check that seals still sit flush and haven’t taken on a permanent stretch. This is also the moment to check for lint or fibers around the intake, since that’s the deeper restriction that a mouthpiece-only cleaning won’t touch.
📐 4. Why seals, screens, and contacts deserve extra care
It’s worth being explicit about why this process stays conservative rather than aggressive, because the parts most at risk during cleaning are also the parts that are hardest, or impossible, to replace individually. A seal that’s been stretched, sliced, or scraped thin no longer creates the airtight fit it’s designed for, and once that fit is compromised, airflow problems can actually get worse than they were before cleaning, not better. A bent or torn screen doesn’t just affect draw quality; depending on its position in the device, it can change how material sits in the chamber. And any electrical contact point should be kept completely dry and free of alcohol or other liquids, since moisture in the wrong spot there isn’t a cosmetic issue.
This is also the underlying reason improvised sharp tools come up so often as a bad idea in cleaning discussions among device owners: a paperclip or blade tip doesn’t know the difference between caked residue and a seal, and by the time you feel resistance, damage may already be done. Working slowly with soft tools, and stopping to recheck the manual whenever something doesn’t move the way it’s described, is a slower process than digging in with whatever’s on hand, but it’s the difference between a device that draws normally again and one that now has a permanent, uneven leak somewhere in the air path.
🧭 5. Keeping pocket debris out in the first place
Since lint and fiber intrusion is a separate problem from condensation and chamber residue, preventing it calls for a separate fix: how and where the device is stored between uses. A device carried loose in a pocket, especially against fabric-lined interiors, picks up fibers at the mouthpiece opening and any exposed intake almost passively, just from friction and movement over the course of a day. That’s very different from vapor condensation, which happens regardless of storage, and it means a device can be cleaned perfectly on the inside and still develop the exact same restricted draw within days if storage habits don’t change.
A dedicated case that fully encloses the mouthpiece when the device isn’t in use removes most of this exposure, and it’s a meaningfully different level of protection than a loose pocket or an open bag pouch. If restricted airflow has been a recurring issue rather than a one-time cleaning job, it’s worth looking at where and how the device spends its time when it’s not in your hand; our guide to vape cases covers what to look for in enclosed storage that actually keeps lint and debris away from the air path.
🧼 6. Knowing when to stop and get support instead
Conservative cleaning has a natural stopping point, and it’s worth respecting it. If a mouthpiece won’t detach the way the manual describes, if a draw stays restricted after a full external and accessible-interior cleaning, or if you notice damage to a seal, screen, or contact once things are apart, that’s the point to stop working on the device yourself. Continuing to force a part, or trying to compensate for a damaged seal with more aggressive cleaning, tends to turn a fixable restriction into a device that needs professional service or replacement parts. Manufacturer support, guided by the specific model’s manual, is equipped to advise on anything beyond routine surface and accessible-chamber cleaning, particularly anything involving internal components, battery-adjacent parts, or persistent airflow issues that cleaning alone doesn’t resolve.
A mouthpiece that looks open but draws poorly is rarely solved by scrubbing harder at the one part you can see. It’s solved by working out which of the four layers is actually restricted, cleaning that layer with tools soft enough not to damage what’s underneath, drying everything fully before reassembly, and addressing storage habits so the same debris doesn’t just reappear. Handled that way, most restricted-draw problems resolve without ever risking the seals, screens, or contacts that keep the device working correctly in the first place.
📚 7. Sources
Guidance in this article reflects general, device-agnostic maintenance conventions for detachable vapor-pen mouthpieces and defers all model-specific disassembly steps, materials, and tolerances to each device’s original manufacturer manual, which remains the authoritative source for any specific model.