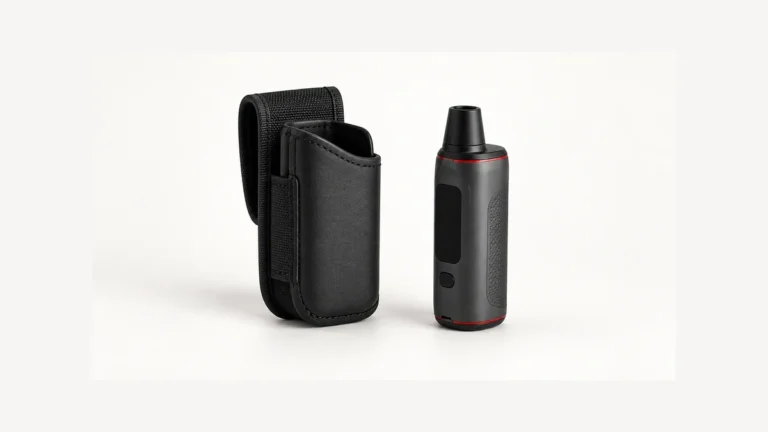
A dab pen with a chamber full of dark, gummy residue usually means one thing: it’s time to clean it before the next session has stale or scorched residue affecting the next session. The safe approach is narrower than most people expect — you cool the device, separate only the parts your manual says are removable, clear loose debris first, and keep any liquid away from the battery and charging contacts. Skip a step, and you risk pushing residue deeper into the chamber or, worse, getting moisture into electronics that were never designed to get wet.
This guide walks through that sequence in order, part by part, so you know what to wipe, what to leave dry, and what to replace instead of scrub. None of the steps below assume a specific brand’s soak times, solvent choices, or button sequence — those details vary by device, and the only reliable source for them is the manual or manufacturer support page that came with your pen.
🧭 1. Check the device manual before disassembly
Before you touch a swab or a bottle of alcohol, find the manual for your specific dab pen. Wax pen chambers, mouthpieces, and battery housings are built differently across brands, and even between models from the same brand. Some chambers are fully removable and rated for light liquid contact on the outside surfaces only. Others have a fixed coil that should never touch liquid at all. A manual — or the manufacturer’s official support article — is the only source that will tell you which parts on your device are safe to expose to cleaning solution and which are not.
If you no longer have the paper manual, most manufacturers post digital versions or cleaning walkthroughs on their support sites. Puffco, for example, publishes a cleaning article specifically for its Peak line that spells out which components can be soaked and which should stay dry. That kind of model-specific documentation matters more than general advice, because a step that’s fine on one chamber design can crack a glass insert or short a heating element on another.
Reading the manual first also answers a question that trips up a lot of new owners: which pieces actually detach. Some pens separate into three or four parts — mouthpiece, chamber, battery, sometimes a magnetic connector ring. Others have fewer removable pieces, and forcing a twist or pull on a part that isn’t meant to come off can crack a seal or bend a contact pin. If you have’t already, this is also a good moment to review a general vape cleaning kit guide for the categories of tools — swabs, brushes, isopropyl alcohol — that are commonly used across devices, while still deferring to your specific manual on what touches your specific pen.
🧩 2. Cool, power off, and separate removable parts
Never start cleaning a dab pen that’s still warm from a session. Let it sit until it’s fully cooled to room temperature and powered off completely — not just idle, but off at whatever control the device uses, whether that’s a button sequence or a physical switch. A pen that’s still warm can also mean residue is still soft and more likely to smear into places you don’t want it, rather than lifting cleanly away.
Once it’s cooled and powered down, separate only the parts your manual identifies as removable. This is typically the mouthpiece and the chamber or atomizer housing, unscrewed or unclipped from the battery section. Set the battery aside on a clean, dry surface. It should not be part of the wet-cleaning process at any point in this sequence — it gets handled separately, and only with a dry cloth, in a later step.
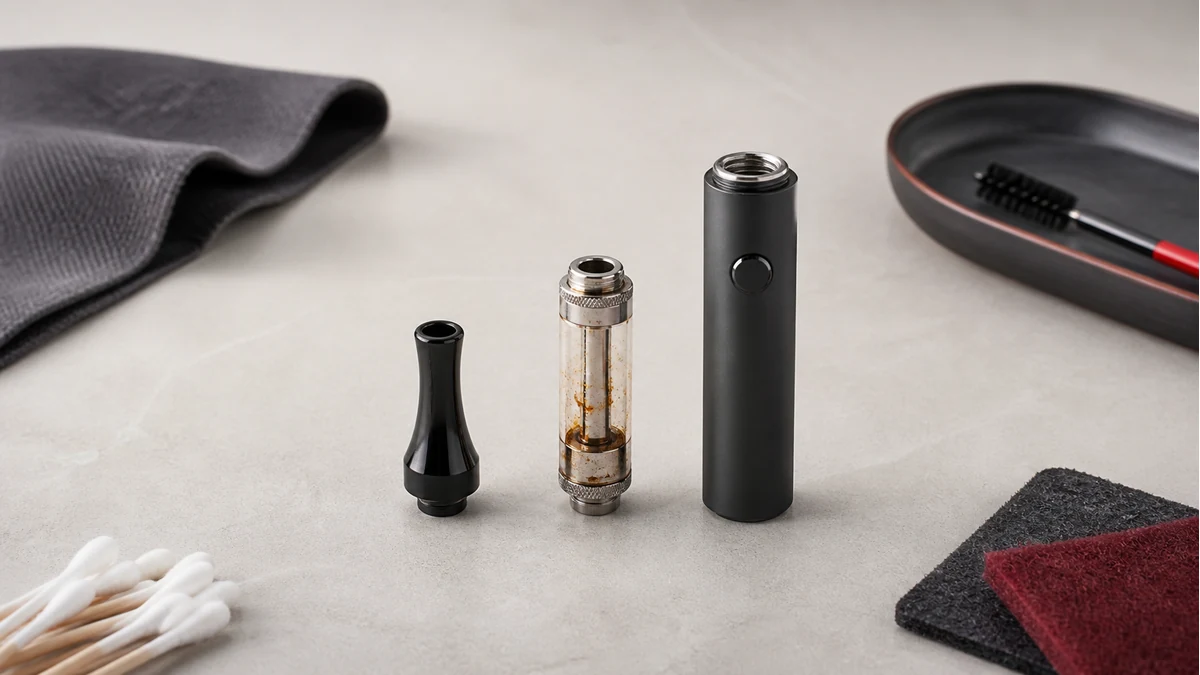
Lay the disassembled parts out in the order you removed them. This isn’t strictly necessary for the cleaning itself, but it makes reassembly faster and reduces the chance of forcing a piece back together in the wrong orientation, which can crack a thread or misalign a connector.
🛠️ 3. Remove loose residue without pushing it deeper
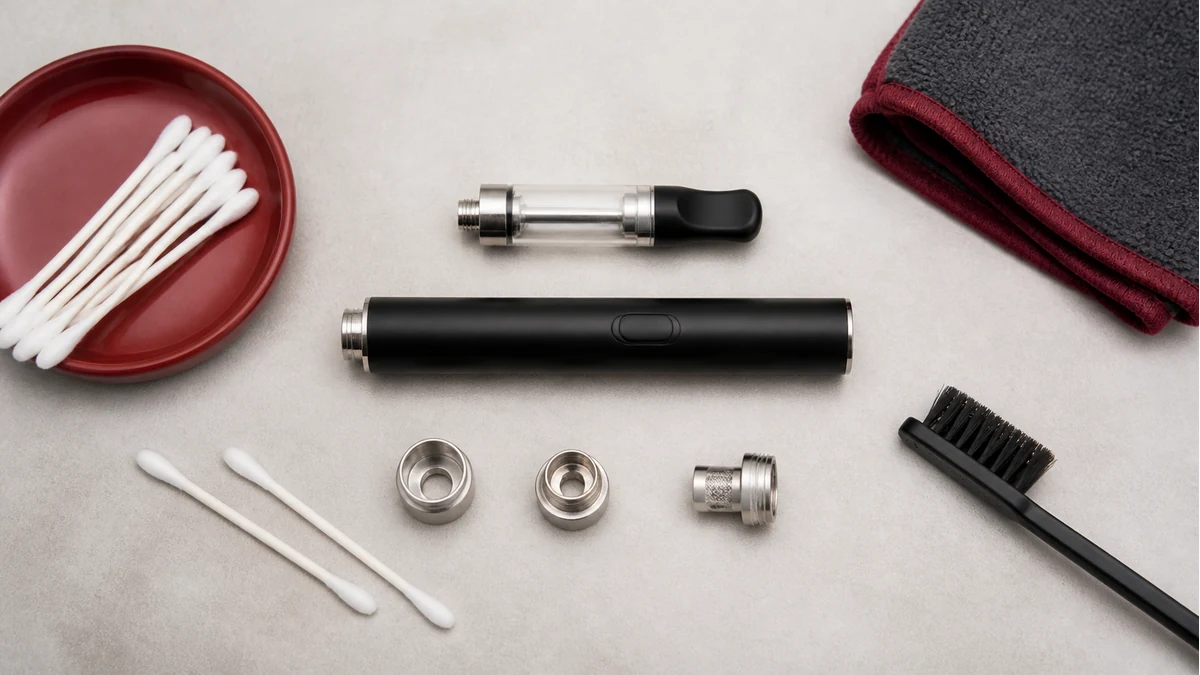
Before any liquid touches anything, deal with the loose stuff first. Tip the chamber gently over a paper towel or trash bin to let any loose flakes or crumbled residue fall out on their own. A soft-bristled brush — the kind that often comes in a basic cleaning kit — can help knock loose material free from threading and edges without applying much pressure.
The instinct many new owners have is to jump straight to a wet swab, but doing that on a chamber that still has loose debris in it usually just smears that debris into corners and crevices where it’s harder to reach later. Dry removal first, wet cleaning second is the order that keeps buildup from migrating deeper into narrow chamber walls — which is exactly the kind of residue migration that shows up in long-term reviews of wax pens where owners describe buildup creeping into areas that are difficult to access once it’s compacted.
If a coil or heating element is visible and your manual says it’s not meant to be removed or soaked, don’t try to dig residue out of it with a metal tool. Metal picks and blades can scratch coatings or bend delicate wire, and that kind of damage isn’t something a cleaning routine can fix.
🌡️ 4. Clean the mouthpiece, chamber, and connections by part
With loose debris cleared, move to the parts that can typically tolerate light dampness — again, only if your manual confirms it for that specific piece. This is usually the mouthpiece and, in some designs, the outer chamber walls.
🧩 4.1 Mouthpiece
The mouthpiece is usually the part with the fewest restrictions, since it’s typically a solid, non-electronic piece. A cotton swab or small brush dipped lightly in isopropyl alcohol — using an amount your manual or general vape-cleaning guidance supports rather than fully saturating the swab — can work through resin buildup on the inside walls. Wipe rather than soak, and change swabs as they pick up residue rather than reusing a dirty one that just redistributes buildup. For more detail specific to this piece, a dedicated walkthrough on how to clean a vape pen mouthpiece covers the technique in more depth.
🧩 4.2 Chamber
Chamber cleaning depends heavily on material and design. Some chambers are glass or ceramic and rated for a brief soak in isopropyl alcohol, following whatever soak time and alcohol concentration the manufacturer specifies. Others have a fixed coil inside that must stay completely dry, in which case only the outer rim or threading gets a light wipe, never the interior where the coil sits. This is the point where checking the manual pays off — guessing wrong here is how a coil gets ruined.
🧩 4.3 Threading and connection points
The threads where the chamber screws into the battery, and any magnetic or pin-style connectors, need special attention because they’re both a common site for buildup and a common site for moisture damage. A dry swab or small brush is usually the safer default for these areas. If your manual allows a very lightly dampened swab on external threading, wring or dab off excess liquid before it touches the connector, and never let liquid pool in a threaded joint.
💨 5. Keep liquid out of the battery and charging port
This is the boundary that matters most in the entire process. The battery housing, any exposed circuit board, and the charging port should never be submerged, sprayed, or wiped with a wet cloth. Even a small amount of liquid finding its way into a charging port or around battery contacts can cause a short or corrosion that a visual inspection won’t catch right away.
If the battery housing has visible residue on its exterior — often from sticky fingers or concentrate transfer during loading — a dry microfiber cloth or a barely damp cloth that’s been wrung out until it’s nearly dry is the safer option, and only on the exterior casing, well away from any port or button. If your manual specifically warns against even that, skip it and stick to a dry cloth.
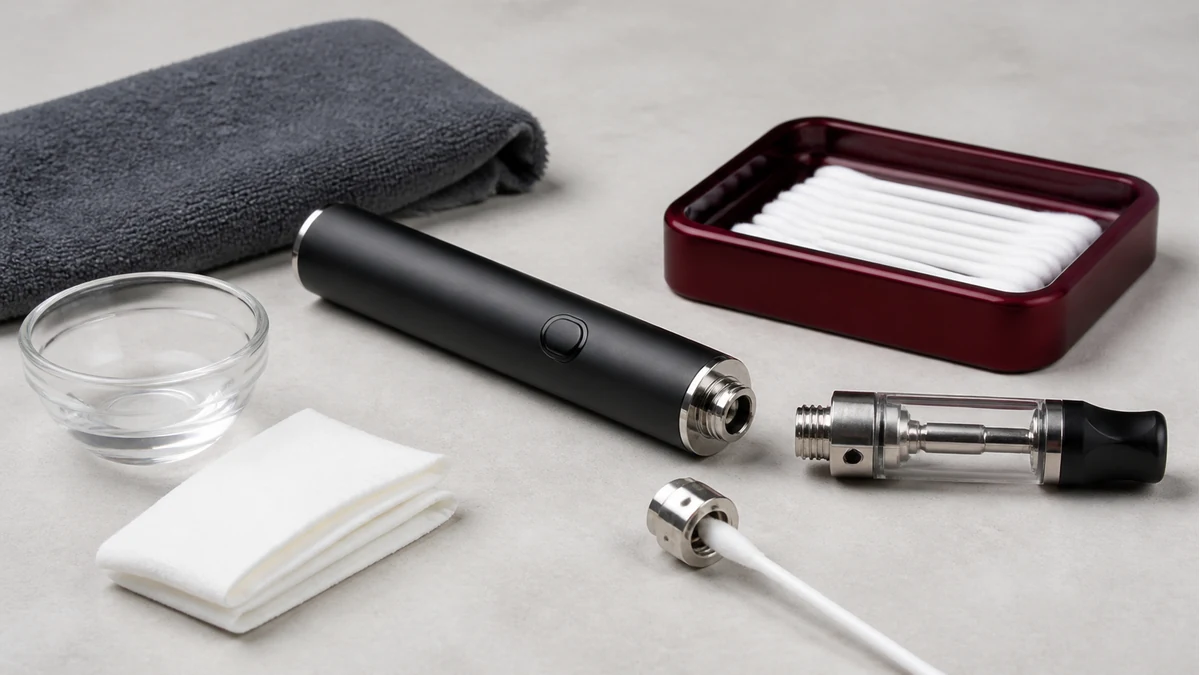
The same rule applies to the charging port itself: no liquid, no swab, nothing inserted. If debris has worked its way into the port opening, stop and follow the manufacturer’s port-cleaning guidance; do not improvise with metal picks, liquid, or high-pressure air.
🧼 6. Dry fully and reassemble
Any part that touched liquid, however lightly, needs to air dry completely before it goes back on the device. Reassembling a still-damp chamber or mouthpiece can trap moisture against a seal or connector where it has no way to evaporate, and that’s a slower, harder-to-notice version of the same problem you were trying to avoid by keeping liquid off the battery in the first place.
Set cleaned parts on a paper towel or clean cloth in a spot with normal airflow. How long that takes depends on the alcohol concentration used, the ambient humidity, and the part’s material — there’s no universal drying time that applies across every device, so err on the side of giving it more time rather than less if you’re unsure.
Once everything is visibly and tactilely dry — no residual dampness on threading, no smell of alcohol lingering in the chamber — reassemble the pen in the reverse order you took it apart. Line up threads or connectors carefully rather than forcing a twist, and confirm the chamber and mouthpiece seat fully before you consider the device ready to use again.
If your device has a priming or short warm-up step recommended in its manual after cleaning, that’s specific enough to that model that it’s worth following exactly as written rather than skipping straight to a full session.
⚖️ 7. Replace damaged or persistent clogged components
Cleaning fixes residue. It doesn’t fix a cracked chamber, a coil with a visibly damaged coating, or a connection point where buildup has hardened past the point where a swab or light soak makes a difference. When you’ve gone through a full cleaning pass and a chamber still looks discolored, feels rough where it used to be smooth, or produces a noticeably different draw or flavor, that’s often a sign the part has reached the end of what cleaning can do for it, not a sign you cleaned it wrong.
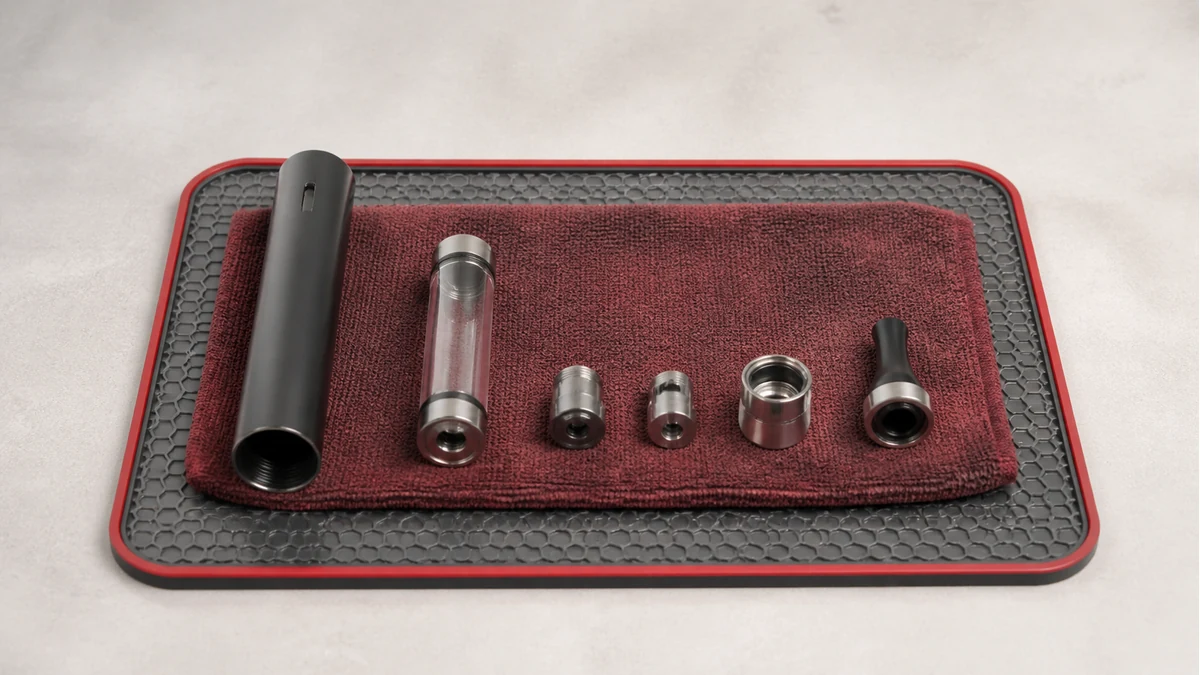
How often a component needs replacing instead of cleaning isn’t something that follows a fixed schedule. It depends on how the device is used, how quickly residue builds up in that particular chamber design, and how the manufacturer rates the part’s expected lifespan — which is a point where owners in online discussions have genuinely disagreed, some pushing for regular fixed-interval cleaning and others pointing out that residue level and chamber design are better guides than a calendar. Either way, the manual or manufacturer support page is again the right source for whether a given coil or chamber is designed to be a replaceable, consumable part in the first place, separate from anything you’d attempt to clean and reuse indefinitely.
New owners in particular often aren’t sure at first which parts on a wax pen are meant to be removed at all, let alone which are disposable versus reusable — that uncertainty is common enough that it’s worth treating your specific device’s documentation as the deciding factor rather than assumptions carried over from a different pen or a different concentrate vaporizer. If you’re weighing a chamber replacement against continued cleaning, or want a broader look at how concentrate vaporizers differ in design and maintenance needs, the concentrate vaporizer guide covers how those differences affect upkeep across device types.
Keeping the distinction clear between a cleaning task and a replacement decision protects both the device and the person using it: a light swab and dry-off routine on schedule keeps buildup from becoming a bigger problem, while recognizing when a part is simply worn out prevents the kind of forced cleaning — extra soak time, more scrubbing, a sharper tool — that tends to cause the exact damage a careful cleaning routine is meant to avoid.
📚 8. Sources and Reader Questions Reviewed
Technical guidance was checked against the manufacturer material below where applicable. Reddit discussions were used only to identify reader questions and failure scenarios, not as proof of technical, health, safety, or legal claims.