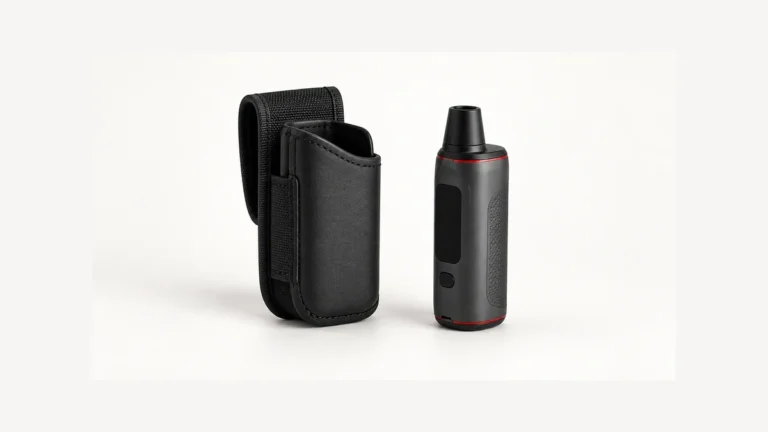
A nectar collector with reclaim stuck in the airpath doesn’t just taste burnt — it pulls harder, runs hotter than expected, and eventually clogs the narrow channel that carries vapor from tip to mouthpiece. Cleaning one correctly means treating it like three separate parts (tip, body, and any silicone or glass attachment) rather than dunking the whole unit in solvent and hoping. The fix is slower than people expect: loosen residue first, match the cleaner to the material, and dry every hidden passage before anything goes back together.
This guide walks through that process in order — identifying what you actually have, taking it apart only as far as it’s designed to go, clearing loose gunk before reaching for solvent, treating glass, silicone, and heated tips as different jobs, and checking airflow before calling it done. If you’re still getting familiar with how the tool works day to day, this overview of using a nectar collector covers the basics that make cleaning habits click into place.
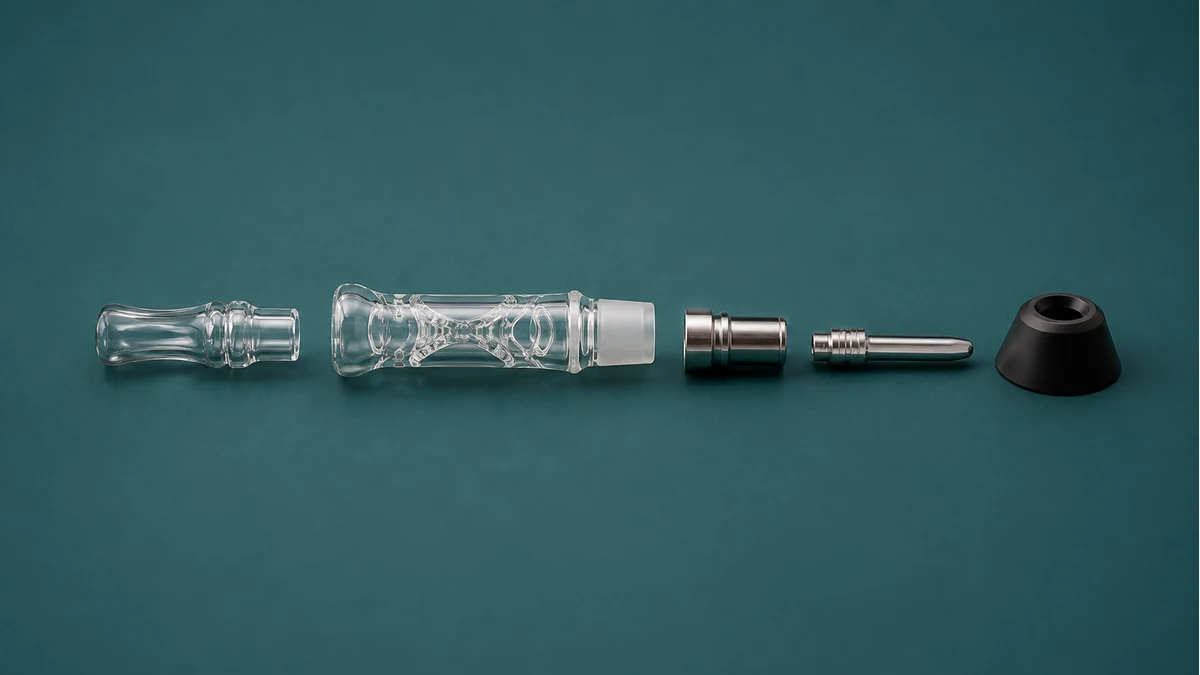
🧭 1. Identify the collector before choosing a cleaning method
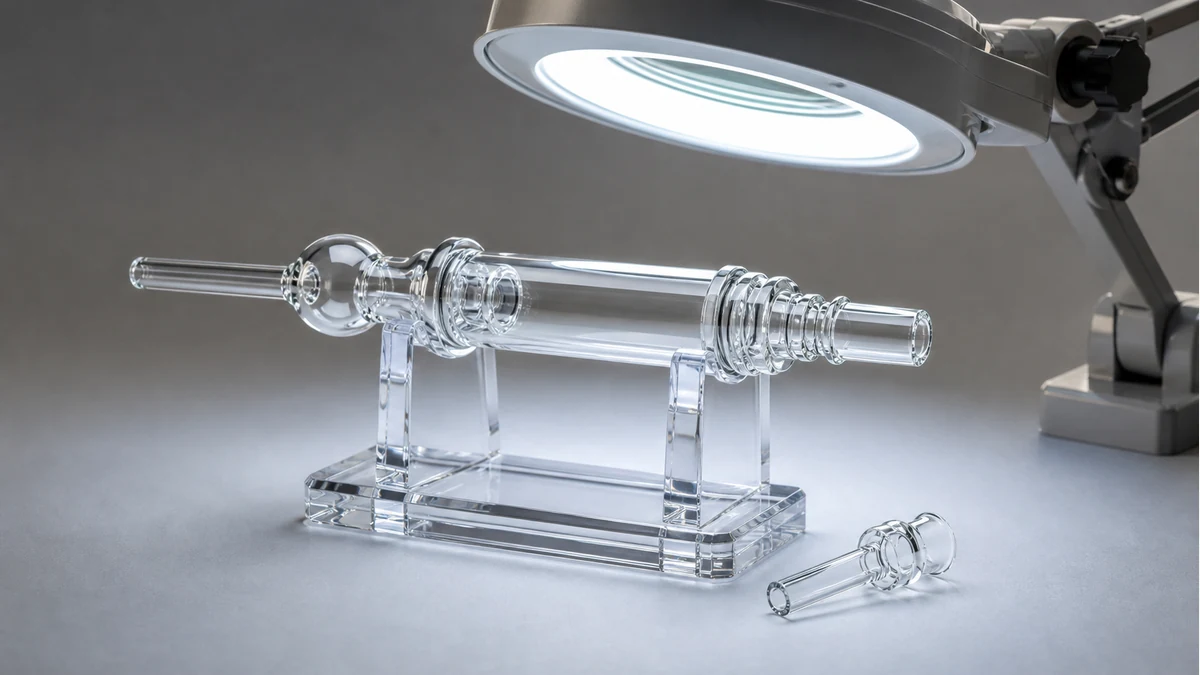
Not every nectar collector is built the same way, and the cleaning method that’s safe for one can crack or warp another. Before touching a bottle of cleaner, look at what the device is actually made of and how it’s assembled. Most collectors fall into a few categories: all-glass units with a fixed or removable tip, silicone-bodied collectors with a glass or quartz tip insert, and dab-straw-style pieces with a metal or ceramic heated end.
The tip is the part that matters most, since it’s the piece that gets hot and touches concentrate directly. Quartz and titanium tips can generally handle more aggressive cleaning than glass, while silicone bodies are the most heat- and impact-tolerant but the least solvent-tolerant. If the collector came with any paperwork or a product page listing materials, check it — manufacturers sometimes specify which solvents are safe for their coatings, finishes, or bonded joints, and that guidance should override generic advice found online.
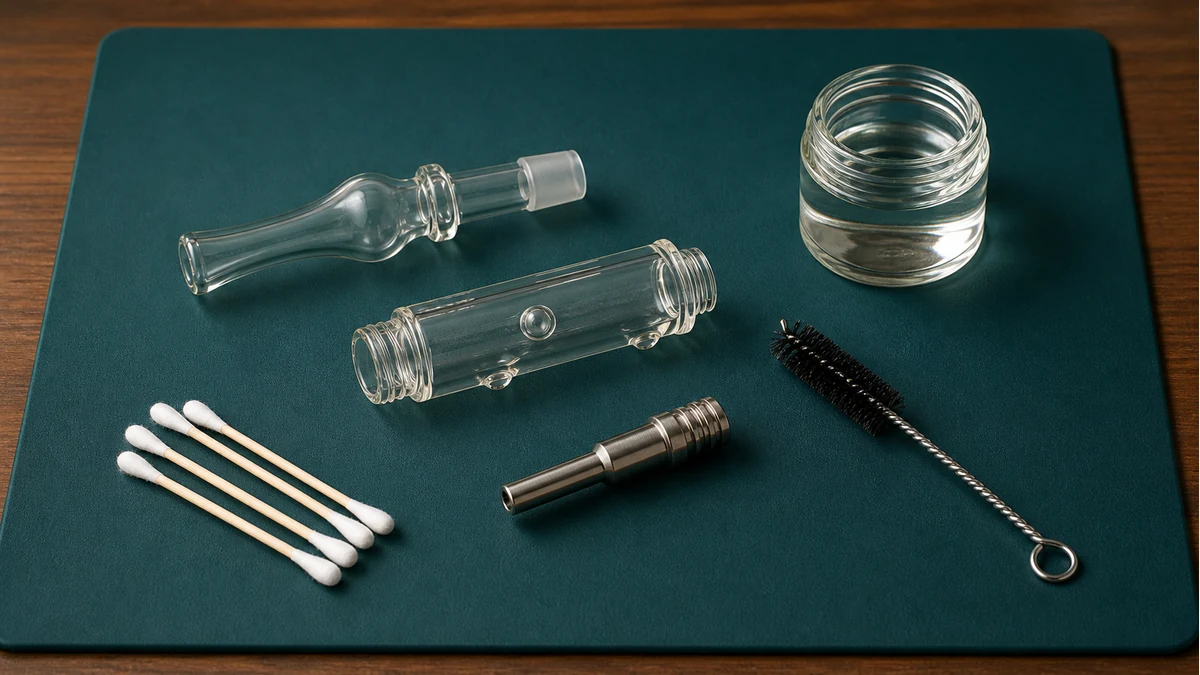
It’s also worth checking whether the tip is fixed in place or designed to be removed. Some collectors use a friction-fit or threaded tip specifically so it can be pulled for cleaning or replacement, while others are one continuous piece of glass. Trying to twist or pry a fixed tip can snap it at the joint, so this is a five-second check that prevents an expensive mistake.
🧩 2. Disassemble it only as far as the design allows
Once you know what you’re working with, take the collector apart at its actual seams — no further. A removable tip typically pulls straight out or unscrews with light, even pressure; if it doesn’t move with reasonable effort, stop and check whether it’s actually meant to separate at all. Forcing a joint that wasn’t designed to come apart is one of the more common ways people crack glass during cleaning rather than during use.
Set removable parts on a soft surface — a folded towel or silicone mat works well — so nothing rolls onto a hard countertop. If the collector has a silicone body around a glass or quartz core, note how the two pieces fit together before separating them, since some silicone sleeves have a specific orientation for airflow or a snug fit that’s easy to misjudge on reassembly.
Anything that doesn’t come apart in the manual or product instructions should be cleaned as a single unit rather than pried open. Fixed joints are usually fixed for a structural reason — heat-sealed glass, bonded silicone, or a permanently mounted tip — and cleaning around that joint rather than through it protects the piece.
🛠️ 3. Remove loose residue before adding solvent
Solvent works best on residue that’s already been softened or loosened mechanically, not on residue it has to dissolve from a cold, hard state. Before reaching for any liquid cleaner, use a soft pipe cleaner or cotton swab to wipe out what will come out dry, working from both ends of the airpath toward the middle so debris moves out rather than deeper in.
This is also the point where light, even heat can help on materials that tolerate it — warming a quartz or titanium tip slightly can loosen hardened reclaim enough that it wipes away instead of needing to be scrubbed. Glass and silicone should not be heated for this purpose unless the manufacturer specifically says the material is heat-safe for that step, since uneven heating is a common cause of stress cracks in glass.
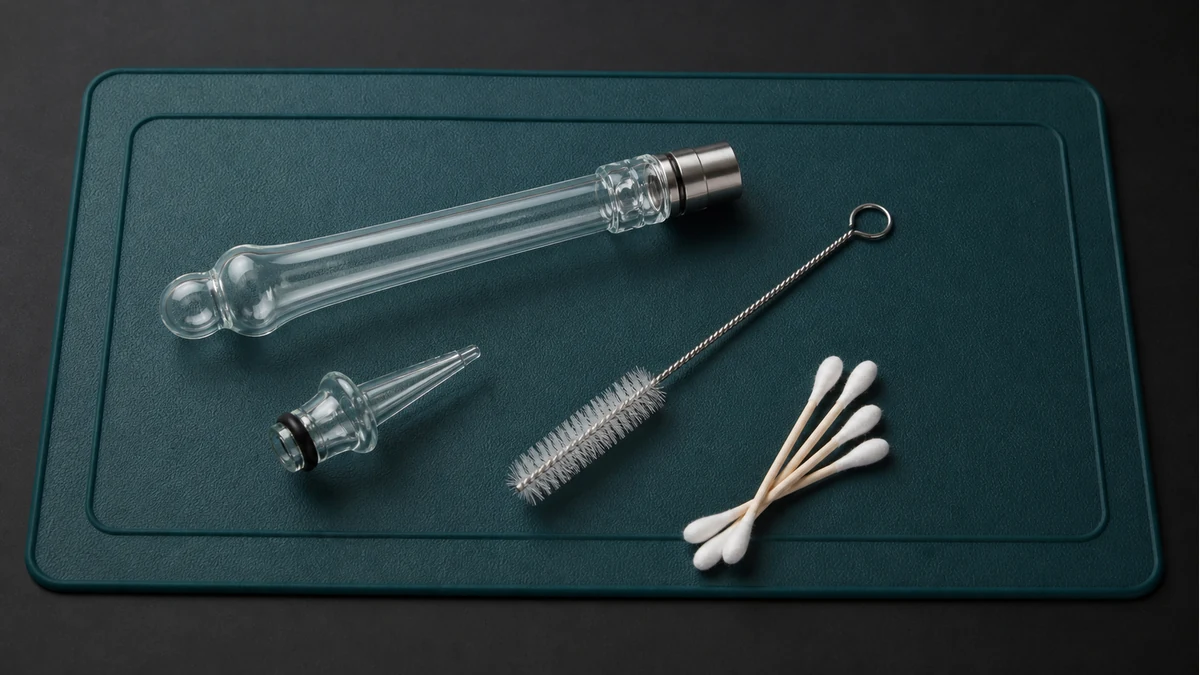
Work in small sections rather than trying to clear the entire airpath in one pass. A pipe cleaner that’s already saturated with residue just redistributes it further down the channel instead of removing it, so switching to a fresh one partway through keeps the process moving in the right direction instead of smearing material deeper toward the mouthpiece.
🌡️ 4. Clean glass, silicone, and heated tips differently
Once loose residue is out, each material needs its own approach for what’s left behind. Treating all three the same way is where most cleaning mistakes happen — a solvent that’s fine on glass can degrade silicone, and a soak that’s fine for a body isn’t appropriate for a heated tip.
🧩 4.1 Glass bodies and tips
Glass tolerates isopropyl alcohol well for loosening sticky residue, followed by a rinse with warm water. Submerging glass in very hot water right after it’s been used, or moving it between hot and cold water quickly, can create thermal shock that cracks the piece — let it reach room temperature first if it was recently in use.
🧩 4.2 Silicone bodies and sleeves
Silicone is more heat- and impact-resistant than glass but reacts poorly to strong solvents over time, which can degrade the material or leave it tacky. Warm water with mild dish soap is usually the safer default for silicone, reserving alcohol-based cleaning for the glass or quartz components it surrounds rather than the silicone itself, unless the manufacturer states otherwise.
🧩 4.3 Heated glass, quartz, or titanium tips
Because these tips are built to handle direct heat, they can generally tolerate a longer alcohol soak or a light torch pass to burn off stubborn residue, if the manufacturer’s material guidance allows it. Quartz in particular is often cleaned this way, but titanium and coated tips should follow whatever the specific product recommends, since coatings can be damaged by open flame even though the base metal can’t.
For anyone replacing a tip that’s too worn or damaged to keep cleaning, this nectar collector kit guide covers how the different tip and body combinations fit together, which is useful context before buying a replacement part.
Whatever cleaning method was used, every part needs a rinse step before it goes back into rotation, and that rinse needs to reach the parts you can’t see into. The airpath running through the body of a nectar collector is narrow and often curved, which means solvent or soapy water can sit in a bend long after the visible surface looks dry.
Rinse with warm water until no cleaner residue is visible or detectable by smell, then set pieces on a drying rack or clean towel with the airpath oriented so gravity helps liquid drain out rather than pool. A narrow pipe cleaner run through the channel after rinsing can help confirm it’s actually clear, not just clear-looking from the outside.
Give glass and quartz pieces enough time to air dry fully before reassembly — using a piece while any solvent residue remains in the airpath means inhaling that residue on the next draw, which defeats the purpose of cleaning it in the first place. If a piece was cleaned with isopropyl alcohol, err on the side of extra drying time rather than less, since alcohol residue isn’t always visible once the liquid itself has evaporated.
🧼 6. Reassemble and check airflow
With everything dry, reassemble the collector in the reverse order it came apart, seating tips and sleeves the same way they were oriented originally. A tip that’s pushed in crooked or a silicone sleeve that’s twisted can create a partial seal that restricts airflow even though every part is individually clean.
Before using it, draw air through the empty piece the way you would during use. It should pull the way it did when the collector was new — smooth and unrestricted, with no whistling, no unusually tight draw, and no residue smell. Any of those signs usually mean a passage wasn’t fully cleared or a joint isn’t seated correctly, and it’s worth taking the piece back apart to check rather than using it as-is.
If cleaning has become a recurring hassle because the collector shares space with other pieces that need different tools and solvents, this vape cleaning kit guide covers how to organize supplies so glass, silicone, and metal components each get the right treatment without cross-contaminating tools.
🧩 6.1 Use airflow as the final inspection
A collector can look clean while a bend or joint still holds softened residue. Once every approved part is fully dry, assemble the device cold and take an unpowered test draw. The resistance should feel even rather than suddenly opening after a hard pull. If airflow remains restricted, take the device apart again and inspect from both ends under a bright light. Do not drive a metal pick blindly through a narrow passage; a hidden restriction is not worth scratching glass, dislodging a seal, or puncturing a screen.
Pay special attention to the boundary between the heated tip and the body. Residue that migrates across that joint can collect dust, prevent full seating, and make the tip feel crooked. Clean the mating surfaces with the method approved for their material, then confirm that the cool parts seat without force. A joint that was loose before cleaning may be worn rather than dirty.
🧩 6.2 Build the next cleanup into the next session
The easiest deep clean is the one delayed by light maintenance. After the collector has cooled, clear the accessible tip and wipe the exterior before residue travels farther into the body. Store removable pieces dry and protected, not assembled while damp inside a closed case. If the design includes water, empty it after use rather than letting it carry odor and mineral deposits into storage.
Keep a simple boundary: cleaning removes residue; it does not repair cloudy heat damage, chipped glass, deformed silicone, corroded metal, or a tip that no longer seats securely. Those are inspection findings. Replacing a compromised part is a different job from soaking it longer.
⚖️ 7. Know when cleaning cannot rescue a damaged part
Cleaning restores a piece that’s dirty, not one that’s structurally compromised. A hairline crack in glass, a joint that’s become loose from repeated disassembly, or a tip with a coating that’s visibly flaking off are damage issues, and no amount of soaking or scrubbing addresses them — in some cases, continued use of a cracked or degraded piece just gets worse with each cleaning cycle.
Discoloration that won’t lift after a reasonable cleaning attempt, especially on a heated tip, can indicate the material itself has broken down rather than simply picked up residue. At that point, replacing the affected part is usually more practical than repeating increasingly aggressive cleaning attempts on something that’s past what cleaning can fix. Checking a piece for cracks, looseness, or coating damage before each cleaning session — not just after something goes wrong — makes it easier to catch this early, while the fix is still a swap of one part rather than the whole collector.
📚 8. Sources and Reader Questions Reviewed
Reddit discussions informed reader questions and failure scenarios only; they were not used as proof of technical, health, safety, or legal claims. Technical statements follow manufacturer-specific instructions where applicable.