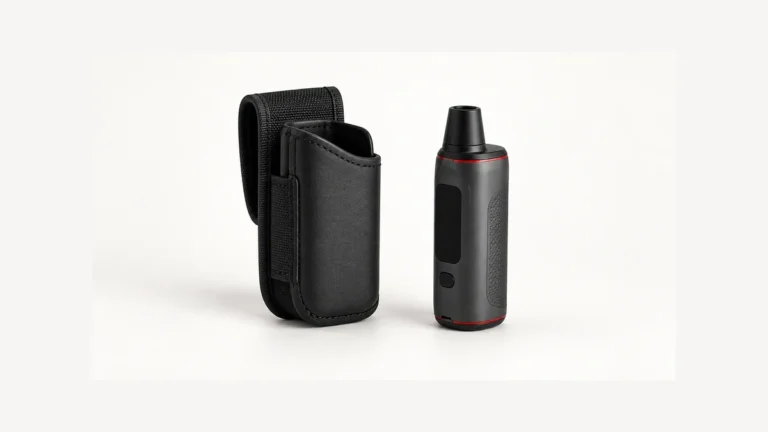
You heat the tip, touch it to concentrate, and pull through water—then set the piece down to cool before wiping it clean. That first session is where quartz nectar collector tips do their most obvious work: they respond to heat almost immediately and show buildup clearly once they cool, but the material itself does not decide flavor, durability, or how long a tip lasts. Those outcomes depend on fit, heating habits, and how the tip is cleaned and inspected over time.
Quartz nectar collector tips are popular because they’re generally recognized for heating quickly and showing residue rather than because the material eliminates the variables that actually determine performance. This guide treats quartz as one component in a larger system—tip, joint, body, and water chamber—so you can judge a specific tip on its condition and fit rather than on assumptions about the material name alone.
🧭 1. What quartz changes—and what it does not
Quartz is commonly chosen for nectar collector tips because it tends to respond to direct heat quickly and because its clear or translucent body makes buildup, discoloration, and cracks easier to spot during a visual check. Compared with titanium tips, which are often described as more heat-retentive and more resistant to impact, or ceramic tips, which some buyers associate with a cleaner taste when new, quartz sits in a middle position: responsive to heat, visually informative, but also more prone to visible stress marks and breakage from sudden temperature swings or drops.
What quartz does not do is guarantee flavor, extend tip life on its own, or replace correct heating technique. A quartz tip used with an inconsistent heat source, a poor joint fit, or a cleaning method not approved for that device can perform worse than a well-maintained tip made of another material. The label “quartz” describes what the tip is made of—it does not describe how hot your specific torch or electronic heater runs, how long your body needs to draw water through the joint, or how your device’s manufacturer wants you to clean it. Those answers come from the device and tip manufacturer, not from the material category.
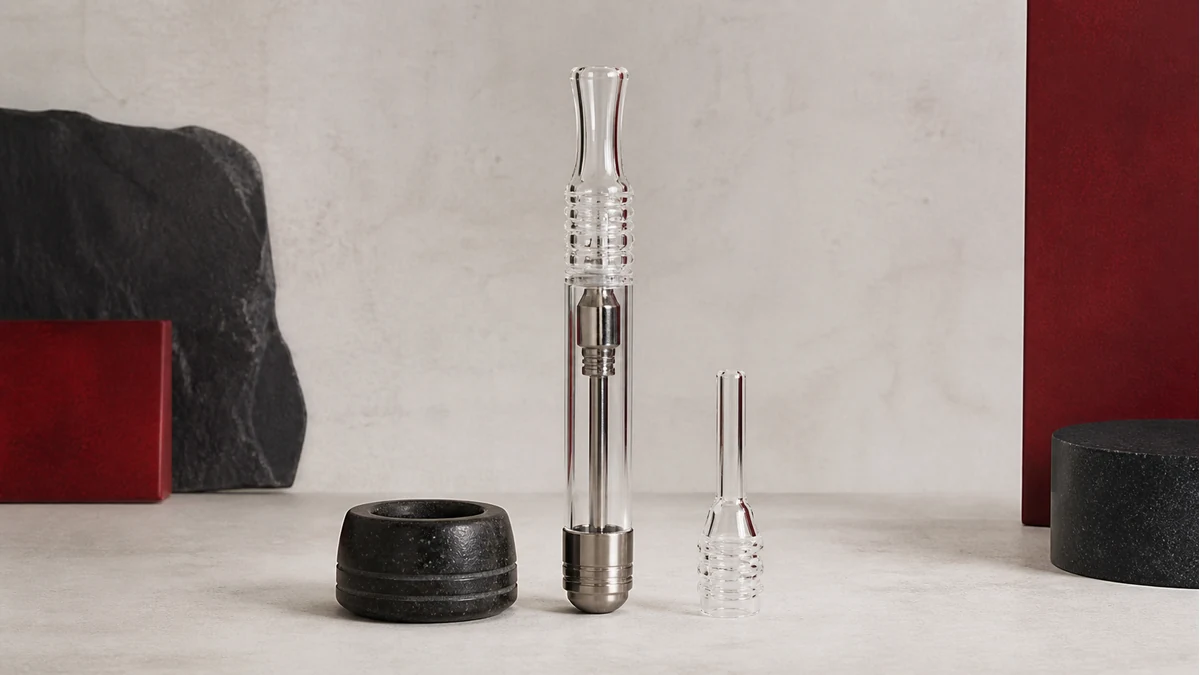
This is also where separating anecdote from verified device behavior matters. Online discussions comparing tip materials often rely on individual impressions rather than documented specifications, which is useful for framing questions but not for setting rules. If you’re deciding between quartz, titanium, and ceramic tips as part of a full kit, the nectar collector kit guide walks through how tip material interacts with body design and water chamber size, which is a more complete way to compare options than material name alone.
🧩 2. Check tip fit and retention before heating
Before any heat touches the tip, confirm it seats fully and sits straight in the joint. A quartz tip that wobbles, sits at an angle, or doesn’t seat to the same depth every time it’s inserted is more likely to loosen further once it’s warmed and handled, and a loose tip heated off-center can develop uneven stress that shows up later as a crack line.
Retention mechanisms vary by device. Some nectar collectors use a friction-fit joint with an O-ring, others use a threaded connection, and some use a keyed or notched fitting that only seats one way. Because these mechanisms differ across brands and even across models from the same brand, the exact fit tolerance, the correct insertion depth, and any recommended O-ring replacement schedule are model-specific and should come from the manufacturer’s instructions rather than a general rule borrowed from a different device.
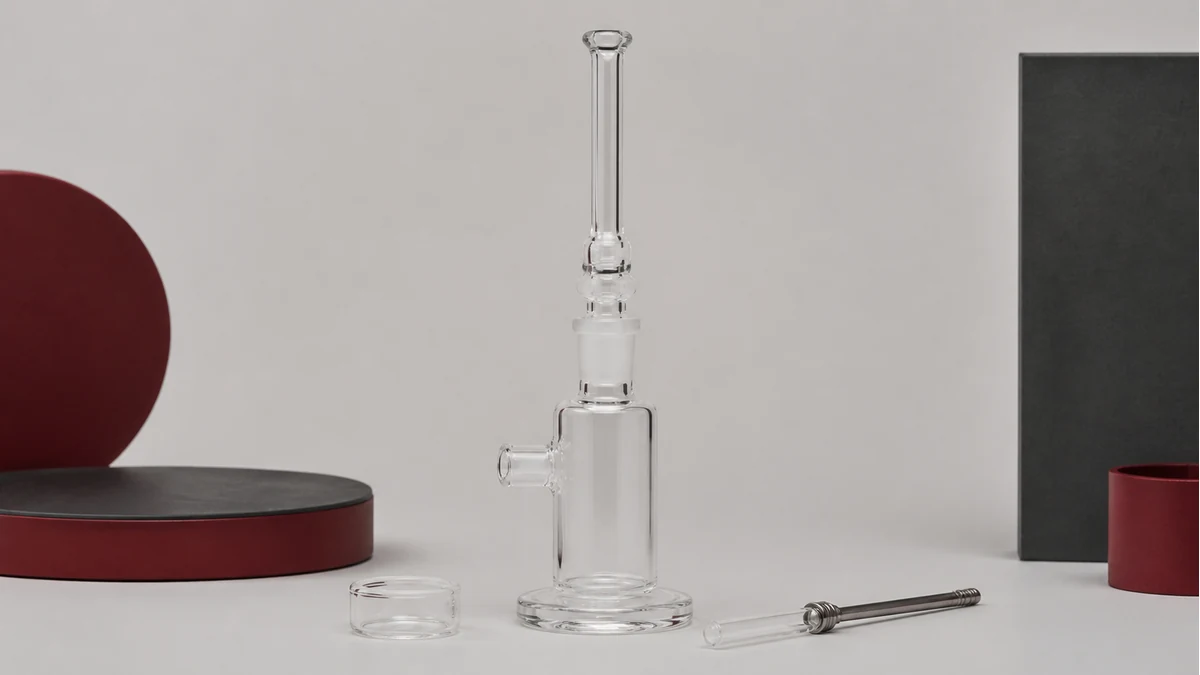
If you’re using a quartz tip as part of a water-chamber setup rather than a dry pen-style collector, fit and retention interact with water level as well. A tip that isn’t seated correctly can affect how water is drawn during a pull, which is one more reason to confirm the mechanical fit before addressing heat. The water nectar collector guide covers how water level and joint fit work together on that style of device, which is worth reviewing if your tip sits on a water-chamber body rather than a straight tube.
🛠️ 3. Control heat without relying on glow or fixed seconds
One of the most common questions from new quartz tip owners is some version of “how many seconds should I heat this?” or “is it ready when it glows?” Both questions assume a fixed answer exists across devices, and it doesn’t. Torch strength, distance from the tip, tip wall thickness, ambient temperature, and the manufacturer’s intended draw all change how much heat a given tip needs, which means a timing rule that works for one setup can overheat or underheat another.
Visible glow is also not a reliable universal signal. Depending on lighting conditions, quartz thickness, and the specific torch or electronic heater in use, a tip can reach a workable temperature without an obvious color change, or it can appear to glow before it’s actually at the intended temperature for that device. Relying on sight alone, rather than the heating guidance published for your specific tip and body, is one of the more common ways new users either underheat and waste material or overheat and stress the quartz.
Electronic nectar collectors remove some of this guesswork by using preset temperature controls, but even then, the exact settings, warm-up time, and any button-hold sequence are specific to that device’s control system. Torch-heated quartz tips depend even more on manufacturer guidance because there’s no onboard readout—heating instructions from the tip or device maker, including recommended distance and approximate heating duration for that specific quartz geometry, are the closest thing to a reliable reference, and they can vary meaningfully between a slim titanium-tipped pen and a heavier quartz-and-glass water piece.
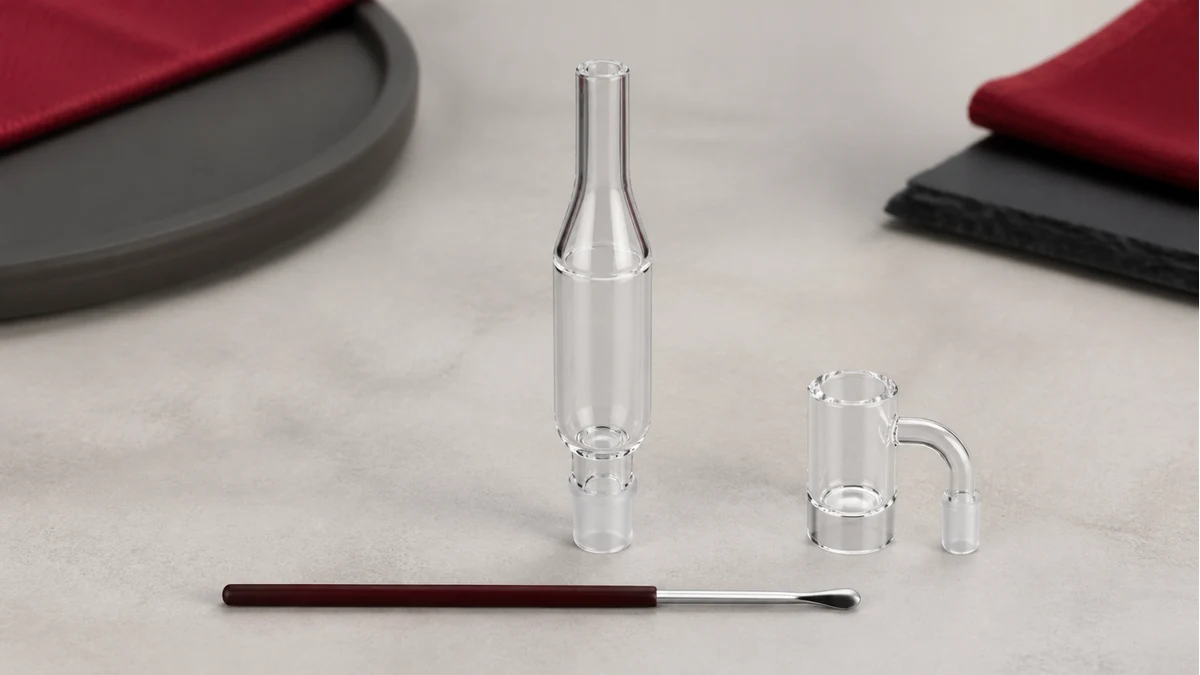
Randy’s user documentation for products like the Path Lite is a useful example of this principle in practice: device makers publish specific operating guidance for their own hardware because generic advice can’t account for their particular heating element, tip geometry, or control interface. Whatever device you’re using, checking its manual or manufacturer page for heating guidance is more reliable than applying a fixed-second rule picked up from a different product or a general forum thread.
🌡️ 4. Avoid thermal shock and hard impacts
Quartz tips are generally more vulnerable to sudden temperature swings than titanium tips, which is why moving from very hot to very cold—or the reverse—too quickly is one of the more common causes of stress cracks. Touching a heated quartz tip directly to a cold water dish, running cold tap water over a tip that’s still warm, or setting a hot tip straight onto a cold glass or metal surface can all introduce thermal shock, even if the crack that results doesn’t show up as an obvious break right away.
Letting a tip cool naturally, or bringing it down in temperature gradually rather than in one abrupt step, reduces this risk. Exact recommended cool-down times aren’t universal—they depend on tip mass, wall thickness, and the ambient temperature of the room—so if your device’s documentation specifies a cool-down interval, that’s the number to follow rather than a general estimate.
Physical impact is the other major risk category for quartz. A tip that’s knocked against a hard countertop, dropped even a short distance, or bumped while still attached to the body can develop a hairline crack that isn’t visible in normal light but weakens the material at that point. This is different from thermal stress but produces a similar outcome: a tip that looks intact but fails sooner than expected, sometimes during a later heating cycle rather than at the moment of impact.
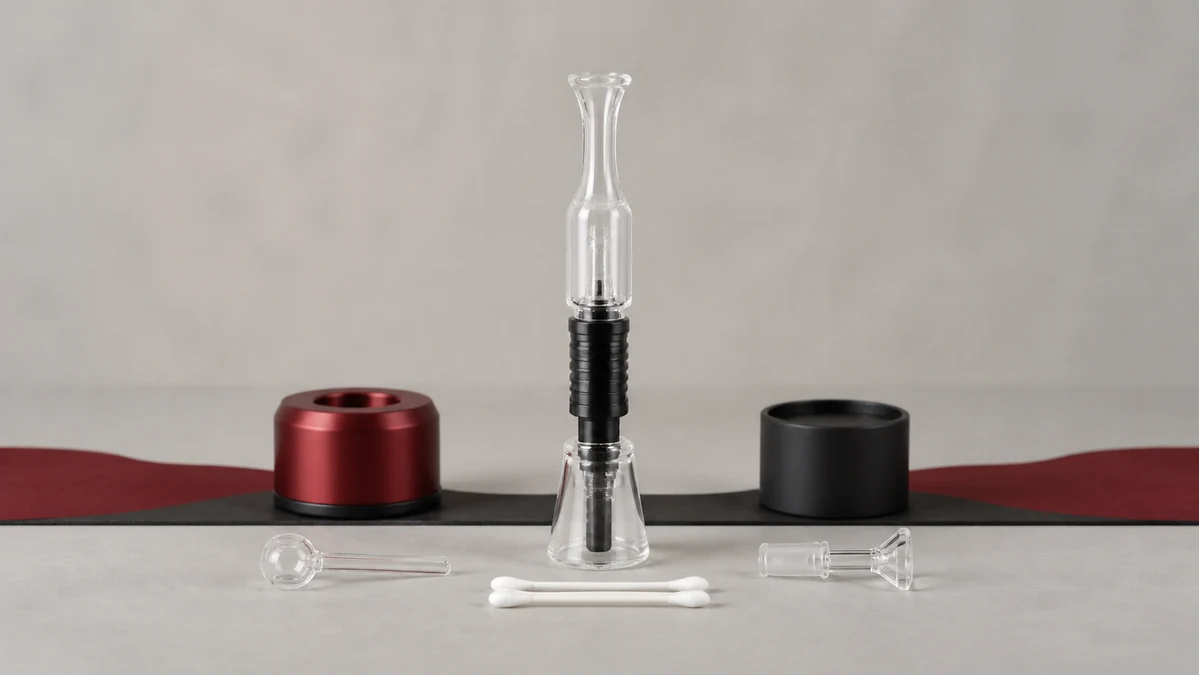
💨 5. Clean only after cooldown
Cleaning a quartz tip while it’s still warm is a common shortcut that increases both burn risk and thermal-shock risk, since introducing cleaning liquid to a hot surface creates the same kind of rapid temperature change that causes stress cracks. Waiting for a full cooldown before cleaning is a straightforward habit that protects both the tip and whoever’s handling it. For related context, see the AOVAPE maintenance guide.
Once cool, the appropriate cleaning method depends on the device. Some manufacturers recommend isopropyl alcohol soaks for quartz components, others specify particular soak times to loosen residue without degrading O-rings or adhesives elsewhere on the device, and electronic nectar collectors may have specific guidance about which parts can be soaked at all versus wiped only. Because solvent choice, soak duration, and water levels for any rinse step are model-specific, the manufacturer’s cleaning instructions for your exact device and tip should take priority over a generalized cleaning routine, even one that worked well on a previous piece.
For quartz tips used on water-chamber devices, cleaning also intersects with how much water the chamber should hold during normal use, since residue can build up differently depending on water level and how often the water is changed. The water nectar collector guide addresses water level and chamber cleaning together, which is useful context if your quartz tip sits on that type of body rather than a simple straight-tube design.
A cooled tip is also easier to inspect honestly. Warm quartz can look hazy simply from residual heat, which makes it harder to tell the difference between temporary fogging and an actual defect. Cleaning only after cooldown gives you a clearer, more reliable look at the tip’s actual condition.
🧩 5.1 Why manufacturer instructions outrank general advice
It’s worth repeating this point on its own: exact controls, cleaning solvents, soak times, water levels, charging routines, and replacement rules are specific to the device and tip you own. A cleaning or heating routine that’s accurate for one brand’s quartz tip may not be accurate for another, even if both are labeled quartz and look similar. When in doubt, the manufacturer’s documentation for your specific model is the more reliable reference than a general guide, a forum comment, or advice written for a different product line.
🧼 6. When a cloudy, cracked, or loose tip should be replaced
A new mark on a quartz tip doesn’t automatically mean it needs to be replaced, but it does mean the tip needs a closer look rather than a quick visual dismissal. The distinction that matters is between surface residue, which cleaning can address, and structural change, which cleaning cannot fix.
Persistent clouding that doesn’t clear after a proper cleaning cycle—following the solvent and soak guidance for that specific device—often indicates the quartz surface has degraded rather than simply picked up residue. Surface residue typically responds to cleaning; a haze that remains after correct cleaning is a different signal and worth treating as a sign the tip’s performance may be declining even if it still functions.
Cracks are more straightforward, but not always obvious. A visible crack line, especially one that runs any distance rather than sitting as a small surface mark, is a reason to stop using that tip rather than waiting to see if it “holds up.” Hairline cracks from impact or thermal shock can also be difficult to see under normal light, so tilting the tip to catch reflections, or checking it in bright, indirect light, gives a more accurate read than a quick glance under typical room lighting.
A tip that has become loose—no longer seating with the same snugness it had when new, or shifting slightly during a draw—should be evaluated for replacement rather than compensated for with extra force or improvised padding. A loose fit isn’t just a performance issue; it changes how the tip heats and how stable it is during use, which layers a fit problem on top of whatever wear already caused the looseness.
None of these checks require assuming the worst about every mark on a tip, but they do require treating cloudiness, cracking, and looseness as separate signals rather than lumping them into a single “does it still work” judgment. If cleaning doesn’t resolve haze, if a crack is visible under good light, or if the fit is no longer snug, replacement—following whatever tip-compatibility guidance your device manufacturer provides—is the more reliable path than continuing to use a tip that’s showing one of these signs. For a broader look at how tip choice fits into the rest of a nectar collector setup, including how replacement tips compare across materials, the nectar collector kit guide is a useful next reference.
📚 7. Sources and Reader Questions Reviewed
Technical guidance was checked against the manufacturer material below where applicable. Reddit discussions were used only to identify reader questions and failure scenarios, not as proof of technical, health, safety, or legal claims.