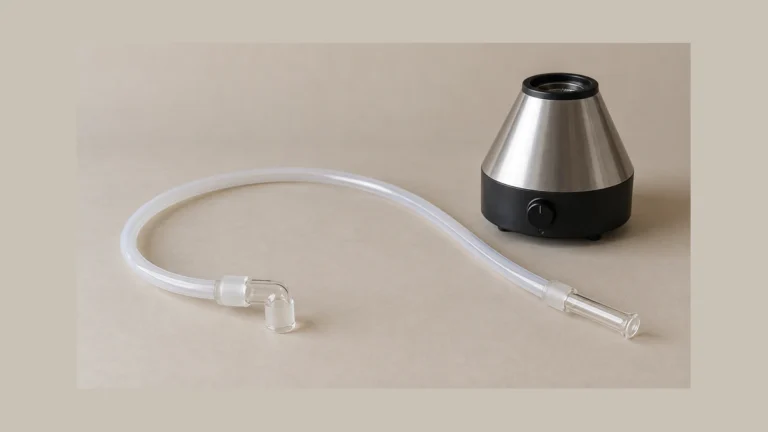
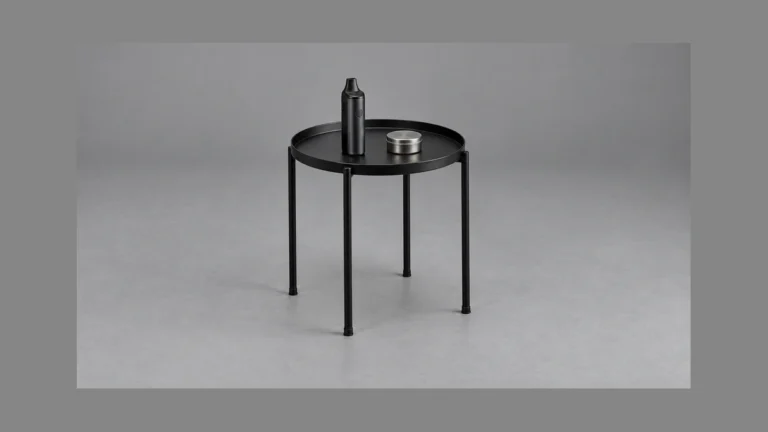
Rolling tray tables add a furniture problem to an accessory-storage problem: the top needs room for your gear, while the legs need a suitable place on the floor. Before arranging a dry-herb vaporizer and its small parts on one, check the complete table, the seating beside it and the route of any power cord. A tray that fits the top does not establish that the whole setup fits the room.
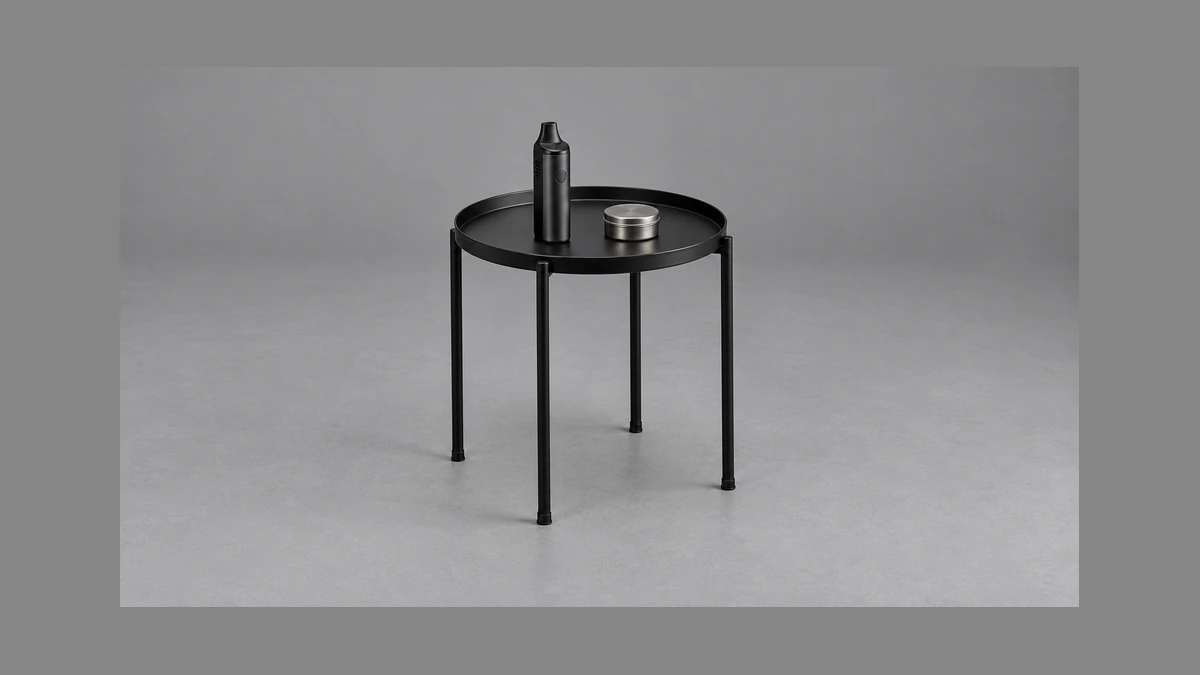
The name can be confusing. Some people mean a small table with a tray-shaped top, others mean a separate tray on a stand, and “rolling” can also be read as furniture with wheels. Identify which object you have before following assembly or moving advice. A folding tabletop tray and a folding furniture frame are different things.
🪑 1. Separate the tray from the furniture underneath it
A tabletop tray rests on another surface. A lap tray depends on how it is supported during use. A freestanding table has its own base or legs. A removable tray on a stand combines two separate pieces. These distinctions matter more than whether an online title calls everything a rolling table.
Community discussions make that naming problem clear. In a woodworking discussion about a small accessory table, one reader interpreted “rolling” as a reference to wheels. The maker explained that the table supported a separate box that had been awkward on a lap. That is a useful question about furniture purpose, not evidence of a tested load rating.
For your own setup, determine what supports what. Is the tray permanently attached? Does it lift out? Do the legs fold, or is only a tray wall collapsible? Look for the assembly guide and identify the parts before moving or loading the furniture.
If you only need to understand tray rims, usable surface and loose accessories, our rolling-tray guide covers that layer. Here the concern is the structure underneath: whether it can stand in the intended place and be handled according to its instructions.
📐 2. Measure the floor footprint as well as the top
The legs may occupy a different outline from the tabletop. Do not assume the dimensions shown for the tray describe the entire floor space required. Compare the actual open-frame dimensions with the available area, including any feet, braces or projecting handles.
Picture a narrow gap beside an armchair. The tabletop clears the chair arm, but one foot extends toward the walking route. From above, the arrangement looks tidy; from floor level, it obstructs the place where someone steps. Move the empty table to a suitable location before adding equipment rather than trying to make the room work around a loaded setup.
Check moving furniture nearby as well. A recliner footrest, an opening cabinet door or a chair pulled back from a desk needs its own space. Leave those paths clear. A table should not have to be nudged aside every time someone sits down, especially once it carries glass accessories or a connected device.
Use the floor and support conditions specified by the table maker. A foot partly on a rug edge and partly on a hard floor is a different arrangement from four feet on one suitable level surface. If a location leaves the empty table unstable, choose another location or resolve the documented assembly issue before loading it.
📏 3. Check seated reach with the table empty
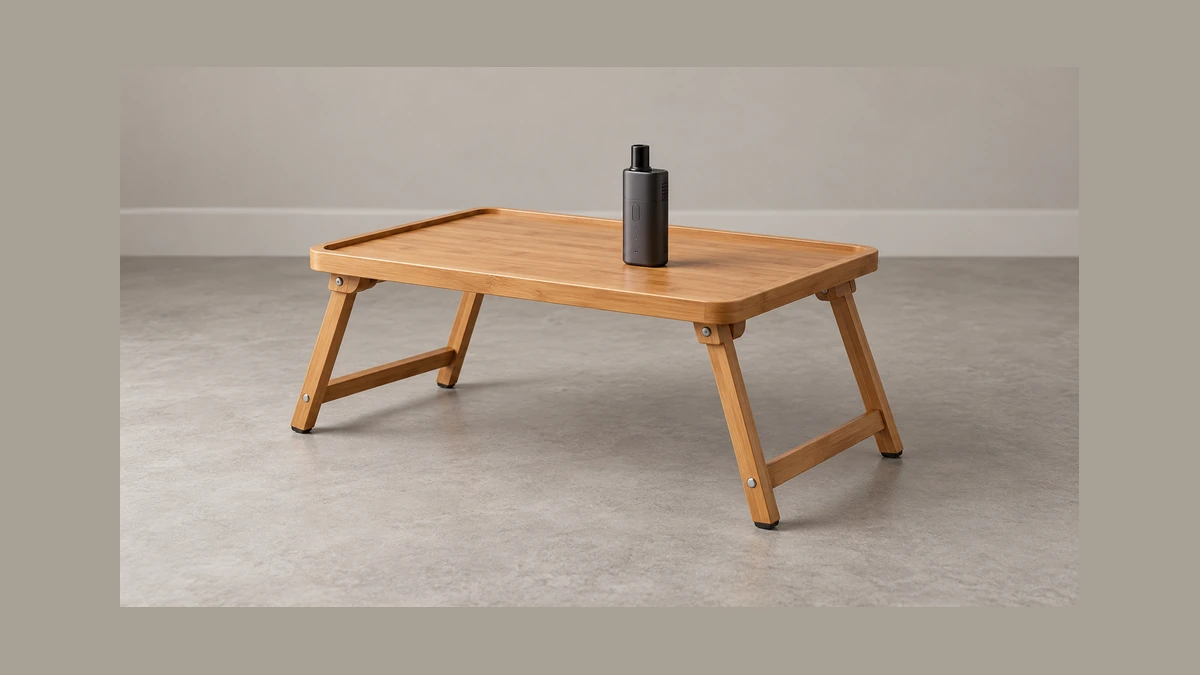
Height alone does not describe how a table works beside a particular chair. The chair arm can block access to the top, and a brace beneath it can occupy the space where you expect your knees to go. Compare the whole frame with the seating, rather than selecting a position from a photograph.
Sit in the intended place while the table is empty and check ordinary movements. Can you get up without catching a foot on the base? Can you reach the center without pulling the table toward you? Can you access a device control without leaning across other objects? These are practical layout observations, not medical or ergonomic performance claims.
A low side table may be useful beside one chair but awkward beside another. A taller frame might clear a sofa arm while leaving the controls farther away. There is no universal height recommendation here. The table’s own intended use and your actual room determine whether the arrangement makes sense.
If access requires routinely grabbing the top and dragging the table closer, reconsider its placement. Clear the walking and sitting route first. Do not solve a reach problem by letting one edge rest on a chair arm or by placing an improvised support under part of the frame.
🔧 4. Learn the actual leg mechanism before loading
Fixed legs and folding frames have different assembly requirements. For a folding table, find the maker’s opening and locking directions. Do not assume every hinge must click or that every brace releases in the same direction. A mechanism that looks familiar may still have a different intended sequence.
Set up the empty table as directed and confirm the specified supports and locks are in their intended positions. Keep hands away from pinch points during opening and closing. If you cannot identify a latch or the frame will not seat normally, stop and obtain the correct instructions rather than forcing it.
🧩 4.1 A steady-looking top does not establish a load limit
Use the stated capacity for the exact table if one is provided. Do not invent a limit from leg thickness, material or how steady it feels. The weight and placement of accessories still need to stay within the product’s intended use. A decorative stand is not automatically a suitable platform for every device.
Never use an accessory table as a seat, step or support for body weight. If the maker’s intended use does not accommodate your planned equipment, change the arrangement. Adding a brace, tightening an unidentified hinge or relying on a removable top to hold the legs apart is not a substitute for correct assembly.
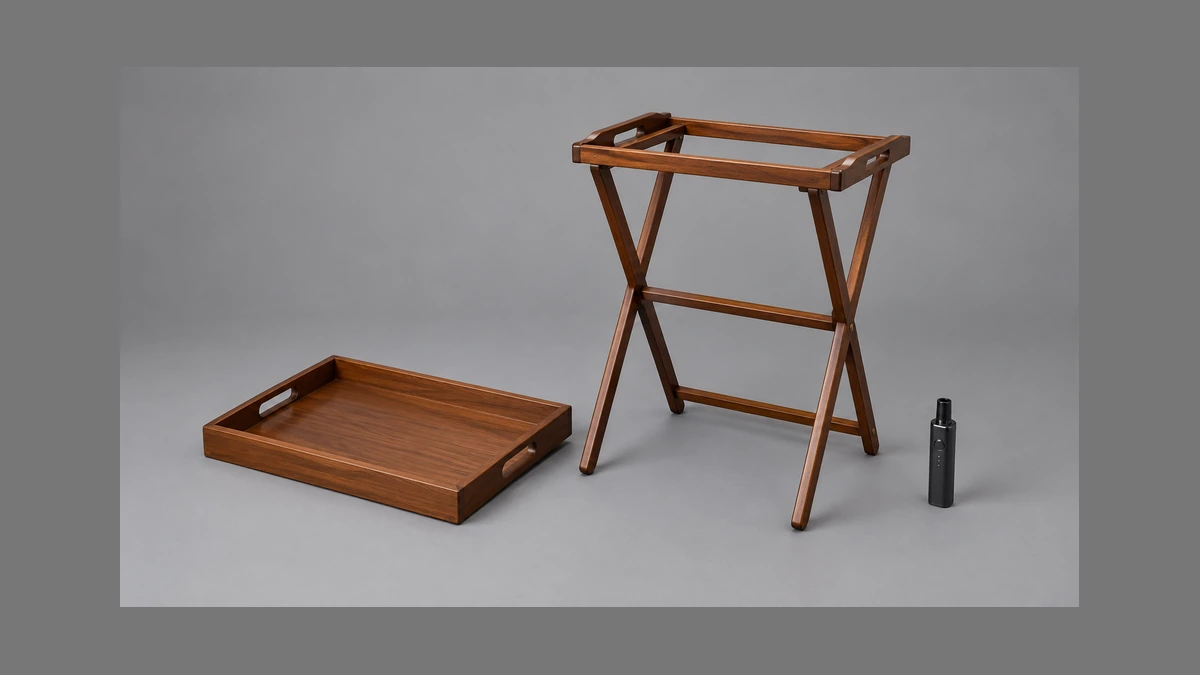
📦 5. A removable top changes how you move the setup
Establish whether a tray is retained by a fastening system or simply rests on the frame. Follow the instructions for removal and replacement while it is empty. Handles on a tray do not necessarily serve as handles for the complete table beneath it.
Suppose you want to move the setup from beside a chair to a cupboard. First shut down the device as its instructions require, allow it to cool and disconnect it before moving. Remove equipment and loose parts to suitable separate storage. Move the empty furniture by its intended support points and sequence.
Do not carry an assembled rig or a powered device across the room on a loaded removable tray just because the tray lifts off. That combines the movement of the tray, its contents and any attached cords. Separating those tasks lets you handle each object on its own terms.
When returning a tray to its stand, check its orientation and seating before placing equipment on top. If a corner remains raised or a retaining feature does not engage as described, leave it unloaded. A partly seated tray is a fit issue to resolve, not an uneven surface to hide beneath a mat.
🗂️ 6. Plan usable space around the device controls
The outside tabletop dimensions include areas you may not be able to use as flat support. Raised rims, handles, seams and built-in recesses change where an object can stand. Start with the device’s intended stable position, then leave room to access controls and remove the parts its manual permits you to handle.
Small spare parts need a defined place rather than a line along the tray edge. A shallow parts dish or suitable closed organizer can keep identified accessories together. Avoid covering the device’s ventilation openings or fitting a storage container into a space that blocks normal access.
A tool support also occupies space beyond its base if a handle projects outward. The tool-stand guide considers that accessory separately. Before adding another holder, check whether removing unused items would make the top simpler to work around.
Route a disconnected cord as part of the planning exercise, then follow the device’s own setup requirements. Keep the route clear of walking paths, moving chair parts and folding mechanisms. Do not let the table’s raised lip become a place where a cord is trapped or sharply pressed when the device is moved.
Leave some working space empty. A table that holds every accessory in a collection may leave nowhere to place a detached mouthpiece or open an organizer. Reserve enough room for the ordinary task you actually perform, instead of judging the arrangement only while every lid is closed.
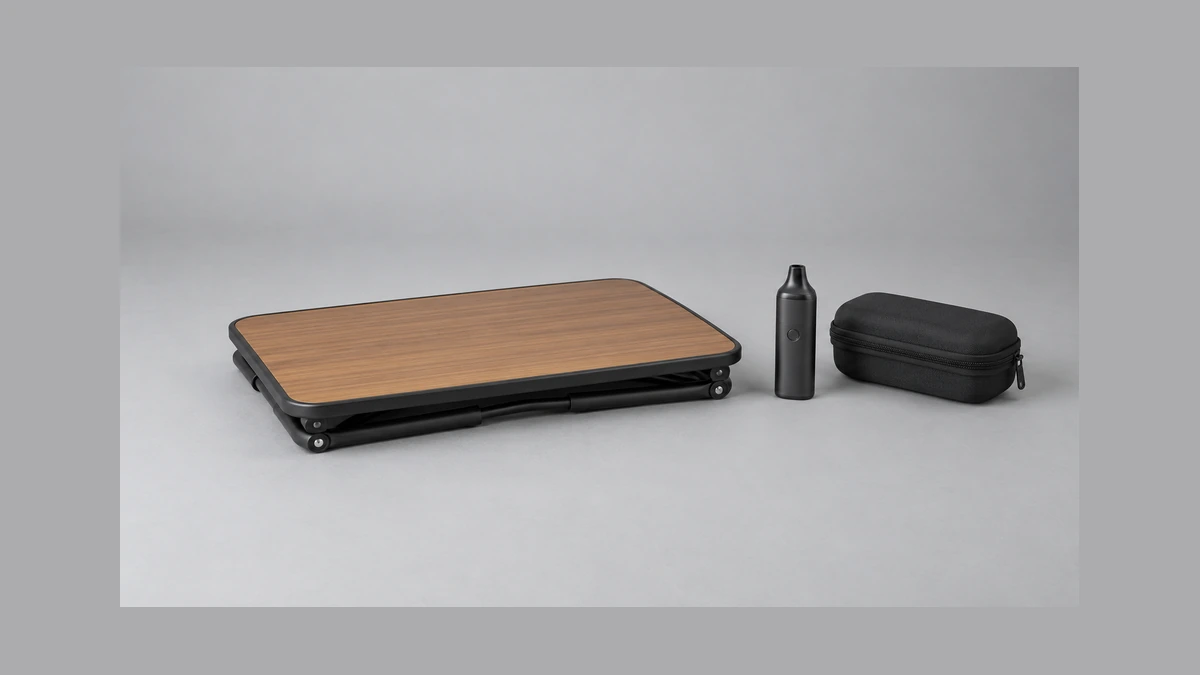
🧼 7. Furniture finish and accessory care are separate
A metal-looking tray top does not establish the heat or chemical resistance of the complete table. The surface may have a coating, and the frame may include different materials. Follow the furniture’s care directions as well as the directions for the device and accessories placed on it.
As one specific example, Pottery Barn’s Carter table care instructions call for checking connections periodically, avoiding abrasives or household cleaners on its finish and wiping spills promptly. Those instructions concern that table. They do not provide a thermal rating or a cleaning recipe for another piece of furniture.
Do not treat an ordinary side table as a hot-work surface. A mat or coaster does not automatically change the table’s documented limits. Keep heating operations and cleaning liquids within the equipment manufacturers’ requirements; do not improvise a torch station or solvent-cleaning area because the top has a raised edge.
The metal-tray surface guide discusses finish and cleanup in more detail. Its tray advice still needs to be separated from care for the supporting frame, moving joints and feet. A cleaner suitable for one removable item is not necessarily suitable for the furniture around it.
If the furniture has wheels, consult its own caster and brake instructions. Do not assume a wheeled stand can be treated like the fixed or folding legs described above, especially when planning where the empty table will be stored.
🔌 8. Clear the table before folding or storing it
Finish the device’s shutdown and cooling process, disconnect it and remove it to suitable storage before folding the table. Clear small parts too. A spare screen or glass adapter left near a hinge can be overlooked until the frame moves.
Follow the table’s folding sequence rather than trying to collapse it from the seated position with one hand. Use the specified release points and keep the work area clear. Clean and dry the furniture as its instructions require before putting it away.
If a foot is missing, a fastener has loosened or a lock no longer operates normally, leave the table out of service until the issue is resolved by the documented method. Record the affected part and ask about the appropriate replacement. Do not conceal unexplained wobble with a wedge or keep using it because the top still looks level.
Store the empty table in its intended position, with folding parts secured as directed. On the next setup, check the floor location and frame again before returning the device. The useful result is a table you can open, access and put away deliberately, with room for the equipment and the person using the room.