🔎 1. What “Small” Actually Measures on a Dab Tool
A small dab tool can have a short handle, a narrow tip, or both. To compare two tools, check the total length for storage, the widest point of the working end for opening clearance, and the distance from the tip to the first part of the shaft that widens. A wide shoulder close to the tip can make a tool fit differently beside a jar even when the length printed on the packaging is identical.
Catalog listings for small dab tools tend to publish one number, the overall length from the very end of the tip to the far end of the handle. That number is useful for comparing two tools side by side on a shelf, but it does not describe the working portion of the tool, which is the length available between the tip and the point where a hand’s grip naturally stops advancing. Two tools with the same printed length can differ in how much of that length is actually usable before fingers meet a jar’s rim, a lid collar, or the widened body of the handle itself.
📏 1.1 Tip-to-Grip Length vs Overall Length
Tip-to-grip length is the distance from the end to the first clear flare or shoulder. It is a useful reference when the shaft has an obvious step. On a smooth taper, the relevant point depends on the size of the opening. Take the width at more than one place along the taper if the listing supplies a drawing. A long shaft that widens gradually may have only a short section narrow enough for a particular opening.
✋ 1.2 Where the Grip Begins
At a sharp shoulder, the shaft becomes wider at a visible step, which gives both people comparing a drawing the same reference point. A gradual taper makes the grip’s starting point harder to pin down from a photograph because the shaft is already thickening well before it reaches full grip width. For a tapered tool, ask where it reaches the particular width that matters at the opening. To compare two drawings, use the same width on both and measure from the same end. If the supplier gives only the diameter of the handle, ask for a view showing where it starts to widen.
📦 2. Jar Opening Width vs Internal Wall Contour
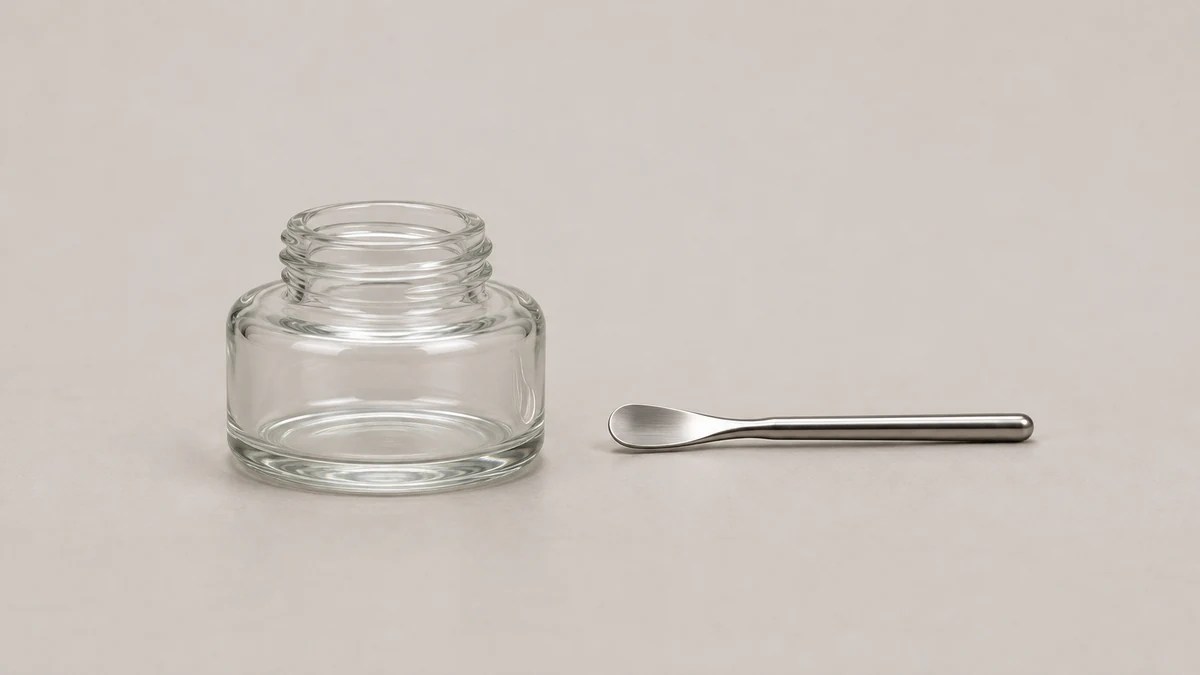
Look for the clear inside diameter of the opening. The outside diameter includes the wall of the jar and can be larger than the clear space. A model with an internal ledge can narrow again below the visible lip. The guide to glass dab container finishes and liners explains which surfaces make up the closure. For tool clearance, the dimensions of the opening and the shape below it matter separately from the size of the lid.
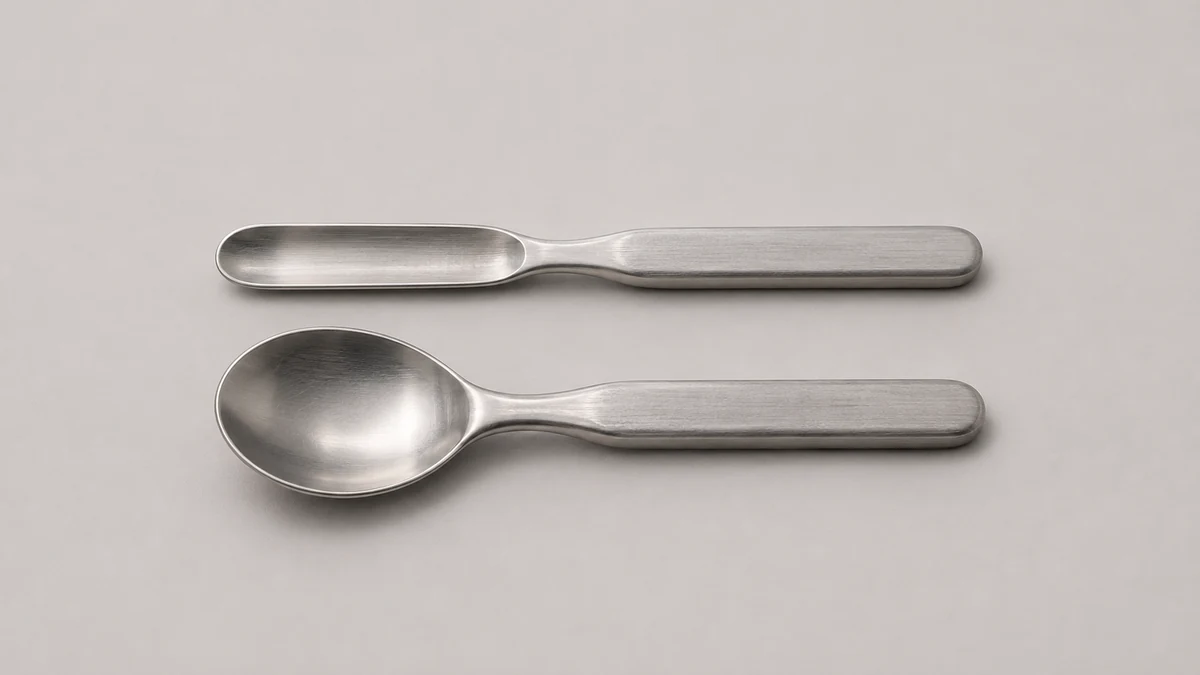
A common comparison is a shallow spoon-shaped tip and a flatter tip of the same width. Viewed straight from above, the two can appear to occupy the same area. In profile, the curve at the bottom of the spoon and the shoulder where it joins the shaft can make one piece deeper than the other. A narrow photograph often hides that change in thickness, so look for a second view or a cross-section before assuming the profiles match.
🕳️ 2.1 Measuring Clearance Inside the Rim
The walls below the rim can flare outward, remain straight or taper inward. A jar may also have a round mouth over a differently shaped base. Measure the opening at its narrowest visible point when you compare empty hardware, and describe the contour separately. A wide exterior and a wide interior are two different measurements even if they both appear in the same side view.
🔄 2.2 Straight-Wall vs Tapered Interior Jars
In a straight-walled empty jar, the profile may be nearly constant below the neck until it turns into the floor. A jar that narrows lower down makes the shoulder and thickness of the tool more relevant at that point. With an oval lower body, the apparent clearance also depends on whether you are looking along its long side or short side. A dimension across the neck alone cannot show that difference.
🧱 3. Closure Height and the Reach It Costs You
Even with a lid removed, a jar’s closure hardware can leave behind features that reduce usable depth. A recessed rim, a raised inner collar, or a threaded neck that sits above the main body of the jar all add height that a tool’s tip has to pass through before reaching the point where the jar’s true interior volume begins. A container with a tall closure neck effectively shortens the working reach available to a given tool, compared to a container of similar overall size with a shallower closure.
The finished neck can use some of the length between the tip and the grip shoulder. Compare two empty jars of similar exterior height. If one has a tall threaded neck and the other has a short lip, the two give a compact shaft different amounts of room below the opening. Even two lids with a similar exterior appearance can sit on noticeably different necks. Look at the jar with the lid off to separate the shape of the opening from the shape of the closure.
Advertised capacity describes a volume. It cannot tell you how much of the jar’s height is below the neck or whether the opening narrows at the thread finish. An empty side-by-side comparison is particularly useful when a product line sells jars with the same capacity but different closure shapes.
📐 4. Two Tools, Same Overall Length, Different Reach
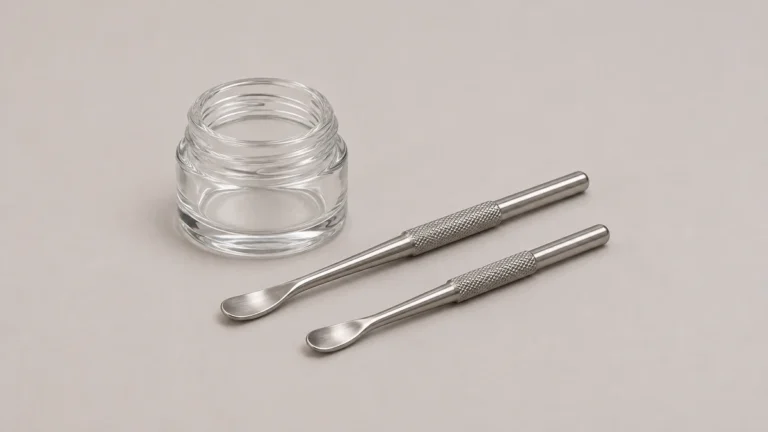
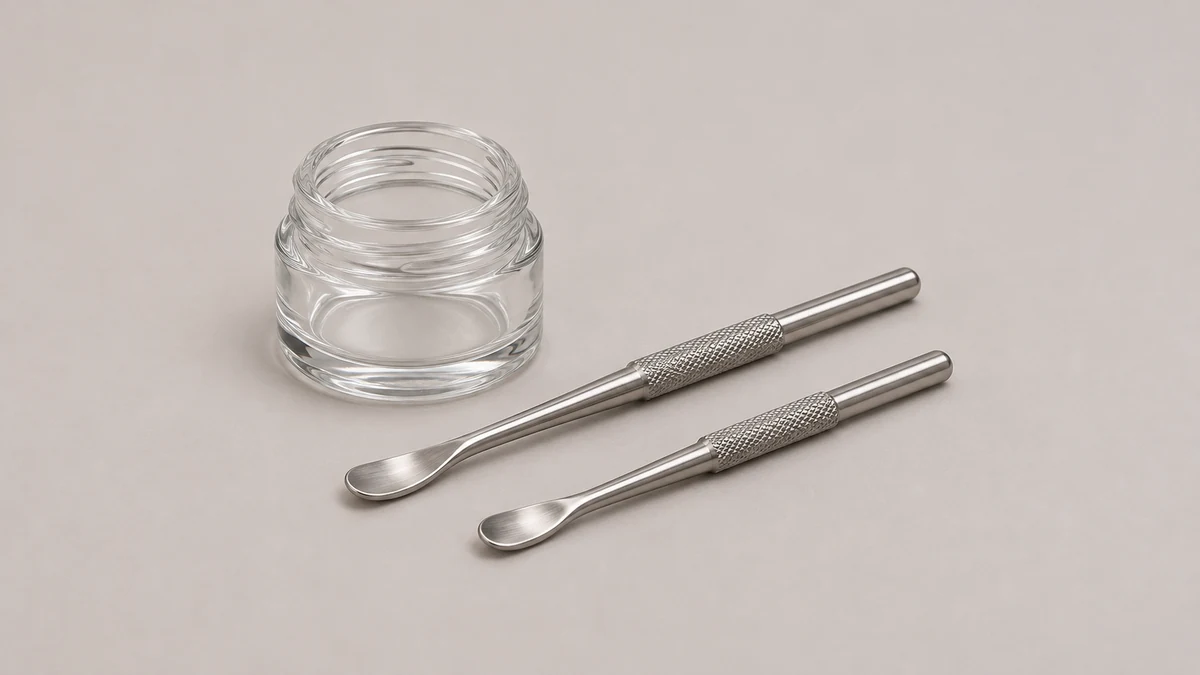
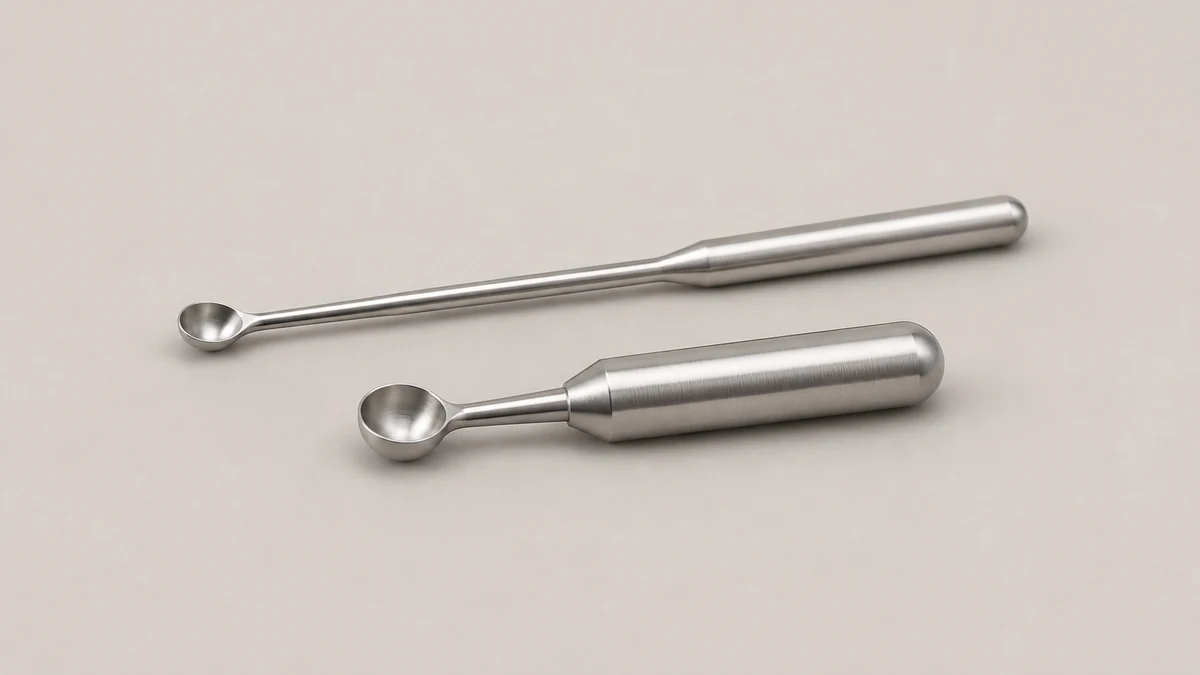
Suppose two loose tools from an accessory kit have the same length. One is slim from the end of its rounded tip to the start of the handle. The other widens into a thumb rest close to the tip. Set them beside an empty jar and line up their tips. If the jar mouth would reach the second tool’s thumb rest before it reaches the end of the narrow shaft on the first tool, the two tools have different clearance despite having the same listed length. The shape of the shoulder matters more than the length printed on the package.
Now compare two jars that have the same outside diameter. One has thick glass around the opening and the other has a thin lip. The inside opening can differ even if both jars fit the same compartment in a case. A photograph taken from above can show the edge of the opening. A side view can show where the shaft or grip begins to widen. Those two views explain why an accessory labeled “mini” may fit one empty container and sit awkwardly beside another.
One way to show the difference is a side photograph with the tools lying flat and the tips aligned. Photograph a ruler in the same plane as the shafts if a dimension is important. When the tool or ruler is angled toward the camera, the projected distance in the image can shrink. The goal is to identify where the tool starts to widen and compare that point with the neck of an empty container.
A listing with one measurement often gives overall length. If that is the only dimension, a clear drawing or a photograph of the tool beside a scale can supply the missing reference points. When asking for a dimension, specify where it begins and ends. “Width at the shoulder” is easier to answer consistently than “How big is the tool?”
🎯 5. Tip Width and Handle Length
A small tip and a short handle describe two different dimensions of a dab tool, and reducing one does not require reducing the other. A tool can carry a narrow, small-diameter tip on a long handle, giving it a slim working end with plenty of reach behind it, or it can carry that same narrow tip on a short handle, giving it a slim working end with comparatively little reach. The reverse combinations exist as well, with a wider tip paired with either a long or short handle.
Look at the end head-on as well as from above. A rounded tip can be narrow across its widest visible edge but thicker just behind that edge. A flattened profile may show the opposite pattern. Those two views help explain whether the edge, the curved section, or the transition into the shaft determines the clearance at a narrow opening.
Handle length, by contrast, governs how much of the tool extends past the grip and how far a hand sits from the tip during use. A short handle keeps the hand close to the working end regardless of how narrow or wide that end is, while a long handle keeps the hand farther away. Treating tip width and handle length as the same variable leads to comparisons that miss the actual difference between two tools, since a buyer looking for a narrow tip is not necessarily looking for a short handle, and the two features can be specified independently.
🔍 6. Reading a Shape Label Like “Scoop” Correctly
Bear Quartz labels its compact Minie BQ model a scoop and lists an overall length of four inches. The shape word and the published length describe different features of that specific tool. Neither gives the width behind the end or the distance to the first point where the handle widens. Read the name and the dimension together, then use the available side view to identify any remaining measurement you need.
Honeybee Herb uses “Classic Round Tip” for a tool with a rounded scoop profile. Comparing the two examples shows what a shape name can communicate quickly. It indicates a visible form and helps distinguish it from a pointed end or flat blade. Two listings that use a similar term can still show noticeably different proportions between the end, shaft, and grip.
This gap is worth watching for when comparing listings across multiple sellers, since a shared shape name like “scoop” does not guarantee shared dimensions. Two scoop-labeled tools from different manufacturers can have meaningfully different tip-to-grip lengths, tip widths, and grip transition points, even though both are marketed under the same general shape description.
🧰 7. Where Small Dab Tools Fit Next to a Kit or Stand
A small dab tool rarely stands alone in a buyer’s consideration, since it is commonly included as one component within a broader set. The AOVAPE guide to dab tool kits covers how individual tools within a set are matched to different tips, surfaces, and storage slots, a scope that sits adjacent to the single-tool geometry discussed here without repeating it. Within a kit, a small tool’s tip-to-grip length and tip width still matter on their own terms, independent of how many other tools share the same case.
A stand presents its own fit question. If it supports the handle in a narrow recess, the handle width matters at the place where it rests. If it supports the shaft, look at the shaft diameter and where it steps up to the grip. The guide to dab tool stands discusses how different supports hold accessories. For a travel case, check the pocket length, depth and shape separately so the widest point does not sit against a zipper or a hard lid.
Looking at a small dab tool in isolation, outside the context of a kit or stand, keeps the comparison focused on the tool’s own geometry, the measurements covered in the preceding sections. Tip-to-grip length, tip width, grip transition point, and the closure height of whatever container the tool is meant to reach into all combine to determine actual working reach, a detail that overall length by itself does not reveal.
📷 7.1 Photograph the Shape With a Useful Reference
Lay the empty hardware on a flat surface. Use one photograph from above to show the widest part of the tip and another from the side to show the shoulder and depth of the end. For a case or stand, include a separate view of the slot beside the widest part of the handle. Keep a ruler close to the part in each frame if the image needs to communicate dimensions. These photographs make it easier to compare two items without estimating their proportions from images taken at different angles.
For a double-ended tool, write down which end the measurement describes. Two ends on the same handle can have different depths and transition points, and a single dimension for the whole tool will miss both. If you are putting it back into a fitted case, check the shape of both ends against the pocket.