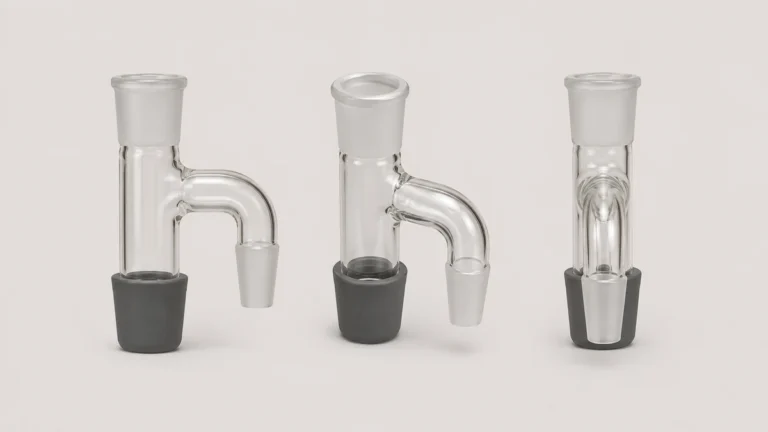
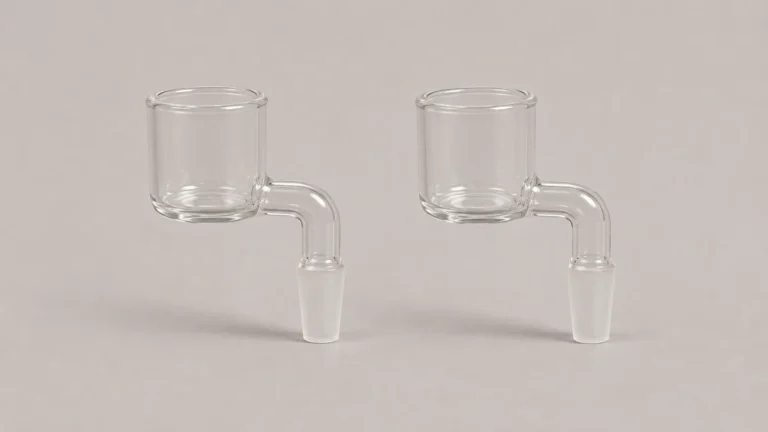
A small dry herb vaporizer can fit inside a pocket with its glass stem removed and stick out of that same pocket with the stem fitted. Both descriptions can be accurate. The body, the assembled device, and the device packed with its separately protected stem have three different outlines. Find out which one a measurement describes before deciding whether it will fit a compartment you already have.
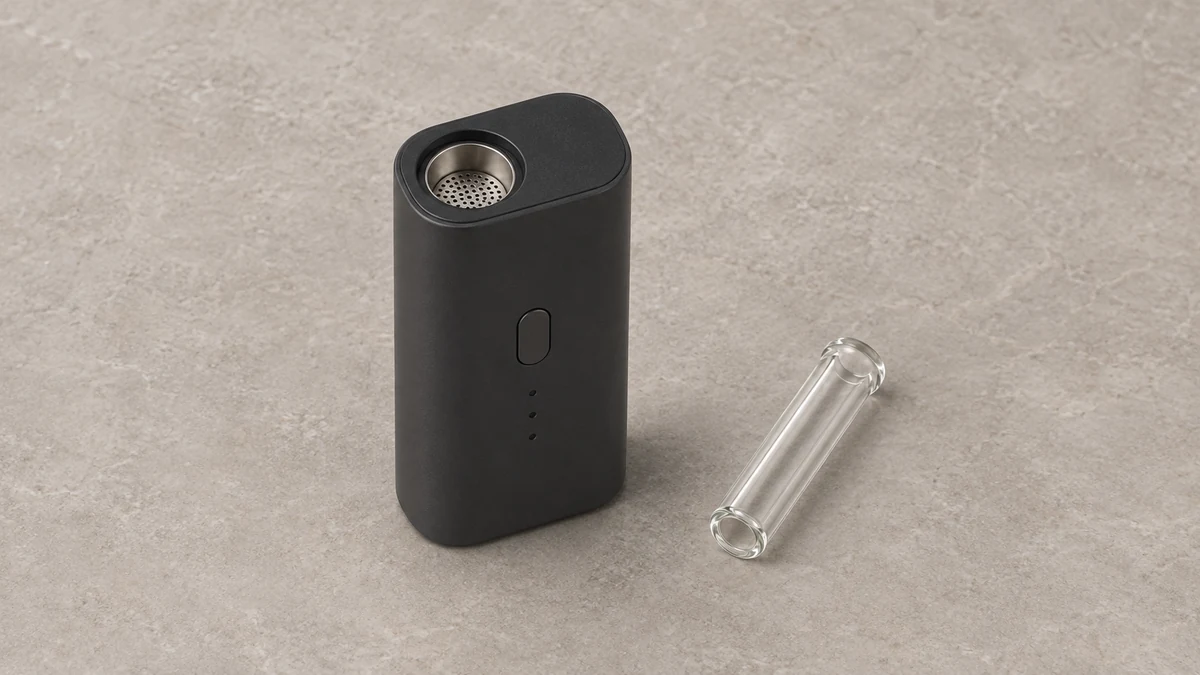
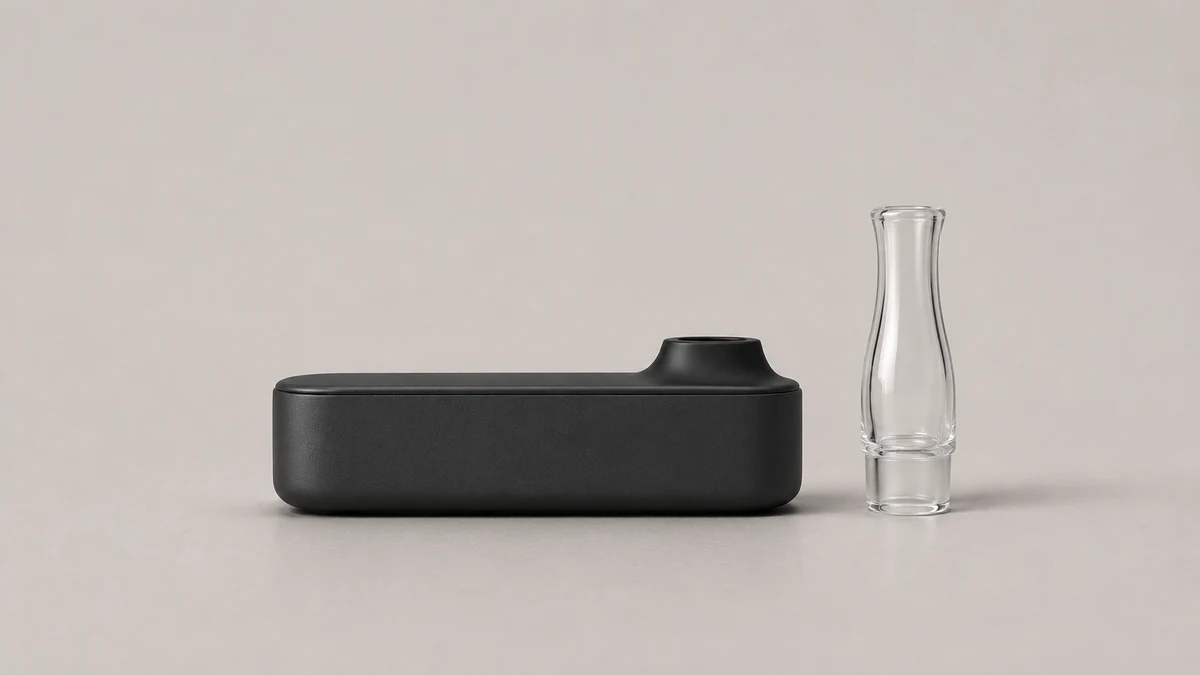
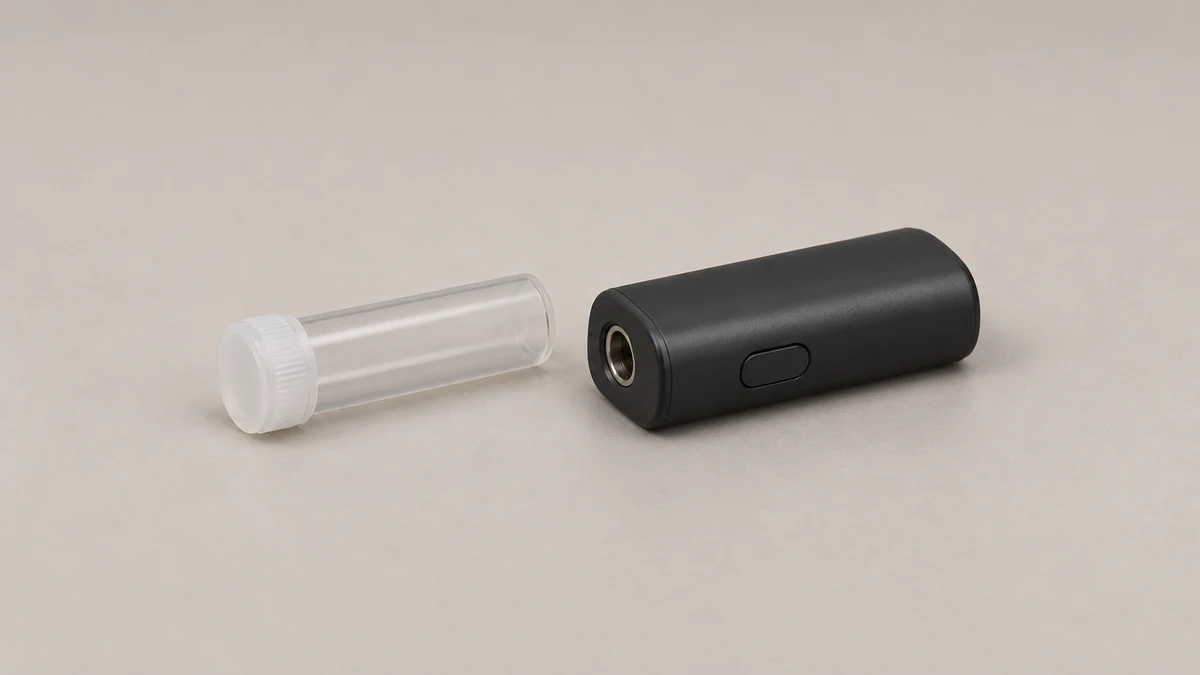
The difference is easiest to see on a desk. Put the empty, cool device next to its detached glass and the container that holds the glass. The longest object in that arrangement may be the stem inside its tube. Or the device may have a mouthpiece that sits nearly flush and needs no extra loose part in its normal packed state. A single height figure can’t tell you which arrangement you are looking at.
📐 1. Read the Published Dimensions Against the Picture
Start with the side view. A flush mouthpiece can sit inside the shoulder of a rectangular housing so that the body still establishes the total height. A projecting tube can extend well beyond the shoulder. An angled outlet adds another complication because it can increase depth as well as height. The most useful dimensions describe the maximum outside limits of the complete configuration shown, with that configuration clearly named.
Some product layouts show a bare housing, an assembled unit and accessory glass in the same image gallery. The dimensions can sit above all three images and appear to describe everything. Check whether the specification identifies a fitted mouthpiece or gives a drawing with endpoints. If neither does, keep the intended state open. Write “published body dimensions, mouthpiece inclusion unspecified” beside the numbers instead of adding an estimate from a photograph.
🔎 1.1 Do Not Measure From a Perspective Thumbnail
Perspective can compress an angled stem or make a wide housing look narrow. A device on a diagonal in a studio image can appear shorter than a straight pen alongside it. Product photos are useful for deciding what to measure and for finding a projection you might miss from the front. An actual scale reference in the same plane or a dimensioned drawing is better evidence for a number you need to compare.
Our dry herb vaporizer pen guide gives context for different housings and chamber types. Whatever the housing is called, keep the widest point, thickest point and end-to-end length distinct. A pocket or case opening may stop the widest point long before depth becomes relevant.
🧩 2. Identify Which Parts Remain Fitted in Storage
On some designs a mouthpiece is integrated into a short top module. Other designs use a separate glass tube that extends out of a receiving opening. A stem may also be offered in multiple shapes for one device family. Ask which piece appears in the drawing and which one you have. The original manufacturer is the best source for the role of a particular lid, cap or mouthpiece. A loose cover beside a device can look like an alternate mouthpiece even when its purpose is storage.
🛡️ 2.1 A Stem Cap and a Protective Tube Have Different Footprints
A cap at the end of a stem adds its own profile and covers a particular opening. A separate tube can enclose the glass, with its lid and wall extending beyond the enclosed part. Treat both as outside dimensions. Arizer illustrates this distinction in its own parts documentation. Its Go range lists a glass aroma tube and compatible end caps as separate items, and its Air accessory range identifies a capped protective tube for an aroma dish. Those names describe particular products. They do not establish interchangeability across device families.
It is easy to assume that removing a glass projection makes the entire package shorter. That may be true for the body, while the protected stem becomes the longest loose item in the bag. A stem with a curved or widened upper end can also need more width than a straight tube even if its length remains similar. If choosing between storage arrangements, measure the container that will actually be packed. A naked glass tube is a poor substitute for that measurement.
🧳 3. Think About the Opening of the Case
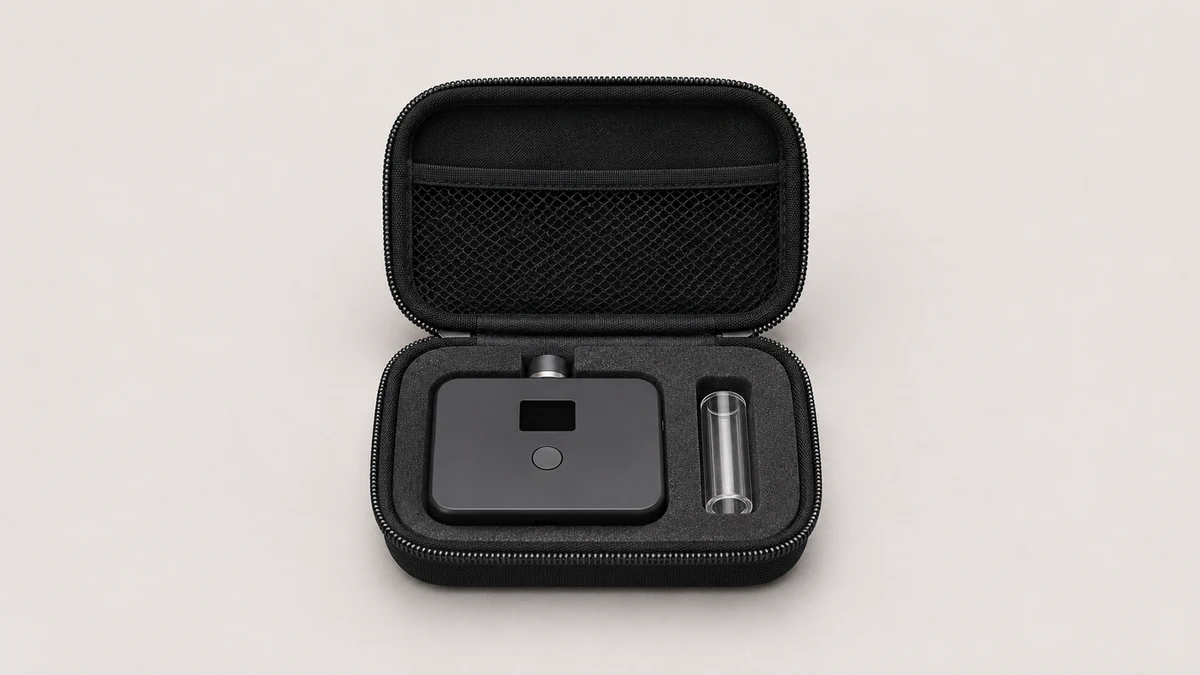
A zippered case can have a long interior and a relatively narrow opening where the zipper turns the corner. A rigid case can have a lip around the lid and cutouts in the insert. The outside dimensions mainly tell you how much space the exterior takes. Inside, the line the part must travel through the opening can be smaller than the apparent inner rectangle. Check that path for the cool housing and the protected stem independently.
↔️ 3.1 Look for Contact Before Closing the Lid
If a box seems spacious on paper, compare its internal depth with the part that sticks up from the tray. A glass rim that clears the side walls could still meet a lid or zipper when the case closes. Soft lining changes how much room you see without proving that the lid will stay clear. Stop if closure presses on the glass or makes the housing rock against it. A photo taken with the box open can show the contact point more clearly than a description such as “it almost fits.”
Side-by-side storage uses width, while end-to-end storage uses length. Stacking uses depth. If a small case has separate wells, measure each well as a distinct shape and note what projects above it. The right layout for a long body and a short stem tube may be very different from the layout for a shorter body and a bulky padded glass sleeve. A cabinet-width measurement or a retailer’s device height answers neither question.
🗒️ 4. Use Four States for a Fair Comparison
For the bare state, record the housing as it stands without a detachable part. For the assembled state, record the exact mouthpiece represented and include all its projections. For the detached state, record the body and protected loose part separately. For the packed state, record the closed carrying arrangement. Use the same set of states when comparing another layout so that a bare body figure from one page does not appear to beat an assembled figure from another.
Imagine a wide flat instrument with a nearly flush mouthpiece beside a narrower device with a removable angled tube. The first takes more space across its housing. The second projects beyond its shoulder when assembled and divides into two objects when packed. It is possible for the second to fit a narrow slot by itself but require an adjacent slot for the separate tube. If the actual bag has a long uninterrupted sleeve, the outcome can change again. The comparison depends on the real space you have available.
📷 4.1 Attach Each Number to a Simple View
Take a front or side photo that shows the top and base together. A second overhead picture can reveal a shoulder or curved stem that projects toward the camera in the first. Write the configuration name on your note, along with whether the mouthpiece was fitted and which accessory container was included. The photo establishes more when the whole object is in frame and the measurement direction is stated. Measurements such as depth and body thickness can otherwise be mistaken for each other.
Keep any added objects in the packing record even if they are shorter than the housing. A case can close around the largest individual part but leave no room for a cap or a separately boxed cup. A cup-shaped accessory is particularly easy to confuse with a cover in a tray photo. Our guide to vaporizer cups and chamber fit helps name the chamber component separately when you are making an inventory.
🔗 5. Locate the Part That Actually Carries Pressure
In a crowded case, notice what could contact a protruding stem. A loose accessory may have no effect on the housing’s dimensions while still sharing the same space as the glass. Photograph where it sits and identify whether the surrounding case supports the housing or presses on the projection. Leave strength predictions out of the record.
Two common case measurements deserve separate notes. The depth of a shaped recess is measured from the rim of that recess to the bottom. The available clearance also depends on what is directly above the rim when the lid is shut. A protruding stem may sit in a shallow channel that works when the lid has a relief, while a deeper channel can still crowd the stem if the lid has a projecting insert. A drawing or a photo of each half of the container can show which shape you are comparing.
🧱 5.1 A Tight Fit at the Case Wall Is a Different Problem
A mouthpiece feels loose at its receiving shoulder when the device is outside the case. A mouthpiece shifts only when the case compresses its end. These are different observations. If the symptom appears only when packing the device, preserve the empty-case photograph and a view of the same device outside it. If the part already appears displaced outside the case, consult the instructions for that specific mouthpiece rather than relying on a tighter pouch to keep it in place.
Our explanation of mouthpieces, stems and covers distinguishes an outer cover from a complete removable part. Its terminology can help organize a report even when the mechanism here is different. If your product uses a retention feature, name the feature as the manufacturer does and photograph its location. A smooth case interior has no bearing on whether a stem fits its own receiver.
🧰 6. Keep the Body and Glass Separate in a Damage Report
After a drop, note where the removable glass was at the time and what is visible now. A known broken stem beside an otherwise intact housing raises a different service question from a fragment lodged in the receiving area. Neither a photo of the old accessory nor a shallow view of the opening confirms the condition of everything under it. Leave the device out of service if a piece is lodged inside and ask the manufacturer how that condition should be handled. Preserve a photo of the opening as it stands, without probing it for a clearer view.
A missing cap and a loose stem in a used package are also distinct issues. The missing item can be looked up by name or kit reference. The fit question requires the actual housing and stem identifiers. If both pieces seem to carry the same family name but there are older and newer revisions, include the exact kit documents with your photos. A familiar shape from another revision tells you much less than the code or manual that applies to your unit.
Ask whether an accessory pictured in a carrying diagram belongs to the normal kit or to a different package. A removable stem shown in a tube might be the documented arrangement for that accessory even if another photo shows the unit with a shorter mouthpiece. Record the versions separately. If you have a current model and the measurements from a previous model, keep both source dates with the notes instead of trying to reconcile them by averaging the numbers.
A different practical distinction is whether the case has spare room for the user-removable part after it is protected. If the only clear compartment is long enough for the bare stem but too narrow for its cap or sleeve, the storage problem is at the outer protective piece. Keep the glass and foam dimensions in separate entries so the note remains useful when either accessory is replaced.
✅ 7. Make the Comparison Useful for the Space You Have
Record the inside opening of the place where you expect to keep the device. Put it beside the assembled measurement and the dimensions of the separate tube. If the packed configuration consists of two objects, describe their real positions in the pouch or tray. This comparison can distinguish the questions “Will the assembled unit fit?” and “Can I store both pieces separately?” Each can have a different answer for the same amount of space.
When the only missing specification is the scope of a product dimension, ask for the exact state rather than for another broad small-device rating. A useful question is whether the stated length includes the glass and whether the dimension changes with the illustrated cover fitted. For a case, ask for the usable length of the glass compartment and the clearance under its lid. Those answers connect the published numbers to the physical objects you need to store.
A compact layout can look different after you account for accessories. End with the cold, empty complete configuration and then mark anything you store apart from it. If a measurement came from the product documentation, keep that source next to your own dimensions. On a future replacement day you will have evidence for the original device and a record of what changed when a different mouthpiece, cap or container entered the setup.