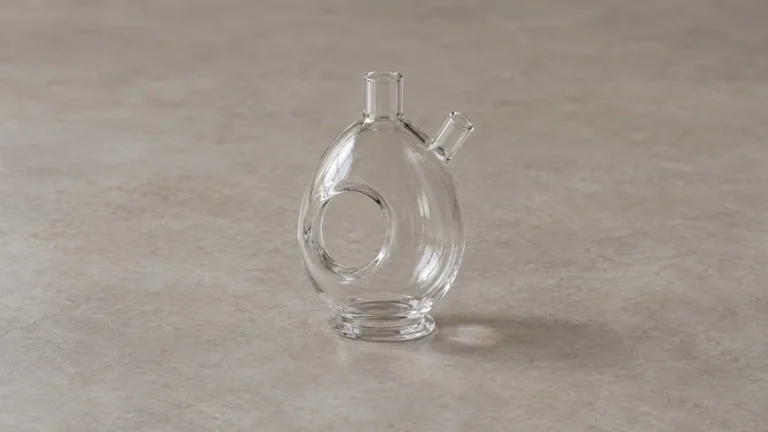
A banger hanger is a glass rig whose accessory usually sits in an upright socket on the side of the body. Start by looking at the empty socket and the glass below it. Those features tell you whether you are looking at a fixed inlet, a removable part, or an accessory that happens to project outside the chamber. A nominal joint size will help name the connection later. It cannot tell you how the socket is supported or which part needs replacing.
This matters when someone sends you a tilted photo of a piece and asks what broke. The curved glass outside the chamber could belong to the removable banger, the rig’s side inlet, or an added adapter between them. If you can identify which one stays with the body, you can ask a much narrower question. The starting point is two views of the empty, cool glass on a flat surface.
🔎 1. Find the Socket on the Rig Body
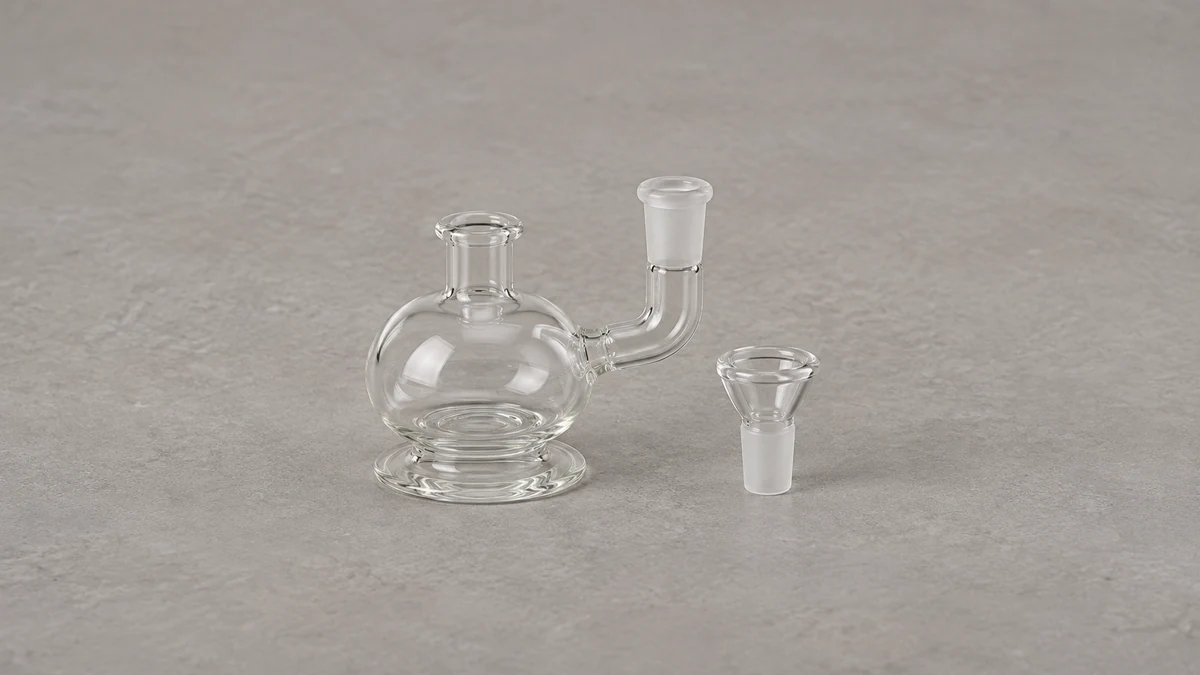
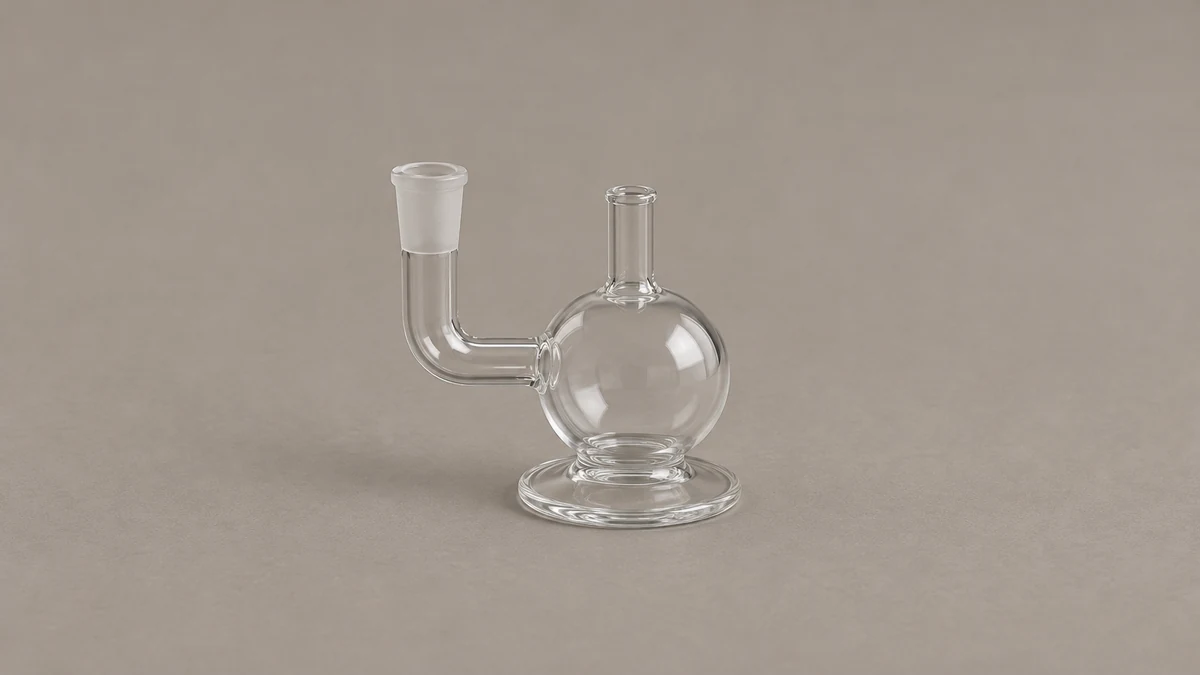
In a common shape, a short glass arm projects from the main chamber and ends in a socket opening upward. The removable accessory sits above that opening and may extend farther out. In a side photograph, a clean example leaves three recognizable shapes: the main body, a stub or curve ending in a socket, and the accessory above the split. If the accessory is already absent, the empty mouth of the socket is a better reference than the silhouette of the arm.
🧭 1.1 Let the Opening Set the Direction
Use the rim of the empty socket to infer which way a mating piece would enter. The direction of the last straight section of the opening tells you more than the angle at which the arm meets the chamber. Glass can leave the side wall horizontally, arc upward and finish with a vertical socket. A seller can accurately describe the opening as upright even when much of the supporting tube is curved. The reverse is possible, too. A prominently upright section elsewhere on the body does not establish the direction of the receiving opening.
The label can coexist with a description of the chamber. For example, MJ Arsenal calls one of its Fab Egg-derived models a banger hanger and describes it as having a base-connected percolator. The name of the inlet and the shape of the structure inside the chamber answer different questions. Our guide to dab rig parts puts those terms in context when you need to name both in a single picture.
📐 2. Separate the Rig Joint From the Banger Bend
A vertical female socket on a side arm and a ninety-degree banger neck are two separately named features. The socket has an opening on the rig body. The banger neck is outside that opening and belongs to the removable accessory. Use a picture that shows the two pieces separated, with the rig standing on its foot. In this view you can describe the body architecture before asking whether a particular attachment would sit properly.
🔗 2.1 Keep Diameter and Joint Type Separate
Two fittings can face the same way while having incompatible sizes or the same joint type on both ends. A number from a retailer is useful when it is attached to a named part, for example a female body socket or a male attachment. A handwritten note that says only fourteen millimeters leaves the side of the connection unstated. It may also reflect a rough reading of the outside of a decorative rim. If the maker identifies the actual connection in its specifications, use that designation and put your own observations on a different line.
Suppose a listing shows a complete body with its included banger. A later photo shows an aftermarket banger on the same silhouette. If the bucket looks off level only in the second photo, the new accessory is the first thing to identify. A ten or fourteen millimeter claim by itself cannot explain the bend or clearance. Our explanation of the ninety-degree banger label covers what to record on that separate attachment.
🧩 3. See Where the Removable Assembly Ends
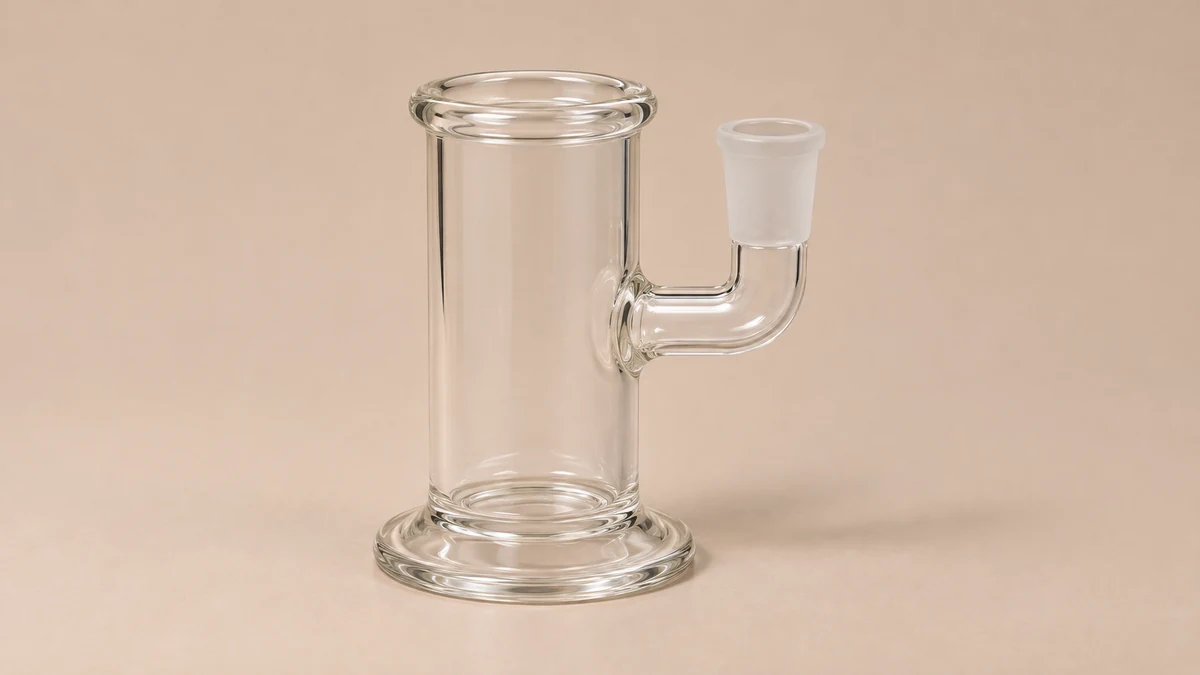
Trace the glass immediately below the socket toward the center of the vessel. A visible seam, shoulder or separate sleeve may suggest a second component. A continuous glass connection at the wall may suggest that the external arm is part of the chamber. Neither observation alone authorizes disassembly. A polished weld can leave visible contours, and a color transition can look as crisp as a joint. Product documentation or the maker’s service information establishes whether there is a user-removable inlet.
🔍 3.1 Distinguish a Fixed Stem From a Loose Insert
When a manufacturer calls a downstem fixed, the downstem and body are one service unit for ordinary component identification. GRAV’s support information distinguishes a downstem fixed in the pipe from one that can be removed. That distinction is relevant even when the rigid glass looks similar from across a counter. A removable attachment above the socket does not make the socket removable. Conversely, a part documented as an insert should be named separately from the outer chamber that accepts it.
Glass below an inlet sometimes looks like a removable bowl because its outer edge catches the light. View it from another angle and look for whether the outline continues through the side wall. A small bulb under the socket can also be part of the rig’s glasswork. Its presence is no proof of a detachable catcher. If you cannot establish what it connects to, say that the bulb is visibly fused or that the seam is obscured, depending on what you can see. Avoid inventing an accessory name to complete the description.
🧱 4. Follow the Support Down to the Foot
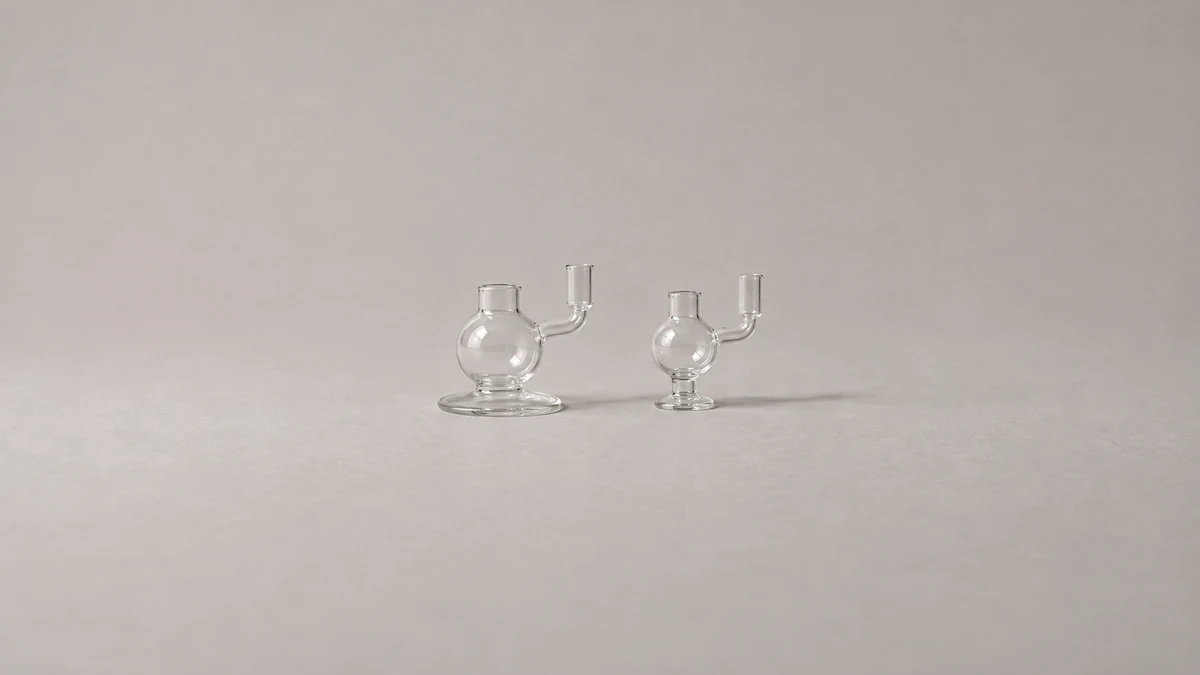
The outermost edge of the glass may never touch the tabletop. The foot establishes the supporting area. The socket determines where an attachment sits relative to that area. A compact chamber on a wide foot can still have a long side arm, so a comparison photo should show both the foot and the full length of the arm. Use a profile if an overhead image hides the outline of the foot.
⚖️ 4.1 Tell Rocking Apart From a Loose Connection
The whole rig can rock while its attachment remains seated. The attachment can also move while the body stays flat. These observations describe different places to inspect. Check the empty body on a flat surface first. If the foot moves or rocks without an attachment, note that before taking a photograph of the joint. If the body remains still but a removable part was reported moving, photograph the two mating surfaces separately. Do not try to establish a safe load by pulling or pushing on the side arm.
Added hardware can change the outline of a compact rig substantially. A glass adapter may move the banger to a higher or farther-out position even if both ends are described with the correct nominal size. Use the original configuration and the newer assembly as separate entries. Describing how far a part projects is more informative than applying a single label like wobbly to everything from the foot to the tip of the attachment.
🧰 5. Identify the Failure Without Guessing Its Cause
If glass is broken, the first question is where it separated. A removable cup with an intact body socket leaves a different repair or replacement question from a crack that crosses the arm where it meets the chamber. A small mark on the socket rim needs a precise location, too. Is it on the exposed rim, on the surface that contacts the mating piece, or farther along the arm? A close-up can record that location without diagnosing how the mark got there.
📷 5.1 Record the Boundary Between Parts
Loose fragments are generally poor reference points for reconstructing dimensions or fit. Photograph the intact surrounding hardware before concluding that a piece was originally separate. For example, a broken arm can come away as a recognizable tube, giving the impression it was a removable stem all along. A previous photograph, original specification or a maker’s parts diagram is better evidence about construction. If you have that evidence, keep it with the current photos so the two can be compared without relying on memory.
Polished reflections can make a shallow scratch appear much darker than it does in diffuse light. Clean backgrounds help here because they give the eye fewer competing lines. Aim for one wide photo with the entire body and one close image of the area in question. If the hardware is clearly cracked or chipped, leave it out of service and seek product-specific guidance. Do not treat the apparent continuity of the glass path as proof that the structure is sound.
🗂️ 6. Read Older Listings With the Body in View
A banger hanger phrase in a search result can identify a complete rig, a style of side joint on custom glass, or the application for a separate accessory. Open the specification or inventory list and identify the noun next to the size. A picture of a rig with its banger attached doesn’t establish whether the banger comes with that item. The listed contents and the dimensions are two separate things to preserve when comparing versions of a page.
📝 6.1 Ask One Compatibility Question at a Time
Suppose a replacement listing calls its product a female quartz banger while your notes describe a female socket. Both may say fourteen millimeters. There is still a mismatch at the named connection if both descriptions are correct. Our guide to female quartz bangers and male rig joints shows how to attach the gender wording to the right object. If your remaining piece does not clearly resemble either illustrated shape, send the photograph to the maker and ask which socket type they documented for that revision.
Pay attention to product photographs reused across sizes or finishes. The same side profile can illustrate several versions without showing exactly which joint ships with each. A photo of your own empty rig with the socket rim in view gives someone a check against the words on the listing. If all you know is that the opening is upright and appears to be a socket, a precise description of that observation is enough to ask for the missing specification.
✅ 7. Build a Description Someone Else Can Use
Consider one compact vessel with an integral arm that ends in a frosted upright mouth. It has no loose adapter, and its original accessory is no longer present. A suitable note might describe the body as having an upright frosted socket on a side arm visibly connected to the body, with the size unconfirmed. That tells someone what the photograph supports. It leaves the replacement dimensions and the maker’s designation open until they can be checked.
Now consider the same kind of outline on a used listing. The included photo shows a clear tube inside the chamber but does not show the attachment points. The seller calls it a banger hanger with removable downstem. Ask for a photo in which the tube is identified separately in the manufacturer’s documentation or shown apart as the manufacturer intended. If no such evidence is available, record the removable claim as unconfirmed. You can still identify the side socket and the outline of the base while leaving the service boundary unresolved.
For a useful support note, write the object, observation and question in separate lines. Give the manufacturer the glass model if you have it and identify any removable accessories you took out of the picture. If the only unknown is whether the arm is integral, ask whether the maker treats the pictured inlet as part of the body or sells it as a separate component. That answer determines whether there is a loose replacement to identify.
Include a front view if the side arm disappears behind the chamber edge, and make a profile image with the body resting on its foot. Finally take a close view of the seam with the socket rim in the same frame. The seam photo can show where a possible break or separation is located, while the full view tells someone which side of the body that component belongs on. Keep the closer image linked to the overview so it cannot be mistaken for a detached accessory.
It can also help to write down the sequence in which you noticed the problem. A report that the empty body had a wobble before a new fitting arrived differs from a report that an attachment started moving after the body stayed put. Neither statement identifies a cause. Both let someone distinguish the fit question from the question about the glass structure. If you cannot see the place where the arm joins the chamber, leave that construction detail open and ask the maker for a second view.
When a listing supplies only the words “banger hanger,” keep those words as the listing label. Record the observed socket direction separately. This is especially useful on custom glass, where a name can describe one feature while leaving size, joint type and removability unstated. You can send the same three photographs to identify the body and still reserve any evaluation of the separate banger for its own part record.