A dab rig cleaning kit can contain several tools and still leave one surface out of reach. Start with the part you can identify and the path a tool would need to follow. A narrow opening, a bend and a fixed internal feature each limit access differently. Once you know what the manufacturer documents as removable, it is easier to tell what the kit covers.
Reader questions show why tool lists need to start with a particular surface. One owner compared access around the coil on two devices. Another asked about haze on a mouthpiece, and a new rig owner asked about the appearance of the glass as a whole. These are different jobs. None of the descriptions identifies a compatible brush, liquid or method.
A brush maker’s product specification lists diameter, length and stiffness separately. That format is useful when describing tools you already have. The industrial product itself is not a recommendation for the glass or electronics discussed here.
🧰 1. Why a Tool Roll Can Include Tools That Never Touch a Glass Passage
Tool rolls are frequently assembled as general-purpose kits rather than as a set engineered around one piece of hardware. A roll might include a rigid metal pick, a cotton-tipped swab, a short nylon brush, and a flat scraper, and none of these items are guaranteed to share a destination.
Picks with a stiff, straight shaft and a narrow tip are often sized for scraping flat external surfaces or threaded fittings, not for entering a curved internal glass passage where a scratch could compromise the seal of a joint or weaken a thin wall.
Related reading: glass care.
↪️ 1.1 Follow the Shape of the Passage
Consider a hypothetical empty recycler-style rig sitting disassembled on a workbench. Its internal pathway loops back on itself rather than running in a straight line. A rigid pick, however fine its tip, cannot follow that curve without pressing against the inside wall at an angle the glass was not shaped to tolerate. A flexible tool with a narrow, yielding head can follow the bend; a stiff tool cannot, regardless of how clean its tip looks or how precisely it was machined.
📏 1.2 Check Reach Separately From Flexibility
Length is a separate limitation from flexibility. A tool sized for the shallow threading of a cartridge-style attachment may be only a few centimeters long, while a straight glass tube on a stand-alone rig can run several times that length. A short tool inserted into a long passage will simply fail to reach the far end, leaving the operator unable to confirm whether the tool ever made contact with the section furthest from the opening.
In an empty, inactive piece of hardware, this is easy to verify by holding the tool next to the passage before assuming it is the right match: if the tool’s working length does not visibly exceed the passage’s depth, it was not built for that part.
None of this means the shorter or stiffer tools are defective. They may be correctly matched to a different accessory in the same kit, or to an external surface rather than an internal one. The error is in treating a tool roll as proof that every tool belongs to every part of a given rig, rather than treating the roll as a sorted set that still requires sorting on arrival.
🔧 2. What Separately Removable Components Mean for Tool Selection
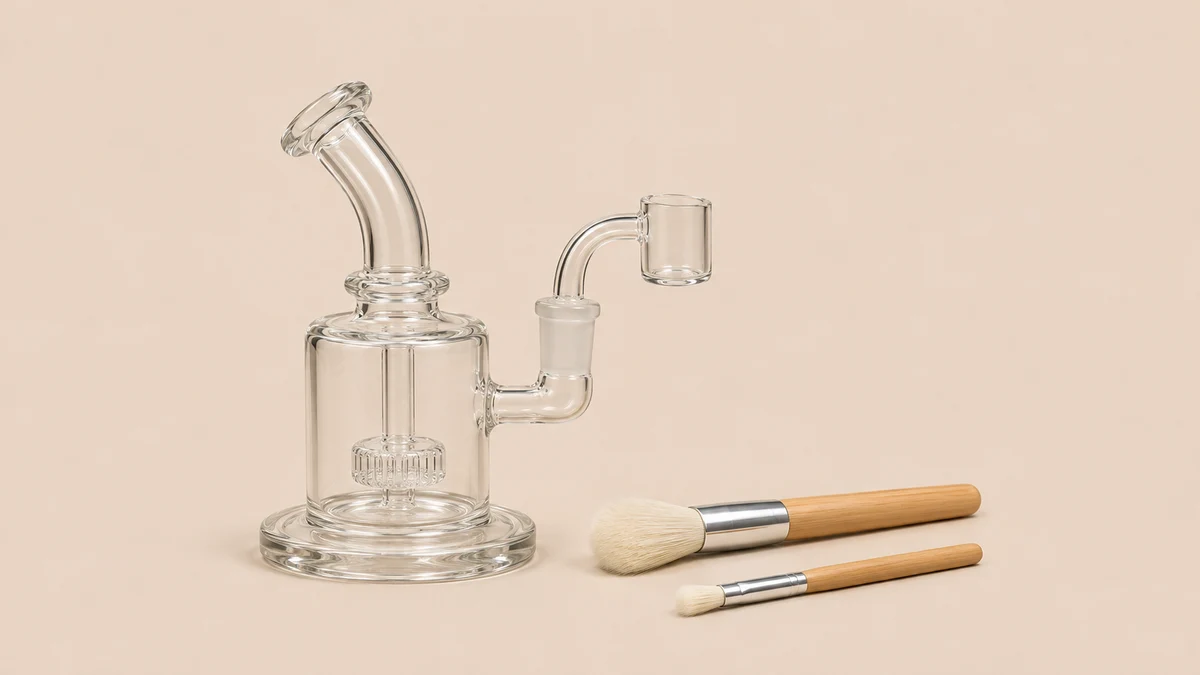
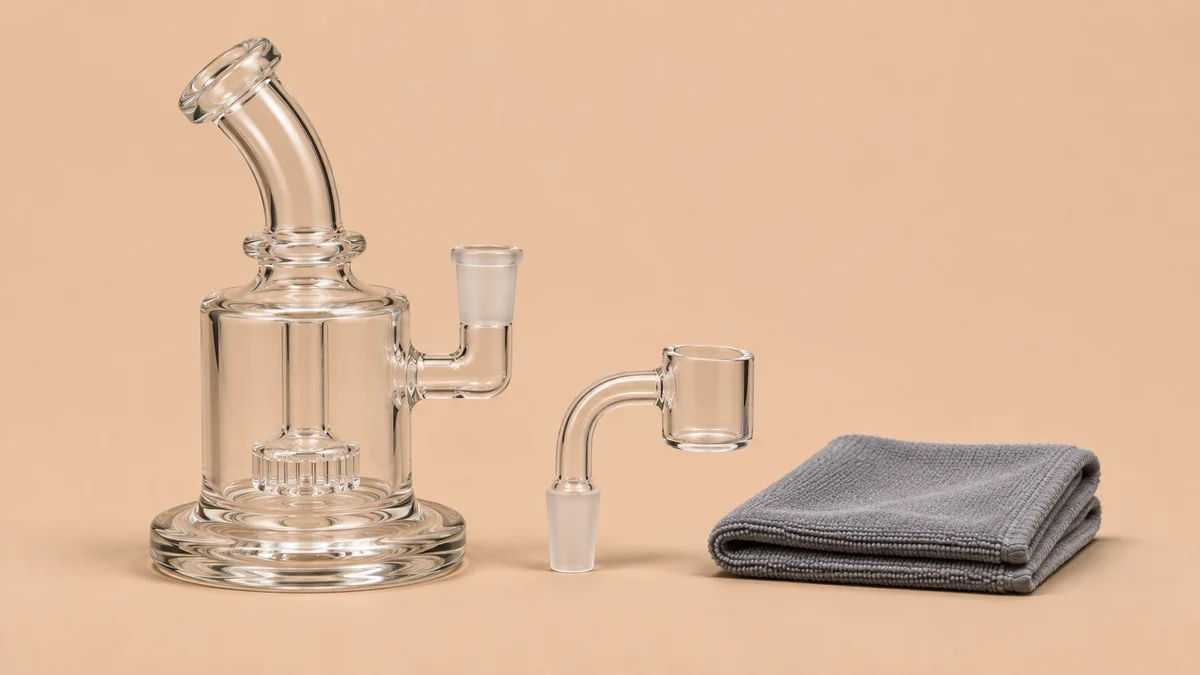
Most dab rig hardware is not a single fused object. A typical disassembled, empty rig can include a body, a removable downstem, a separate heating insert, a carb cap, and in some configurations a splash guard or a reclaim catcher. Each of these components can differ in internal diameter, wall thickness, and shape, even when they belong to the same rig. Selecting a tool for “the rig” as a whole is a less useful exercise than selecting a tool for each removable part on its own terms.

Related reading: electric rig maintenance.
🧩 2.1 Compare the Insert and Cap Openings
Take a hypothetical empty heating insert with a wide bucket opening at the top that narrows toward a smaller internal chamber near the base. A brush sized to comfortably enter the wide opening may be too broad to reach the narrower lower section, while a brush narrow enough for the lower section may do little useful work against the wider upper walls. Two different brush diameters, not one, correspond to the two different internal widths of that single component.
Carb caps raise a related but distinct issue. Many directional carb caps rely on one or more small airflow holes rather than a single wide opening. A bristled brush head, built for scrubbing a larger interior surface, is the wrong shape for a hole only a few millimeters across; a thin swab or a narrow pick is a closer match in scale, even if that same pick would be unsuitable for the wider chamber of the heating insert sitting next to it on the tray.
🔎 2.2 Inspect Both Ends of a Removable Tube
A removable downstem is its own case again: it is open at both ends, and those two ends are not always the same diameter. A tool that fits the end that sits inside the rig’s body may not fit the end that holds the heating insert. Treating the downstem as one part needing one tool overlooks that it functions, for cleaning-access purposes, as two openings joined by a single tube.
The practical takeaway is that “separately removable” is not just a description of how the hardware comes apart for storage or transport. It is a description of how many distinct access points exist, each of which may call for its own tool match, independent of what the rest of the kit assumes about the rig as a single object.
🧽 3. How a Brush Head Differs From a Swab or a Tray
Three items common to many cleaning kits are easy to lump together because they are sold in the same roll, but they are built to do different jobs. A brush head consists of bristles set into a handle, and the bristles themselves vary by material, density, and stiffness. A stiffer bristle covers more surface area per pass and is generally intended for wider, more open interior surfaces where a firmer touch has room to work without concentrating pressure on one point.
💧 3.1 How Swab Contact Differs From Bristle Contact
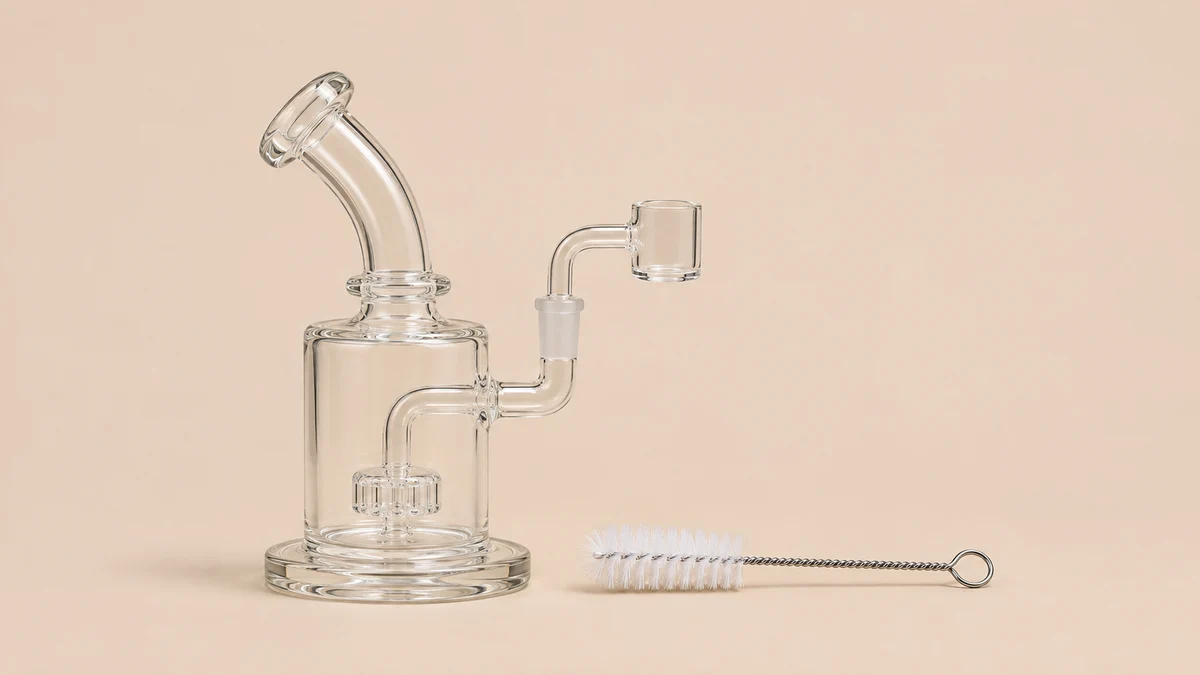
A swab is built differently: a thin shaft wrapped in an absorbent fiber tip, intended to pick up residue from a surface rather than scrub it loose. Because the tip is narrow and the fiber conforms to whatever shape it meets, a swab is better suited to tight folds, small holes, or recessed corners that a brush head is physically too wide to enter.
Where a brush depends on repeated bristle contact across a surface, a swab depends on the fiber’s ability to reach a confined space and come back out carrying what it touched.
📦 3.2 What the Tray Contributes
A tray is a different category of item altogether. It is not a cleaning implement in the way a brush or swab is; it is a flat work surface meant to hold disassembled, empty parts in a visible, ordered layout.
A hypothetical tray might sit on a workbench holding a downstem, a carb cap, and a heating insert side by side, each in its own section, simply so that none of the pieces roll away or get mismatched during reassembly. Some kits bundle a tray alongside brushes and swabs in a way that can suggest it has a scrubbing or wiping function, but its role is organizational rather than active.
Recognizing these distinctions matters for inventory purposes. A roll that contains two brush heads, three swabs, and a tray is not six cleaning tools and a spare; it is five tools with distinct physical jobs and one organizational surface. Counting the tray as a sixth tool overstates how many parts of the hardware the kit can actually reach.
📋 4. Inventorying Existing Tools Without Assuming Material Compatibility
Once the hardware is disassembled into its separately removable parts and laid out, empty and inactive, on a tray or a flat surface, the next step is inventorying the tools against those parts rather than against the kit’s packaging claims. This starts with identifying what each tool is actually made of.
A brush handle might be plastic, metal, or wood; its bristles might be nylon, natural bristle, or fine stainless wire; a swab’s shaft might be wood, paper, or plastic, with a cotton or synthetic fiber tip. None of these materials can be assumed to be safe for every surface simply because they shipped in the same roll.
Related reading: general tool kit.
📝 4.1 Map Each Tool to a Specific Surface
A hypothetical inventory session might involve laying each tool next to each disassembled component and noting, in writing, three things for each pairing: whether the tool’s working length is sufficient to reach the far end of the passage, whether its head or tip diameter is close enough to the opening to make meaningful contact without forcing it, and what the tool’s contact surface is made of.
This third point is where assumptions are most likely to creep in. A stainless wire brush, for example, is a different proposition against a glass surface than a nylon-bristled one, and a kit that includes both is not implying that either is correct for every component in the rig.
It is also worth separating tools by the type of surface they were evidently designed for, independent of the specific rig on hand. A tool with a wide, soft head and a long reach suggests it was built for an open glass tube.
A short, narrow tool with a hard tip suggests it was built for threaded metal fittings or small holes rather than for a wide glass chamber. Labeling tools this way, even informally, during inventory creates a reference that does not rely on memory the next time the same parts are laid out.
📚 4.2 Confirm Surface Compatibility in the Instructions
None of this inventory work determines whether a given tool should be used on a given material; that determination depends on specifications the hardware manufacturer provides, not on an assumption drawn from a kit’s bundling.
What the inventory step does accomplish is narrowing the field: once a tool is ruled out on the basis of length, width, or an evident mismatch in rigidity for a curved passage, it can be set aside, leaving a smaller, better-matched set of candidates for each removable part of the hardware to be considered against its actual material requirements.
Approached this way, a dab rig cleaning kit stops being a single undifferentiated bundle and becomes a set of individually identifiable tools, each suited to a particular reach, diameter, or surface type. The hardware itself, once separated into its removable components, provides the measurements and shapes that determine which tool belongs where—information that no amount of assumption about a tool roll can substitute for.
🗂️ 5. Record what the kit actually covers
For an existing kit, it can help to write a short list by surface instead of by tool. Start with the outside of the glass body, then the visible rim of a documented detachable component, then any passage the manufacturer identifies for tool access. A cloth, a swab and a tube brush answer different access questions. If the last passage has an unseen turn or the directions do not identify it as accessible, mark it unresolved.
Suppose the brush and swab both look long enough in the case. The brush has a wider head and the swab has a narrow tip, but their usable reach can still differ. The head or tip has to follow the route, not simply match a straight measurement from the outside. A separate tray might help account for loose parts during inspection, even though it does not contact the interior at all.
A reader who knows which surfaces a kit covers can describe the remaining gap accurately. The missing item may be a maker-documented tool for a specific removable part, or the passage may be outside the scope of manual tool access. Leave the latter unresolved until the instructions say how that component is maintained.
A useful coverage note can be as simple as a row for each part, with columns for the opening, the surface to reach and the manufacturer instructions. For example, list the outside of a removable tube separately from its bore. You may find that the same tool can reach the outside surface but its widest point cannot enter the opening. If the maker lists a cleaning method for the detached tube but gives separate instructions for the assembled body, write down both references beside the relevant rows. That prevents an instruction about one piece from being applied to another. Keep an unresolved row if the documentation gives only a general cleaning instruction. It tells you exactly which opening or surface to ask about and leaves the rest of the tool inventory usable.