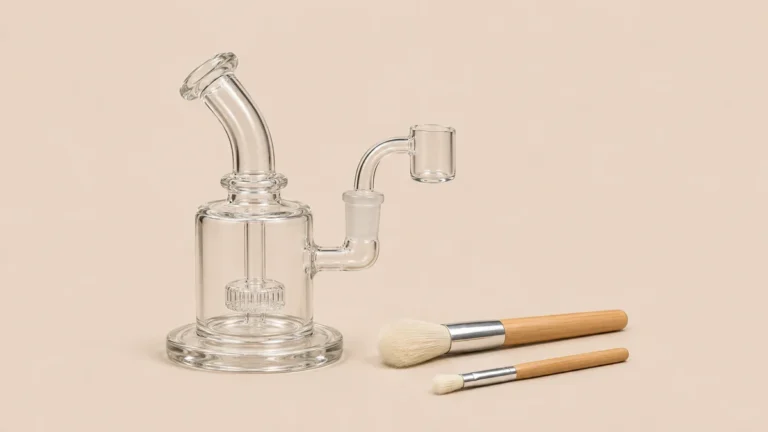
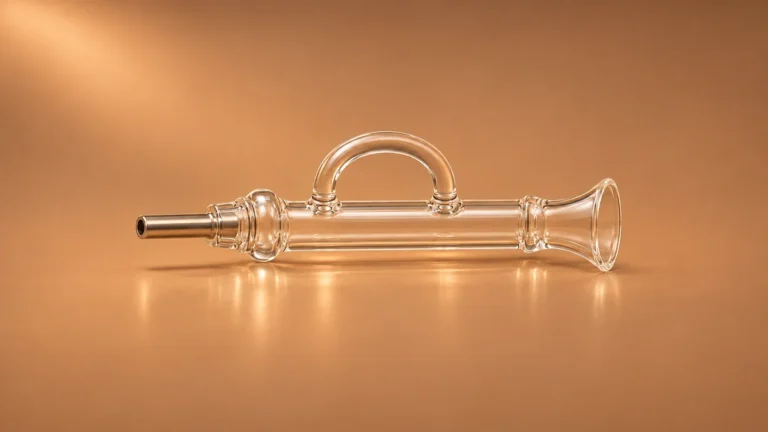
A nectar collector recycler may have a second tube visible beside the main glass body. A photograph can show where the tube sits, but only a clear drawing or model-specific description can establish what it connects. Start with the inlet, the mouthpiece and any documented connections between them. Leave the function unresolved where the evidence is only a silhouette.
A useful starting point is to mark the mouthpiece and tip ends on each photo. Then follow the outside branch from one end to the other. Keep a separate note for any junction the camera angle hides.
🏷️ 1. Why “Inline” and “Side-Arm” Are Not Fixed Terms
Smoke Cartel’s glass collector listings use both inline recycler and arm recycler in individual product names. Those names establish the words used in the listings. They do not define industry-wide categories. Record the label separately from what a photo shows, such as a narrow tube parallel to the body or a branch on its side.
📷 2. Reading a Front View Against a Profile View
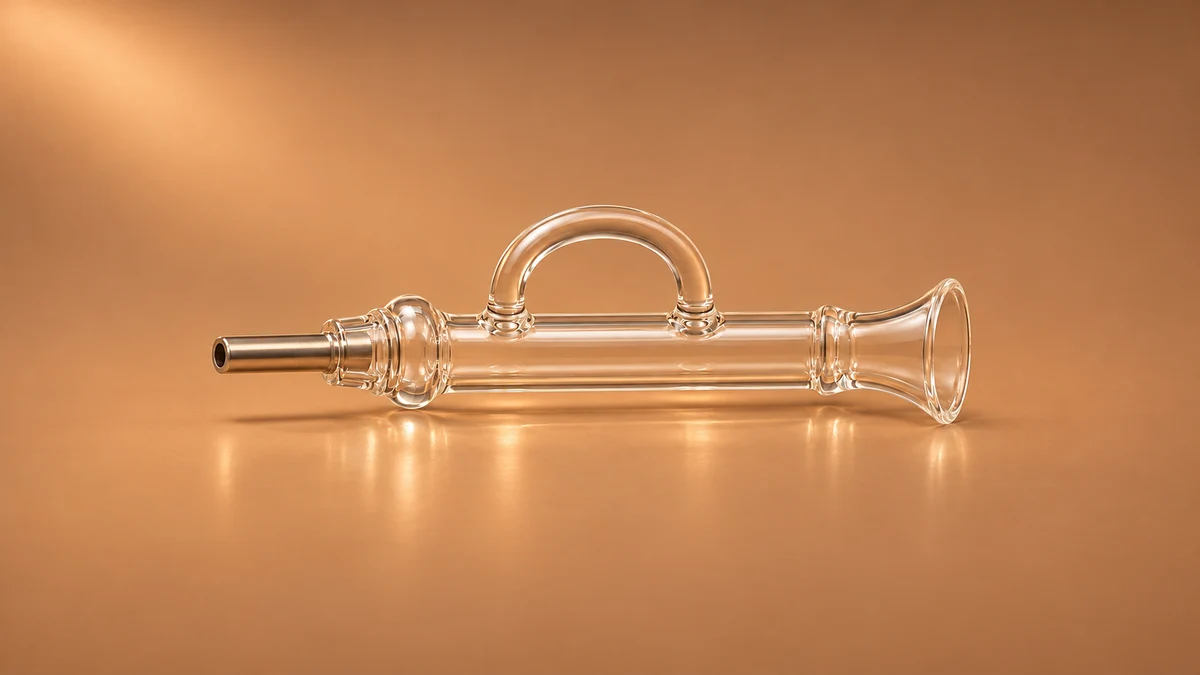
Because a single photograph angle cannot show a cylindrical object’s full geometry, two views are needed before any claim about the internal path can be made: a front-on view, taken roughly perpendicular to the main tube’s axis, and a profile view, taken from one side at close to ninety degrees from the first. Listings that include only one angle leave real ambiguity, and that ambiguity should be acknowledged rather than filled in with an assumption.
👁️ 2.1 What the Front View Shows
In a front-on view of a hypothetical empty body, a viewer typically sees the main tube’s diameter, the mouthpiece opening at the top, the removable tip assembly at the bottom, and any secondary tube exactly as it overlaps the main tube from that angle. If the secondary tube is fused directly against the front or back of the main tube, the front view will show the two tubes stacked or nearly overlapping, with the secondary tube appearing narrower and often shorter.
If instead the secondary tube is offset to one side, the front view will show visible glass-free space between the main tube and the secondary tube, sometimes with the secondary tube partially obscured behind the main body depending on the exact angle of the shot.
📐 2.2 What the Profile View Resolves
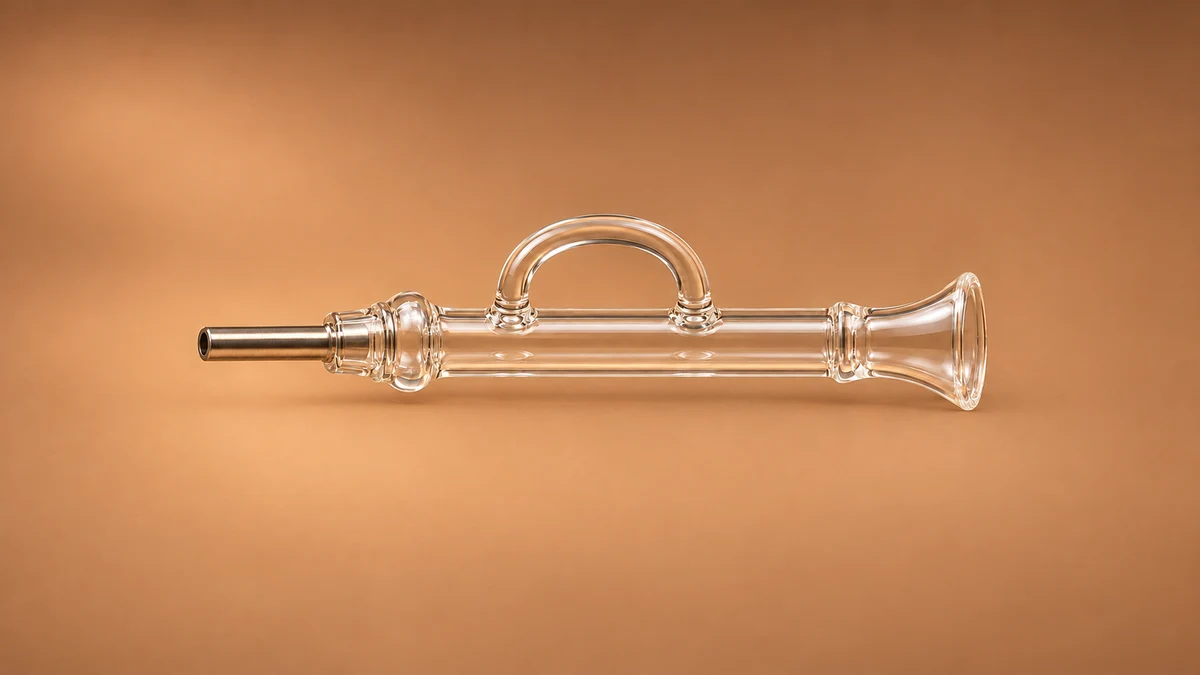
The profile view, taken from the side, resolves what the front view cannot: how far around the main tube’s circumference the secondary tube sits, and whether it sits flush against the body or extends outward on its own stem.
A secondary tube that reads as centered in the front view but clearly separate in the profile view is likely mounted at the true front or back of the body rather than inline with the airpath as commonly defined. A secondary tube that appears offset in the front view and continues to appear offset by roughly the same degree in the profile view is more likely mounted at a genuine side position.
A useful hypothetical exercise is to imagine a body photographed only from the front, where the secondary tube appears to run directly behind the main tube with no visible gap. Without a profile shot, it is impossible to know whether that secondary tube is fused flat against the back of the main tube (suggesting one kind of joint) or standing off from it by half an inch on a short stem (suggesting a different kind of joint).
Both would look identical from the front. This is why identification work built from a single-angle listing photo should be labeled as provisional, and why a request for an additional angle is a more productive next step than guessing.
🫧 3. Distinguishing a Documented Recycler Path From a Decorative Side Tube
A return path is a claim about where a passage leads. Two glass contact points visible in a product image do not prove that both contain openings. One may be hidden, or what appears to be a junction may be a reflection. Look for a section view or a maker description that identifies the connections.
Related reading: tabletop recycler.
💬 3.1 Where Readers Disagree About the Path
In one discussion about an unlabeled collector, readers disagreed about what was visible from the camera angle. Another owner asked whether the apparent chamber was intended for water. Both illustrate the limits of a single view. A third discussion used a visible mark to identify a product name. A name can lead to documentation, but it does not reveal the path by itself.
🔗 4. Locating the Removable Tip Boundary
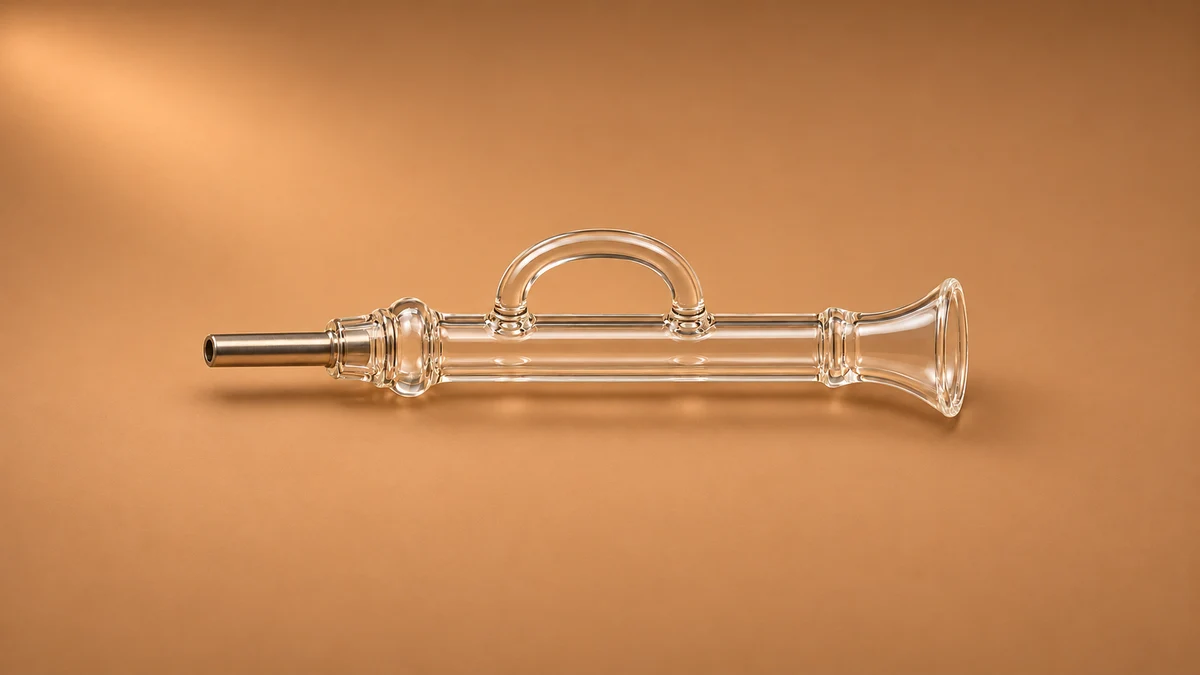
On a collector with a documented removable tip, the parts list identifies where the tip ends and the body begins. A narrow section at one end of a photo can suggest where to look for that boundary. Confirm it against the drawing before labeling a fixed section as removable. The location of the tip interface is a separate question from the route through the side branch.
Related reading: collector bubbler.
🔎 4.1 Look for the Joint on the Empty Body
On most handheld bodies, this boundary appears as a visible joint, commonly ground glass or a simple socket-and-shaft fit, located where the narrower tip section meets the wider main chamber. In a hypothetical straight-tube body, the boundary might sit at a clean, perpendicular transition where the main tube’s diameter steps down to match the tip’s diameter, with a visible seam line marking where the two pieces separate.
In a hypothetical body with a bulbed or bulged lower chamber, the same boundary might instead sit just below the bulb, at the point where the glass narrows again into a straight section leading to the tip, which can make the joint harder to spot in a photo if the bulb’s shadow obscures the seam.
🧩 4.2 Distinguish the Joint From a Narrowing in the Glass
It is also useful to distinguish the tip boundary from other narrowings that appear along the same body but do not represent a separable joint. A hypothetical piece might include a deliberate constriction partway up the main tube, built in during fabrication purely to affect how vapor moves through that section, with no seam, no step in diameter in response to a separate pre-made part, and no evidence of two individually finished glass pieces meeting at that point.
Such a constriction looks like a change in shape, but without a visible seam and without a shaft fitting into a socket, it is not the same kind of feature as the tip boundary.
🖼️ 4.3 Compare the Assembled and Detached Views
Because the tip is frequently depicted on its own in supplementary photos, listings sometimes show it in isolation, separate from the rest of the body, which can create false confidence that the boundary’s exact location on the main body is confirmed when it has not actually been shown attached.
In a hypothetical case where a listing includes one photo of a tip lying apart from a body and one photo of the body alone, a cataloger cannot assume the fit between them without a photo that shows the tip seated in place on the body, since a mismatched joint diameter would not be visible from either photo in isolation. Confirming the exact boundary, rather than inferring it from a tip shown out of context, keeps the identification grounded in what the photographs actually demonstrate rather than what seems likely.
None of the distinctions above require operating the piece, and all of them can be worked through on glass that is empty, cool, and stationary on a table or in a product photograph. The goal of this kind of reading is narrow: to describe what a given handheld body’s label, geometry, and joints actually show, separate from marketing language, and to flag where additional angles or close-ups are needed before a claim about function can be made with confidence.
🧭 5. Read the same glass from two sides
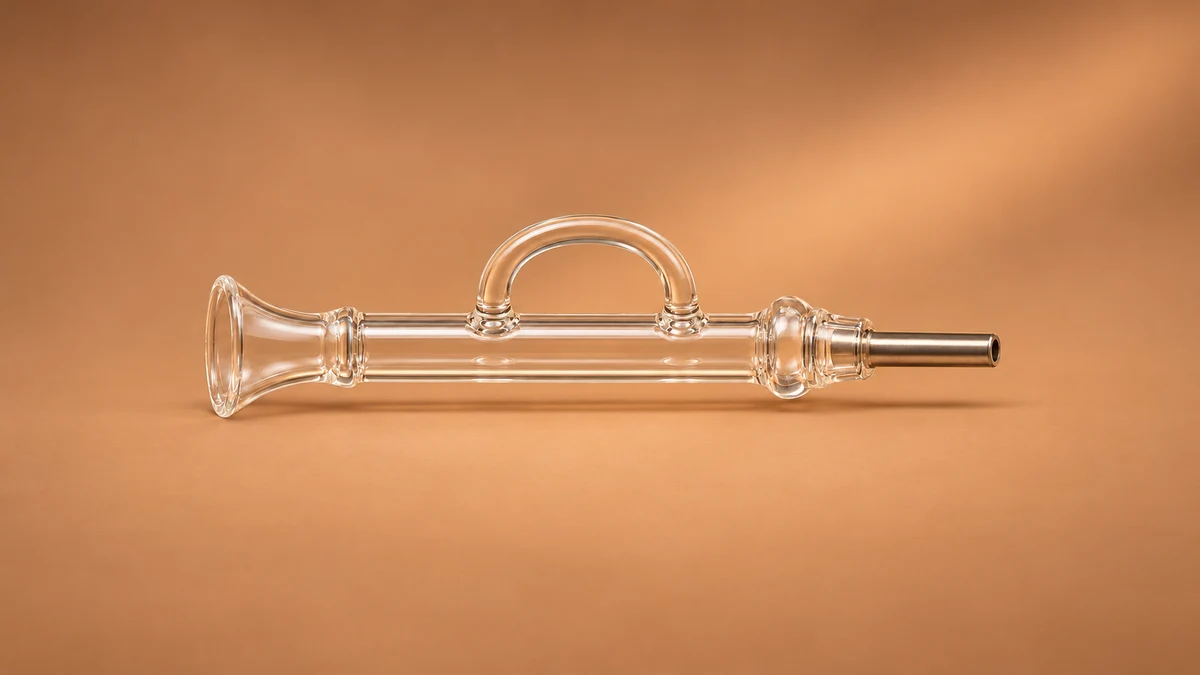
Imagine two photographs of an empty collector lying on a table. The first shows a narrow tube directly beside the main body. The second shows a strip of daylight between the tube and the body. That difference establishes that the glass shapes are distinct along part of their length. It says nothing yet about what happens at either end. The endpoints are the parts of the picture that matter for identifying the path.
📍 5.1 Mark the Same Landmarks in Both Views
Use the tip end and mouthpiece end as landmarks. In the first view, mark the place where the side tube seems to meet the body. Find the same place in the second view. If it moves relative to a fixed mark on the body, you may be looking at an overlap. If it stays aligned, you have a better view of the exterior connection, though a photograph may still hide its interior. This is one reason a clear side profile is often more informative than a sharply lit front photograph.
🗺️ 5.2 Check the Drawing for a Continuous Passage
A return-path drawing should make the relationship between the openings legible. You should be able to tell whether a passage leads from one chamber into another and where it ends. A caption that merely repeats the listing name adds no evidence about that route. If the maker supplies a photograph without a diagram, record what the photograph actually supports. “Separate tube alongside the glass body” is an accurate description even when its purpose is uncertain.
🧩 6. Identify the boundary before naming the part
In a photograph of a complete collector, the tip and body can look like a single glass or metal silhouette. A separate parts image can clarify which piece the manufacturer identifies as the tip, which features belong to the body and whether an additional collar is listed. Compare the position of each line against the maker’s illustration rather than interpreting every change in material as a joint.
Related reading: glass collector straw.
For example, a colored ring may sit at the tip end in one view and disappear behind the body in another. It could be a visible part of an interface, a decoration or a separate piece shown out of position. Name it by appearance until the parts list gives it a function. This prevents a description of the side loop from accidentally becoming a claim that the loop, tip and collar are all replaceable.
Keep one short note for each uncertainty. A listing label can be copied into the note as a label, the second photograph can establish visible geometry, and the parts drawing can establish what the maker depicts as separate. When those sources disagree or omit a connection, leave the internal route open. The most accurate description may be a handheld glass body with an external branch and a documented detachable tip.
📝 7. Describe the unidentified connection precisely
A support request works better when it names a location. For example, point to the narrow branch above the tip end and ask whether the maker's drawing shows a passage through its lower junction. This is a question someone can answer from documentation. Asking whether a piece is a real recycler may instead invite arguments about a listing term.
A second description can preserve the observed form without assigning a function. “The glass body has a side branch with two apparent contact points” records the visible evidence. “The diagram shows a connection at both ends” records what the documentation adds. If one end disappears behind the chamber, say so. Neither sentence needs an assumed water level, an operating test or a claim about how the product performs.
This distinction also helps when two catalog photos show similar outlines. The attached tip or collar may differ even if the glass body looks the same. Separate the question about the loop from the question about the connection at the tip. Each can be checked against the drawing for the specific revision.
When sending photographs for identification, include a straight-on view and a profile at roughly the same distance. Keep the mouthpiece at the top in both images so the viewer can compare the height of each feature. A close-up of the point where the narrow tube meets the body is useful if the full views establish which end of the body it is near. If reflections obscure the seam, a plain background and a second photo from a slightly different angle can make the edge easier to see. Caption each photo with what is visible, for example “lower branch beside the tip end” or “upper connection partly hidden behind the main chamber.” If both views still leave the inside of the joint obscured, ask for a drawing that shows the branch in section. Even a simple labeled drawing can resolve the route that an exterior photograph leaves ambiguous.