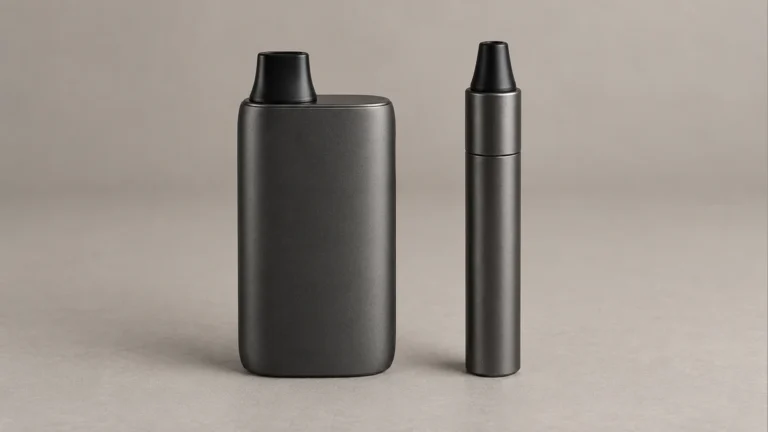
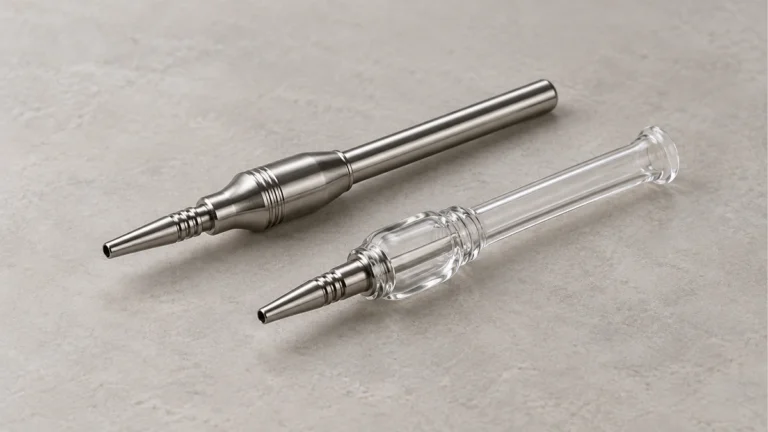
An electric dab rig looks deceptively simple from the outside — a glass chamber, a cup or banger, and a base that hums along like any other piece of consumer electronics. But that base isn’t just a stand. It’s where the battery, the heating circuit, and often a small screen or button array all live together in a sealed housing that was never designed to get wet. Treat the whole unit like a bong you can hose down in the sink, and you’re one splash away from a dead board. Treat it like a lab instrument you’re afraid to touch, and residue builds up until airflow chokes and flavor turns acrid. The real skill is knowing which parts of the rig want water and which parts want a dry cloth and a light touch — and that starts before you pick up a single cleaning tool.
This guide walks through that separation logic first, then gets into the specifics: how residue behaves differently depending on how long it’s been sitting, how to protect contacts and seals during the process, and how to tell when a coil or atomizer has simply reached the end of its service life rather than needing another scrub. None of this replaces what’s printed in your specific rig’s manual — brands vary enough in construction that a step that’s fine on one device can void a warranty on another — but it should give you a reliable mental framework for approaching maintenance day.
🔍 1. Split the Rig Into Two Systems Before You Touch Anything
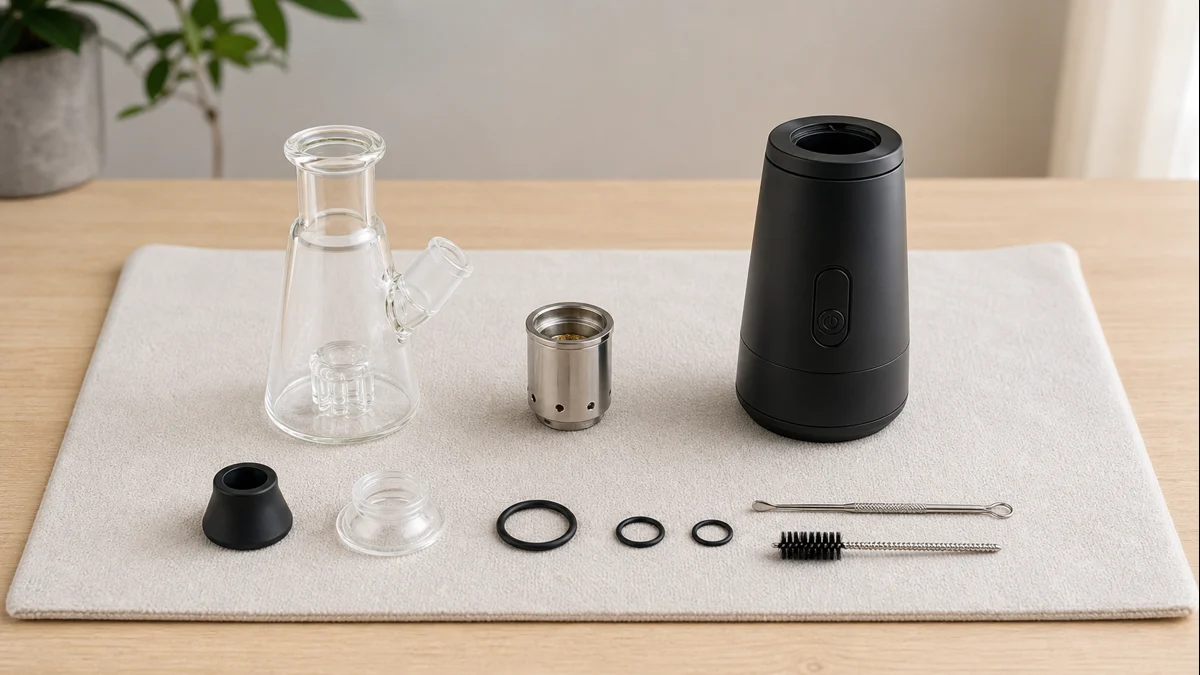
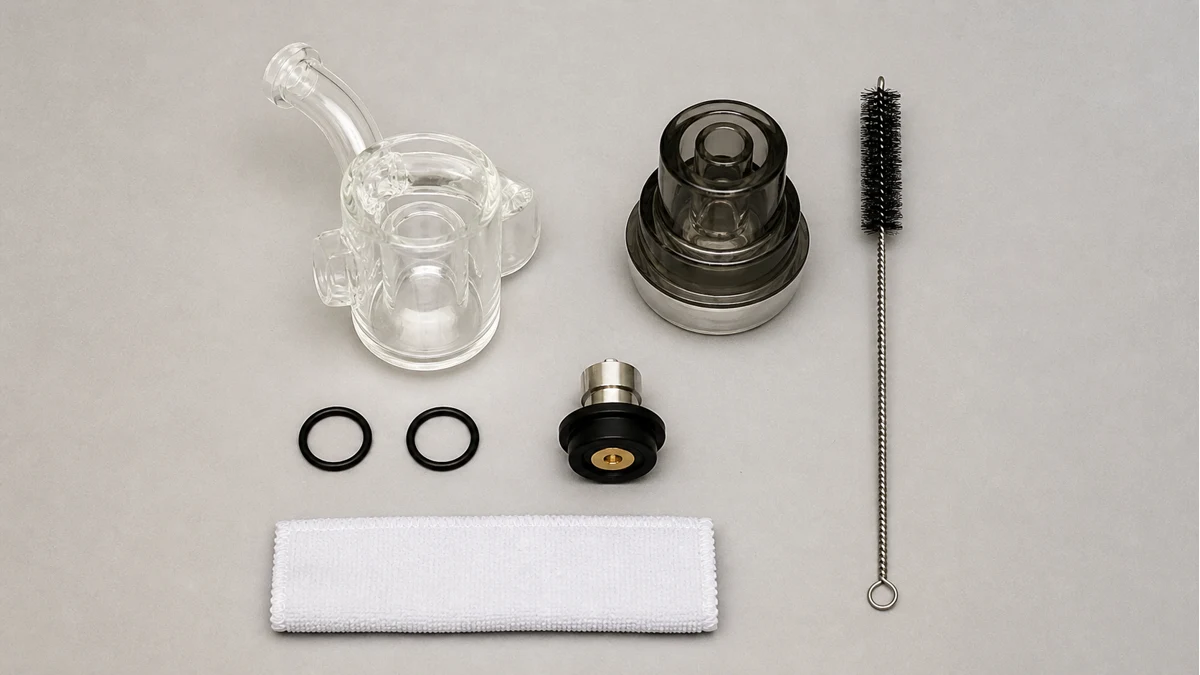
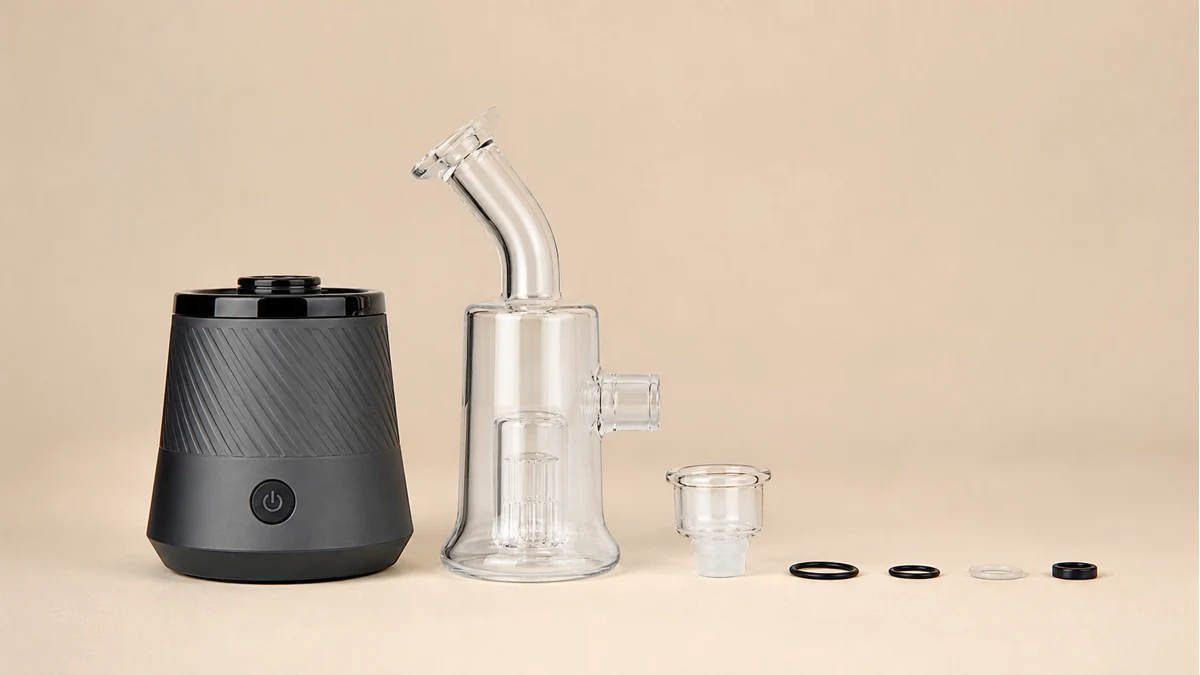
Before cleaning solution ever touches your rig, physically separate it into what it actually is: two systems bolted together. One is glass and metal — the mouthpiece, the chamber, the cup or banger, sometimes a percolator or downstem. The other is electronics — battery, PCB, heating element, charging port, display. The first system tolerates soaking, scrubbing, and solvent. The second does not, and conflating them is the single most common way people damage an otherwise healthy device.
🧩 1.1 The Removable Half Wants to Come Off Completely
Most electric rigs are built with this separation in mind — the glass detaches from the base with a quick-connect joint, a magnetic mount, or a simple friction fit. Pull it apart fully rather than cleaning around it while it’s still seated. Residue tends to collect exactly at that joint, and if you leave it connected while wiping down the outside, you end up pushing grime deeper into the seal rather than removing it. Set the glass aside on a towel where it won’t roll or chip, and you’ve already isolated the piece that’s safe to soak.
🧩 1.2 The Electronic Base Stays Dry, Full Stop
The base gets a cloth, not a soak. Isopropyl alcohol on a cotton pad or swab is generally fine for the exterior housing and for contact points, but liquid should never pool near a charging port, button seam, or vent. This isn’t a rig-specific quirk — it’s the same logic that applies to any lithium-battery device. The CPSC’s guidance on high-energy batteries is written for consumer electronics broadly, but the underlying point holds here too: moisture intrusion and physical damage to battery-powered housings are how minor maintenance turns into a safety problem. If your base has a removable battery or a sealed compartment, check the manual before assuming either is fair game for cleaning.
⚙️ 2. Warm Residue Behaves Differently Than Cured Buildup
Timing changes everything about how hard this job is. Residue left over from a session that just ended is still soft, tacky, and easy to lift. Give it a day or two and ambient temperature swings, and it oxidizes into something closer to varnish — dark, hard, and stubbornly bonded to glass and quartz.
🧩 2.1 A Quick Comparison
| Condition | Texture | Cleaning approach |
|---|---|---|
| Fresh, still warm | Soft, tacky | Wipe with a cotton swab or paper towel before it cools; minimal solvent needed |
| Cooled, same-day | Sticky but pliable | Short isopropyl soak loosens it enough for a swab or brush |
| Days-old, cured | Hard, dark, glassy | Longer soak, sealed bag or container, possibly repeated passes |
🧩 2.2 Why Waiting Makes the Job Harder, Not Easier
There’s a temptation to let a rig sit until “cleaning day,” but cured residue doesn’t just sit inert — it continues to darken and harden with heat cycling and air exposure. What would have taken a thirty-second wipe right after a session can turn into a fifteen-minute soak once it’s fully cured. If you’re the type who dabs regularly, a quick wipe of the cup or banger after each session, while everything’s still warm, will save far more effort over a month than any deep-clean routine ever will. This is also where a lot of reader questions about “why won’t this come off” trace back — not a bad cleaning method, but residue that had days or weeks to set before anyone tried.
🧼 3. Clean the Glass and Cups Without Ever Wetting the Base
Once the glass and any removable dab rig accessories like cups, bangers, or carb caps are off the unit, they’re fair game for a normal soak-and-rinse routine — the same one you’d use on any piece of glassware.
🧩 3.1 The Soak-and-Rinse Routine
Isopropyl alcohol and coarse salt is the standard combination: seal the glass piece in a bag or container with both, shake or swirl, let it sit, then rinse thoroughly with warm water afterward. The salt provides light abrasion that loosens residue without scratching glass. For quartz or ceramic cups specifically, a milder approach is usually smarter — hard scrubbing on a ceramic cup can wear the surface faster than the heat cycling itself does, so save the aggressive scrubbing for glass and go gentler on cups. If you’re unsure which material you’re dealing with, our breakdown of quartz vs. ceramic options covers how each holds up to cleaning over time.
🧩 3.2 Tight Spots Need Precision Tools, Not More Solvent
Joints, airflow slots, and the underside of a carb cap are where cotton swabs earn their keep — dip, twist, repeat, rather than dumping more alcohol and hoping gravity does the work. For genuinely baked-on residue inside a banger, a brief, careful application of controlled heat can help loosen it before scrubbing, which is the same underlying idea behind tools like the one described in Puffco’s guide to using a hot knife — heat softens residue so it lifts rather than smears. That said, this technique applies to the glass and quartz components only; it has no place near the electronic base, where controlled heat tools have no business being used at all.
🧰 4. Protect Contacts, Seals, and Electronics During Reassembly
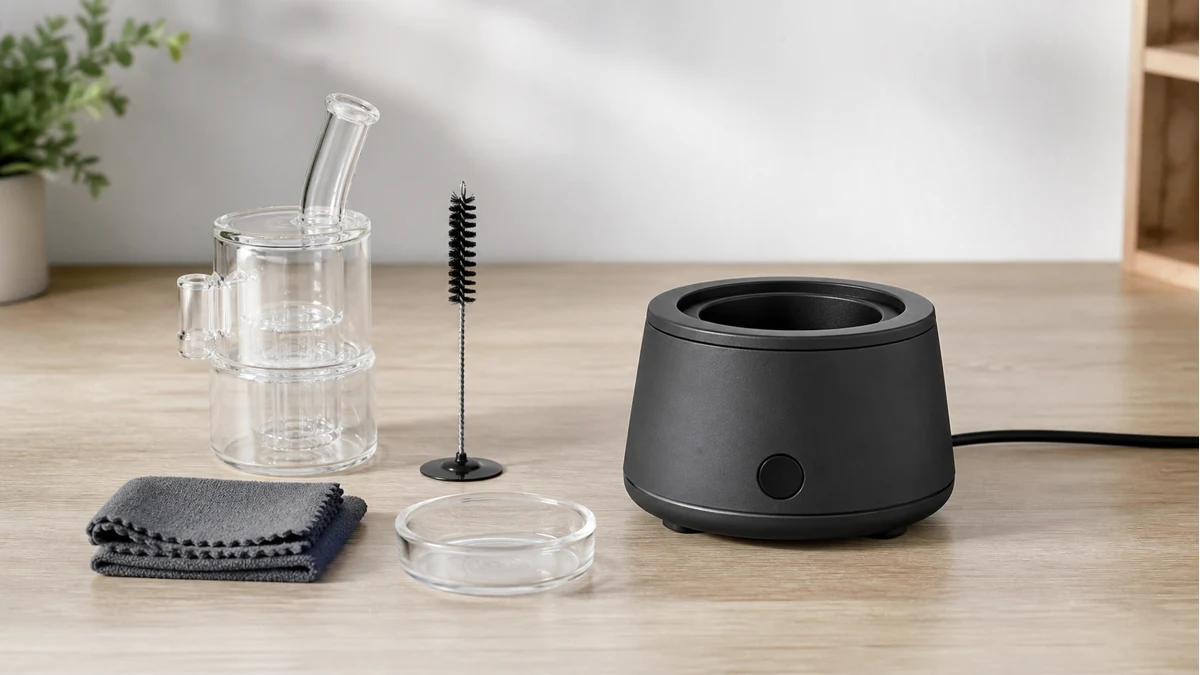
This is the stage where careful cleaning habits either pay off or get undone in thirty seconds of impatience. The base survived the process dry; now the goal is making sure nothing damp, gritty, or misaligned gets reintroduced when you put the rig back together.
🧩 4.1 Contacts Want a Dry Wipe, Not a Rinse
Wherever glass meets base — the 510-style connection point on some rigs, magnetic pins, or a heating element’s electrical contacts — a dry cotton swab or one very lightly dampened with isopropyl is the right tool. Cartridge and battery connectors are built around consistent metal-to-metal contact, and residue or moisture at that junction is a common cause of inconsistent heating that has nothing to do with the atomizer itself. CCELL’s own documentation on cartridge and connector design reflects how much these small contact points matter to reliable function, even though that documentation is written for a different product category. If your rig uses a standard threaded connection, our 510 cartridge guide covers how those threads and contacts are meant to seat.
🧩 4.2 Let Everything Dry Completely Before Reassembly
Alcohol evaporates fast, but rinse water doesn’t always. Give glass and cups real air-dry time — upside down on a towel, ideally overnight — before reattaching them to the base. Reassembling while a joint is still damp traps moisture exactly where it can migrate toward contacts or seals, undoing the whole point of keeping the base dry in the first place.
🧩 4.3 Seals and Gaskets Are Easy to Overlook
Rubber or silicone seals at the glass-to-base joint keep airflow tight and, on some designs, help keep moisture out of the electronics below. These seals can degrade with repeated alcohol exposure over time, so wipe them rather than soak them, and inspect periodically for cracking or a loss of that snug, slightly resistant fit. A seal that’s gone soft or brittle is a small, inexpensive fix — but it’s one people often miss because it’s not the part anyone’s actively scrubbing.
🛠️ 5. Know When It’s the Atomizer, Not the Dirt
Not every performance drop is a cleaning problem, and it’s worth being honest about that before you spend another session soaking a piece that’s actually just worn out.
🧩 5.1 Signs That Point to Wear Rather Than Buildup
If a freshly cleaned cup still produces thin, harsh, or inconsistent vapor, or if heating feels noticeably slower or less even than it used to, that’s a different problem than residue. Coils and heating elements degrade with repeated thermal cycling regardless of how well they’re maintained — it’s a wear pattern, not a hygiene failure. Our explainer on how an atomizer works is a useful reference here if you want to understand why heating elements have a finite lifespan in the first place, and our broader vape parts guide covers how these components fit into the rest of the system.
🧩 5.2 Replacement Beats Another Cleaning Cycle
Once you’ve ruled out residue as the cause — clean cup, dry contacts, proper reassembly — and performance still lags, that’s the signal to check whether your model uses a replaceable atomizer or coil, and to swap it rather than running another cleaning pass on a part that’s simply reached the end of its usable life. Chasing a wear issue with more cleaning wastes time and can also mean running a compromised heating element longer than you should, which isn’t good for the battery driving it either. If charging behavior has changed alongside heating performance, it’s worth a look at our battery and charger guide to separate a battery issue from an atomizer one.
📌 6. Let the Manual Override Everything Else Here
Everything above is a general framework, and general frameworks have limits. Rig construction varies enough — different seal materials, different contact layouts, different tolerances for solvent exposure — that manufacturer instructions should always take precedence over generic advice, including this article’s.
🧩 6.1 Why Device-Specific Steps Matter More Than Habit
Storz & Bickel’s own operation documentation is a good example of how seriously manufacturers treat this: their operation support guidance walks through device-specific handling rather than assuming one generic routine covers every unit they make. That’s the standard worth holding your own rig to. If your manual specifies a particular cleaning solution, a maximum soak time, or a warning against certain solvents on certain surfaces, that instruction beats habit or forum advice every time — including habits picked up from a different rig entirely. And if you’re comparing rig styles before a purchase, our overview of types of dab rigs and general dab rig cleaning guide are useful starting points, but neither substitutes for the paperwork that shipped with your specific unit.
❓ 7. Frequently Asked Questions
🧩 7.1 Can glass and cup pieces go in a dishwasher?
Hand-washing gives you more control over temperature, pressure and contact time. Dishwasher heat and water pressure can stress joints and seals in ways a controlled soak-and-rinse won’t, and it does nothing for the electronic base, which shouldn’t go near a dishwasher under any circumstances.
🧩 7.2 Is isopropyl alcohol safe to use near the base at all?
A lightly dampened swab on the exterior housing or contact points is typically fine, but alcohol should never be poured, sprayed, or allowed to pool anywhere near seams, ports, or buttons. When in doubt, dry cloth first, damp swab second, liquid soak never.
🧩 7.3 How often should a deep clean actually happen?
There’s no universal schedule, since it depends on frequency of use and how quickly residue is wiped after each session. The more consistently you do the quick warm-residue wipe covered earlier, the less often a full deep clean is needed.
🧩 7.4 Does an ultrasonic cleaner work for dab rig glass?
Ultrasonic cleaners are sometimes used for glass and cups specifically, but check your manual and the cleaner’s own guidance on suitable materials first — and this method still applies only to the removable glass, never the electronic base.
🧩 7.5 Why does the joint between glass and base feel loose after cleaning?
Usually it’s a seal that’s been overexposed to solvent or simply needs to fully dry before it seats snugly again. If looseness persists after drying, inspect the seal itself for wear rather than assuming the glass or base is damaged.
⚙️ 8. The Bottom Line
The habit that actually protects an electric dab rig long-term isn’t a special solution or a expensive tool — it’s the discipline of treating the glass and the electronics as two separate maintenance jobs every single time. Wipe residue while it’s warm, save the alcohol-and-salt soak for the parts built to handle it, keep every drop of liquid away from the base, and let performance problems that survive a clean, dry reassembly point you toward the atomizer rather than another round of scrubbing. Do that consistently, follow what your specific manual says when it disagrees with general habit, and the rig will keep performing the way it did on day one for a lot longer than neglect — or over-aggressive cleaning — would otherwise allow.